I’ll admit, I was one of the first to laugh at the $869 Mac Pro wheels, but I’m not laughing anymore.
After jerry-rigging some old casters to my PC tower, I see the appeal, but beyond that, having the ability to customize my PC has been one of my favourite parts about owning it. So, I think it’s time to show some appreciation to the Cooler Master Q300L.
A case with many forms
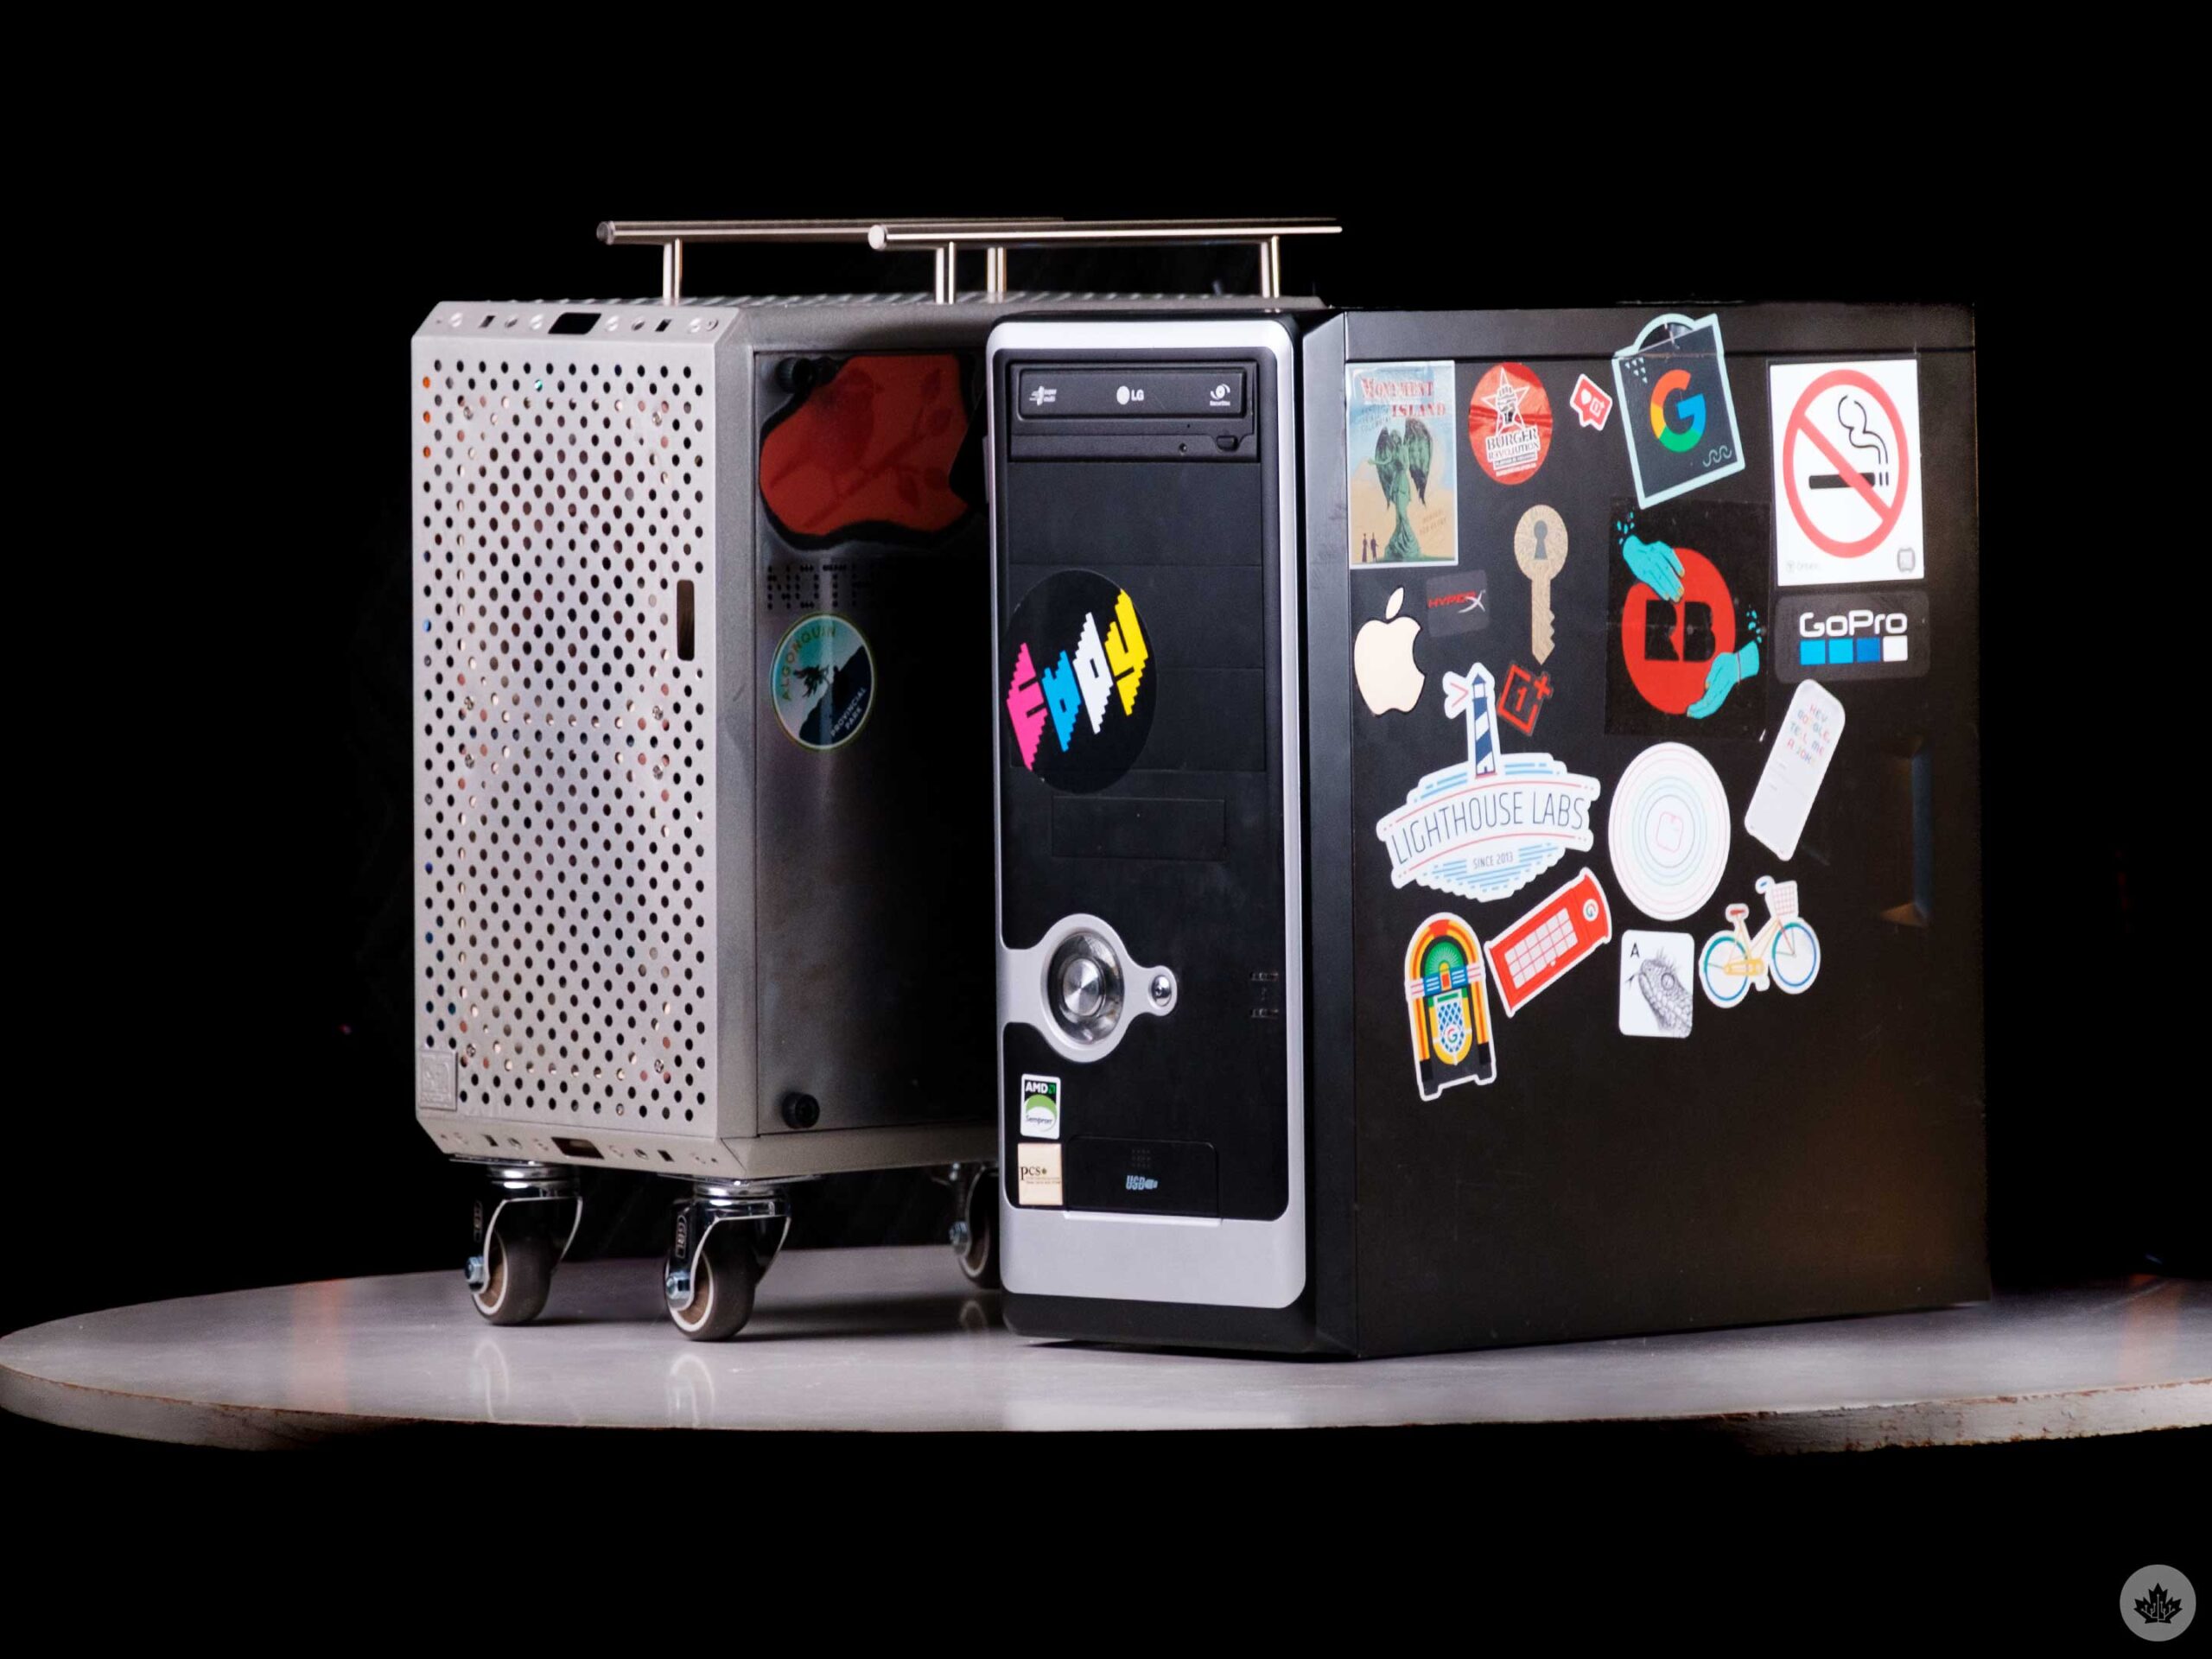
My old hand-me-down case next to my current Q300L.
My first PC build started in the shell of my Grandma’s old PC. She had graduated from playing Solitaire on PC to iPad and never looked back. Not that it matters much, but after sinking countless hours into Reader Rabbit, Roller Coaster Tycoon and Stronghold Crusader, that computer felt like a fun starting point in my modern PC journey.
I used that case for a few years, but in the end, its cooling capacity wasn’t great and having the side panel propped open all the time to combat this wasn’t the most aesthetically pleasing.
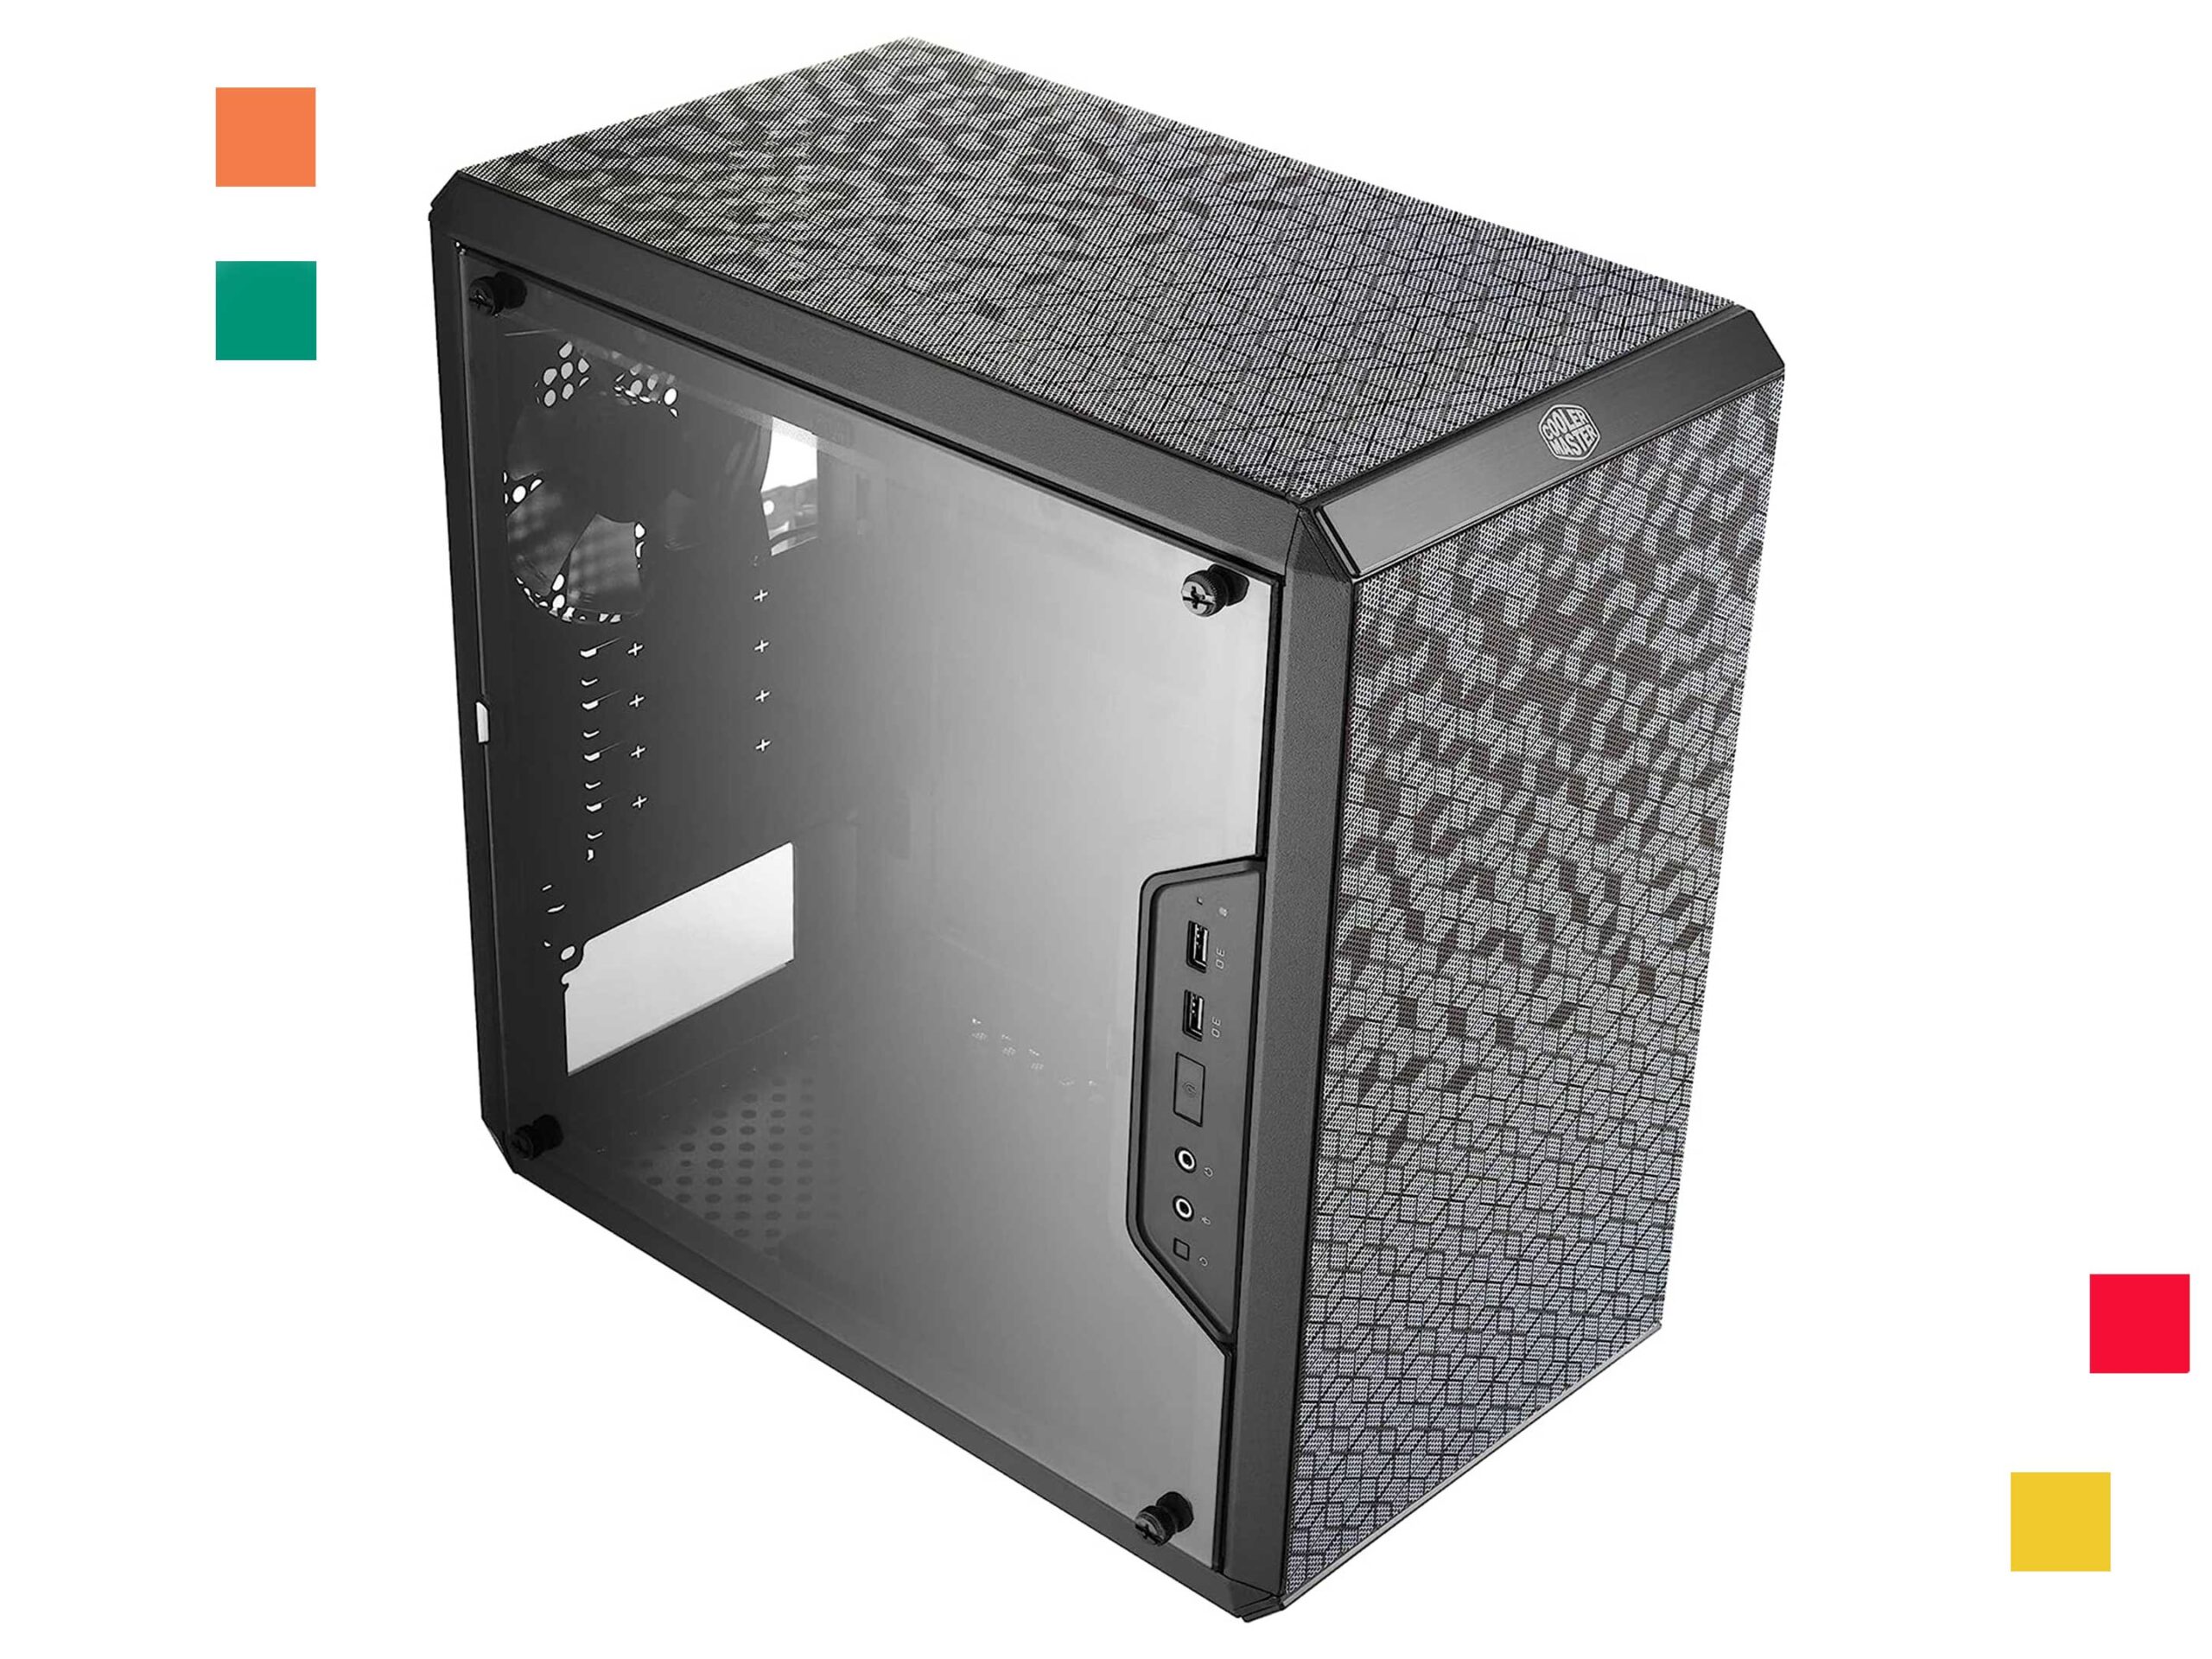
The default version of the Q300L. The fabric filters stick on with magnets and can be easily removed.
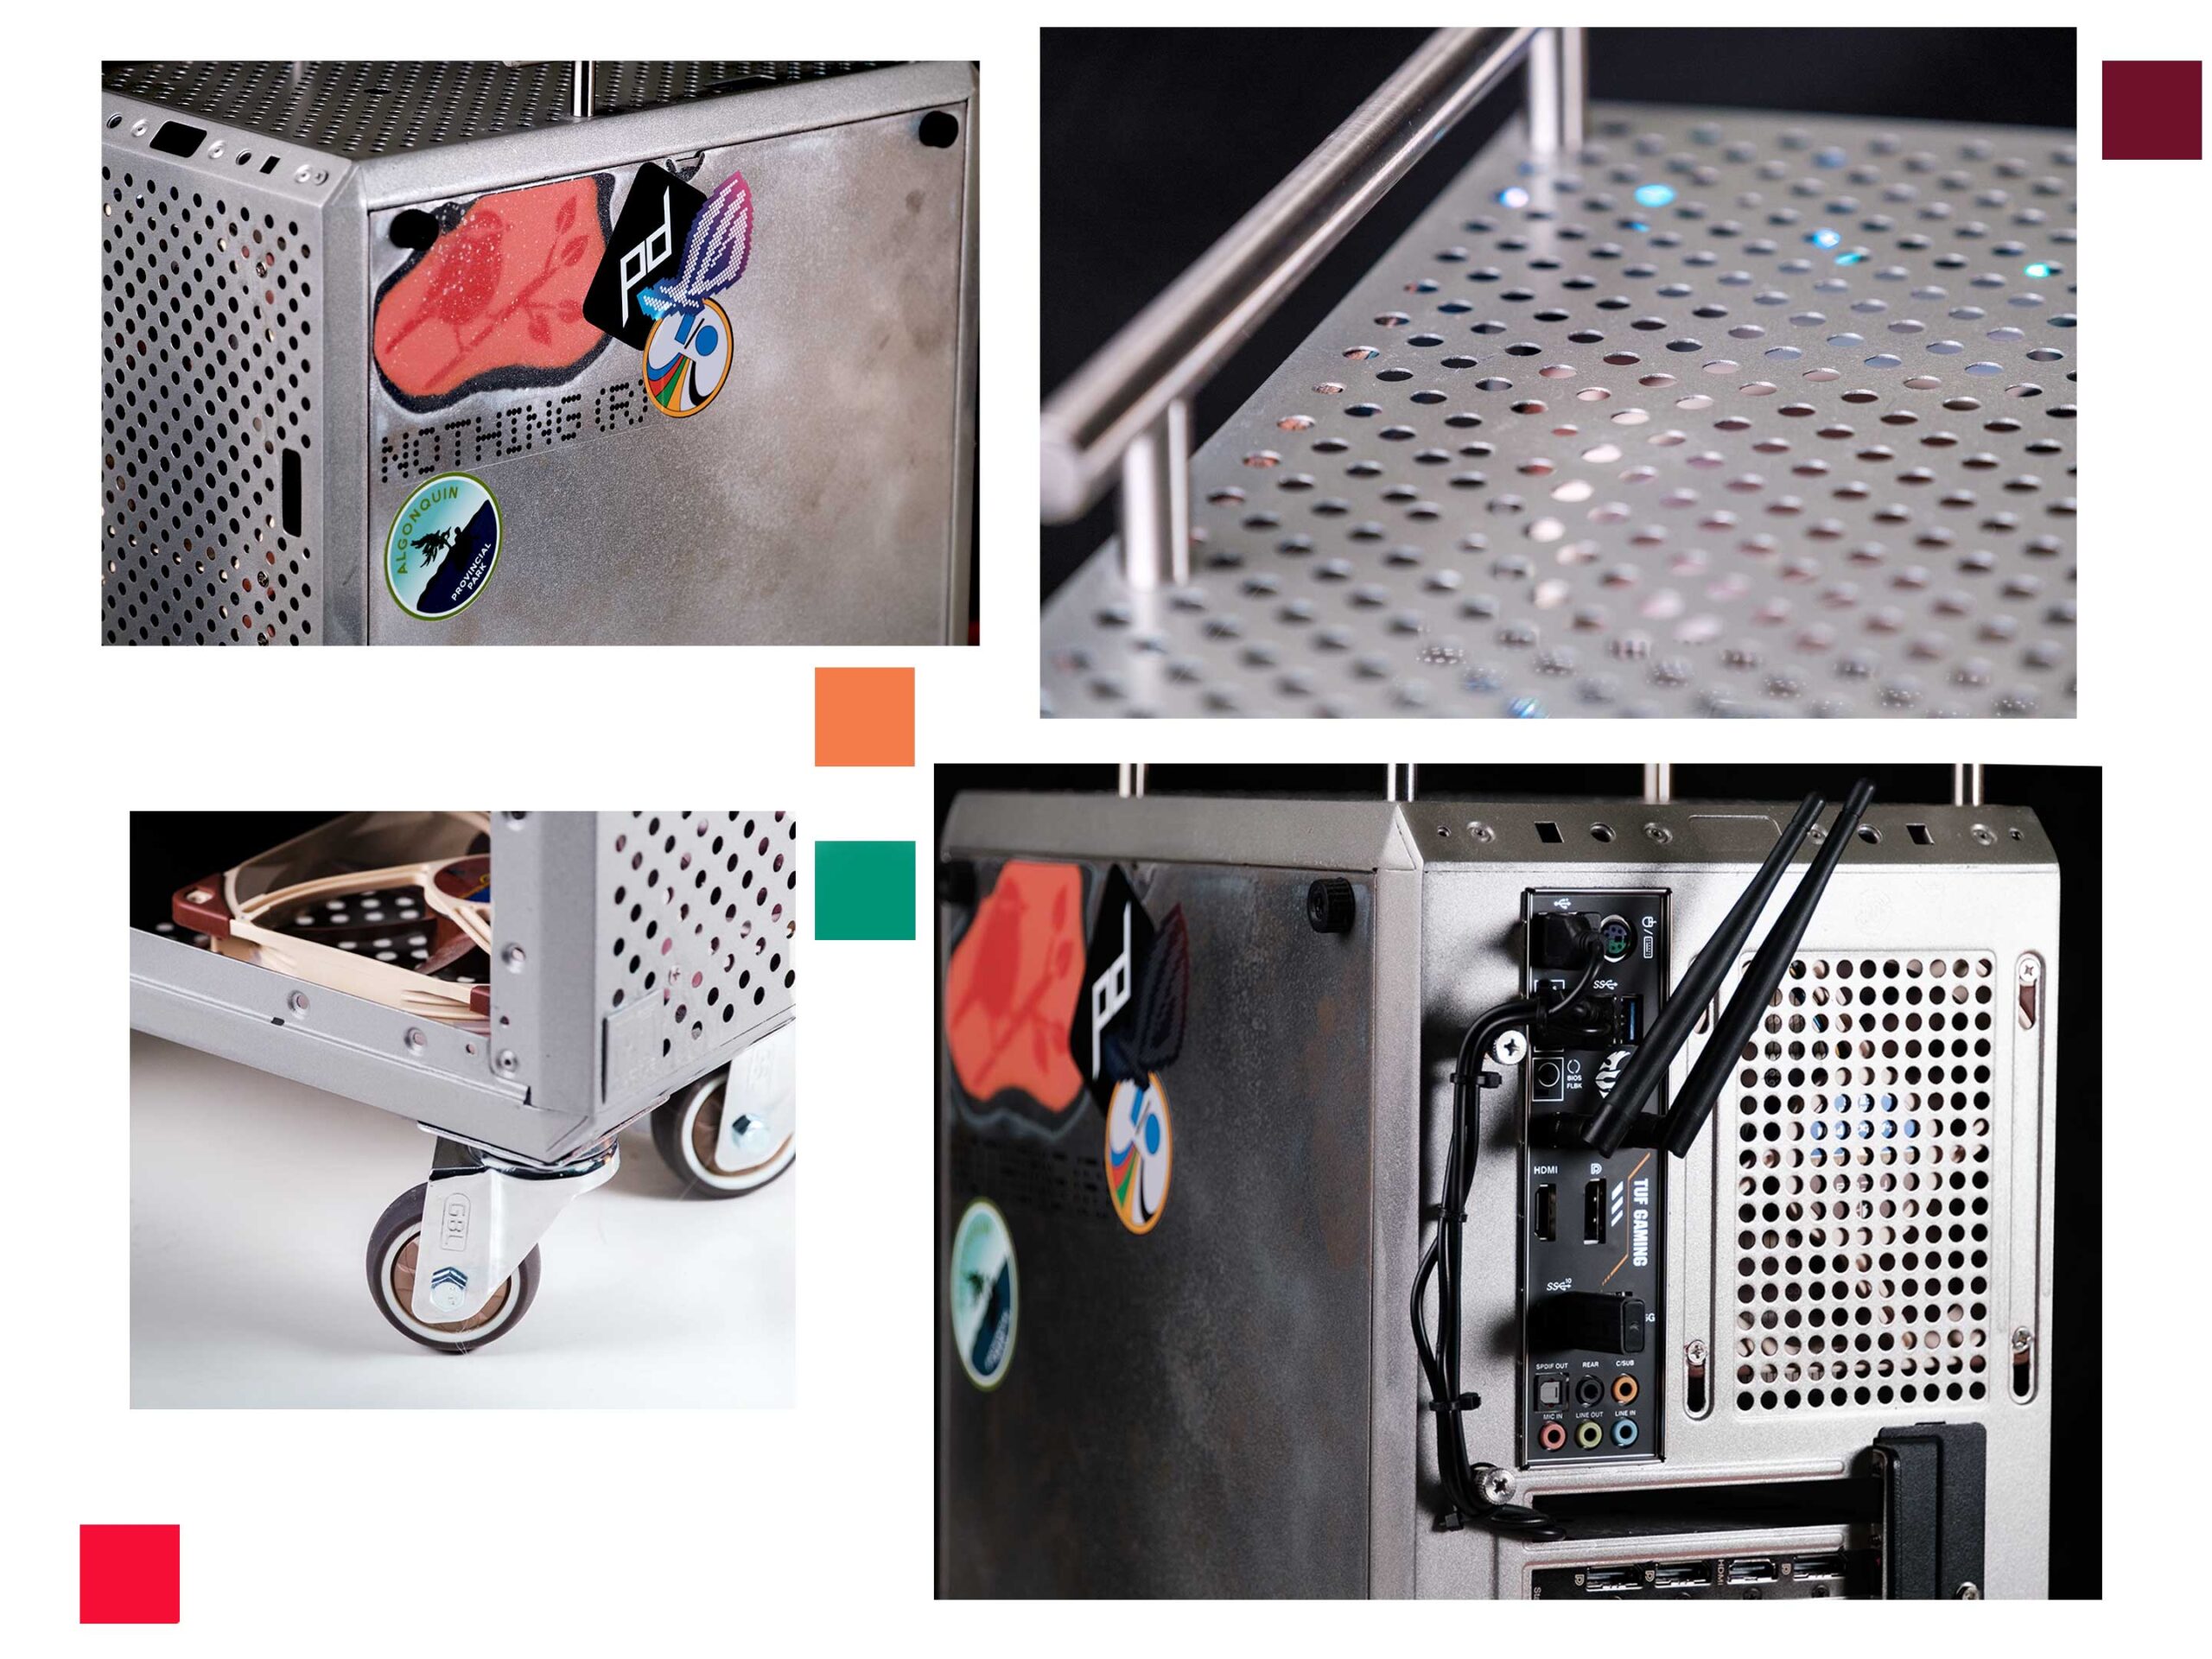
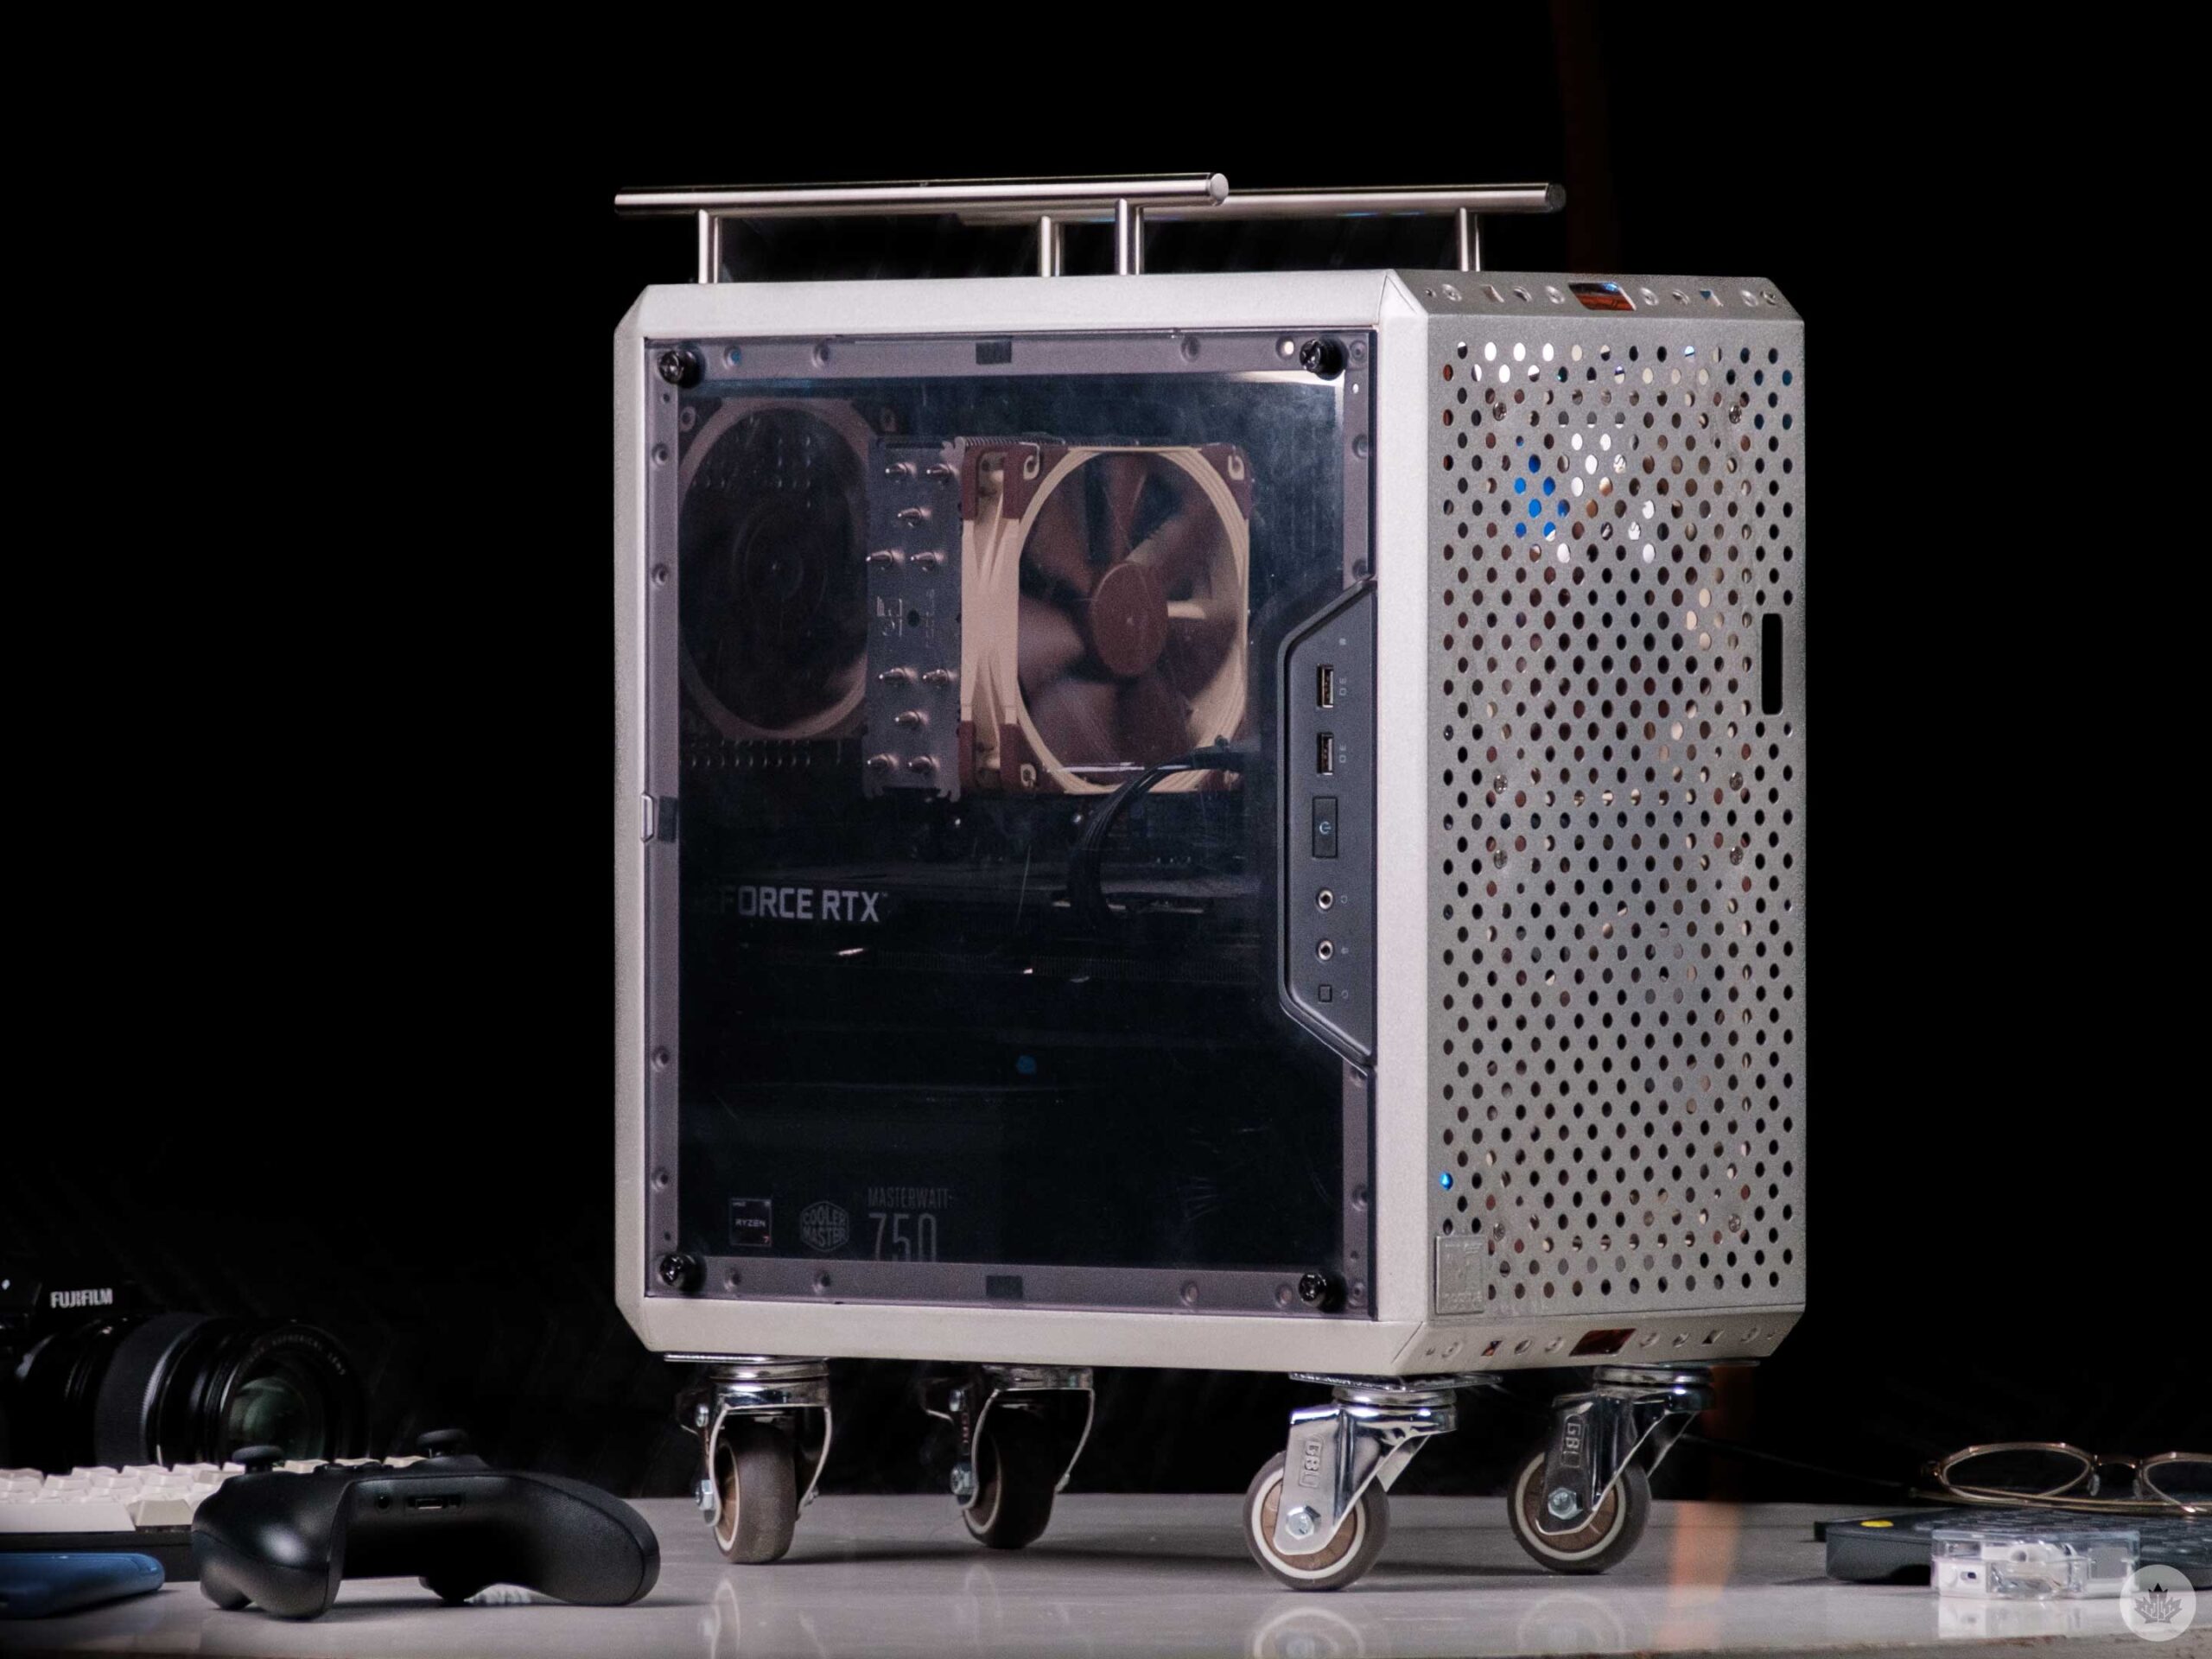
So, during the 2020 COVID work-from-home boom, I finally upgraded most of my computer and built it in the Q300L. It was a great price of around $50 when I bought it and was smaller than a lot of other cases that included support for full-sized components. It came with magnetic dust filters, but ultimately, I was drawn to the case without them since it offered some industrial flair.
The plastic side panel was also up my alley since it meant I didn’t need to worry about it shattering when moving the computer. The material is flimsy and scratches easily, but I’ll take that over glass when I can. Plus, I often think about drilling a small grid of holes into the plastic and painting it silver to match the rest of the PC since I don’t really like looking inside and would rather have uniformity.
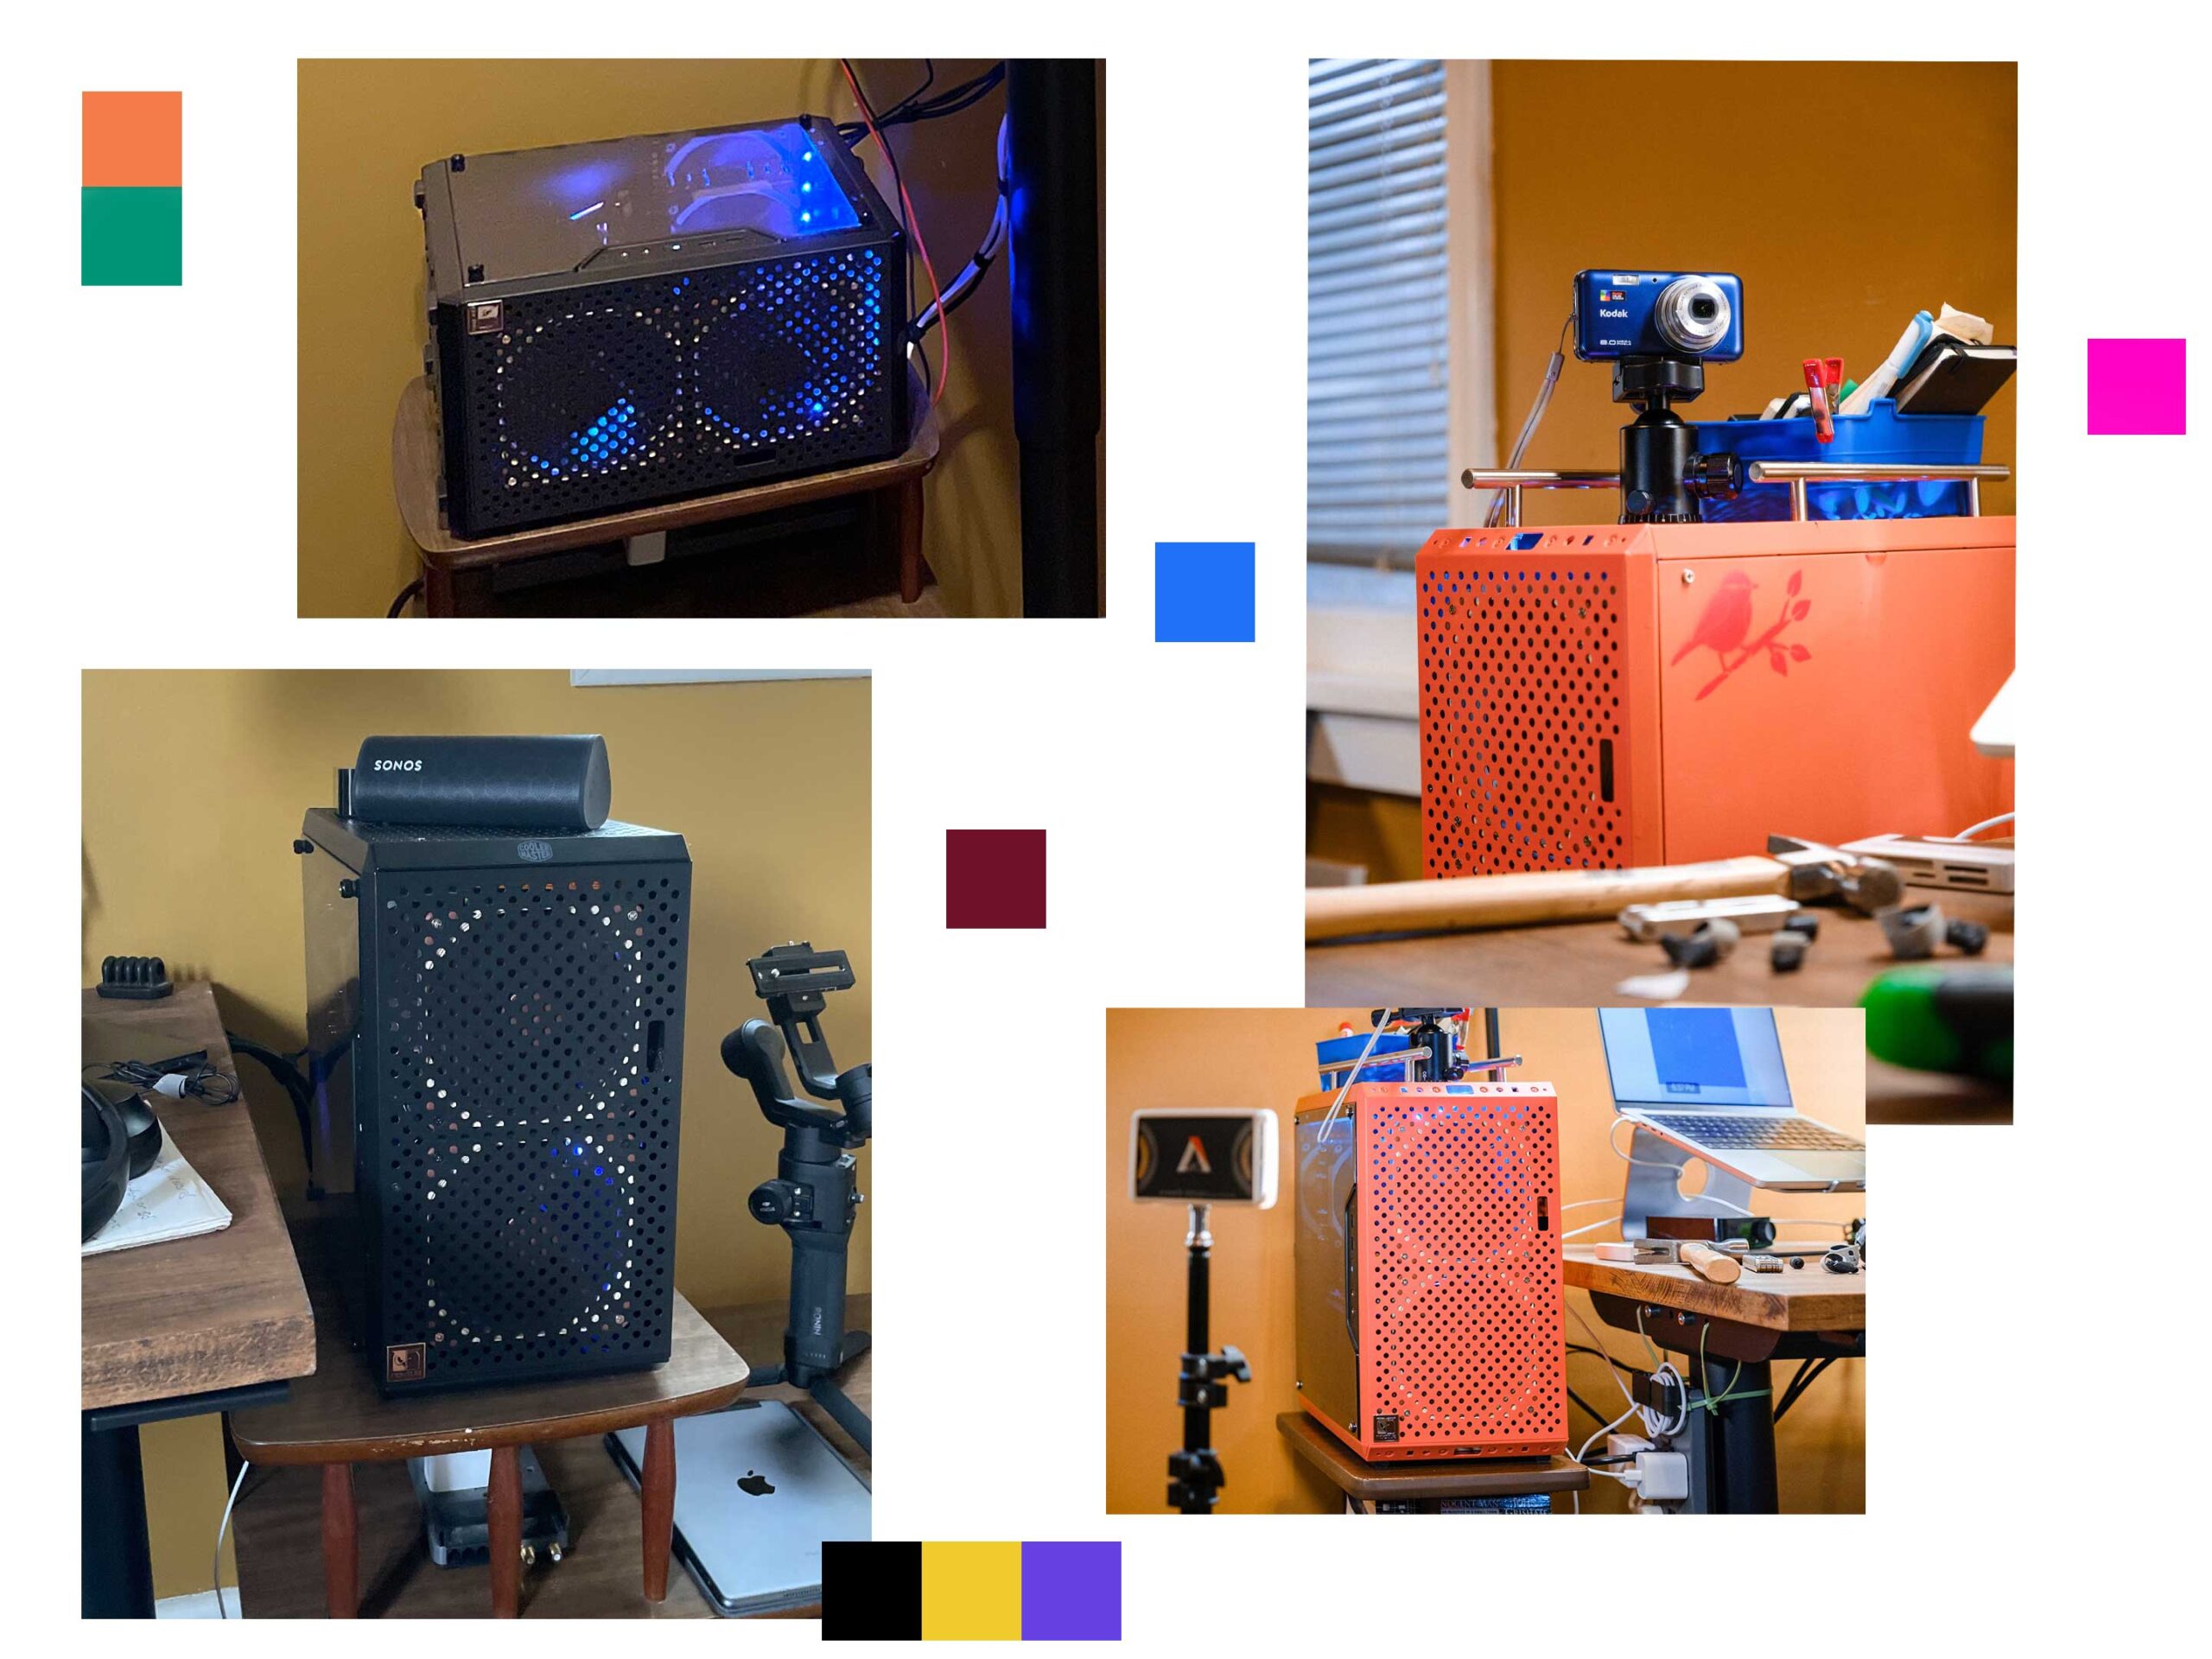
Then, in 2022, my girlfriend Alex built the Teenage Engineering Computer-1. This spurred me into customization mode, and I decided to paint my computer a salmon/orange colour. At the time, it was fun, but it never turned out like I wanted. This is also when I removed the black plastic bumpers from the corners of the PC, which helped with the industrial look.
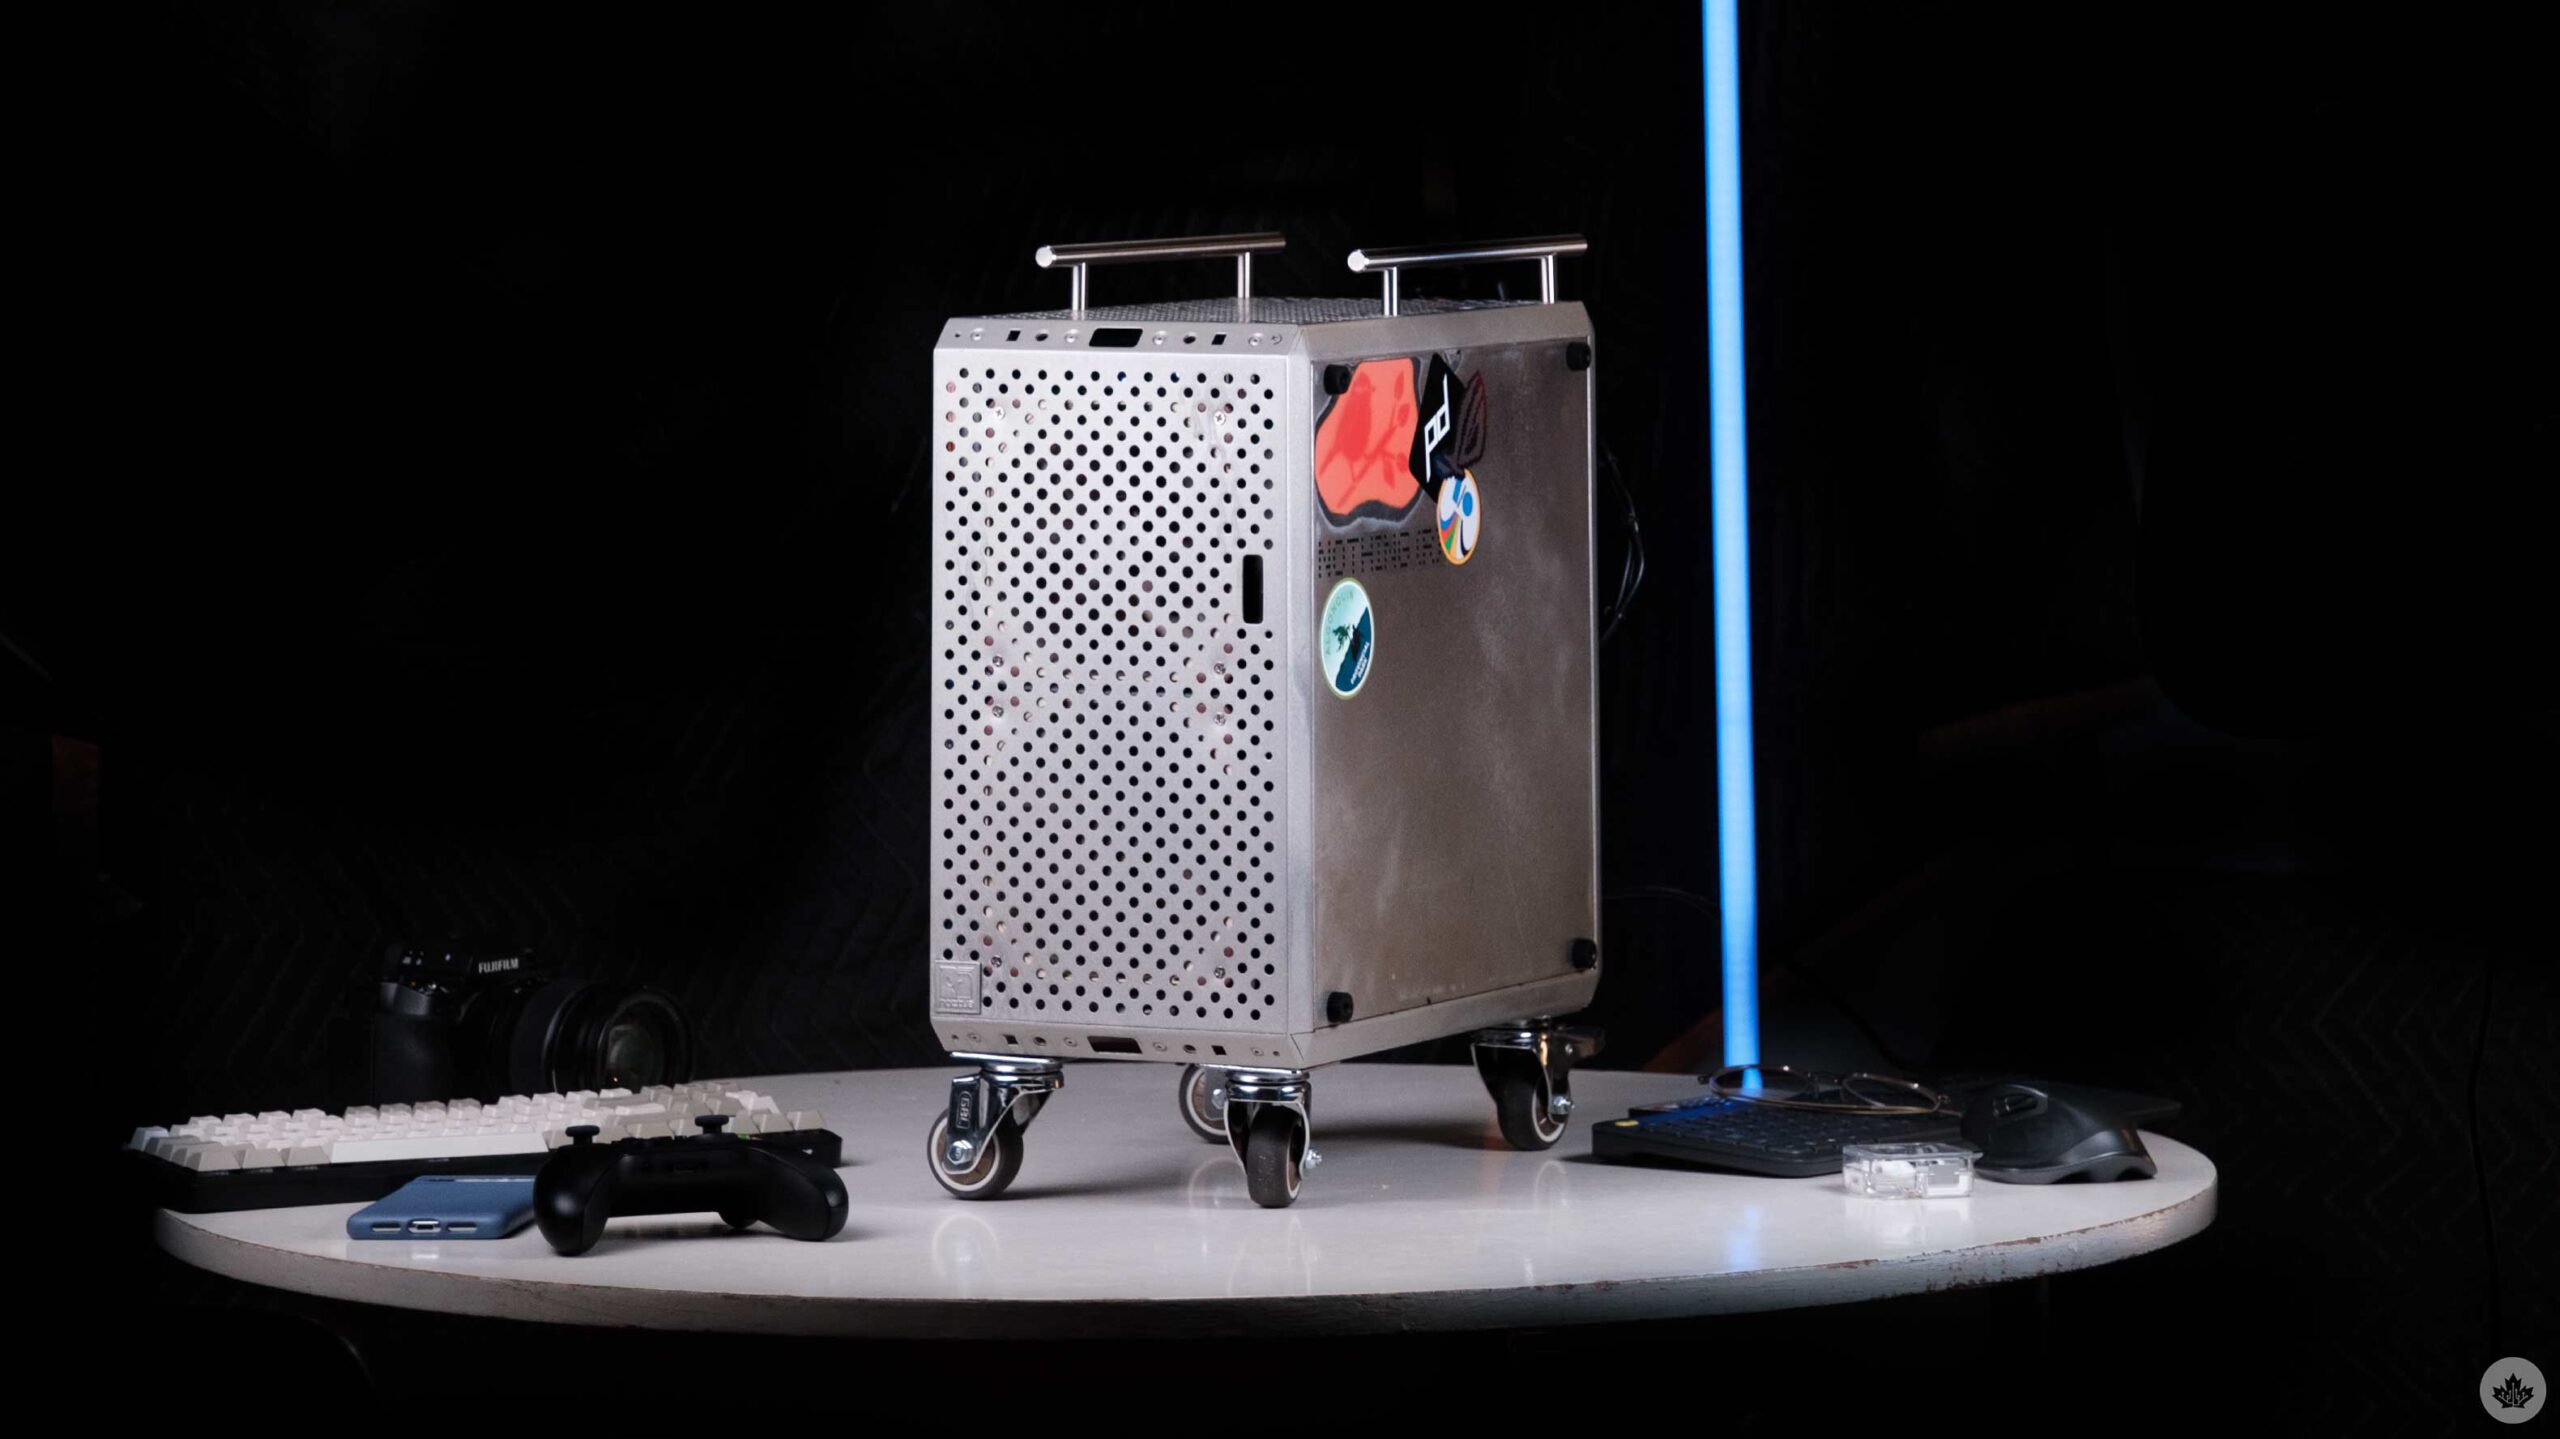
To emulate Alex’s PC on a larger scale, I also bolted some drawer handles to the top. This time, I forgot to add them until I had already rebuilt the inside, so they sat offset for quite a while. During this reno, I also added some dollar store LED strips inside the case. These look cool in photos, but they’re really convoluted to control since you need to use an included remote. Plus, whenever I unplug my PC and plug it back in, the lights flash red, green, blue until I reset them with the controller.
The final addition was a ball-head from an old tripod so I could mount a camera to the computer for vlogging. This was a cool idea, but only worked with the PC in one spot next to my desk.

Some photos from when I first painted the computer (Shot on iPhone 14 Pro).
I didn’t stay a fan of the orange for long, and in December of 2022, I decided to sand it off and let the raw metal really accentuate the industrial feeling that originally drew me to the case. This is my favourite look so far and helped give the PC some sci-fi flair alongside the industrial nature. I did need to do some touch-ups with silver spray paint, but overall, I’m very happy with it.
All that was missing were the wheels.
The journey with the wheels started when I put casters on my TV stand a few years ago. This made it easier to move the TV towards the couch for gaming or around the house for taking television pictures for MobileSyrup. Overall, it’s a nice bit of convenience, but the original wheels I bought were a touch too small, so they’ve been sitting quietly in my basement waiting for this moment.
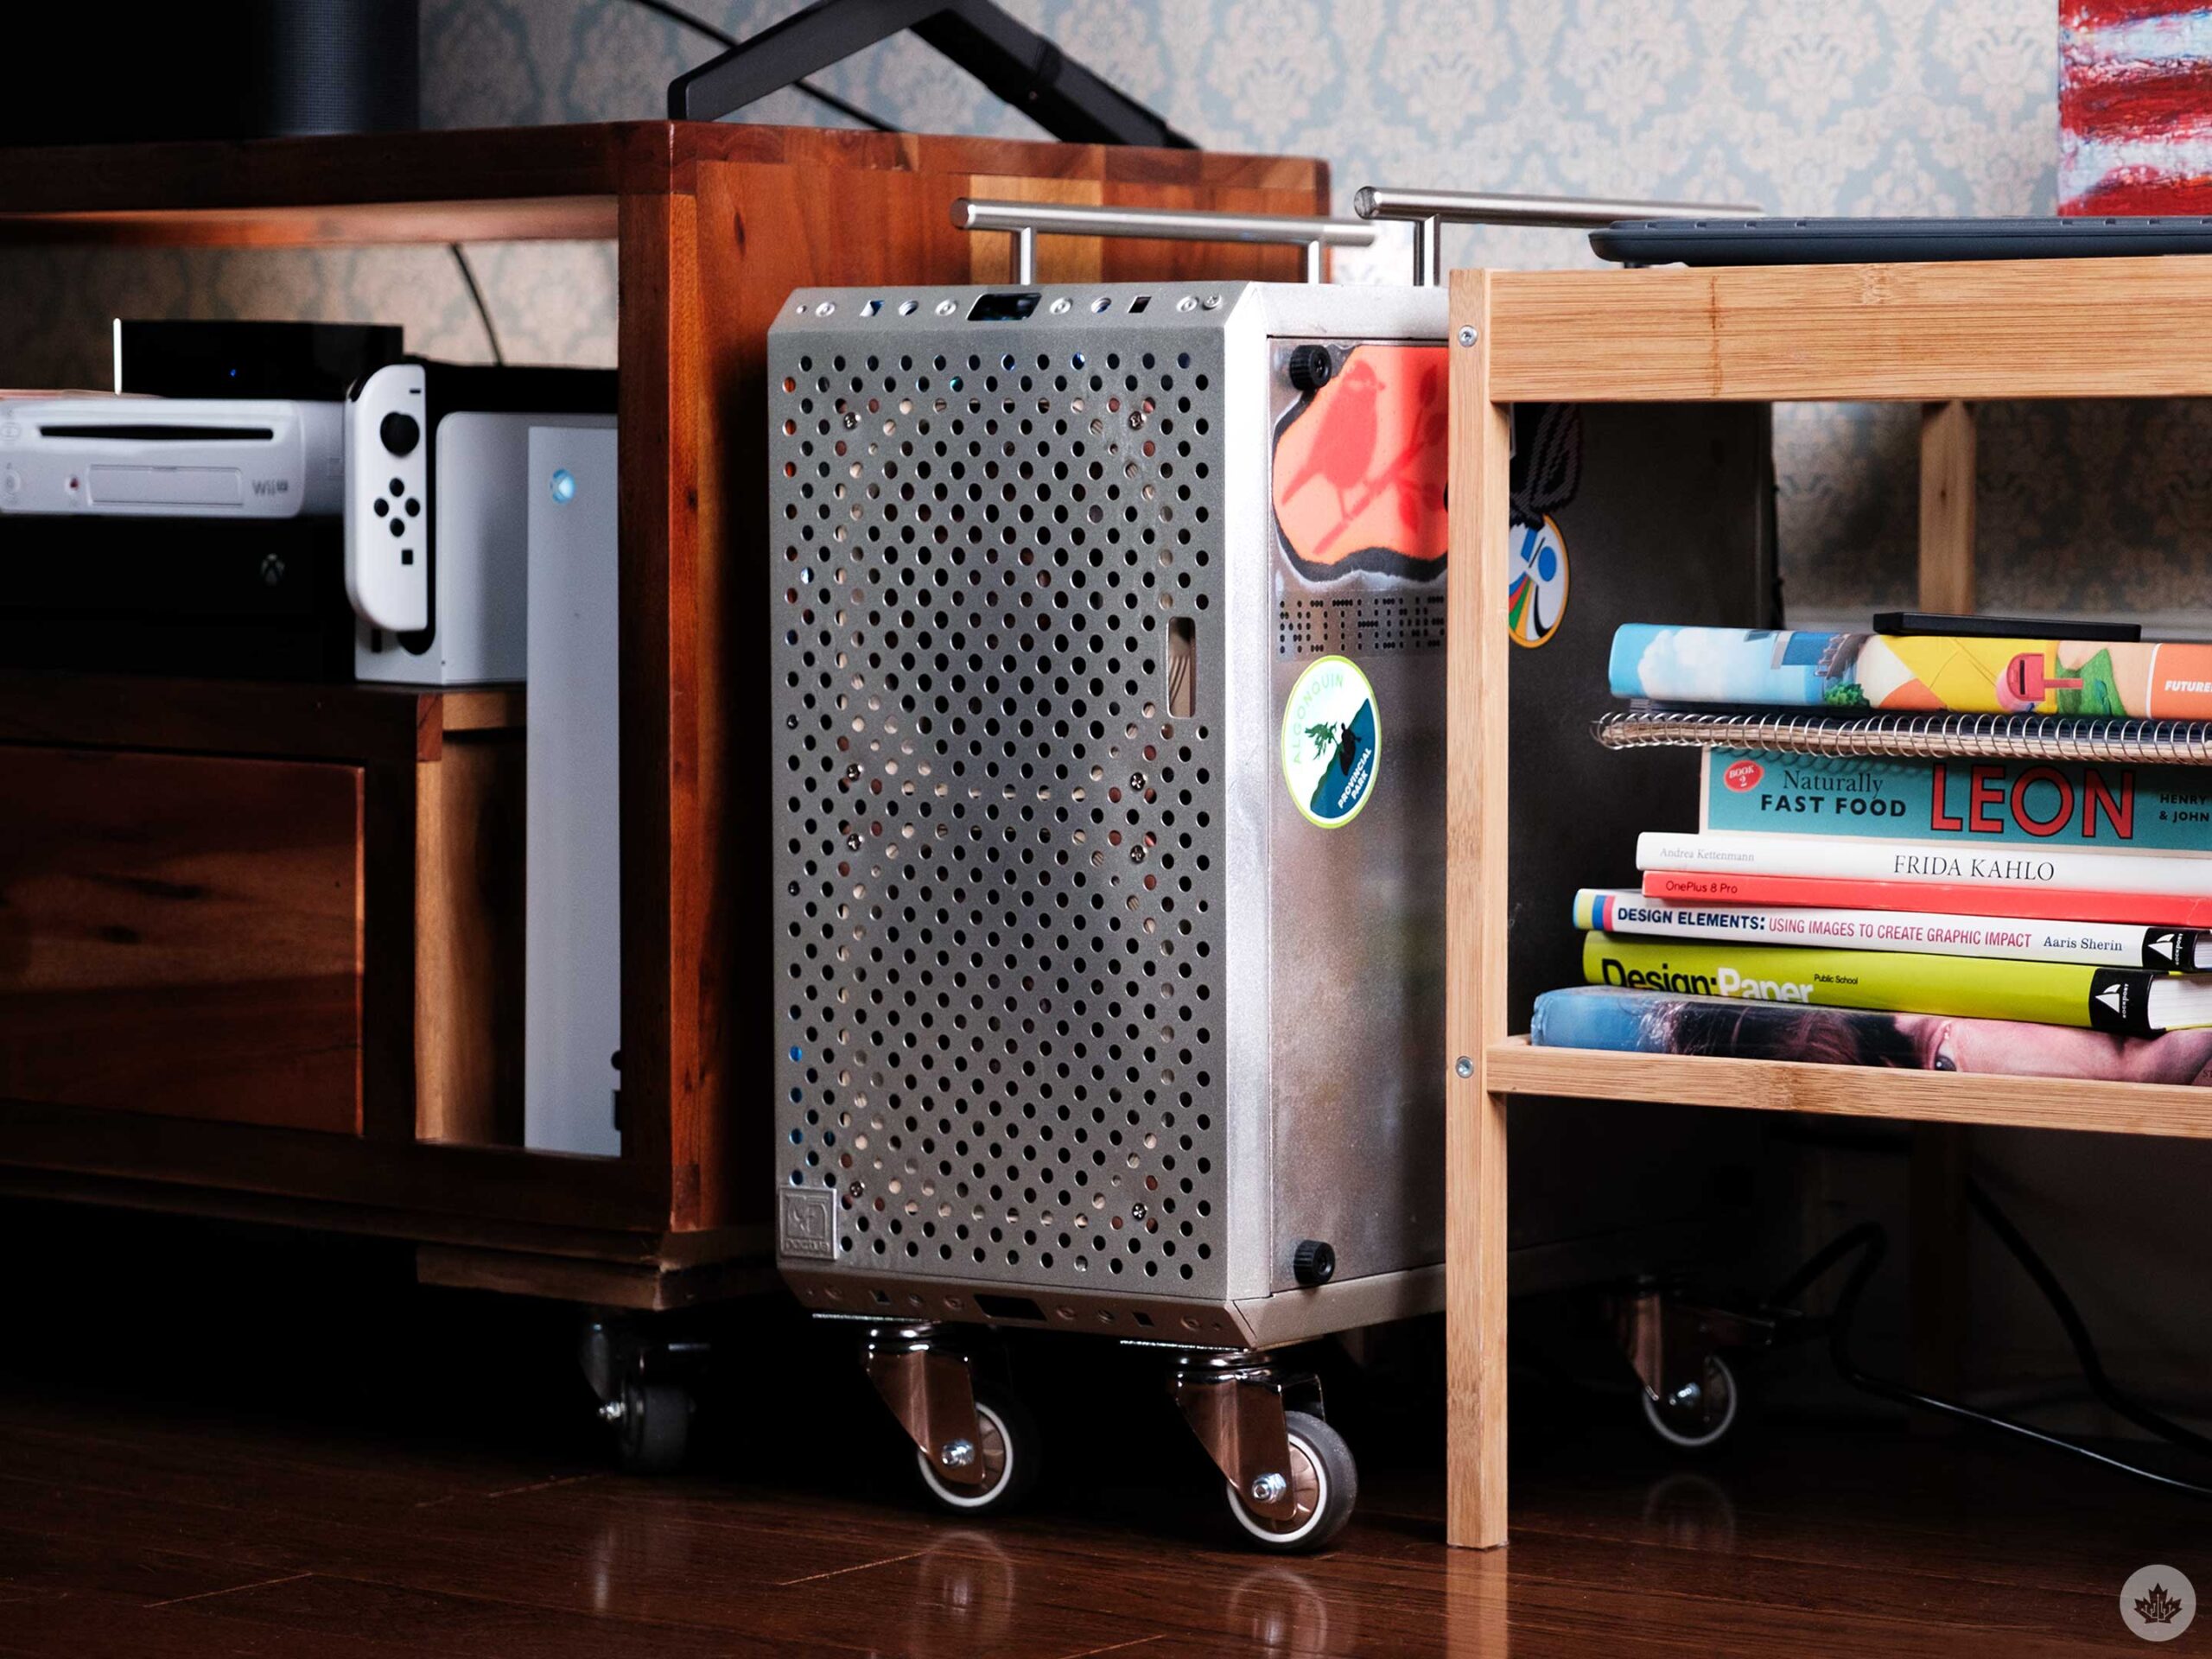
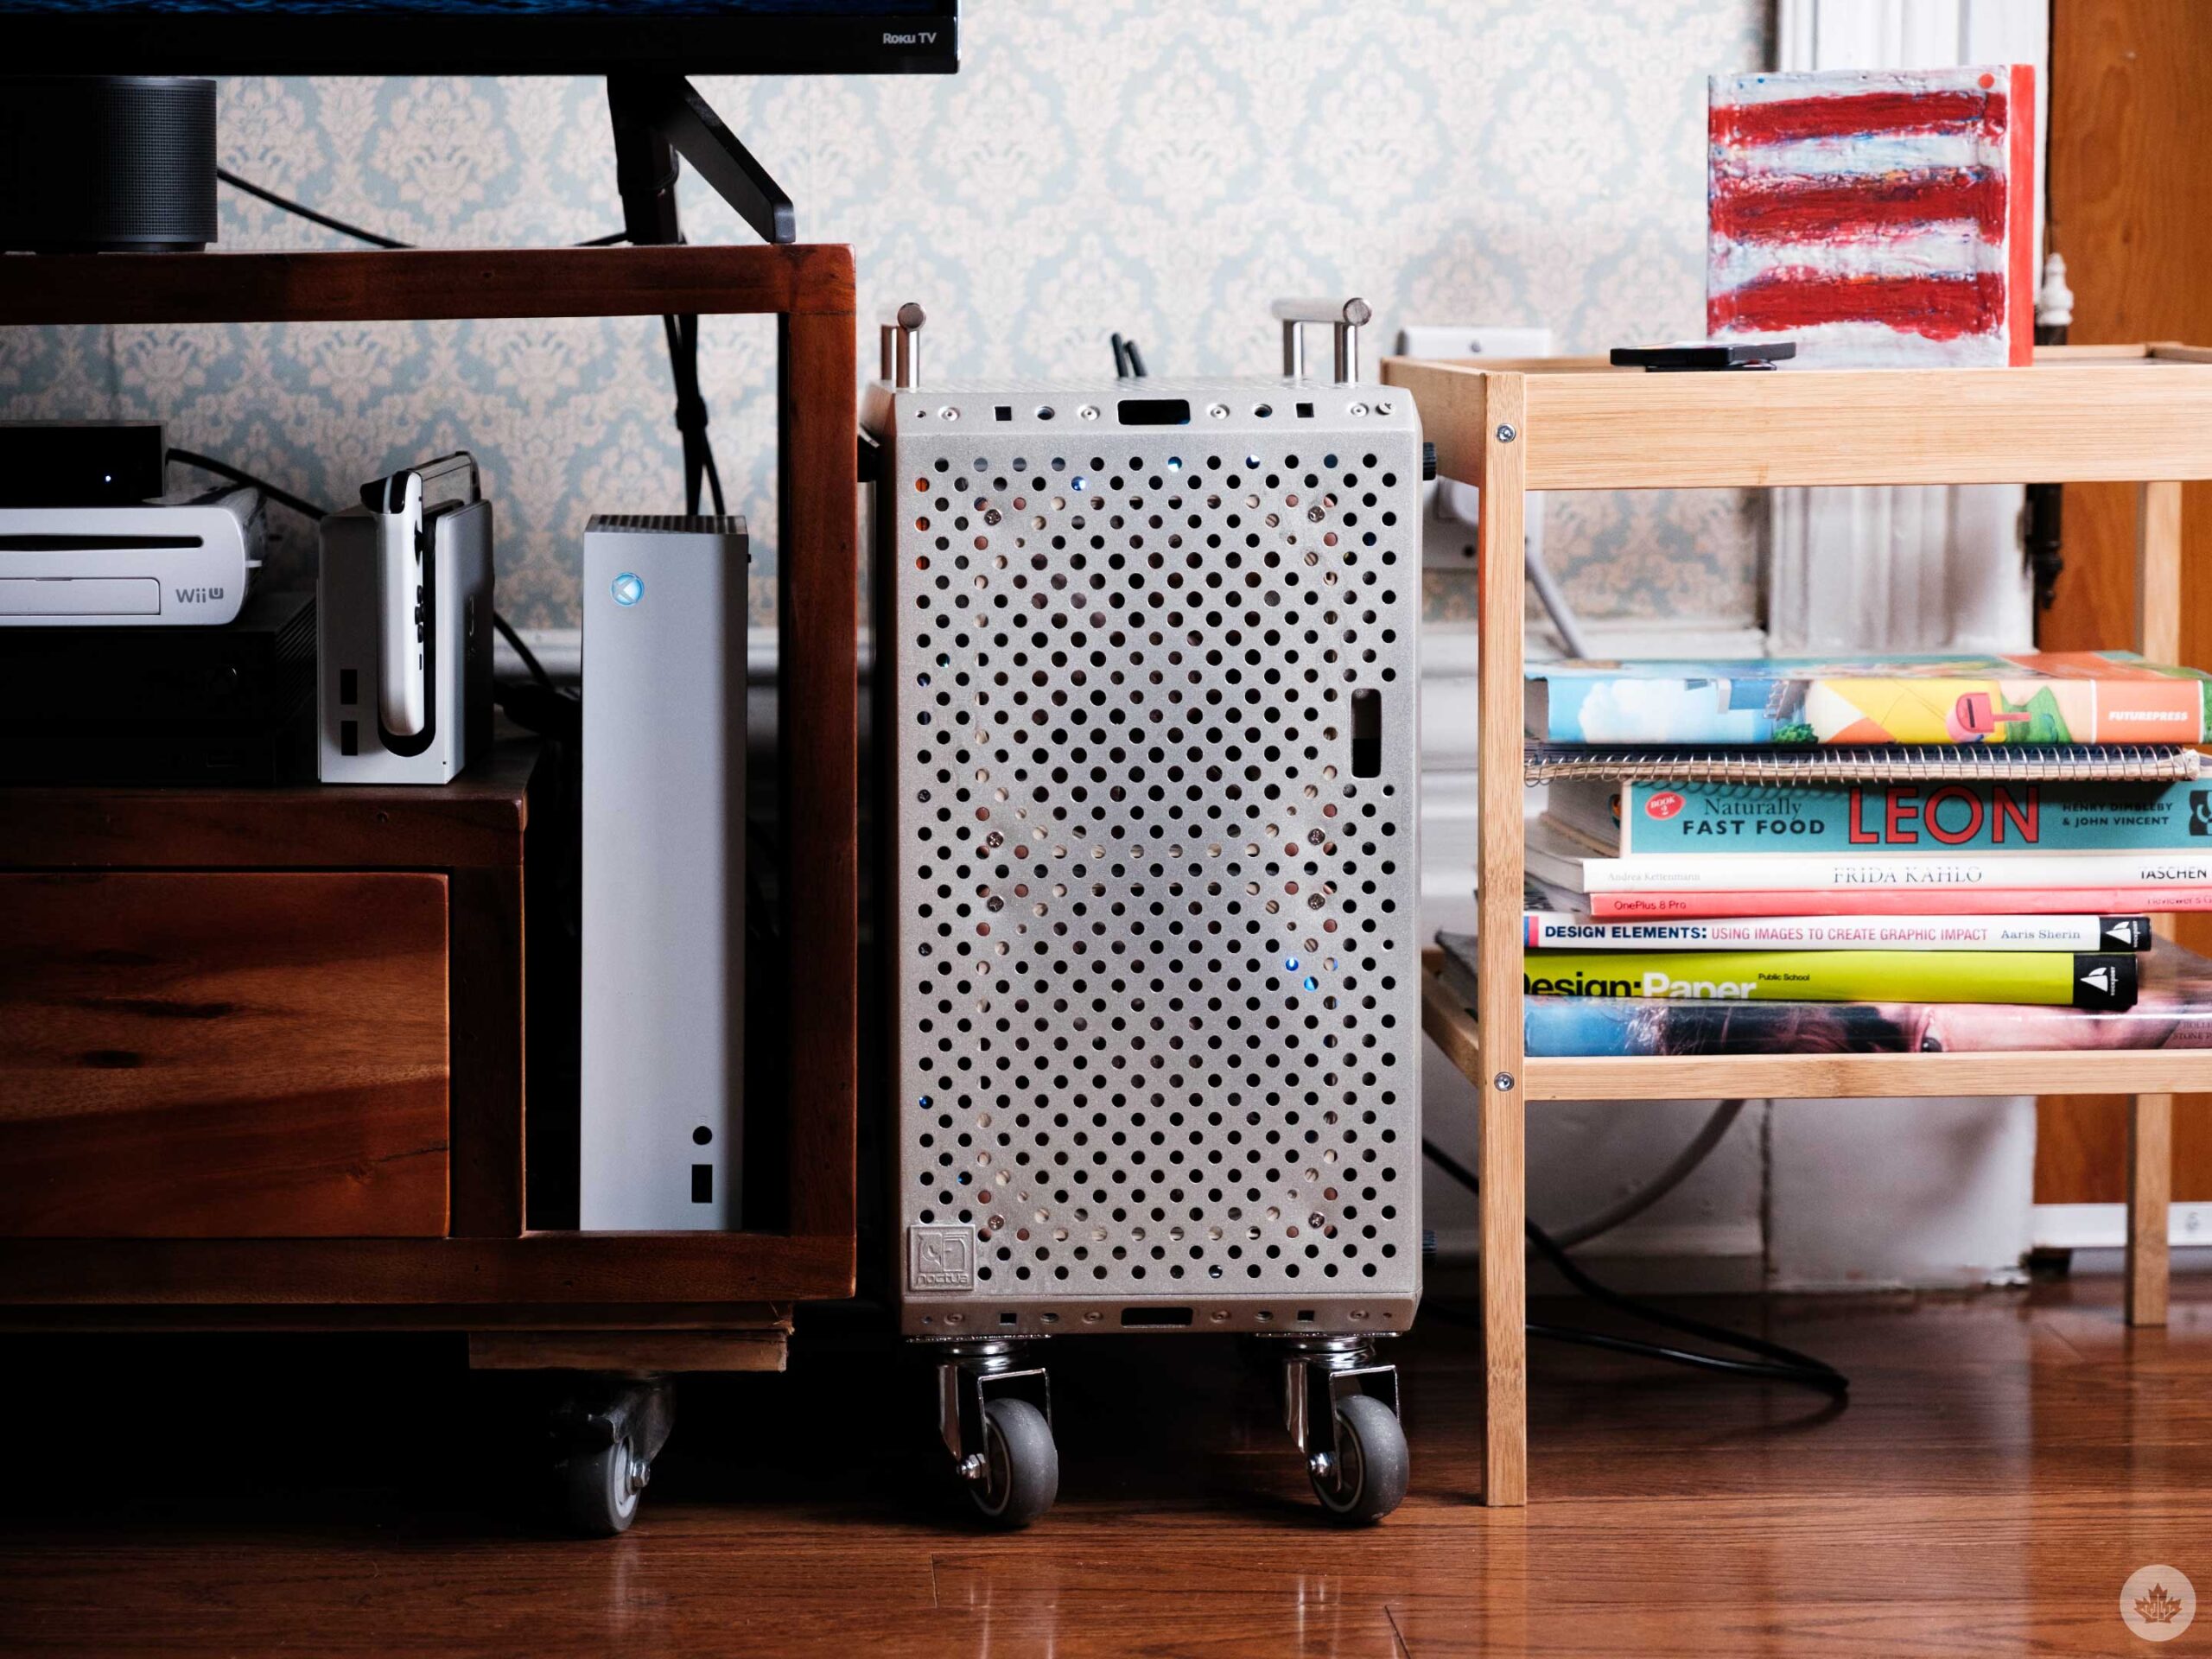
Due to the nature of my case being covered in holes, I could bolt the wheels to my PC, but that requires a fan and my power supply to come out, and I wasn’t feeling up that. Therefore, I just stuck them on with some double-sided Gorilla tape as a beta test. It worked well enough, and being able to move my PC easily from my office to the living room has made me use my modded Optiplex a lot less.
There’s not much else to say about this other than it also gives me a few extra inches of clearance on the bottom of the case to bring in cool air — oh, and of course, it looks cool. It does make the case taller, but it’s only about as big as a standard case now since it started out slightly smaller.
This case deserves more love
Beyond that, this is a good time to talk about how much I’ve loved the Cooler Master Q300L case over the past few years. While the perforated panels bring in less outside air than you’d expect, the case is still a very solid contender for its low price of around $75. Plus, as I’ve learned over the last few years, it’s perfect for customizing.
I’m very excited to see if Cooler Master meaningfully improves upon it with the new Q300L V2 that’s set to hit store shelves later this year. That said, the original version is still on sale and should be enough for anyone looking to build a smaller-than-average gaming computer without it looking too much like a typical gaming PC.
 MobileSyrup utilizes affiliate partnerships. These partnerships do not influence our editorial content, though we may earn a commission on purchases made via these links that help fund the journalism provided free on our website.
MobileSyrup may earn a commission from purchases made via our links, which helps fund the journalism we provide free on our website. These links do not influence our editorial content. Support us here.
