
While it’s only been on the App Store for a few days, developer Riley Testut has been working on Nintendo emulator Delta for years, leading to an incredibly polished app with several great features.
I’m going to assume that most people already know how to load their own games into the app, so we’ll skip that and instead focus on things you can do to take Delta to the next level.
Let’s get into it.
File management
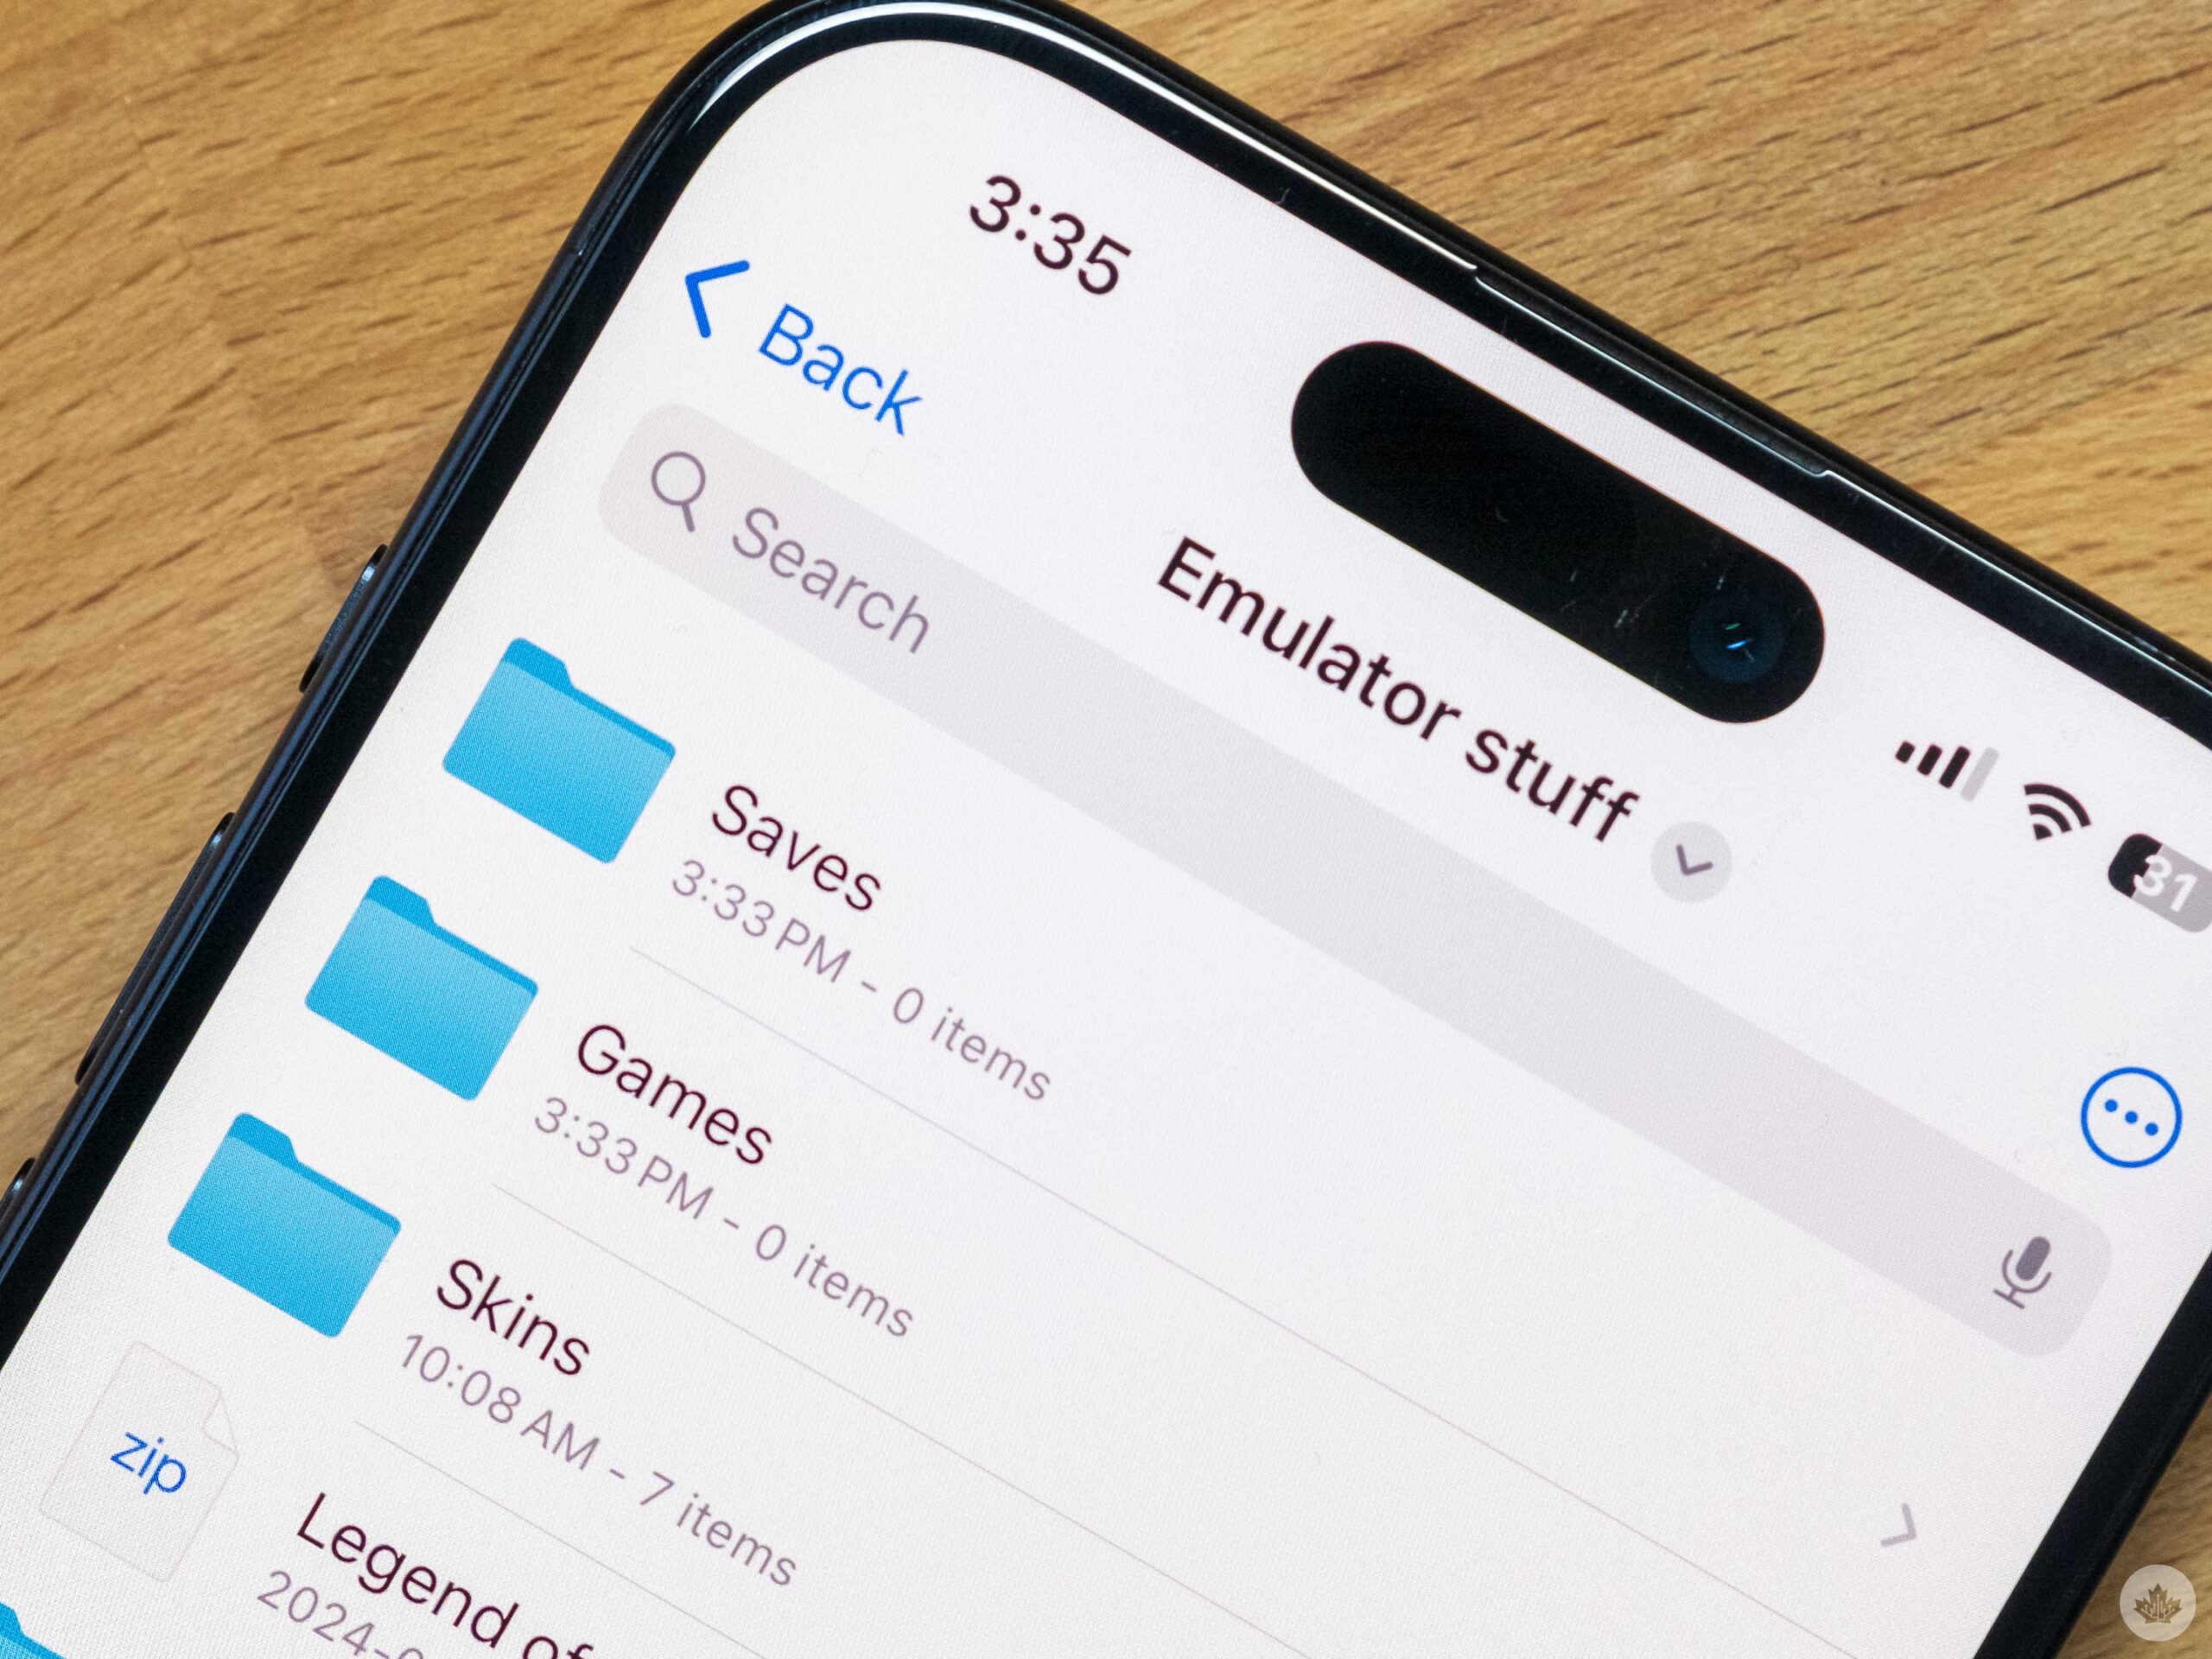 While this part isn’t exactly next level, it’s very important. Since file management can get unruly on your iPhone, it’s worth setting up a folder structure to handle all the items you’ll need to get the most out of your emulator.
I’d recommend a master file named ‘Emulator stuff’ with three folders inside, including one called ‘Games,‘ another called ‘Skins,‘ and a final folder named ‘Saves.’
You may not use all of these, but setting them up early will help if you do. If you have fewer files, you can also make subcategories for each console in the Games folder. I only plan to play a handful of titles, so one overarching Games folder is all I set up. Delta will do most of the major organizing anyway.
AirPlay to a TV
One of the coolest Delta features is that the emulator lets you play games on your TV or Mac’s screen. By default, this uses your phone as the controller, but you can connect to a real one if you want to. I’d recommend a controller for this since physical buttons make keeping your eyes on the TV easier. You can even connect four controllers for local multiplayer action.
To trigger this, pull down your phone’s control centre and select screen mirroring. Its icon looks like two overlapping squares. Select the display you want to cast your screen to, and then voila. When you play a game, it will be on the big screen.
If you’re playing DS games, you should be able to have the top screen on your TV and the touch screen on your phone, but right now, that feature seems doesn’t work for me when using a controller. That said, it does work with touch controls. You can see a setup running in this Threads post.
Update: After reading the Delta_Emulator subreddit over the weekend, I discovered that you can set player-two to the touch screen to make it visible when AirPlaying with a controller. To do this, connect your controller, then open Delta and go into its settings. At the top, you should see the name of your controller in the ‘Player 1’ slot. Tap on the ‘Player 2’ section and choose ‘Touch Screen.’ From there, you should be able to AirPlay DS games. I’ll also note that only some of the skins I downloaded seemed to work with this.
How to add custom box art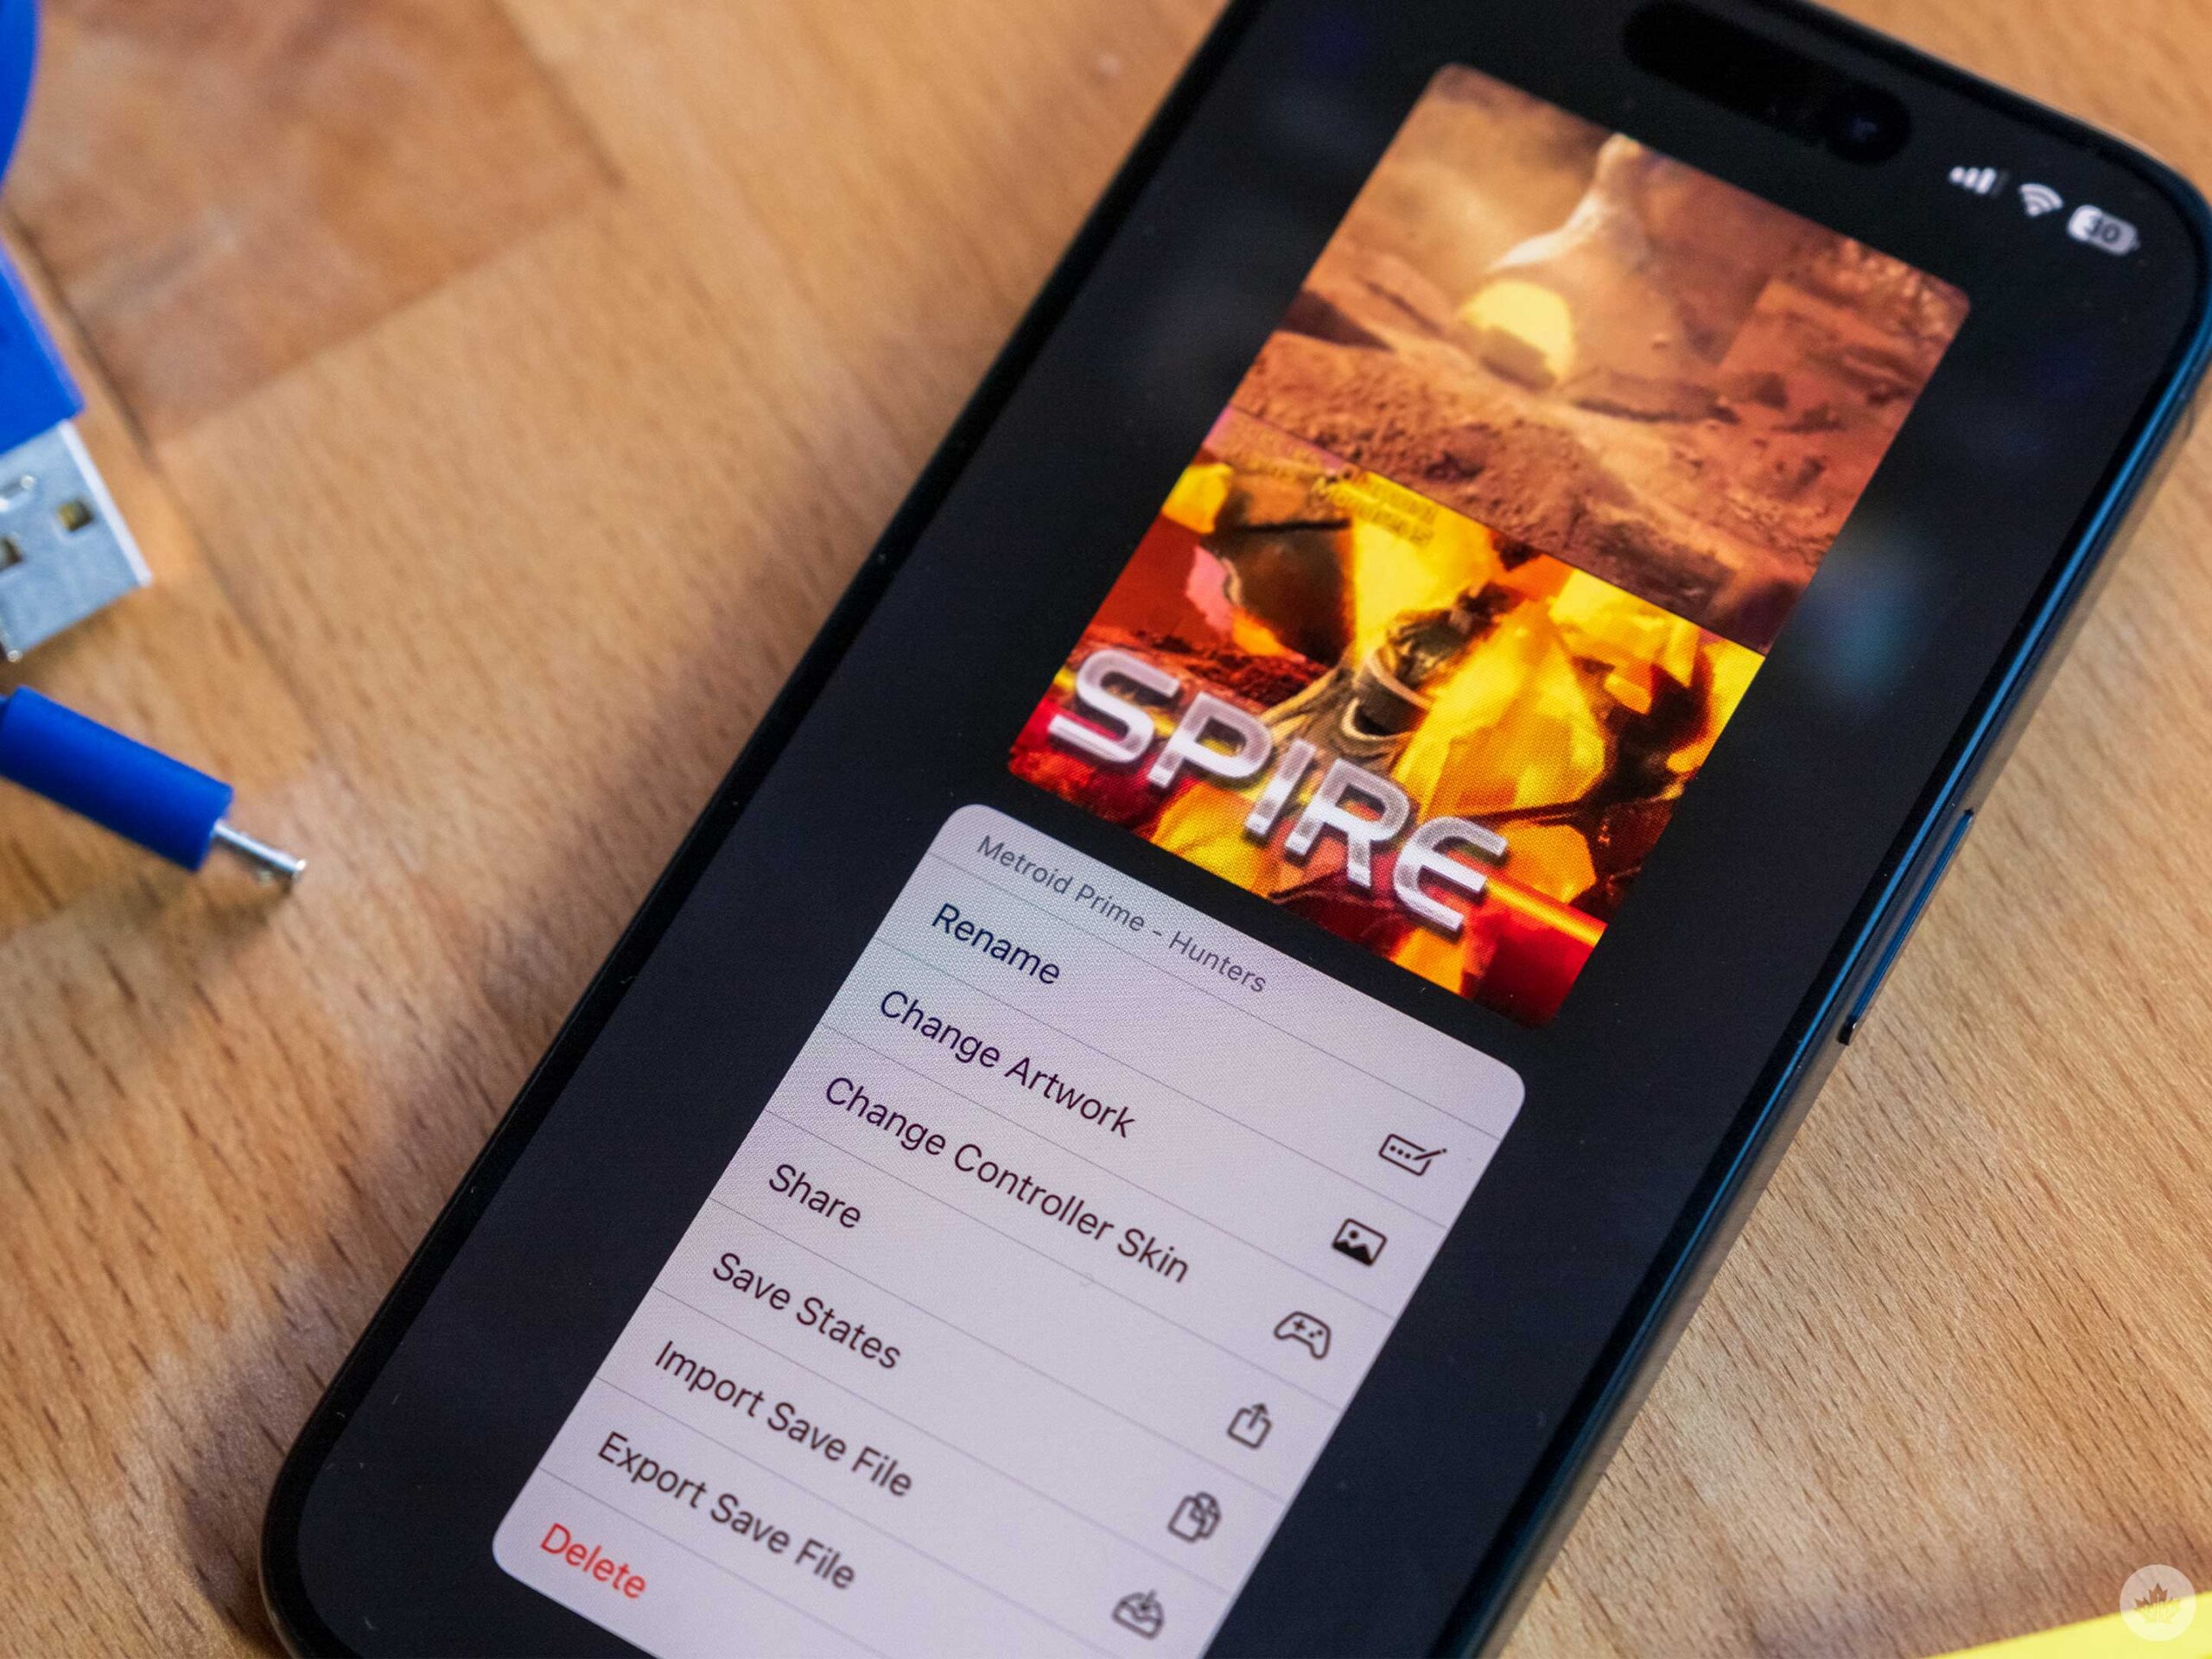
Delta is hooked into a retro games database, making replacing missing box art super simple.
To start, tap and hold on the game you want to fix. Then, select ‘Change Artwork’ from the dropdown.
To simplify things, select ‘Games Database’ from the next menu and then search for the title you want the cover art for. In my experience, there’s often more than one option, allowing you to get cool Japanese cover art for some games.
If you want to upload your own custom artwork or an image found online, there are other options available to upload images from the Files app, Photos app or your clipboard.
You can also use the touch-and-hold dropdown to rename games or change controller skins for each title. This is useful for N64 games that might need slightly different controls depending on the title’s genre.
Delta cloud sync
One of the best things about Delta is that you can automatically back up your games and save them to the cloud to make them accessible on your other iOS devices. This is also useful for bringing your library forward onto your next phone.
To set it up, open Delta’s settings and scroll down to ‘Delta Sync’ and choose ‘Service.’ from there, you’re asked to sign into either Dropbox or Google Cloud. Both work the same, so it’s just a matter of preference.
Then, Delta will make a dedicated folder on your cloud drive to back up games and saves.
Once you go back to the main settings page, you’ll now see a new button called ‘Sync Status’ under the Delta Sync subheading. Tapping on this allows you to turn cloud saves on/off for individual games and resolve save conflicts if they arise.
Custom Home Screen shortcuts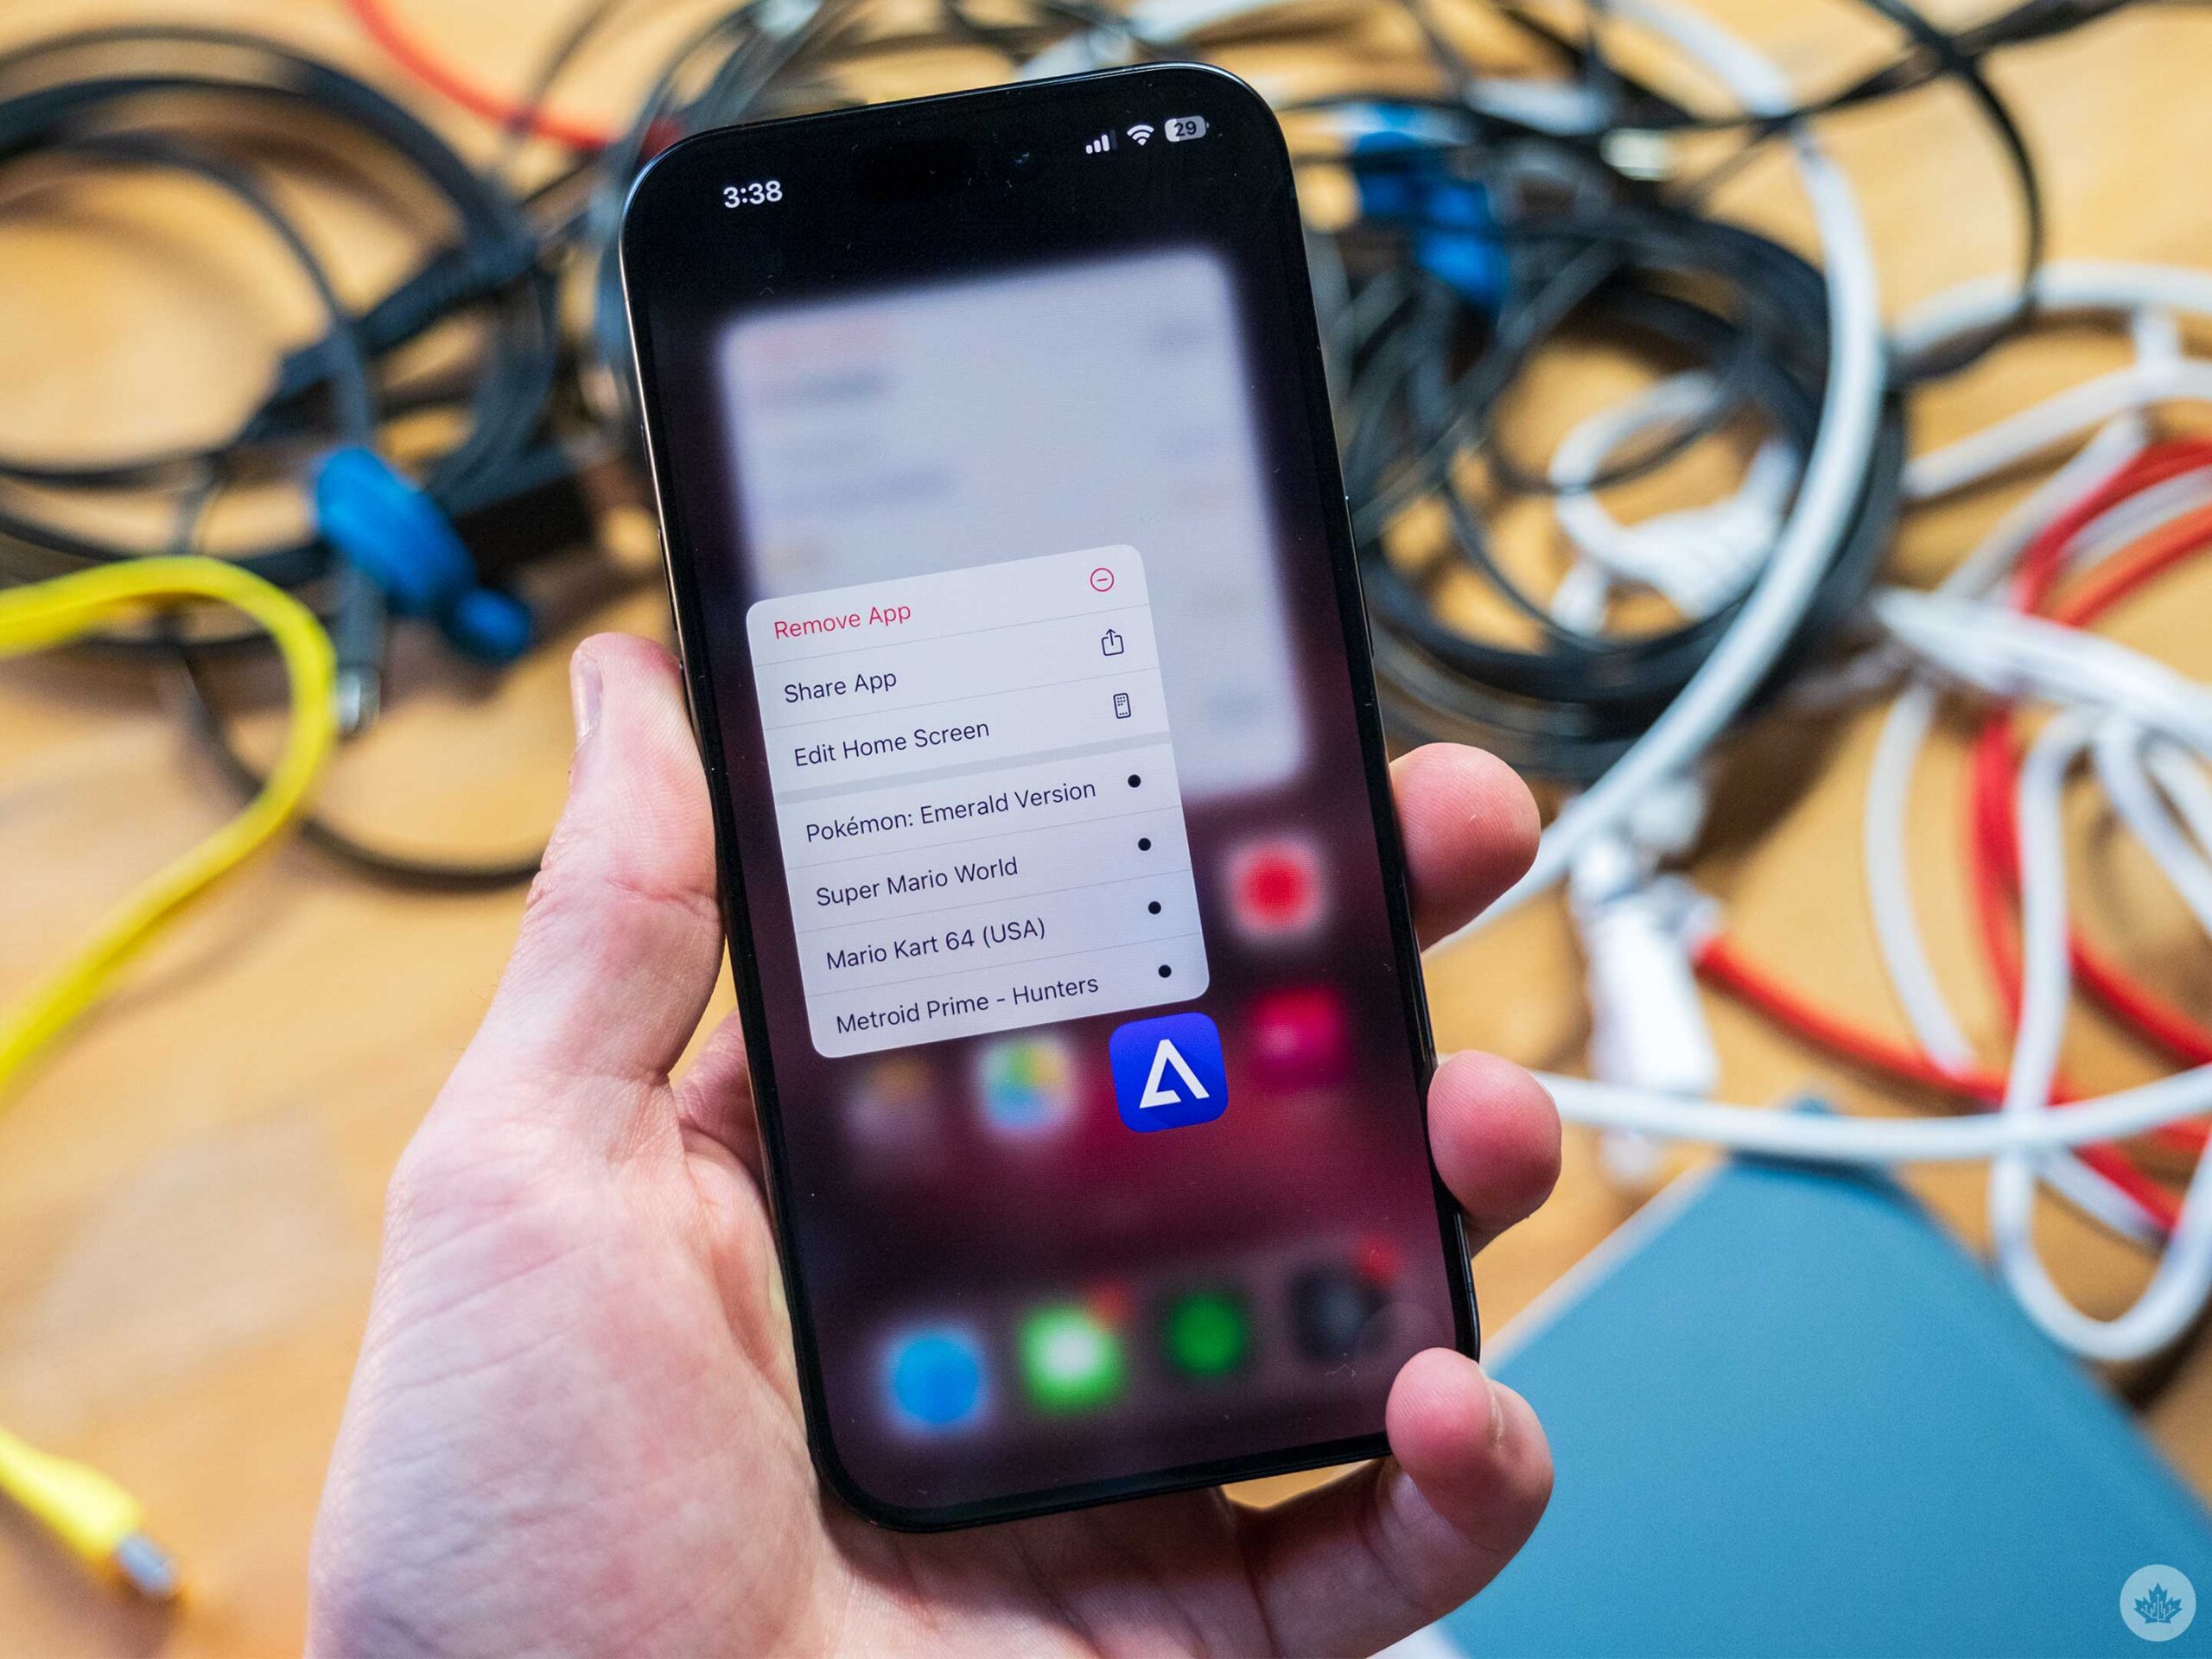
Moving down another section in Delta’s settings brings us to the ‘Haptic Touch’ subhead, where you can set your Home Screen shortcuts. By default, these are your four most recently played games, but if you’d rather have other titles, you can use this menu to set three custom options instead.
Then, to access them, touch and hold on Delta’s app icon on your Home Screen.
Even more Home Screen Shortcuts!!!
If having quick access to four games isn’t enough, you can take advantage of the iOS shortcuts app to create app icons for Delta games right on your Home Screen.
![]()
Step one of this is finding an image that will work as an app icon. Don’t be held back by horizontal images. Most app icons can be pretty low res and still look sharp. Therefore, you can crop most pictures in significantly without noticing a drop in quality.
After you’ve saved some perspective app icons, touch-and-hold on a game inside of Delta and choose the ‘Share’ action. From here select ‘Copy Deep Link.’
Now open up the iOS Shortcuts app and start building a new Shortcut with the plus button in the top right. On the following page select ‘Add Action’ and search for ‘Open URL.’ In the URL spot paste the deep link we copied earlier.
Now we need to name and place the Shortcut. To do this tap on the small arrow beside where it says Open URLs at the top of the screen. In this dropdown rename your Shortcut to match the game and then choose ‘Add to Home Screen’ in the same menu.
In this screen choose the image icon and then ‘Choose photo’ beneath it. Now choose one of the pictures you saved earlier and tap Add in the top right.
Importing saves from other emulators
If you’ve been running through an RPG or another game and you want to pick up where you left off with Delta, you can.
Just find the save file you want and move it over to your iPhone. You can put it anywhere, but as stated above, I’d recommend making a ‘Saves’ folder to keep you organized.
Once your save file is on your phone, touch-and-hold on the game it’s for and select ‘import save file’ from the list. Choose your save, and you should be good to go. If you want to export a save file, you can do it from the same dropdown menu.
Remapping controllers
If you want to use an actual controller, most will work well with all the emulators, but if you plan to play N64 games, you might need to re-map some buttons. For example, when using my GameSir X2s, I need to remap the ‘Z’ button to the right trigger. By default, it was mapped to the controller’s select button.
To do this, first connect or plug in a controller and open up the app’s settings. You should see your controller in the ‘Player 1’ slot at the top of the page. Simply tap on it and choose ‘Customize controls’ to re-map your buttons. This will open to NES by default, but you can switch it to any console you want using the dropdown at the top of the screen.
To change a button, just tap the virtual button on the screen and then hit the real button on your controller to assign it to that button.
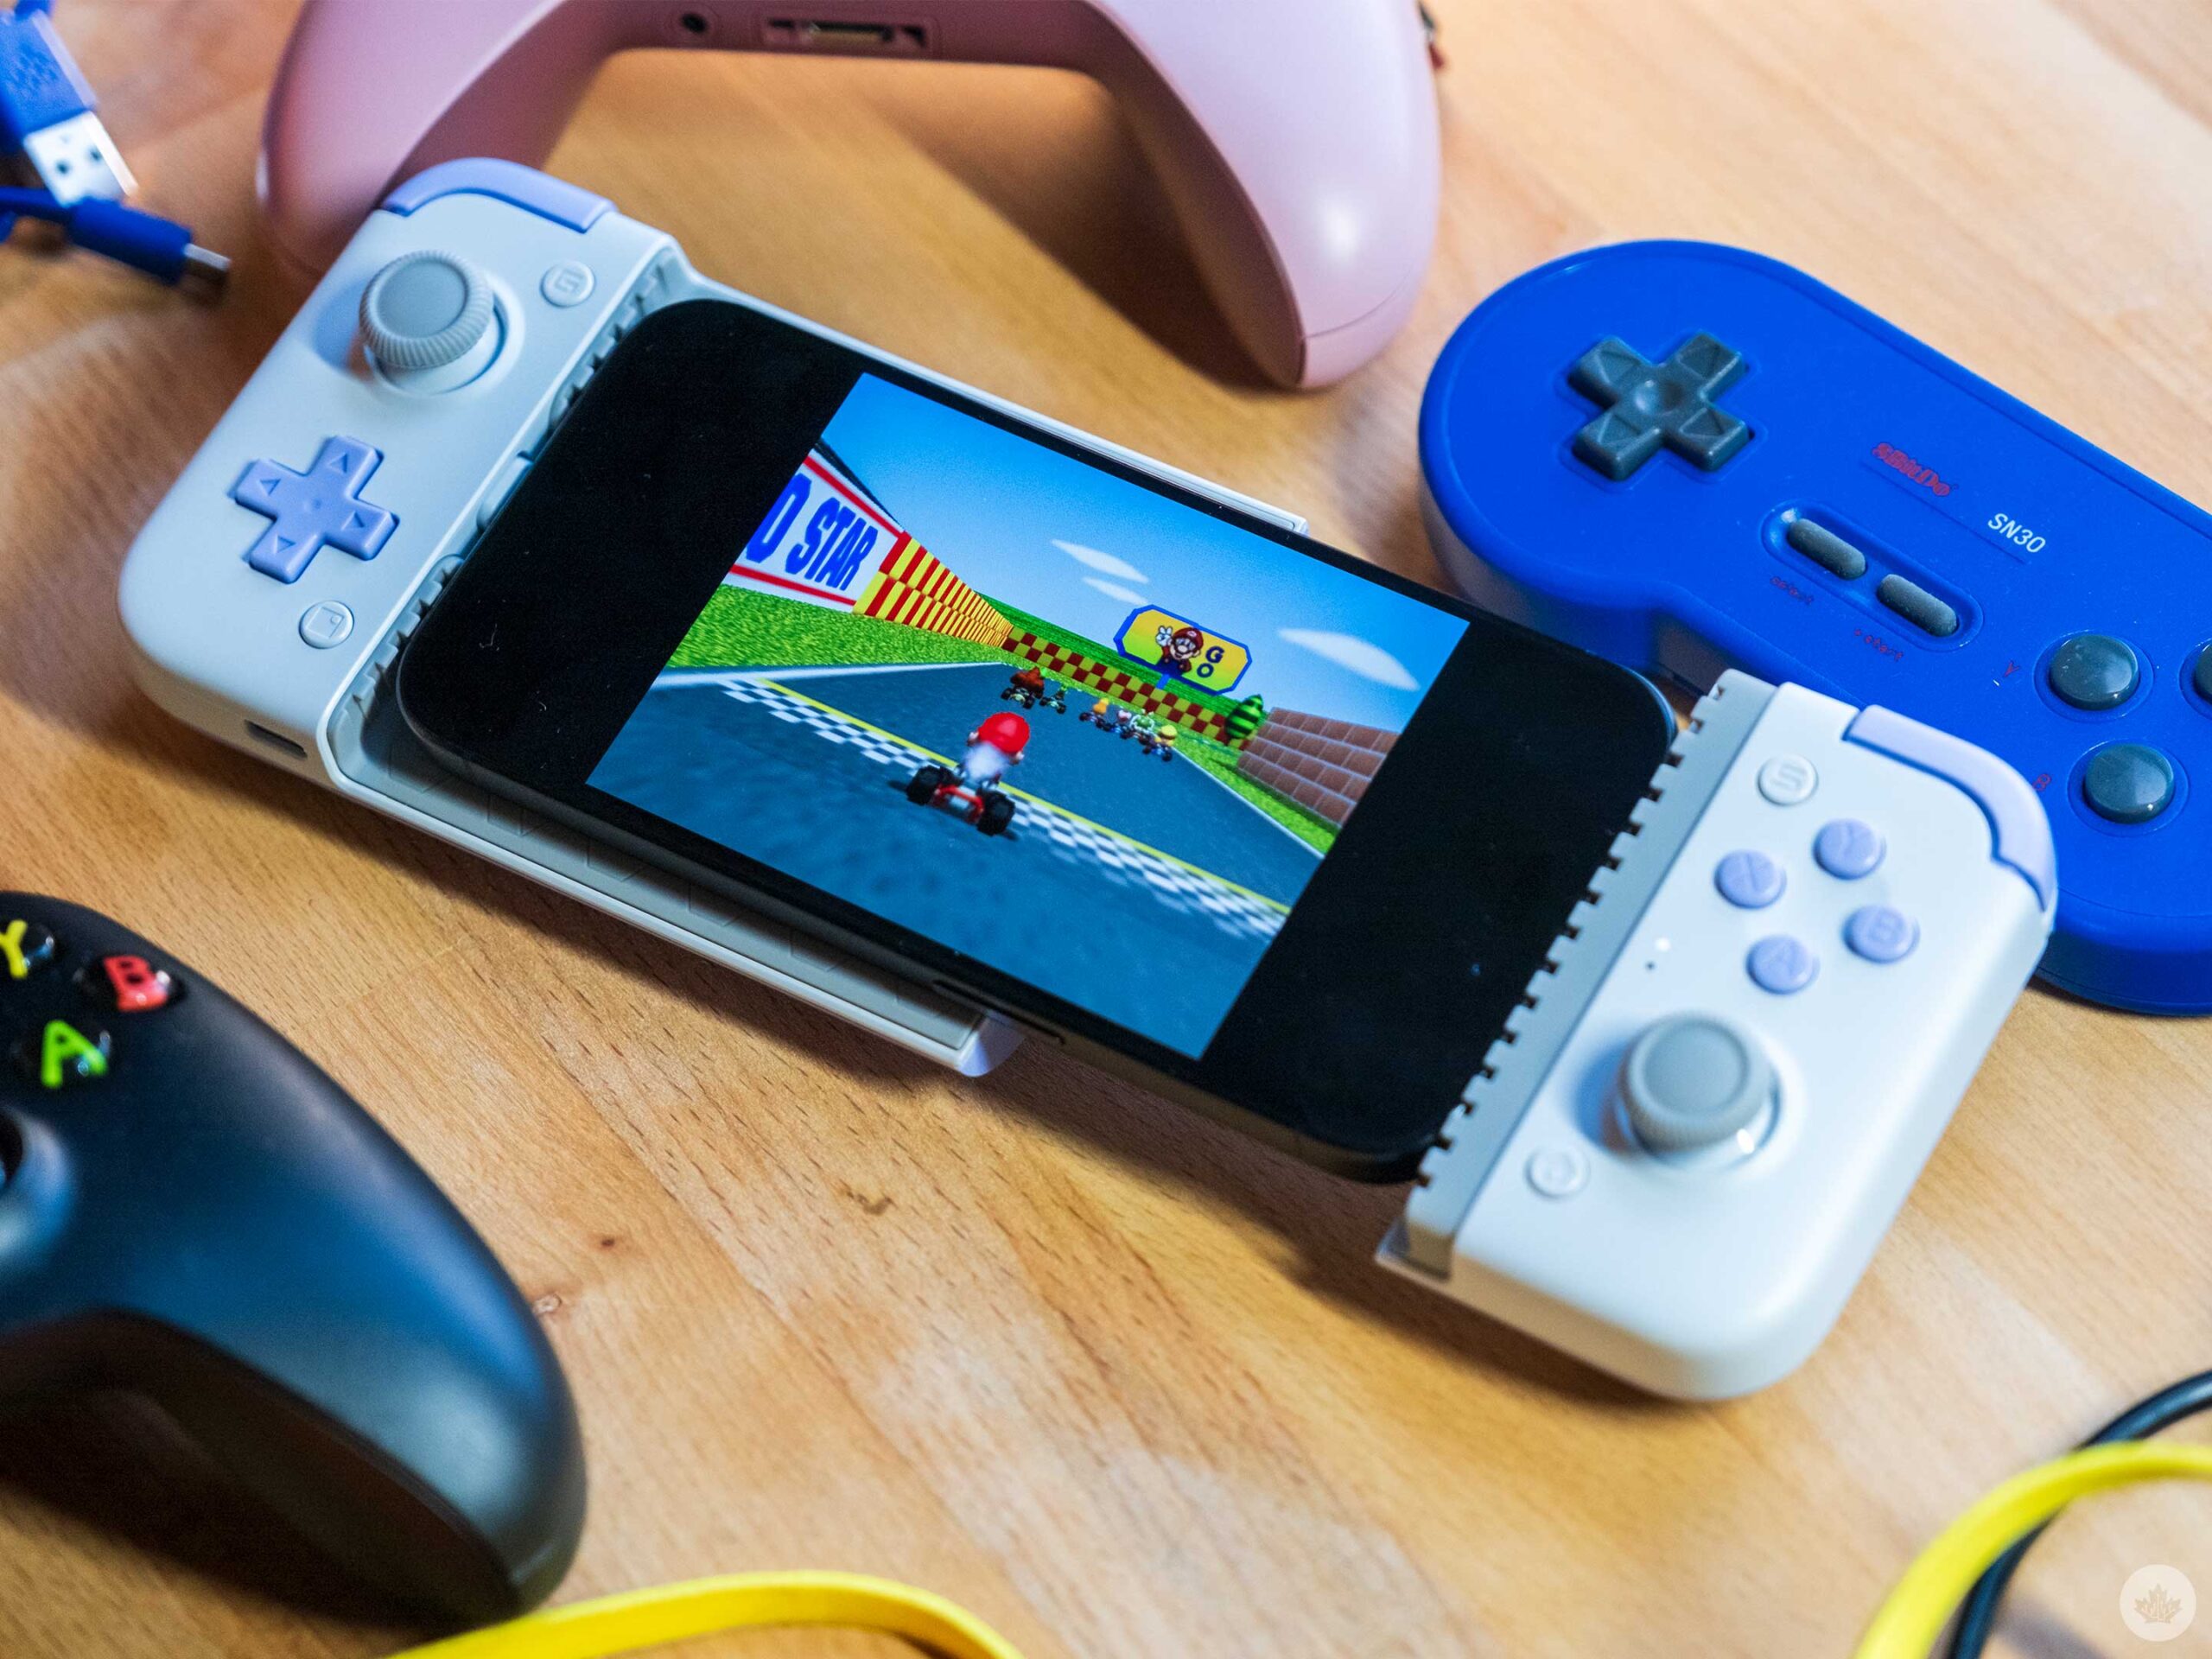
Local multiplayer
Sadly, Delta doesn’t support local or online multiplayer, but if you want to play classic titles like Mario Kart with a friend, you totally can. This is also where AirPlay comes in handy.
To set this up, connect up to four controllers to your phone. You can open Delta’s settings to double-check, but the app should automatically assign each controller to a player. From there, open up a multiplayer game, and you should be able to play.
Cheats
If you want to use cheats, Delta is set up to support Action Replay, GameShark and other devices. Just load up a game, open the in-game menu and choose ‘Cheat codes.’
Tap the plus icon in the corner to add a new code. Be warned you’ll need to find your own cheats online and input them yourself. Once you’ve added a cheat, it saves in your ‘Cheat database.’
Fast forward tip
We all know you can fast-forward games using the in-game menu, but did you know you can also tap on the screen to trigger it?
In Detla’s DS emulator, you need to tap on the top screen.
Custom Skins
 One of the coolest parts of Delta is that it has a large community of users who have uploaded custom skins to the internet.
I’ve written a detailed tutorial on how to install them here.
However, the key to know is that you can find lots of custom skins on these websites — Skins4Delta, Delta Skins and Lit Skins.
iPad support
So far Delta doesn’t have a native iPad app, but you can get the iPhone version and run it at 2x scale.
While not ideal, USB-C on modern iPads makes it a little easier to dongle into HDMI TVs so it does work better as a home console replacement if you don’t have AirPlay. There’s less lag this way as well.
The iPad version also works with Apple Pencil for intense stylus games like Trauma Centre: Under the Knife.
Keep up to date with the developer
Riley Testut, the main developer behind the app, is pretty active on Threads. You can follow him there to keep up with Delta’s progress.
There’s also a great guide to Delta here that should answer any other questions you might have about the impressive emulator.
MobileSyrup may earn a commission from purchases made via our links, which helps fund the journalism we provide free on our website. These links do not influence our editorial content. Support us here.
