Thanks to developer Kamil Kirerwki, who created the GAssist app suites, Galaxy smartwatch owners can now add Google Assistant to their wearables as long as they’re running Tizen 4.0 or above.
The process consists of three parts: install the GAssist app from the Galaxy Store, install the GAssist companion app from the Google Play Store your phone, and download a file from the Google Cloud Platform that you need to store on your phone.
Skip to the last paragraph to see the tutorial on how to get the third component.
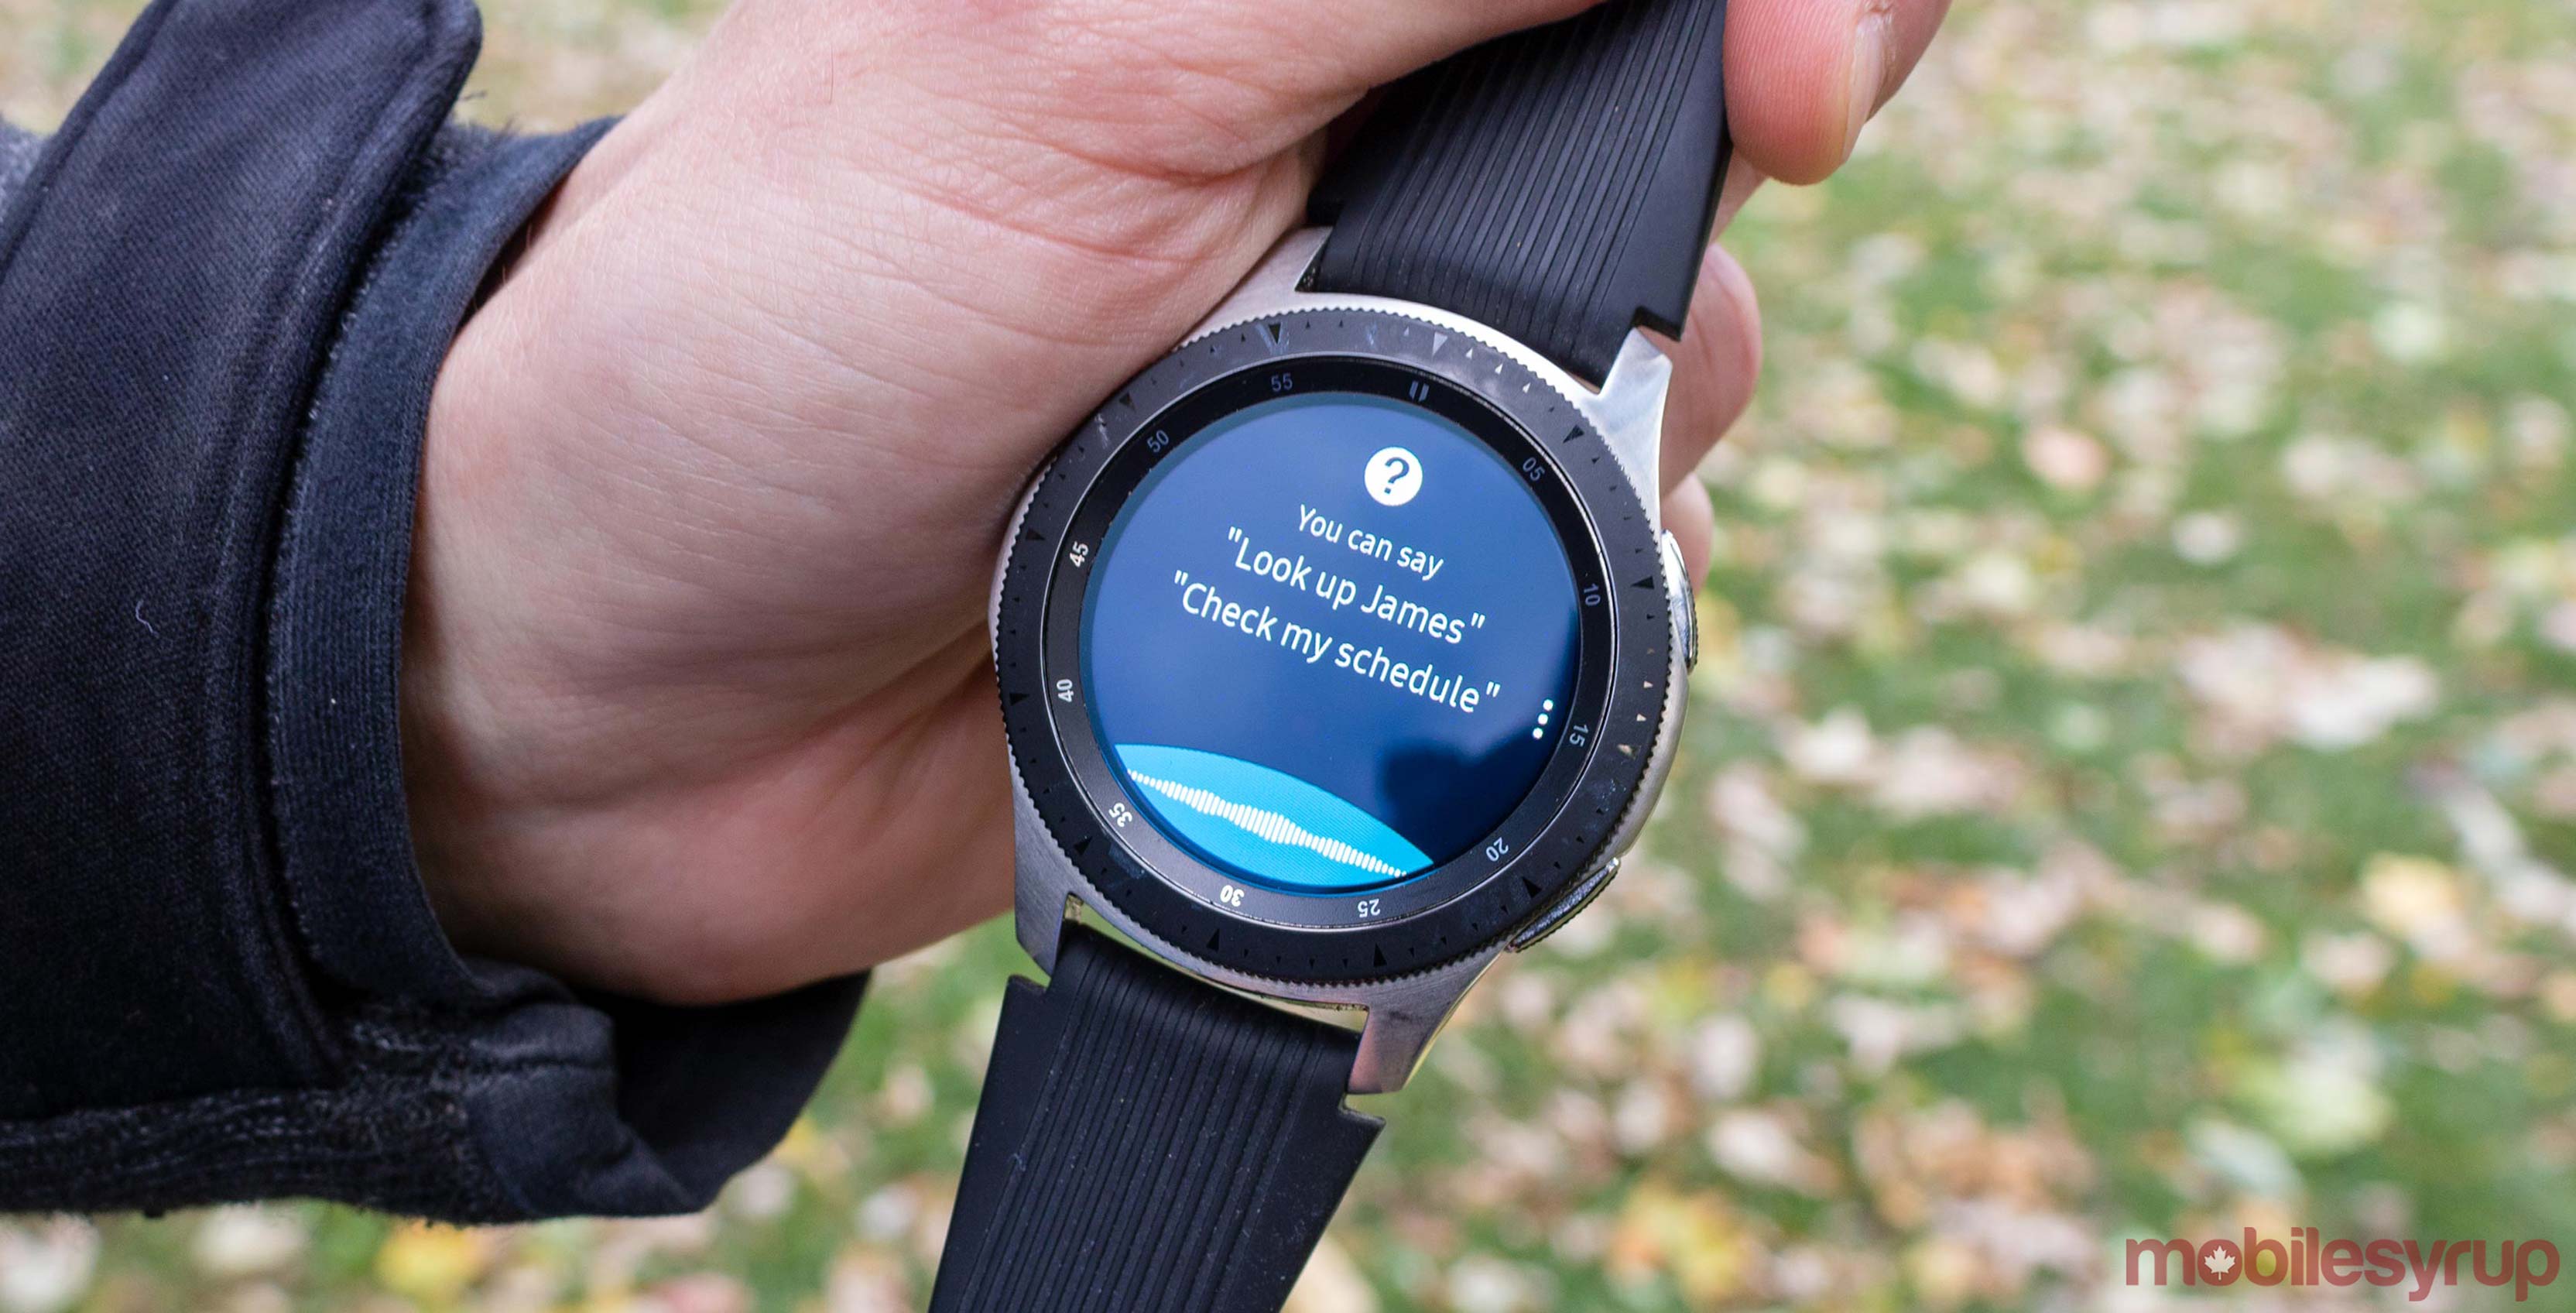
Once you have assembled all three puzzle pieces, turn on the apps and follow the on-screen setup processes. After that, Google Assistant should work on the watch. Press ‘Listen’ to engage.
However, the port has its list of limitations. For starters, it doesn’t recognize any wake-up word. Android Police also says that some features may not function normally, such as controlling a timer. The good news is that Kirerwki continues to improve the port by introducing new features.
The developer also made a tutorial video on how to generate a file from the Google Cloud Platform. But here is a not-scary written walk-through that summarizes all the steps.
- First, you have to go to console.cloud.google.com and create a new project via the dropdown menu on the left of the search bar. At this time, you should make sure you have logged into a Gmail account on the platform.
- It will take Google a few seconds to come up with an empty project. Once it has finished the job, click on it and go into the project, and you will see a bunch of daunting charts and tabs. Ignore them. Now click on the so-called hamburger menu (right next to Google Cloud Platform) on the top left corner of the website and select ‘APIs & Services.’
- Now you will see more daunting graphs that have no data. That’s totally normal. Now click the button that reads ‘+ ENABLE APIS AND SERVICES,’ and it will lead you to a search bar in the API library. Type Google Assistant and the system will only show one result that reads ‘Google Assistant API.’
- Click on it, and then click on the ‘ENABLE’ button. The system will direct you to a new page that asks for a credential. Just click on the button that says ‘CREATE CREDENTIALS,’ and you will then encounter two dropdown menus and one multiple-choice asking more details. The first one asking which API you want to use, select ‘Google Assistant API.’ In the second menu, select ‘Android.’ Choose ‘User data’ for the third question. After that, click ‘What credentials do I need’ and select ‘SET UP CONSENT SCREEN’ in the prompt.
- Congratulations, you are almost there. Now back to business. Selecting ‘SET UP CONSENT SCREEN’ will redirect you to another page. It will ask you a lot of questions that you don’t need to answer. Just fill out the ‘Application name’ with whatever you want and click ‘Save.’ The system will then bring you back to the Credentials page and ask you to create a credential. Pick ‘OAuth client ID’ in the dropdown menu, select ‘Other’ on the next page, then name it whatever to your heart’s content. Click ‘Create’ to generate the file.
- Now the system will show you your client ID and your client secret. Ignore then and click ‘OK.’ You will find a downward-arrow icon sitting on the far right of the new credential. Click on the icon to download.
- Find the file on your computer and rename it to ‘secrets.’ Copy the file to a folder on your phone, such as the ‘Download’ folder(after GAssist companion app 0.9.0). If you are using a GAssist companion app before 0.9.0, you will need to copy the file to the ‘Credentials’ folder.
Source: XDA Developers
MobileSyrup may earn a commission from purchases made via our links, which helps fund the journalism we provide free on our website. These links do not influence our editorial content. Support us here.
