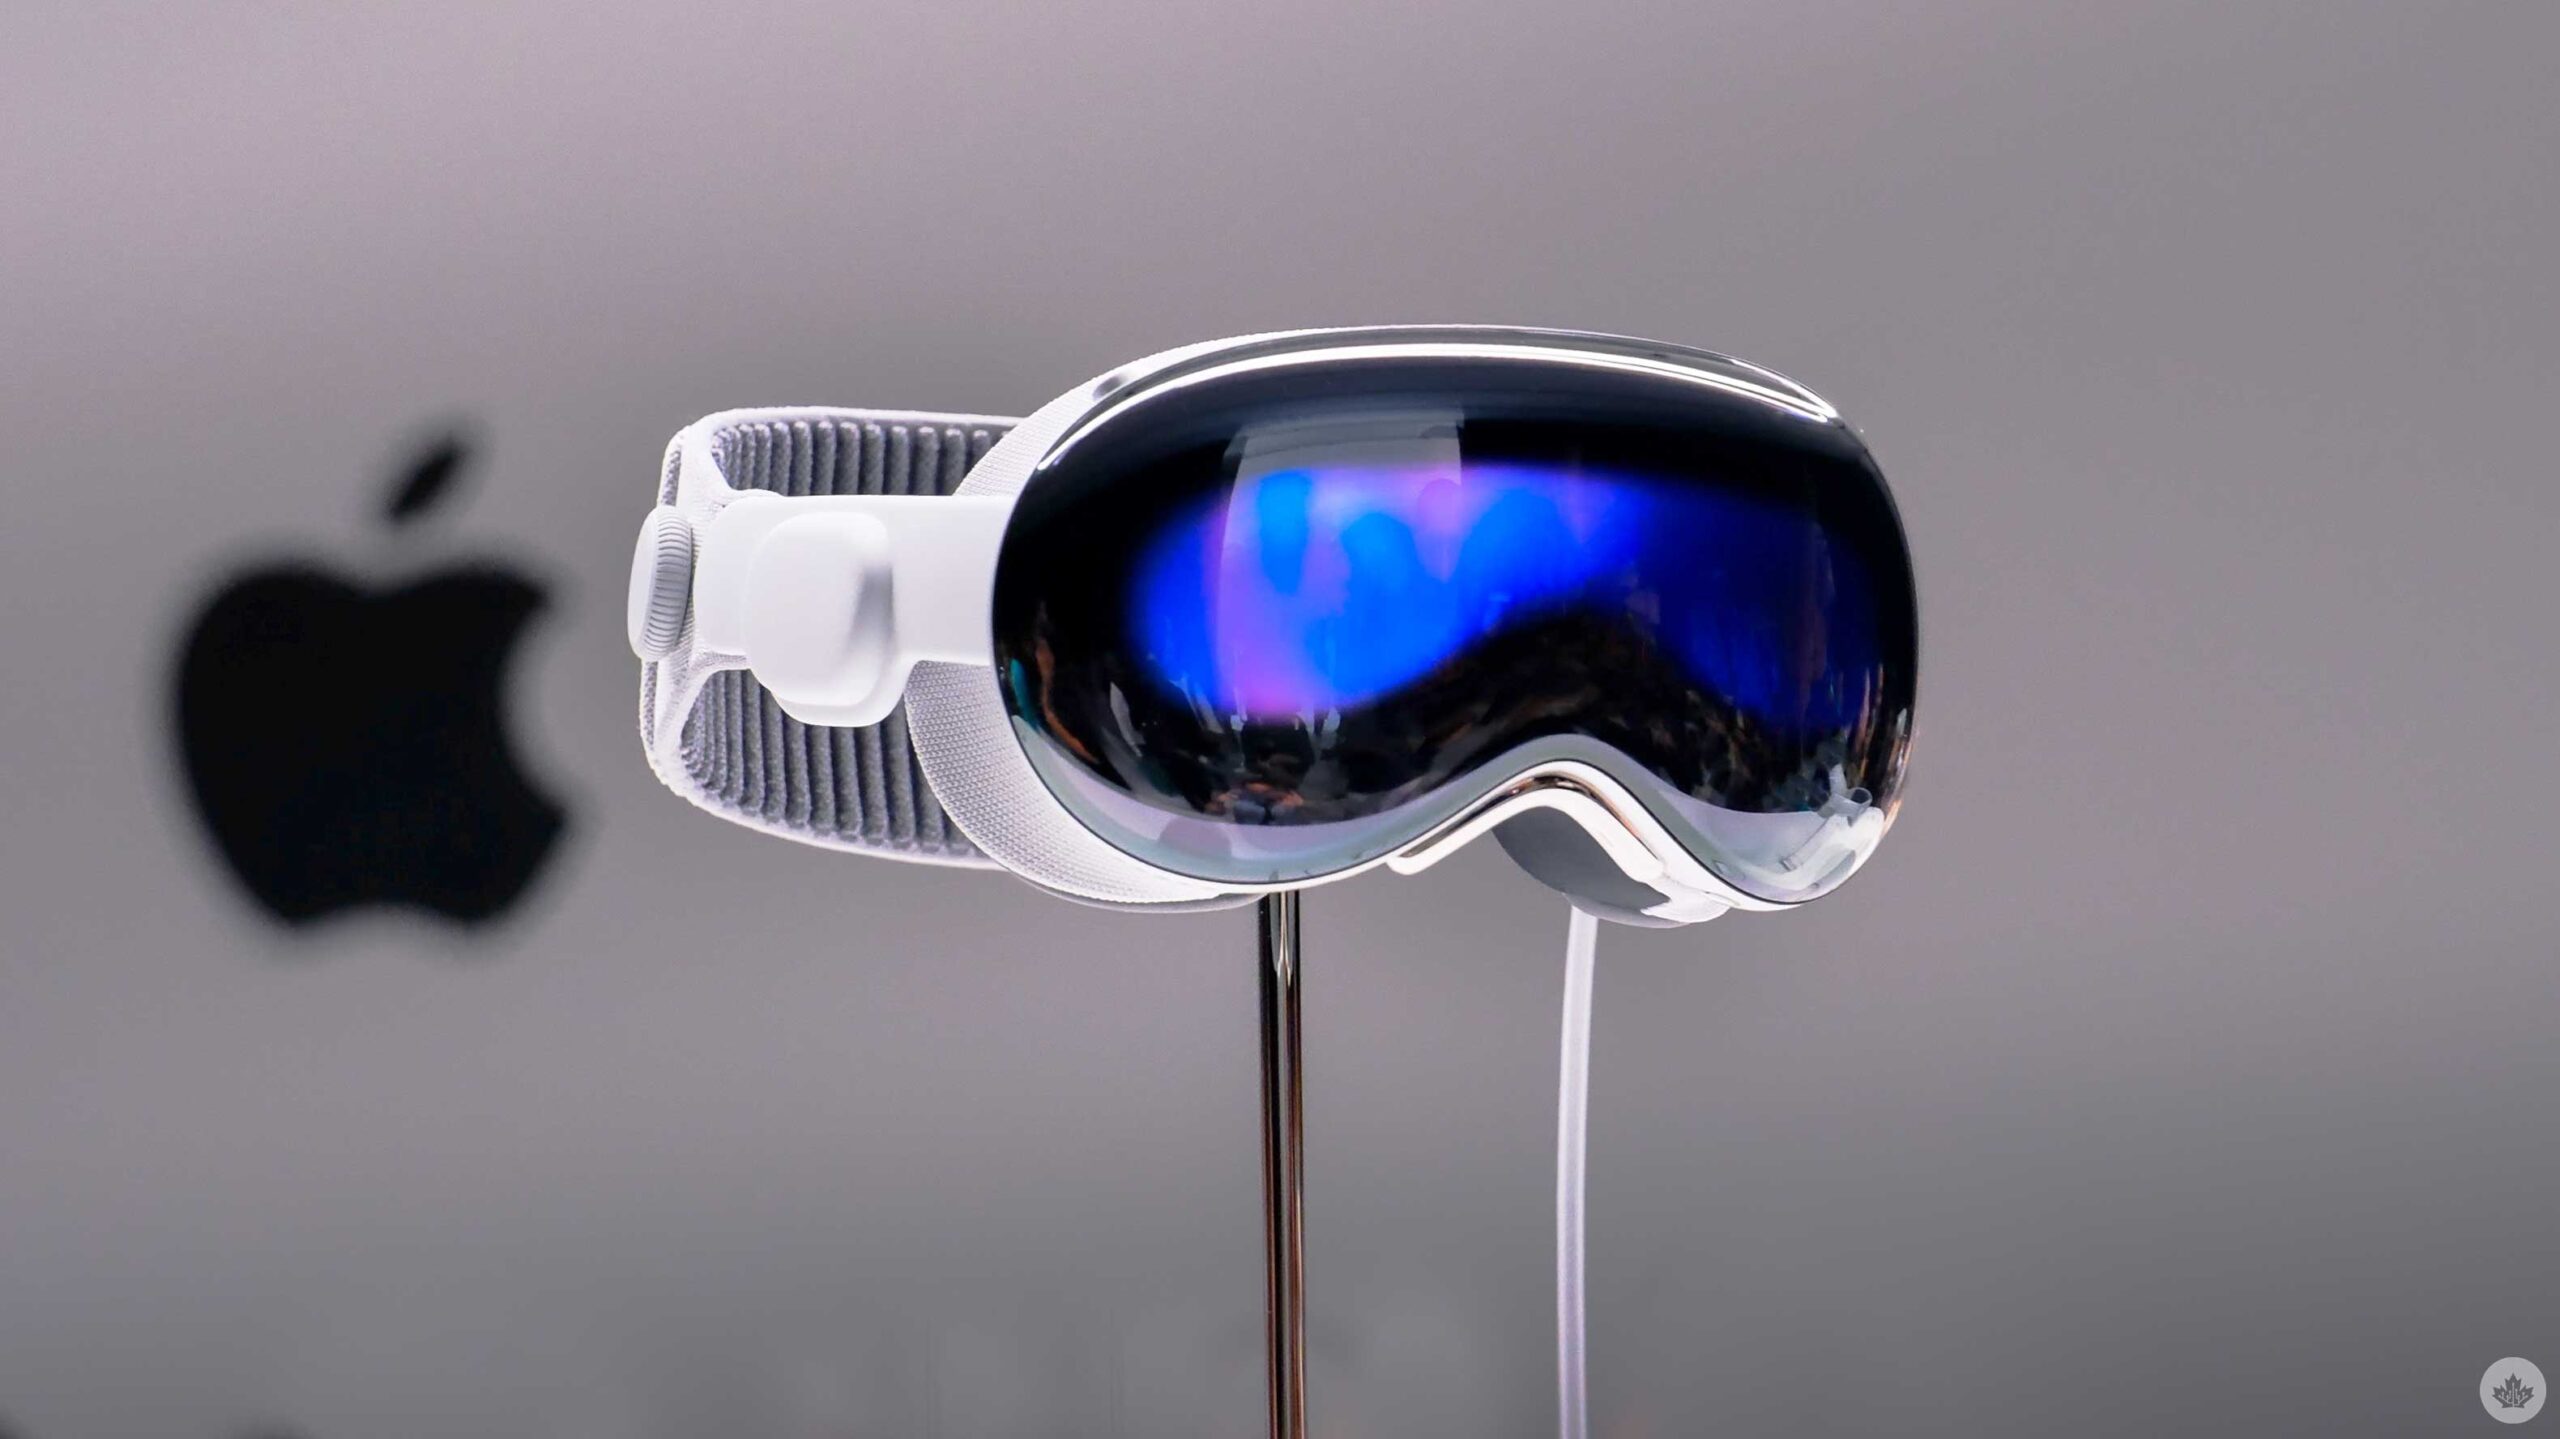
Mark your calendars because February 2nd marks the launch of Apple’s new spatial computing platform, the Vision Pro. While packed with cutting-edge technology and introducing a new operating system, visionOS, the augmented reality/virtual reality (AR/VR) headset will only be available in the United States at launch.
If you’re like me, you drank a bit too much Apple juice and want one right away despite living in the great white north. I’ve come up with three possible ways Canadians may be able to acquire an Apple Vision Pro despite not living in the U.S.
 Before diving into those options, it’s essential to keep in mind several notes Apple preemptively released for those of us looking to bring the spatial computing device outside of U.S. borders:
- Apple Vision Pro only supports U.S. English as a system language for typing, Siri, and Dictation.
- The visionOS App Store requires an Apple ID with a region set to the United States and purchases on Apple Music and within the Apple TV app.
- Apple warns some apps, features, and content may not be available outside of the U.S. due to licensing or other geo-restrictions.
- Apple Support for Apple Vision Pro will only be available within the United States, including AppleCare+.
- ZEISS optical lenses require a valid U.S. prescription.
Hopefully, the English language requirement isn’t too much of a dealbreaker for you. I prefer the King’s English as much as the next Commonwealth citizen, but hey, I also want an Apple Vision Pro.
As for the Apple ID situation, if your current Apple ID has a Canadian balance, you won’t be able to switch the region. My pro tip is to create an American Apple ID with another email on Apple’s website and set the country/region to the United States. You may need a VPN enabled with its server assigned to the U.S., or you may get an error when creating the Apple ID. You can then buy American Apple Store gift cards from Amazon.com if needed for store credit.
The lack of Apple Support is perhaps my biggest concern. I’m usually an AppleCare+ buyer, and without local support, you’ll need to return to the United States or mail it to an American-based contact to complete any repairs or service. Plus, the Apple Vision Pro is set to be a pricy replacement if it’s damaged or has a defect after the initial year warranty.
Lastly, if you require glasses, obtaining an American prescription may be a pain, especially if your ZEISS lenses have to be mailed separately. Some have opted only to use contacts, while others may find they would rather wait until Apple Vision Pro is released in Canada to ensure the fit and lenses are perfect when dropping nearly $5,000 Canadian dollars.
Apple Vision Pro, here we come.
Option 1: Wait
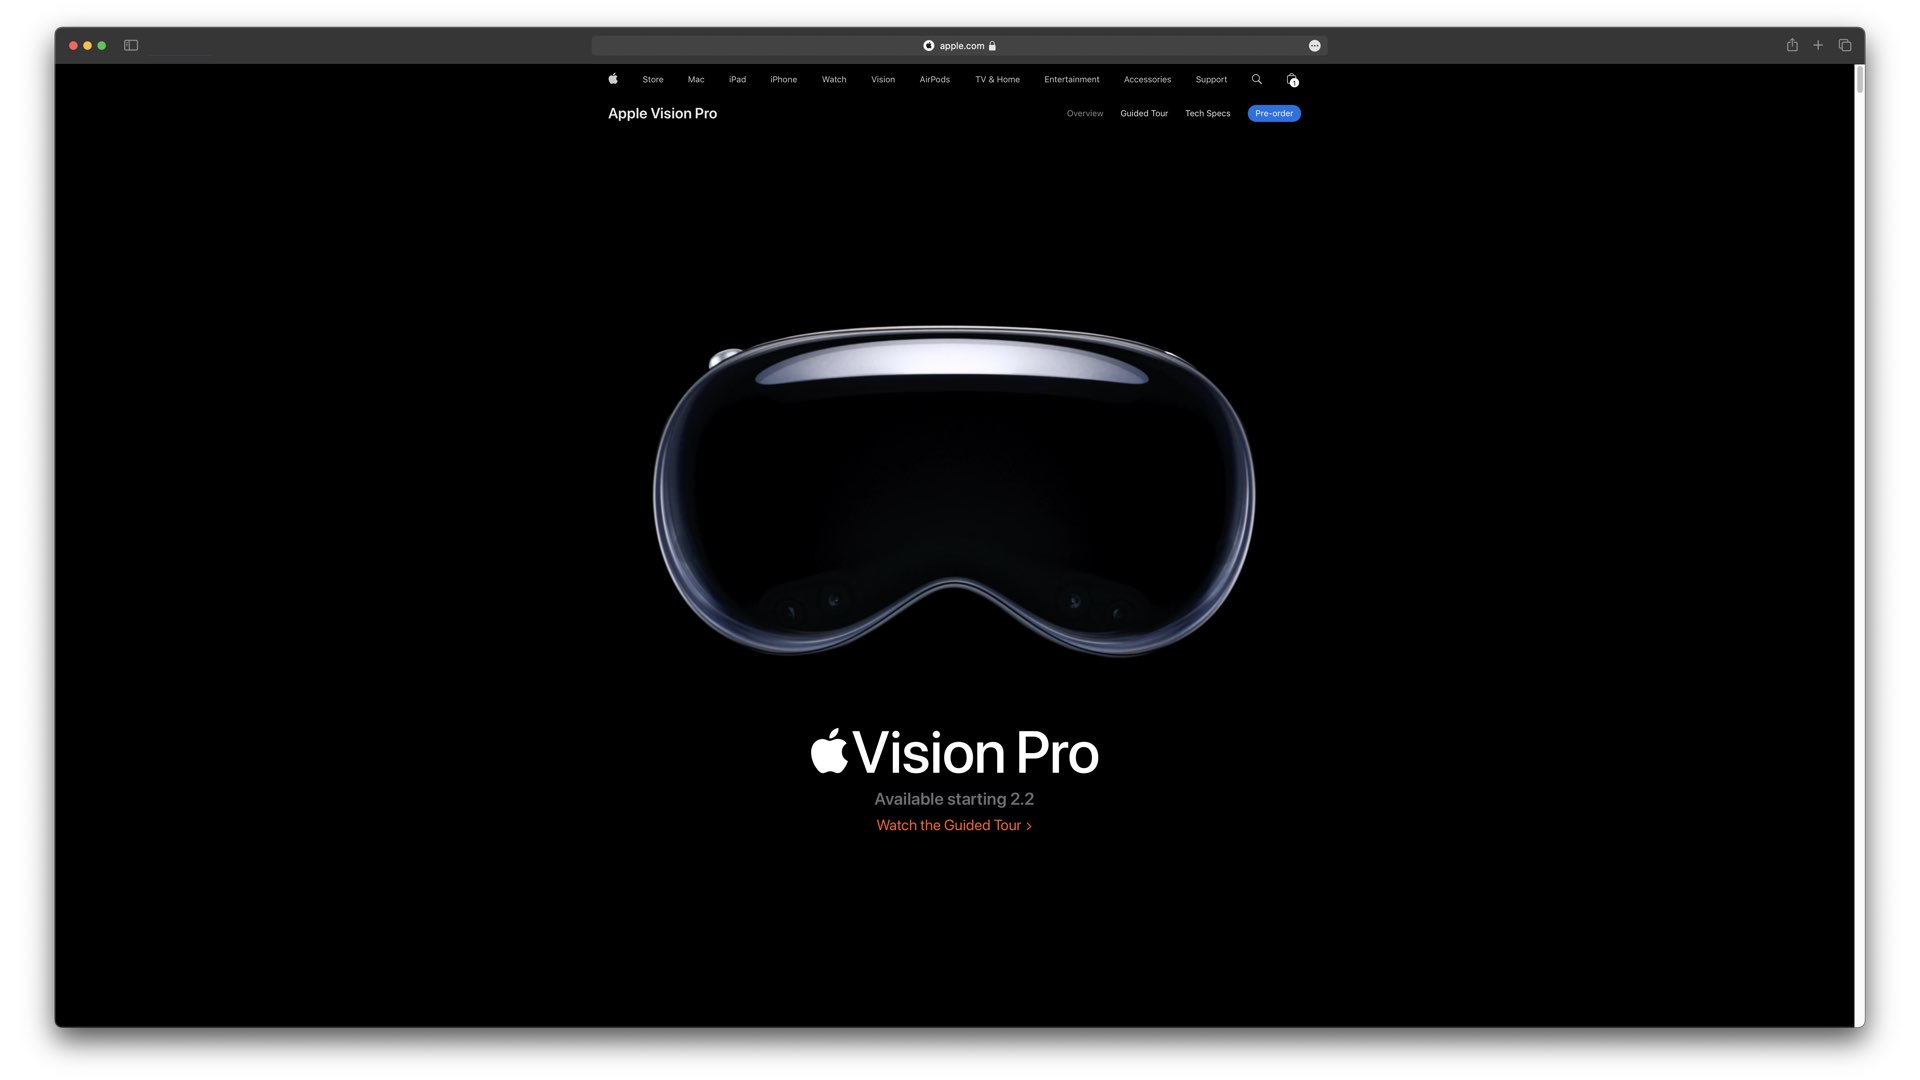 Your first and least climactic option for getting an Apple Vision Pro in Canada is simply waiting for it. As alluded to in the introduction, there are several potential problems with acquiring an Apple Vision Pro and using it outside of the United States. Sure, this option isn’t as fun in the short term. Still, if you can overcome your FOMO, you can use this time to save up for the new headset and all of its costly accessories. With any luck, we won’t have to wait too soon either, as it’s expected that Apple Vision Pro will come to Canada later this year — race you to the Apple Store.
Option 2: In-store Pickup
Alright, so you’ve decided that come heck or high water, you want to buy an Apple Vision Pro — I’m with you. You now have to ask yourself whether you want to travel to the United States. If you’re reading this during pre-orders, there’s a strong probability that in-store pickup is unavailable. It seemed most in-store pickup options were taken pretty quickly after they opened. And if you’re reading this after February 2nd, you may find stores with pickup slots available.
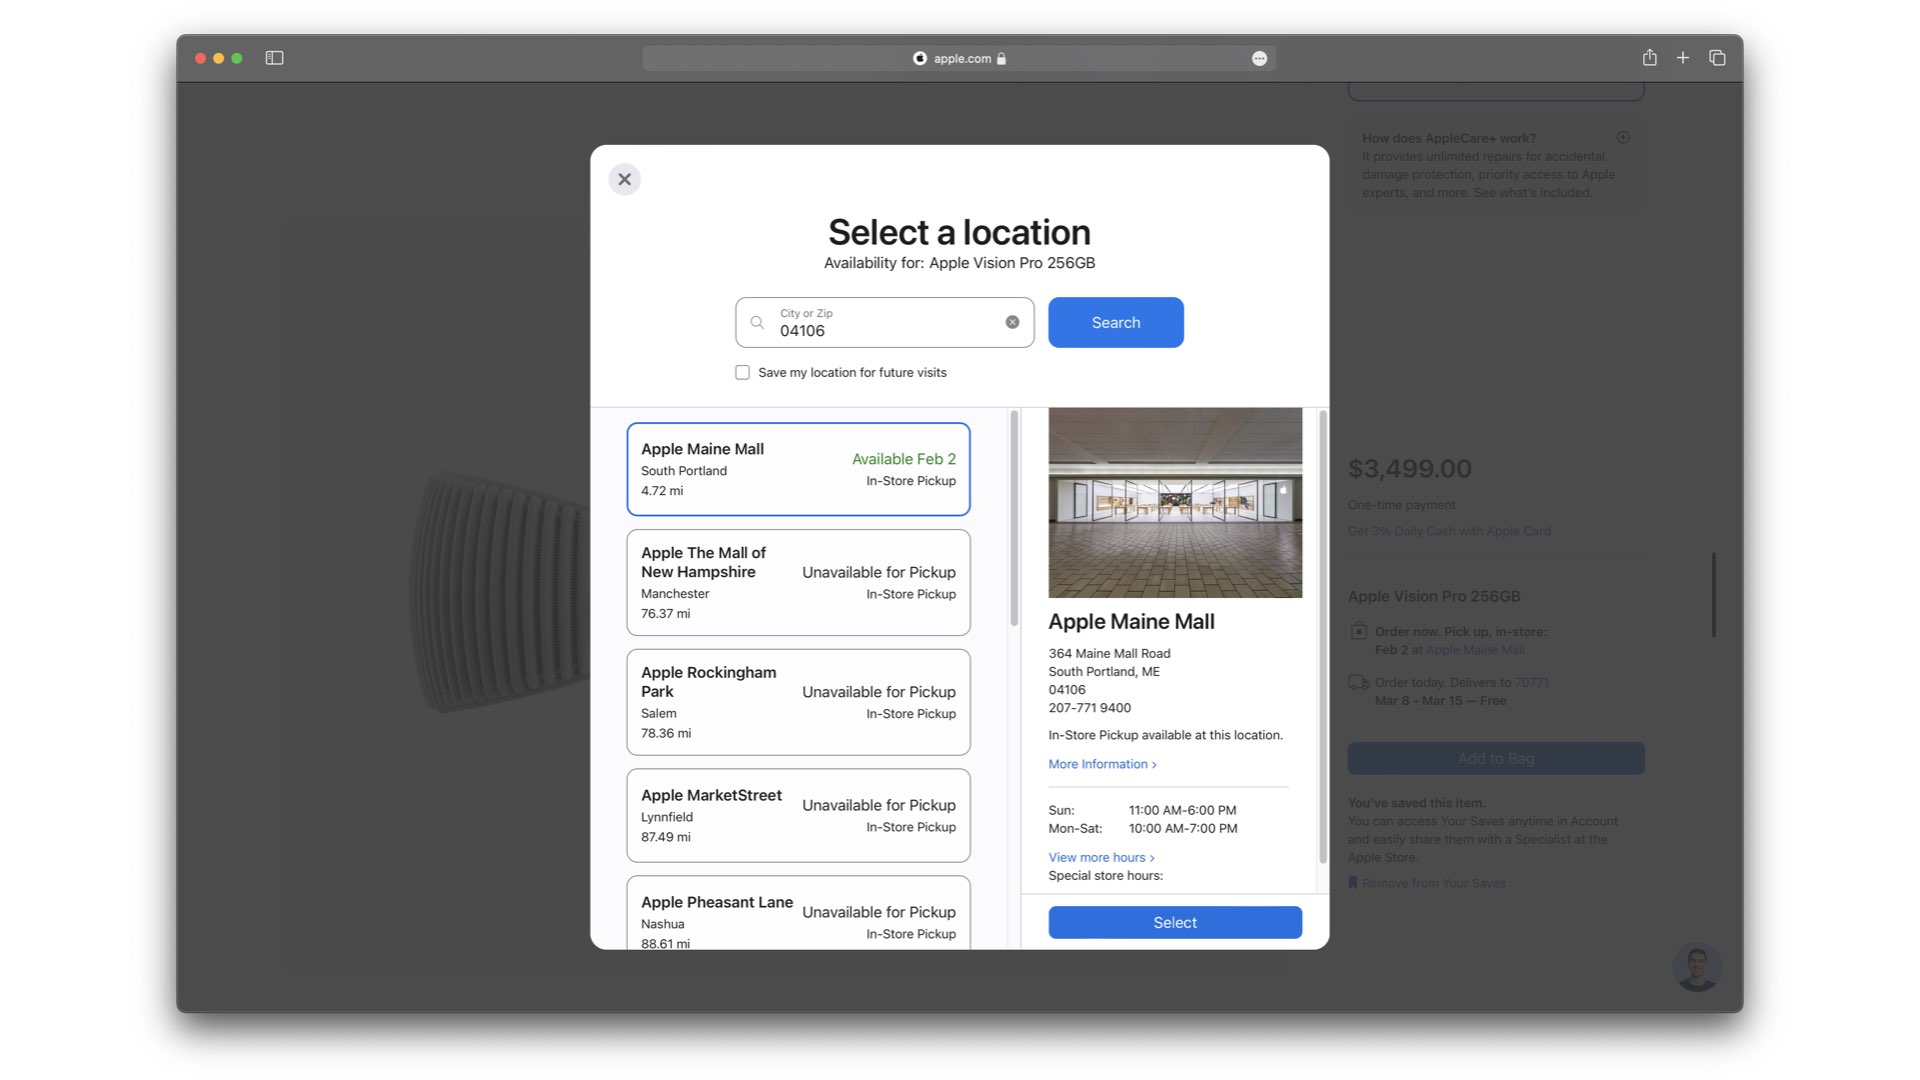
Doing an in-store pickup comes with some benefits, including not waiting for your Apple Vision Pro to arrive via postal carrier, risking it getting lost or damaged in the mail, and ensuring the light seal and headband sizing are correct. The negative is that you’d need to take a trip south of the border, and regardless of how nice of a journey that’d be, that is a lot of extra money to pop down for an already premium headset. For example, I aimed to fly into Newark airport and grab an Apple Vision Pro at a New Jersey or New York Apple Store because I could fly there and back from Halifax within the same day. Of course, plans don’t always go as intended, which leads us to your third and final option.
Option 3: Forwarding Company
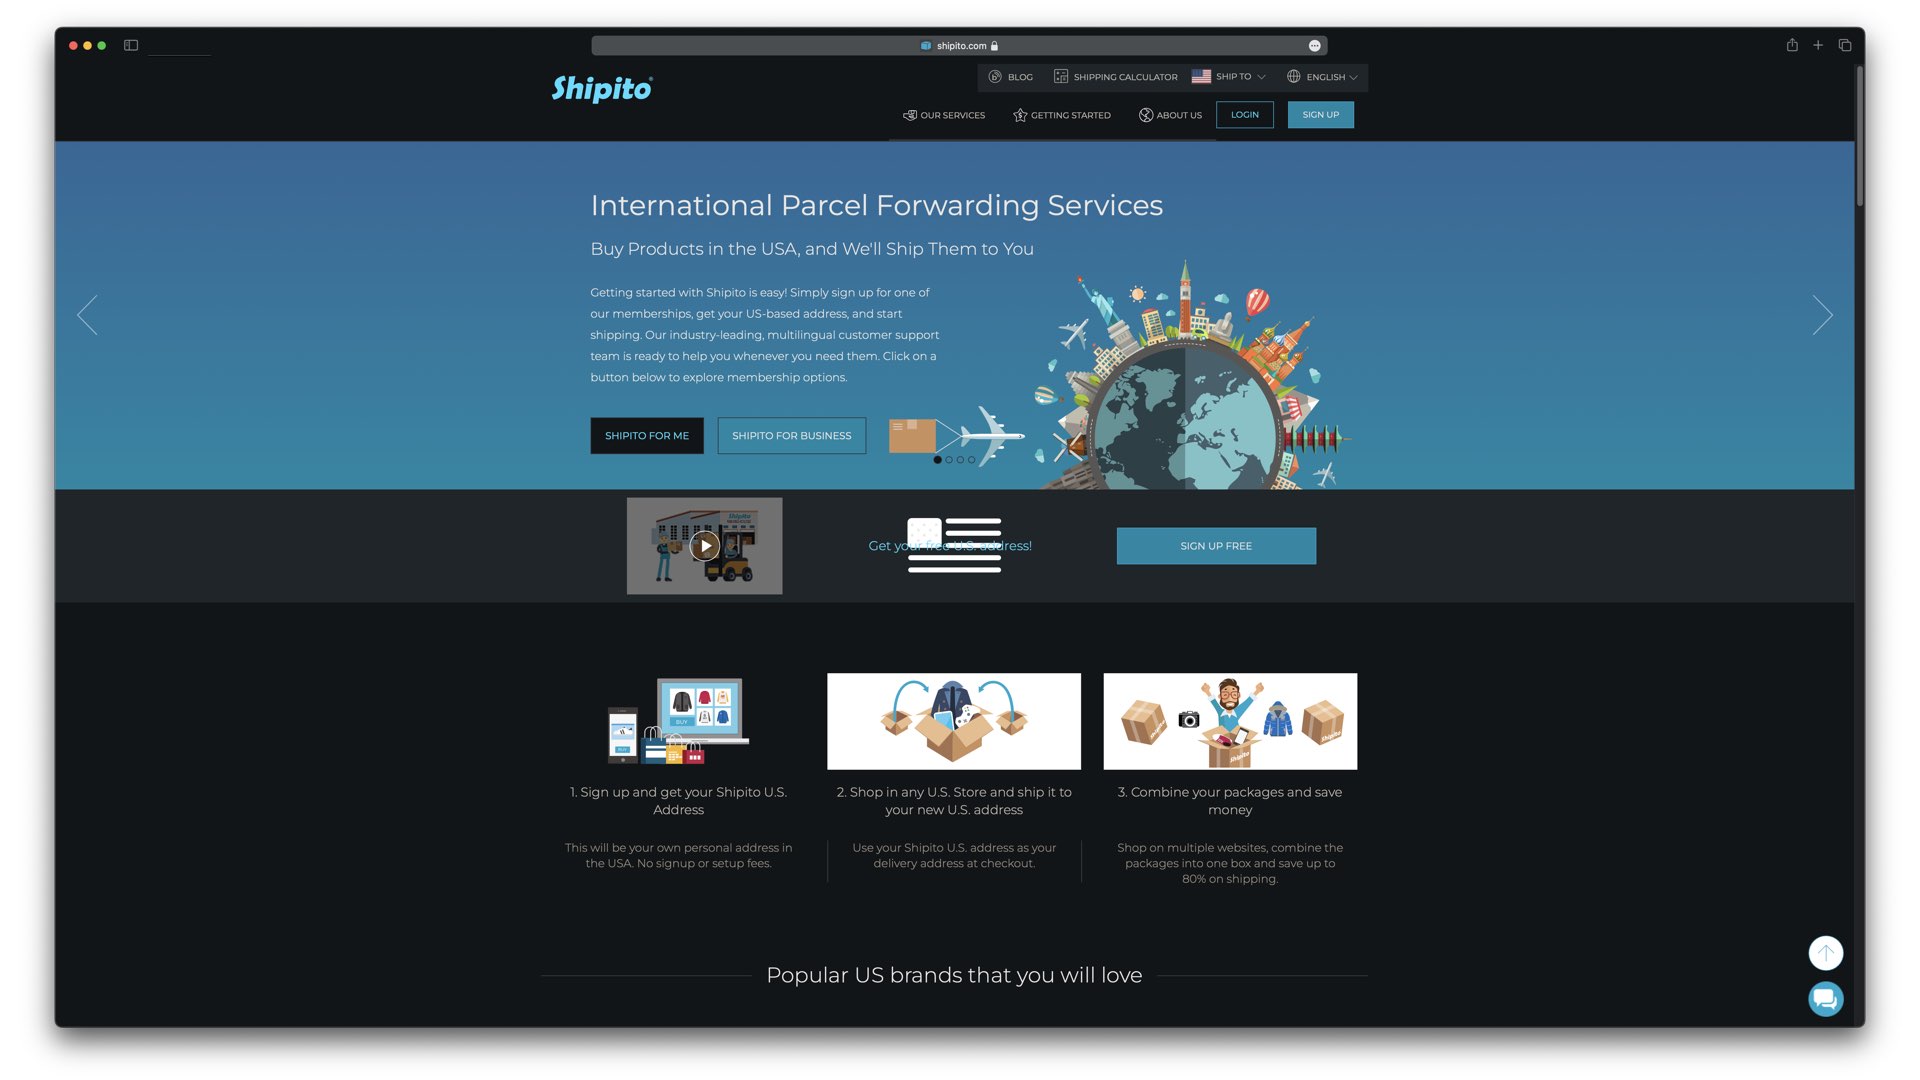
Your third option is to get someone within the United States to receive your Apple Vision Pro and send it to you — forwarding company, friend, whoever or whatever. When I bought a HomePod in 2018, while the device was exclusive to the United States, I used a forwarding company called Shipito, which received my HomePod from Apple and then sent it to me in Canada after paying postage and a small fee. If you have family or friends south of the border who owe you a favour, perhaps they could do that for you. Otherwise, a forwarding company like Shipito might be a solid option. The most considerable drawback will be waiting with anticipation for your Apple Vision Pro to arrive.
Ordering Process
Have you decided how you wish to obtain your Apple Vision Pro? If so, here are the steps you can follow to order one. Keep in mind that while you can change the region of your Apple Store app from Canada to the United States, you can’t change the billing address country, whereas on apple.com, you can, so these steps require using apple.com on a desktop along with an iPhone or iPad with Face ID for your light shield and band size measurement.
1. Visit apple.com on a computer
2. Click ‘Vision’ from the products listed at the top
3. Click the blue ‘Pre-order’ or ‘Buy’ button (depending on when you’re reading this)
4. Click Get Started
5. Scan the presented QR code with the camera app using an iPhone or iPad with Face ID

6. Tap the yellow ‘Apple Vision Pro Fit’ button that appears.
7. Tap ‘Open’ from the app clip, you’ll be redirected to the Apple Store app.
8. Tap ‘Get started.’
9. Complete your first face scan by moving your head up, down, left, right.
10. Tap ‘Continue.’
11. Complete a second face scan by moving your head up, down, left, right.
12. Tap ‘Done’
13. Return to your web browser.
14. Click ‘Continue.’
15. Scroll down and click ‘Get started’ under ‘Let’s get a sense of your vision…’
16. Complete the vision questionnaire (if you require prescription lenses, you will need a valid U.S. eye prescription).
17. Assuming you don’t require prescription lenses, click ‘Done’ upon completing the questionnaire.
18. Scroll down and select your storage size of 256GB, 512GB, or 1TB.
19. Scroll down and click ‘Buy.’
20. Scroll down and click ‘No AppleCare+’ (you can purchase AppleCare+, but currently, there is no support outside the U.S.)
21. Scroll down and click ‘Add to Bag.’
22. Click ‘Review Bag.’
23. Click ‘Check Out.’
24. Sign in with your Apple ID or click ‘Continue as Guest.’
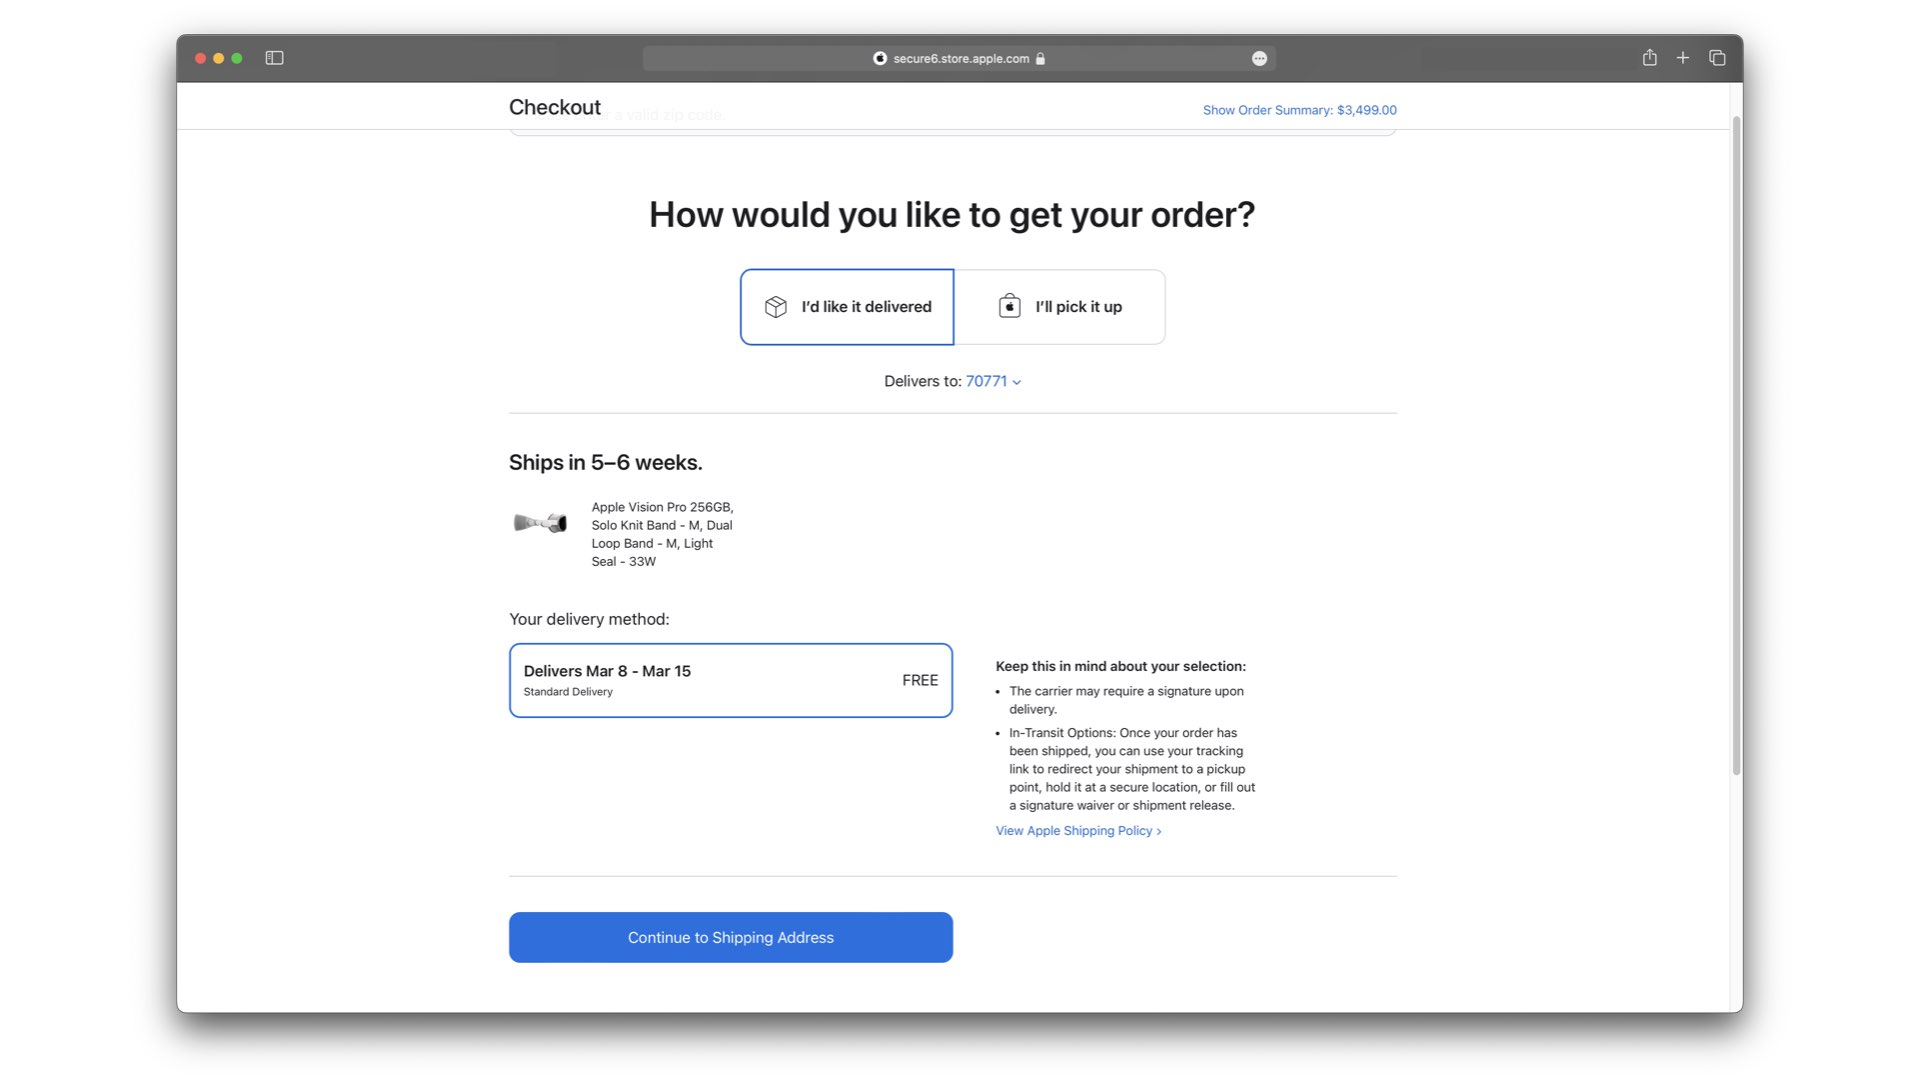
25. Select ‘I’d like it delivered’ or ‘I’ll pick it up’ depending on your preference.
26. Enter the zip code of the address you’re shipping to or the store which you’ll be picking up.
27. Select your delivery method or pickup location.
28. Click Continue to Shipping Address or Continue to Pickup Details.
29. Enter the required details (i.e. the Shipito address if using that service).
30. Click ‘Continue to Payment .’
31. Enter your payment details and ensure the billing address is correct.
32. Click ‘Continue to Review.’
33. Click ‘Place Your Order’ and hope all goes well
MobileSyrup may earn a commission from purchases made via our links, which helps fund the journalism we provide free on our website. These links do not influence our editorial content. Support us here.