With Apple’s new iCloud photo transfer tool, now is a good time to outline all the ways to transfer photos between Apple’s and Google’s respective ecosystems.
There are a couple of ways to move your photos around. Neither is easy or instant, but it can be done. A few of these methods also help offload your photos to local storage. One thing to keep in mind is that regardless of what online cloud service you transfer to, you’ll need to make sure you’re paying for enough storage for all of your pictures.
Moving away from Apple
![]()
If you’ve recently moved from Mac to Windows or iPhone to Android, you might want to shoot a copy of your photos over to Google’s cloud photos locker since they’re a bit easier to access that way.
The simplest way to do this if you still have an iPhone or an iPad is to download the Google Photos app and then open it and let it upload all your device’s photos. That said, unless you do this often, it’s likely going to take a bit of time.
You can also open the Google Photos website and upload photos to there manually on Mac.
If you don’t want to do this manually, Apple also has an automatic tool to transfer your photos. The process takes a few days, but it’s pretty hands-off, and it works even if you don’t have your iPhone or Mac anymore.
To automatically transfer all your photos to Google Photos, you need to go to Apple’s Data and Privacy website and click on the subheading ‘Transfer a copy of your data.’
Once you’ve opened the tool, you can choose if you want to transfer just photos or photos and videos. At the moment, you can only choose Google Photos from a drop-down menu on this site, but since it’s a drop-down menu, that suggests Apple will add more sites and options in the future.
If you’d rather download all your photos to a hard drive, instead of copying them to Google Photos, you can go back to the main page in the Data and Privacy website and select ‘Obtain a copy of your data.’ Next, scroll to the bottom of the page and choose ‘iCloud Photos,’ then click ‘Continue.’
Moving Away from Google
If you have a bunch of pictures backed up in Google Photos and you want to move to an iPhone and start using Apple Photos, you can transfer your photos through a few different methods.
If you have a few photos, you can open the Google Photos app on your Apple device and download them manually. If you do this on an iPhone or iPad, the photos will automatically go into the Photos app and upload to your iCloud.
If you do it on a Mac, you’ll need to drag the pictures into the Photos app manually; just make sure that you have iCloud backups turned on in the app’s preferences.
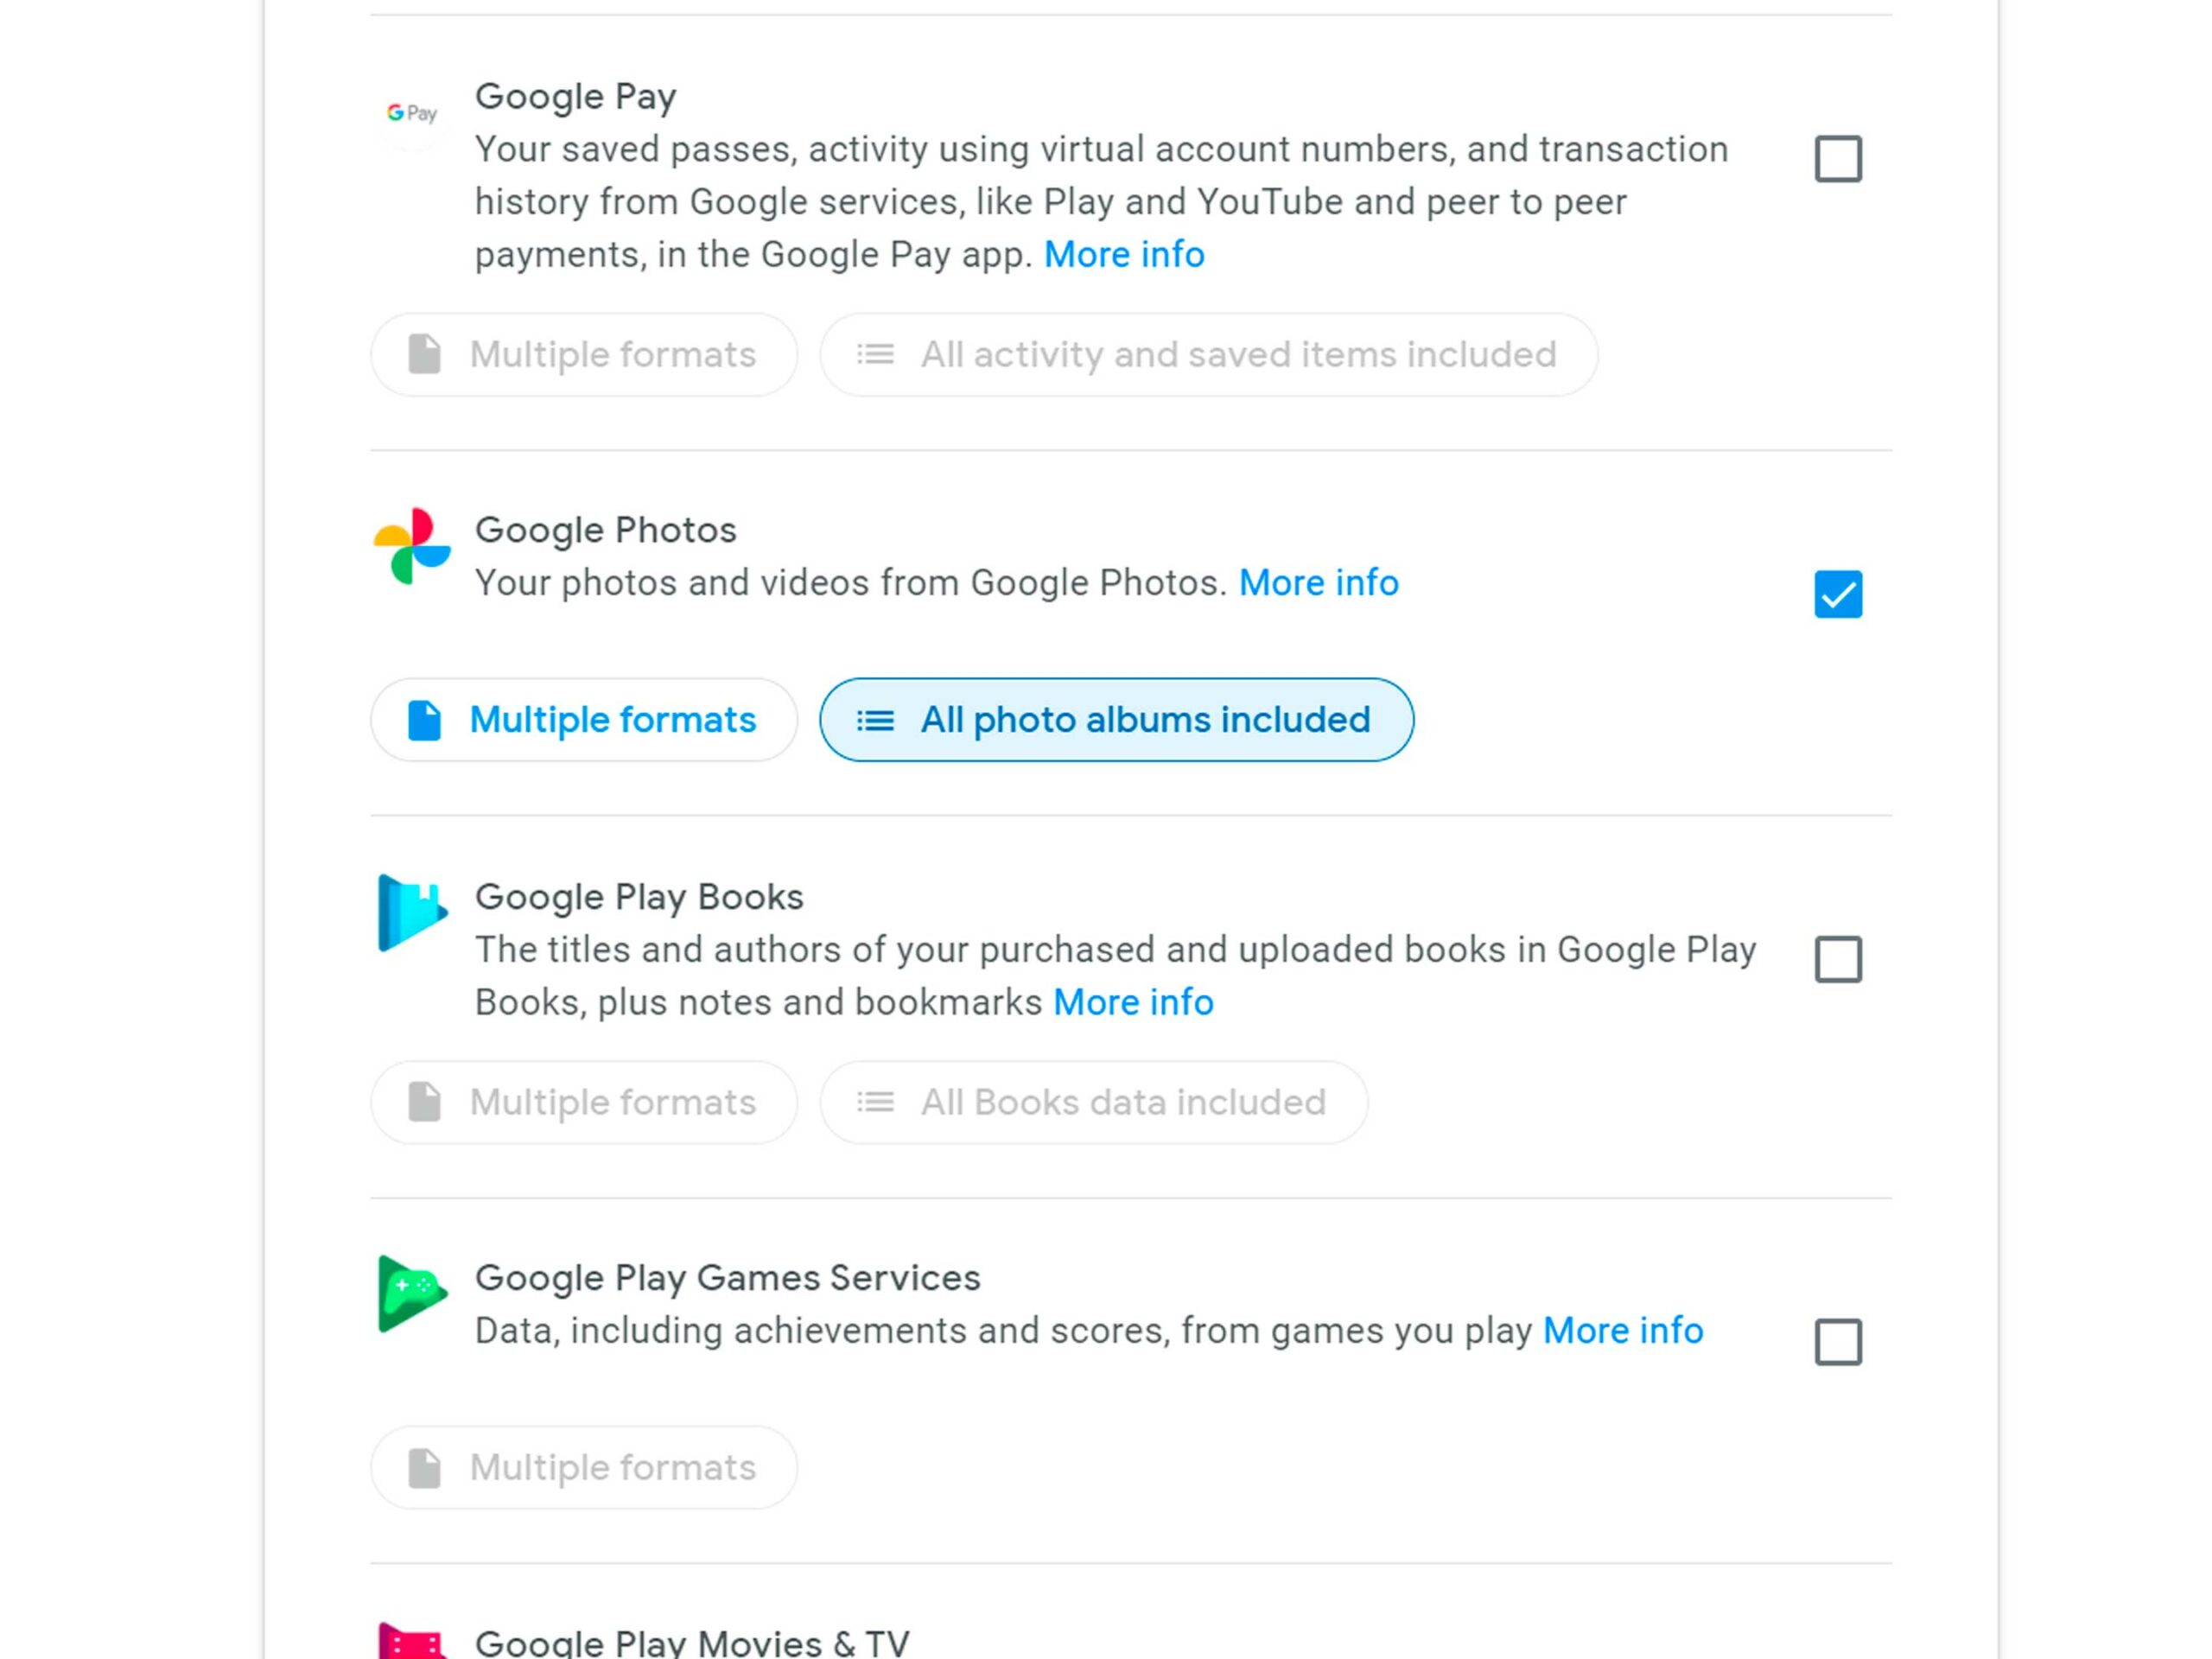
You can also visit Google’s ‘Takeout’ website to get access to all your data in bulk, including your photos and video files. If you want your photos, the quickest way to do that is to deselect all of the checkboxes and scroll down to select Google Photos.
Once you get to the next page, you can choose how often you want your pictures to back up physically and what file type you want to export them.
Once you’ve exported these, you can drag them into the Apple photos app on Mac or the Apple photos’ website. That being said, the website doesn’t allow you to upload folders at a time, so it’s a much more tedious process. This all sounds quick and easy, but if you have thousands of photos spread out over years, you’re likely looking at some pretty lengthy upload and download times.
TL;DR
MobileSyrup may earn a commission from purchases made via our links, which helps fund the journalism we provide free on our website. These links do not influence our editorial content. Support us here.
