Google made the first Developer Preview for Android 10.0 Q available for testing on Pixel devices on March 13th at 3pm ET/1pm PT.
If you’re looking to get a first taste of Q, here’s how to do it.
Before we get into it, be aware that the process for installing the preview is lengthy and complicated. If you’re not sure what you’re doing, you may want to wait until Google starts the public beta later this year.
Further, it is a beta — some things won’t work, and others will be broken. As such, you shouldn’t install this on a device you rely on. Use a test device instead. If something goes wrong, you’ll be happy you did. Plus, the installation process will wipe your phone, so make sure you back up anything important first.
Finally, you’ll need any generation of Pixel phone to install and try Android Q.
With that said, let’s get into the steps to get Q on your device. You’ll also need a computer to make this work.
Part 1: Gather your tools
To install the Q beta, you’ll need a few things before you get started. First is access to the latest fastboot tool, which is part of the Android SDK Platform Tools package.
You can download that package from the Android Studio website. Since you only need the platform tools, click the appropriate download link for your computer’s OS.
Since these links download just the platform tools, you’ll need to extract them from the ZIP file to your PC’s ‘C:\ drive’ (on macOS or Linux, extract it to your Home folder instead). I also renamed the ‘platform-tools’ folder to Android to make things easier later on.
You’ll also need to set up your ‘PATH’ variables, which is essentially a roadmap that tells your PC where to look for the tools it needs to flash Android. To do this on your Windows PC, open Control Panel, click ‘System’ and then click ‘Advanced system settings.’ In the window that opens, click the ‘Environment Variables’ button. In the next window, in the ‘User Variables’ section, click ‘Path’ then ‘Edit.’ Another window will open. Click the ‘New’ button to create a new variable, and then fill in the location you stored the platform tools (‘C:\Android\’ for me). Save and exit the windows.
This will look quite different on macOS and Linux machines. Android Central has an excellent guide that will walk you through the steps if you use Linux or a MacBook.
Additionally, you’ll need to enable USB debugging and OEM unlocking on your Android device. To do so, you’ll also need ‘Developer options’ enabled.
To get Developer options, navigate to the Settings menu on your phone, scroll to ‘About phone,’ find the ‘Build number’ and then tap it seven times. A pop-up will inform you Developer options is available.
Navigate to Developer options in the Settings menu, scroll to the OEM unlocking and USB debugging options and toggle them on. This is a crucial step, and you won’t be able to flash Q otherwise.
Part 2: Download the Q beta for your device
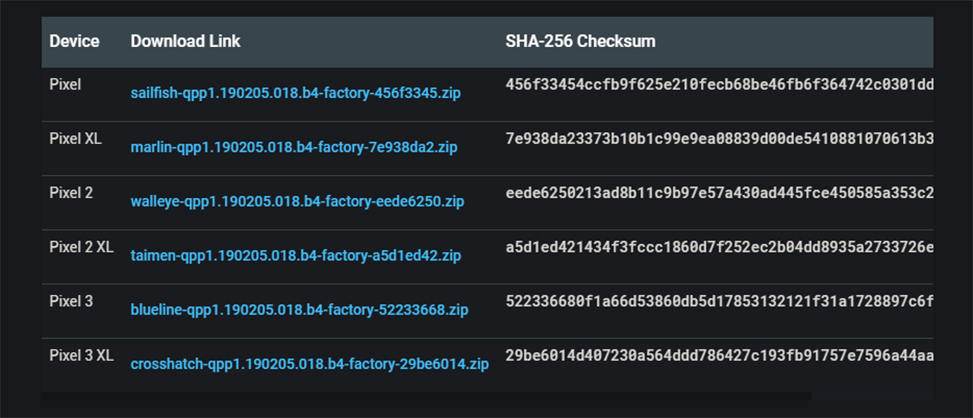
First up, you’ll need to identify which Pixel device you’re using so that you can download the correct files for flashing Q.
The files will be available from the Android Developers website here.
Once you’ve downloaded the factory image, you’ll want to extract it. While you can do this anywhere, I chose to extract this to a folder labelled ‘qbeta1’ insides another ‘AndroidQ’ folder inside the ‘Android’ folder where I saved the platform tools from the previous step. You don’t need to have this many folders, but I like to keep things organized.
At the time of writing, I used the factory images as they were readily available. You can also use the OTA file to update to the Q beta once they’re available, and the process is simpler.
Part 3: Prep for installation
Next up is the process of installing Q to your Android device — also known as flashing. This may be the most complicated part of getting Q.
To start, connect your device to your computer using a USB cable. Then, open a Command Prompt window in Windows 10. Alternatively, you can use Windows PowerShell (some PCs will only have one or the other). To open Command Prompt, tap the Windows key or click the ‘Start’ button and type ‘command prompt.’ Hit enter or click Command Prompt when it surfaces in the search window.
If you’re using macOS or Linux, these steps will be similar but slightly different. You’ll need to use a terminal window instead and modify the commands in relation to your OS. For this guide, we’re going to focus on Windows.
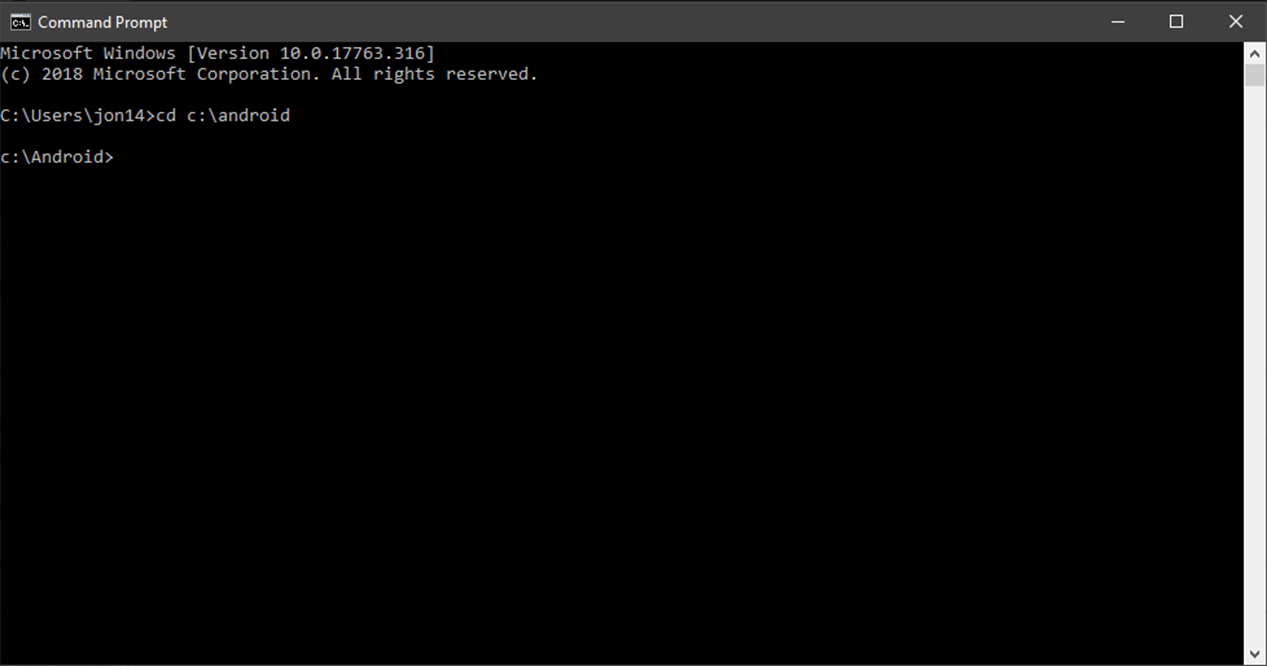
Once Command Prompt is open, type ‘cd’ followed by a space and the name of the location you stored the platform tools from before. In my case, the command looks like ‘cd c:\Android’ because I saved the tools to my C:\ drive and named the folder Android. This may differ depending on your setup.
Hit enter after typing the command. Command Prompt should respond with the location you just entered (for me, that’s ‘c:\Android’).
You should now have access to Android Debug Bridge (ADB) commands, which you’ll use during the flashing process. To ensure everything is working as intended, you can type ‘adb’ and hit enter. This will present a list of all ADB commands. If something isn’t set up correctly, you won’t get the command list, and you can start troubleshooting to see what went wrong.
To make sure your device is recognized, type ‘adb devices’ and hit enter. Command Prompt will show a list of connected devices. If your Pixel doesn’t show up, make sure it’s unlocked, USB debugging is enabled and it’s connected to your PC.
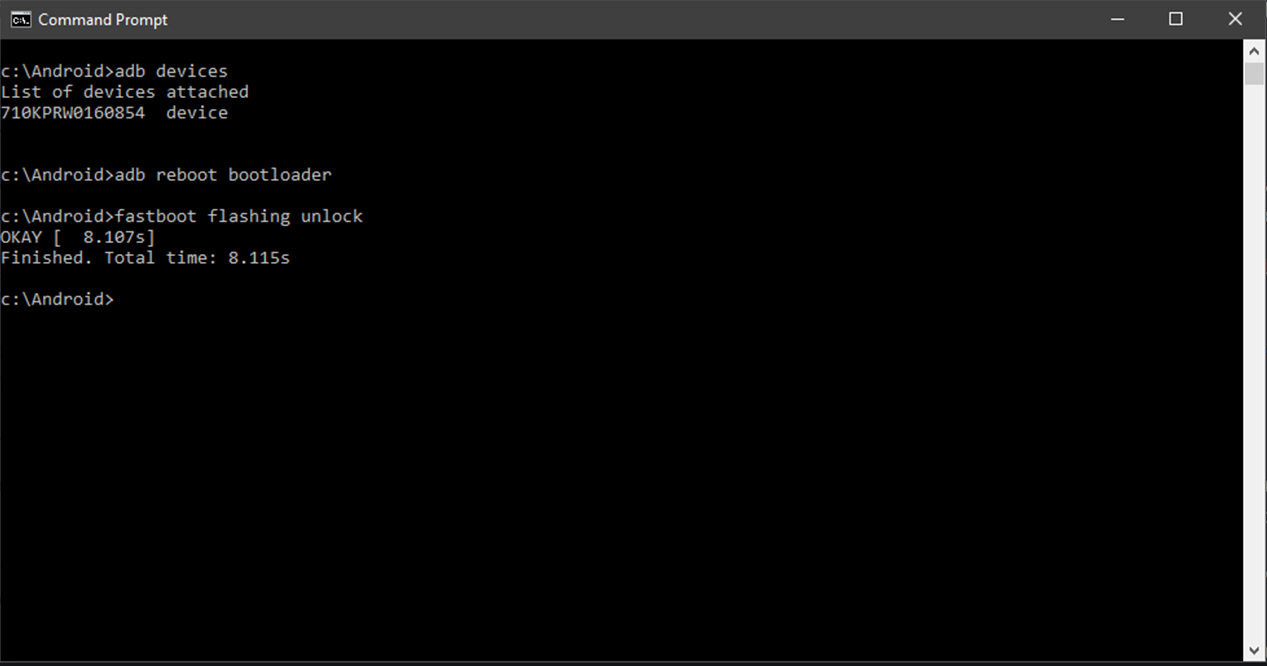
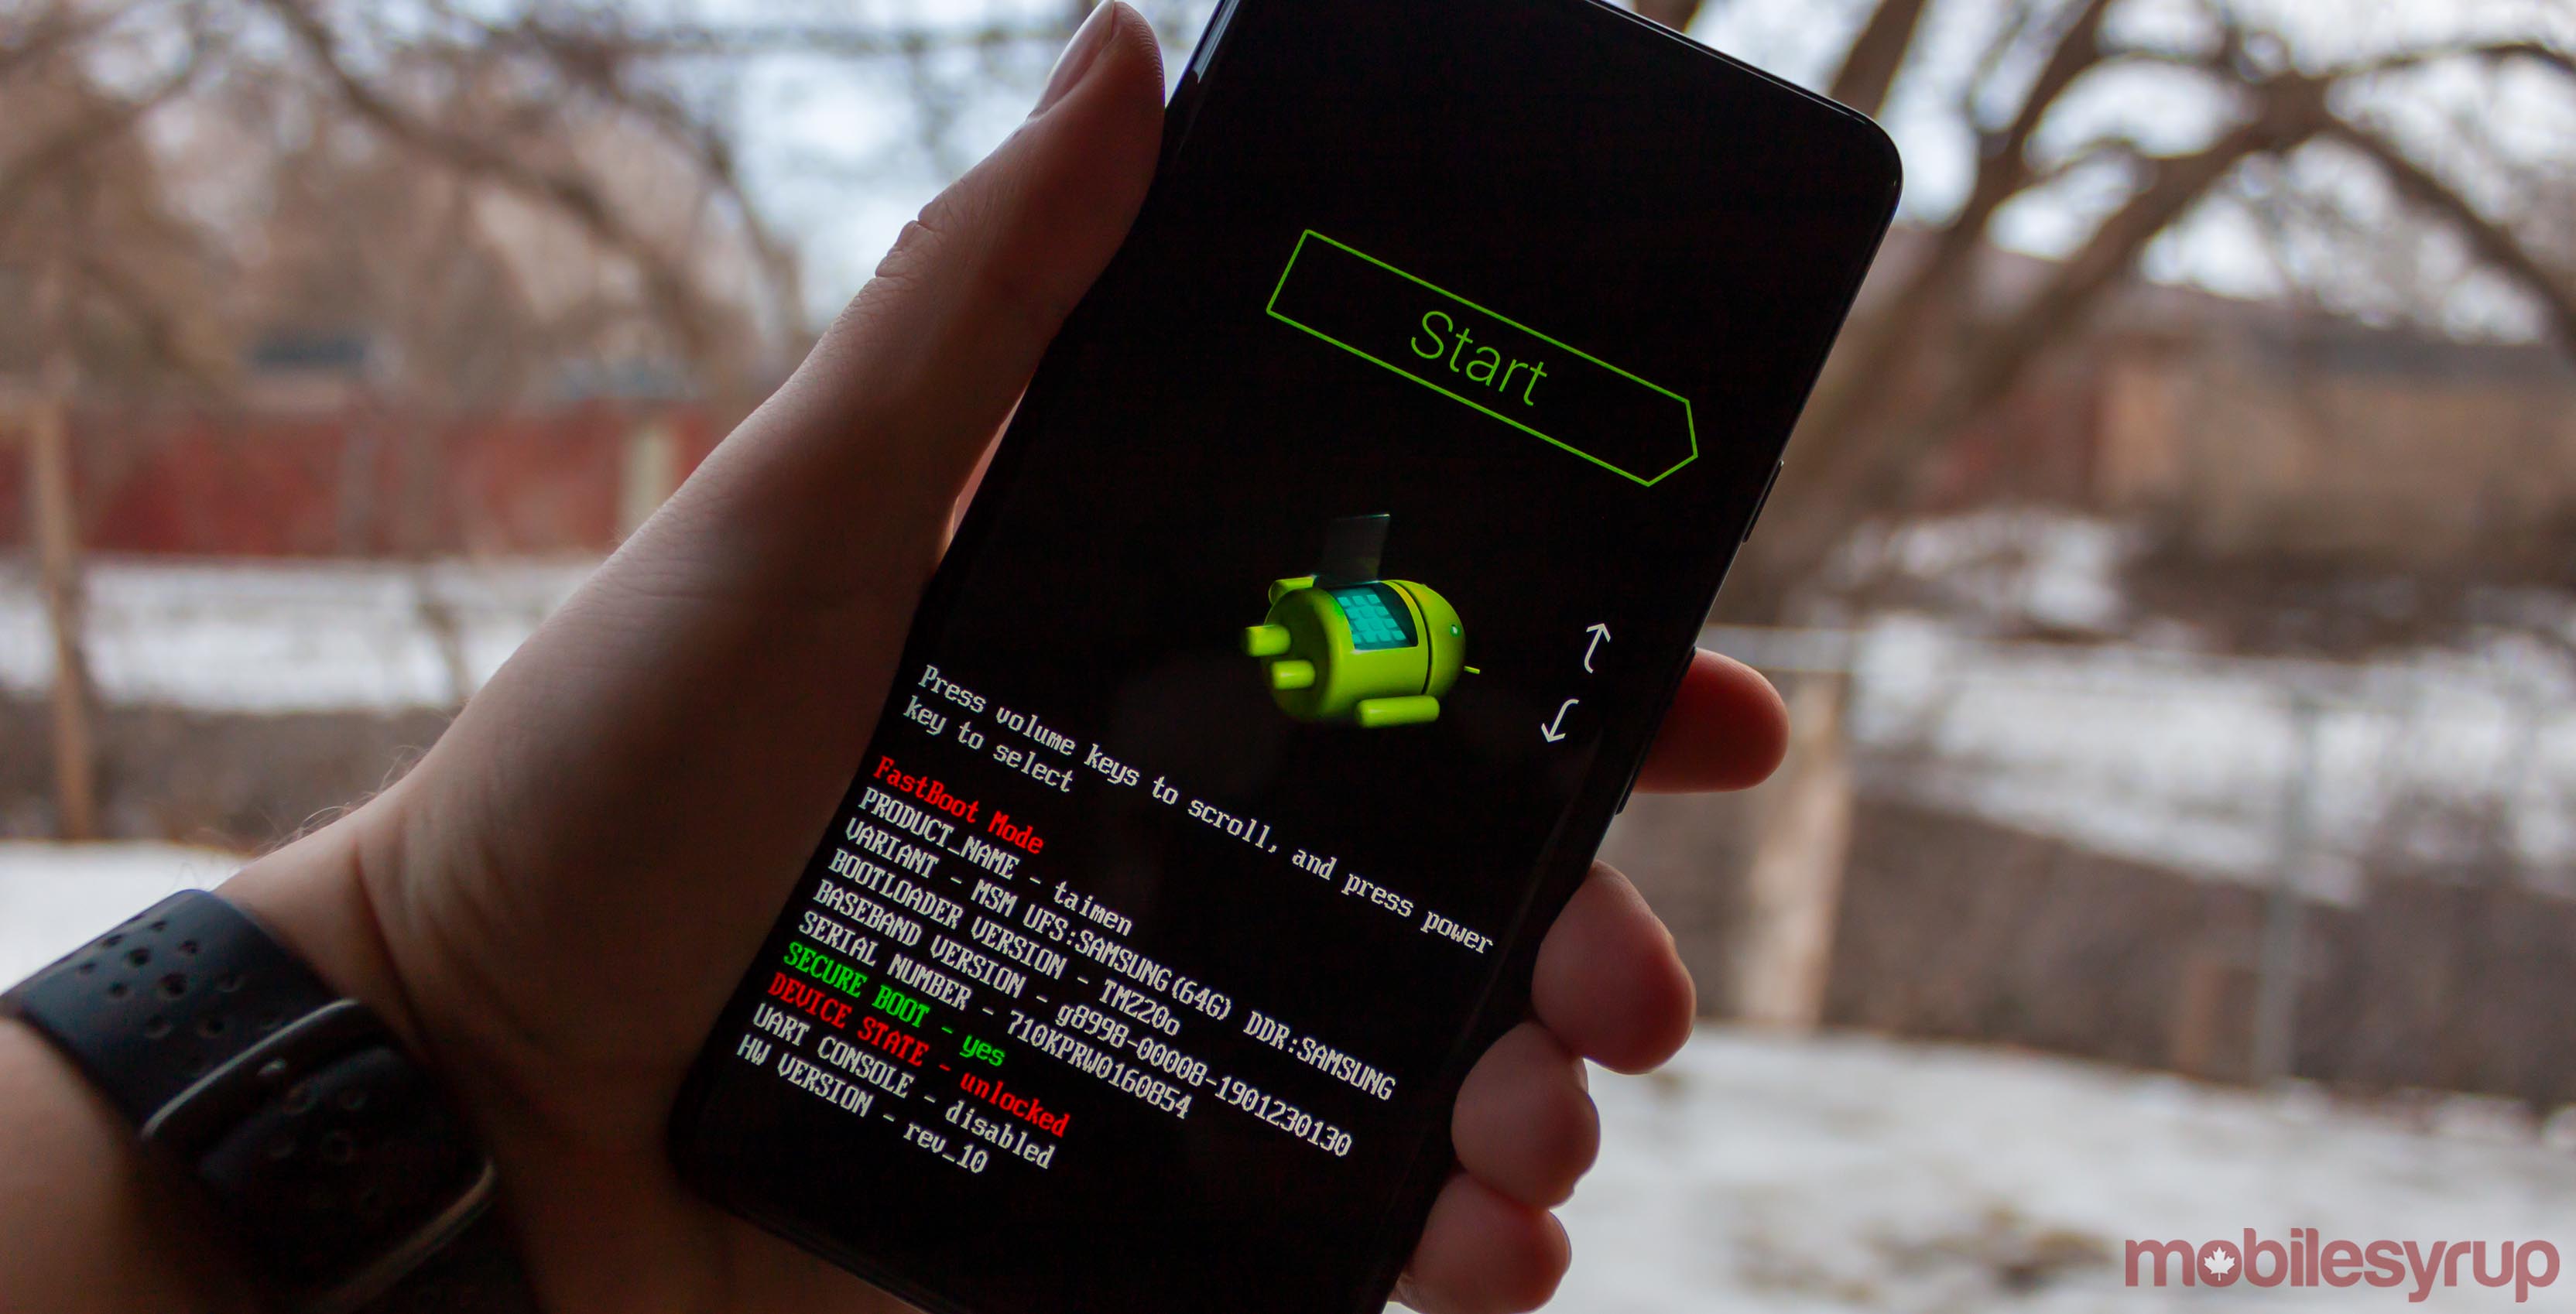
If everything looks good, type ‘adb reboot bootloader’ into Command Prompt. This should restart your phone in fastboot mode. Alternatively, you can do this using the appropriate key combination for your device.
You may also need to unlock your device’s bootloader to install Q. To check, look at your phone in fastboot mode. If ‘Device State’ is set to ‘locked,’ you’ll need to unlock the bootloader. Doing so will wipe your data.
To unlock your bootloader, type ‘fastboot flashing unlock’ into the command prompt and hit enter. You should then see a confirmation screen on your device. Tapping yes will erase everything.
It’s also worth noting there may be some extra steps for some devices, such as the Pixel 2. You should check out Google’s official instructions for any important notes regarding devices.
Part 4: Flashing Q
Now it’s time to flash Q to your device.
To start, you’ll need to bring Command Prompt into the folder with your Android Q system image files. As before, you’ll use the ‘cd’ command to navigate to that location.
Because I put the files into a folder labelled ‘qbeta1’ inside ‘AndroidQ’ inside the ‘Android’ folder with the platform tools, I’ll use the ‘cd c:\Android\AndroidQ\qbeta1’ command.
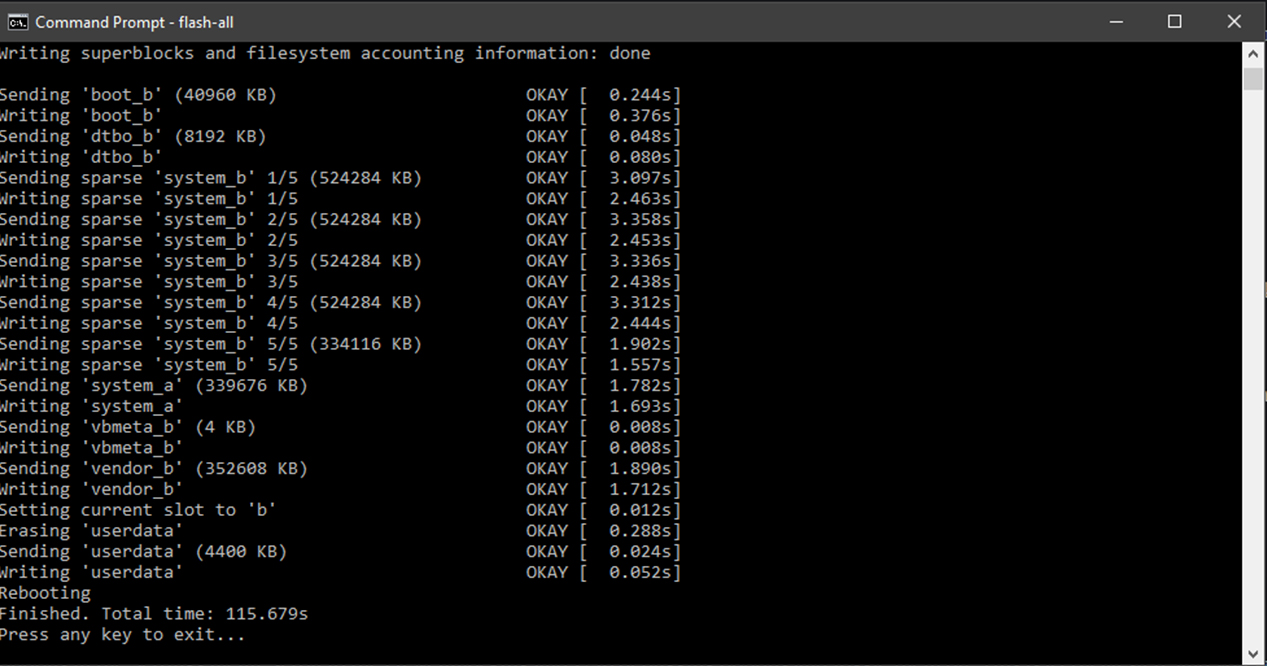
With Command Prompt in that directory, type ‘flash-all’ to execute the included script, which will install all the parts of the system image. If you followed all the steps above correctly, your phone should process the command and begin installing Android Q. If this command doesn’t work, it’s likely because your PC can’t find the fastboot tool, which means your PATH variables aren’t correct.
Google also recommends users lock the bootloader after they finish for security reasons. To do so, start the device in fastboot again using the ‘adb reboot bootloader’ command then type ‘fastboot flashing lock’ to lock the bootloader.
Part 5: Going back
After you’ve played around with Q for a bit, you may find it’s not ready for, and you’ll want to go back. To do so, you’ll need to flash an Android 9.0 Pie factory image.
Most of the steps will be the same as flashing the Q beta, but instead, it’ll be a Pie system image. You can download the image from Google’s developer webpage here. It also includes instructions for flashing factory images if you need help.
Again, you’ll want to approach this process with a degree of caution. Even if your technical skills are proficient for installing the factory image, it’s possible that bugs or issues with the Q preview could break or brick your phone.
Ultimately, you should probably only do this if you absolutely know what you’re doing.
Alternatively, you can also enroll your Pixel device in the Android Developer Program. Next, navigate to ‘Settings’ and ‘System Update’ on your Pixel smartphone to download the Android Q beta over-the-air (OTA). That said, this method does not result in a clean Android Q install.
MobileSyrup may earn a commission from purchases made via our links, which helps fund the journalism we provide free on our website. These links do not influence our editorial content. Support us here.
