
“It’s all in the cloud, right?” is a popular question at any Apple Genius Bar.
Many people live their lives believing that all their data is magically stored in the cloud for the day they need it. While cloud backups can seem magical, they aren’t. I’ve written more than once on the importance of backups. Two years ago, I wrote a how-to guide on backing up your Mac, and I’m proud of how that article still holds up strong today.
While working at the Apple Store, I crossed paths with many people claiming they stored nothing important on their iPhones, only for them to be cranky after waiting hours to transfer hundreds of gigabytes of data to their new phones. Meanwhile, others would be reduced to tears once informed that their data was unrecoverable due to their iPhones being damaged or unresponsive.
No technician wants someone to lose their data. However, data management is a partnership. Apple may provide the tools, but it’s up to the user to ensure their data is backed up. Together, let’s ensure your precious memories are safe and recoverable by exploring the value of having a backup of your iPhone or iPad, strategies for having multiple backups, and options to conduct them.
The value of a backup
I’ve found there to be two primary uses for a backup: data transfer and data recovery. Data transfer is when you migrate the information stored on one device to another. For example, say you buy a new iPhone. You’ll likely want to move your data to it. By having a backup completed before picking up your new device, you only need to wait for a brief restore rather than waiting on the much longer backup of the data, potentially avoiding hours of waiting around.
Data recovery is where you need to use your backup to restore your data in the event your old device is lost, stolen or damaged. Perhaps your phone went for a swim or suddenly won’t turn on due to a manufacturer’s defect. If your old device isn’t available or accessible, a backup may be your saving grace by offering you a convenient way to access your most important files on a new one.
File Sync Services vs. Backups
Platforms like Dropbox, iCloud Drive and Google Drive are file-syncing services. While many people may treat file syncing services like backups, in reality, they’re very different. File syncing services are designed to ensure your files appear on multiple devices. Create a file on one device; it appears on the others. Similarly, if a file is deleted on one, the file syncing service will delete the file everywhere else. While file syncing services can be valuable recovery methods of last resort, they should not be relied on as a primary backup because they do not protect your files from accidental or malicious file deletions.
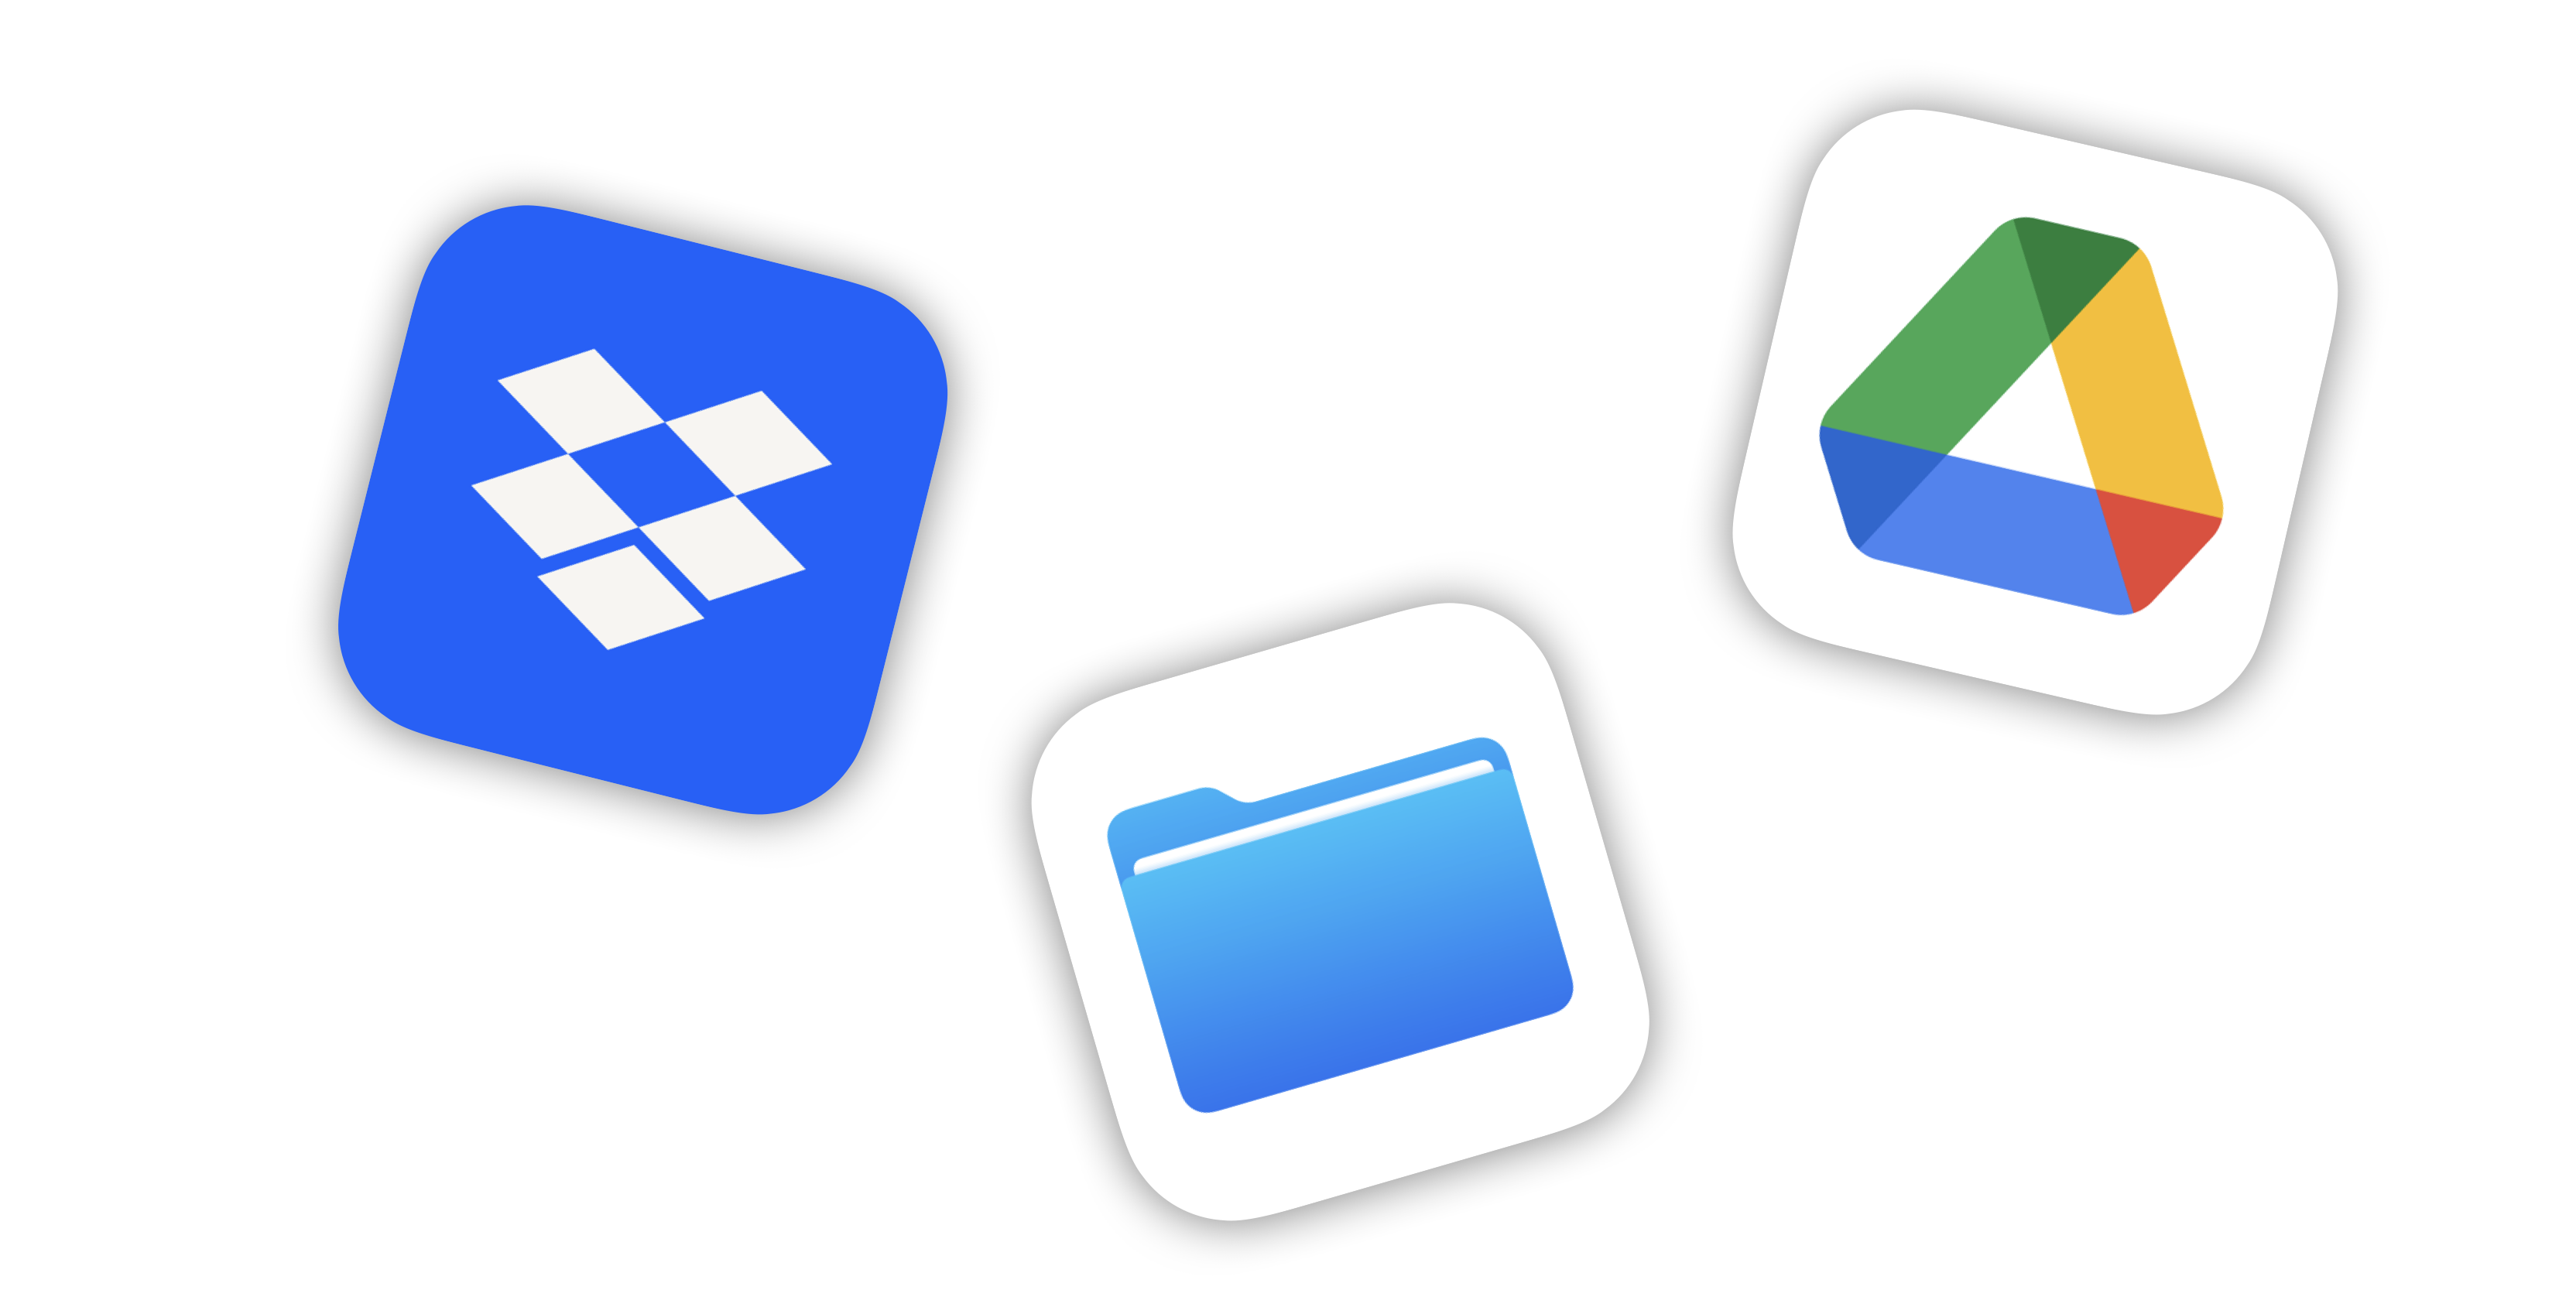 On the other hand, a proper backup is a one-way relationship. When a backup is conducted, it makes a copy of all of your files. Should a file be deleted, the backup still holds a duplicate until overridden, making the file easily recoverable. Plus, the backup methods discussed in this article save a complete duplication of your device, including your wallpaper, settings, and other value data, not just your photos, contacts, or files like a file syncing service. In the event you need to restore your backup to a new device, it’ll look and feel just like your old device, with everything back in a similar spot.
3-2-1
One copy of your data is effectively zero copies of your data. A popular backup strategy is the 3-2-1 methodology. The 3-2-1 methodology represents having three copies of your data, on two different mediums, with one offsite backup. Of course, these are all minimums. Feel free to go crazy and create even more redundancy in your backup strategy.
In the case of an iPhone or iPad, you will have the first copy of your data on the device itself, a second copy in iCloud, and a third copy on your computer via Finder or iTunes. The two mediums are the physical backup on your computer and a cloud backup in iCloud. Finally, iCloud is the remote backup should you lose your other two copies due to theft or natural disaster.
iCloud
iCloud is by far the easier method of backing up your device because, as my friend likes to say, it allows him to be lazy. An iCloud backup, once enabled, does a backup of your iPhone or iPad automatically overnight when plugged into power and connected to Wi-Fi — meaning you never need to think about it.
Of course, to do an iCloud backup, you must ensure you have enough iCloud storage to store the backup. Remember that iCloud storage differs from your device’s internal storage. Your iCloud storage is like a bucket, and your iPhone or iPad storage is the water. Your iCloud bucket needs to be large enough to hold as much storage as you use on your iPhone or iPad.
Every iCloud account gets 5GB of storage for free. However, that’s unlikely enough to back up your device. You’ll likely need to upgrade to one of Apple’s iCloud+ plans of 50GB for $1.29 per month, 200GB for $3.99 per month, or 2TB for $12.99 per month. Alternatively, you can subscribe to an Apple One bundle with iCloud storage included. Remember that paying for iCloud storage is a small price to ensure your data’s safety and convenience.
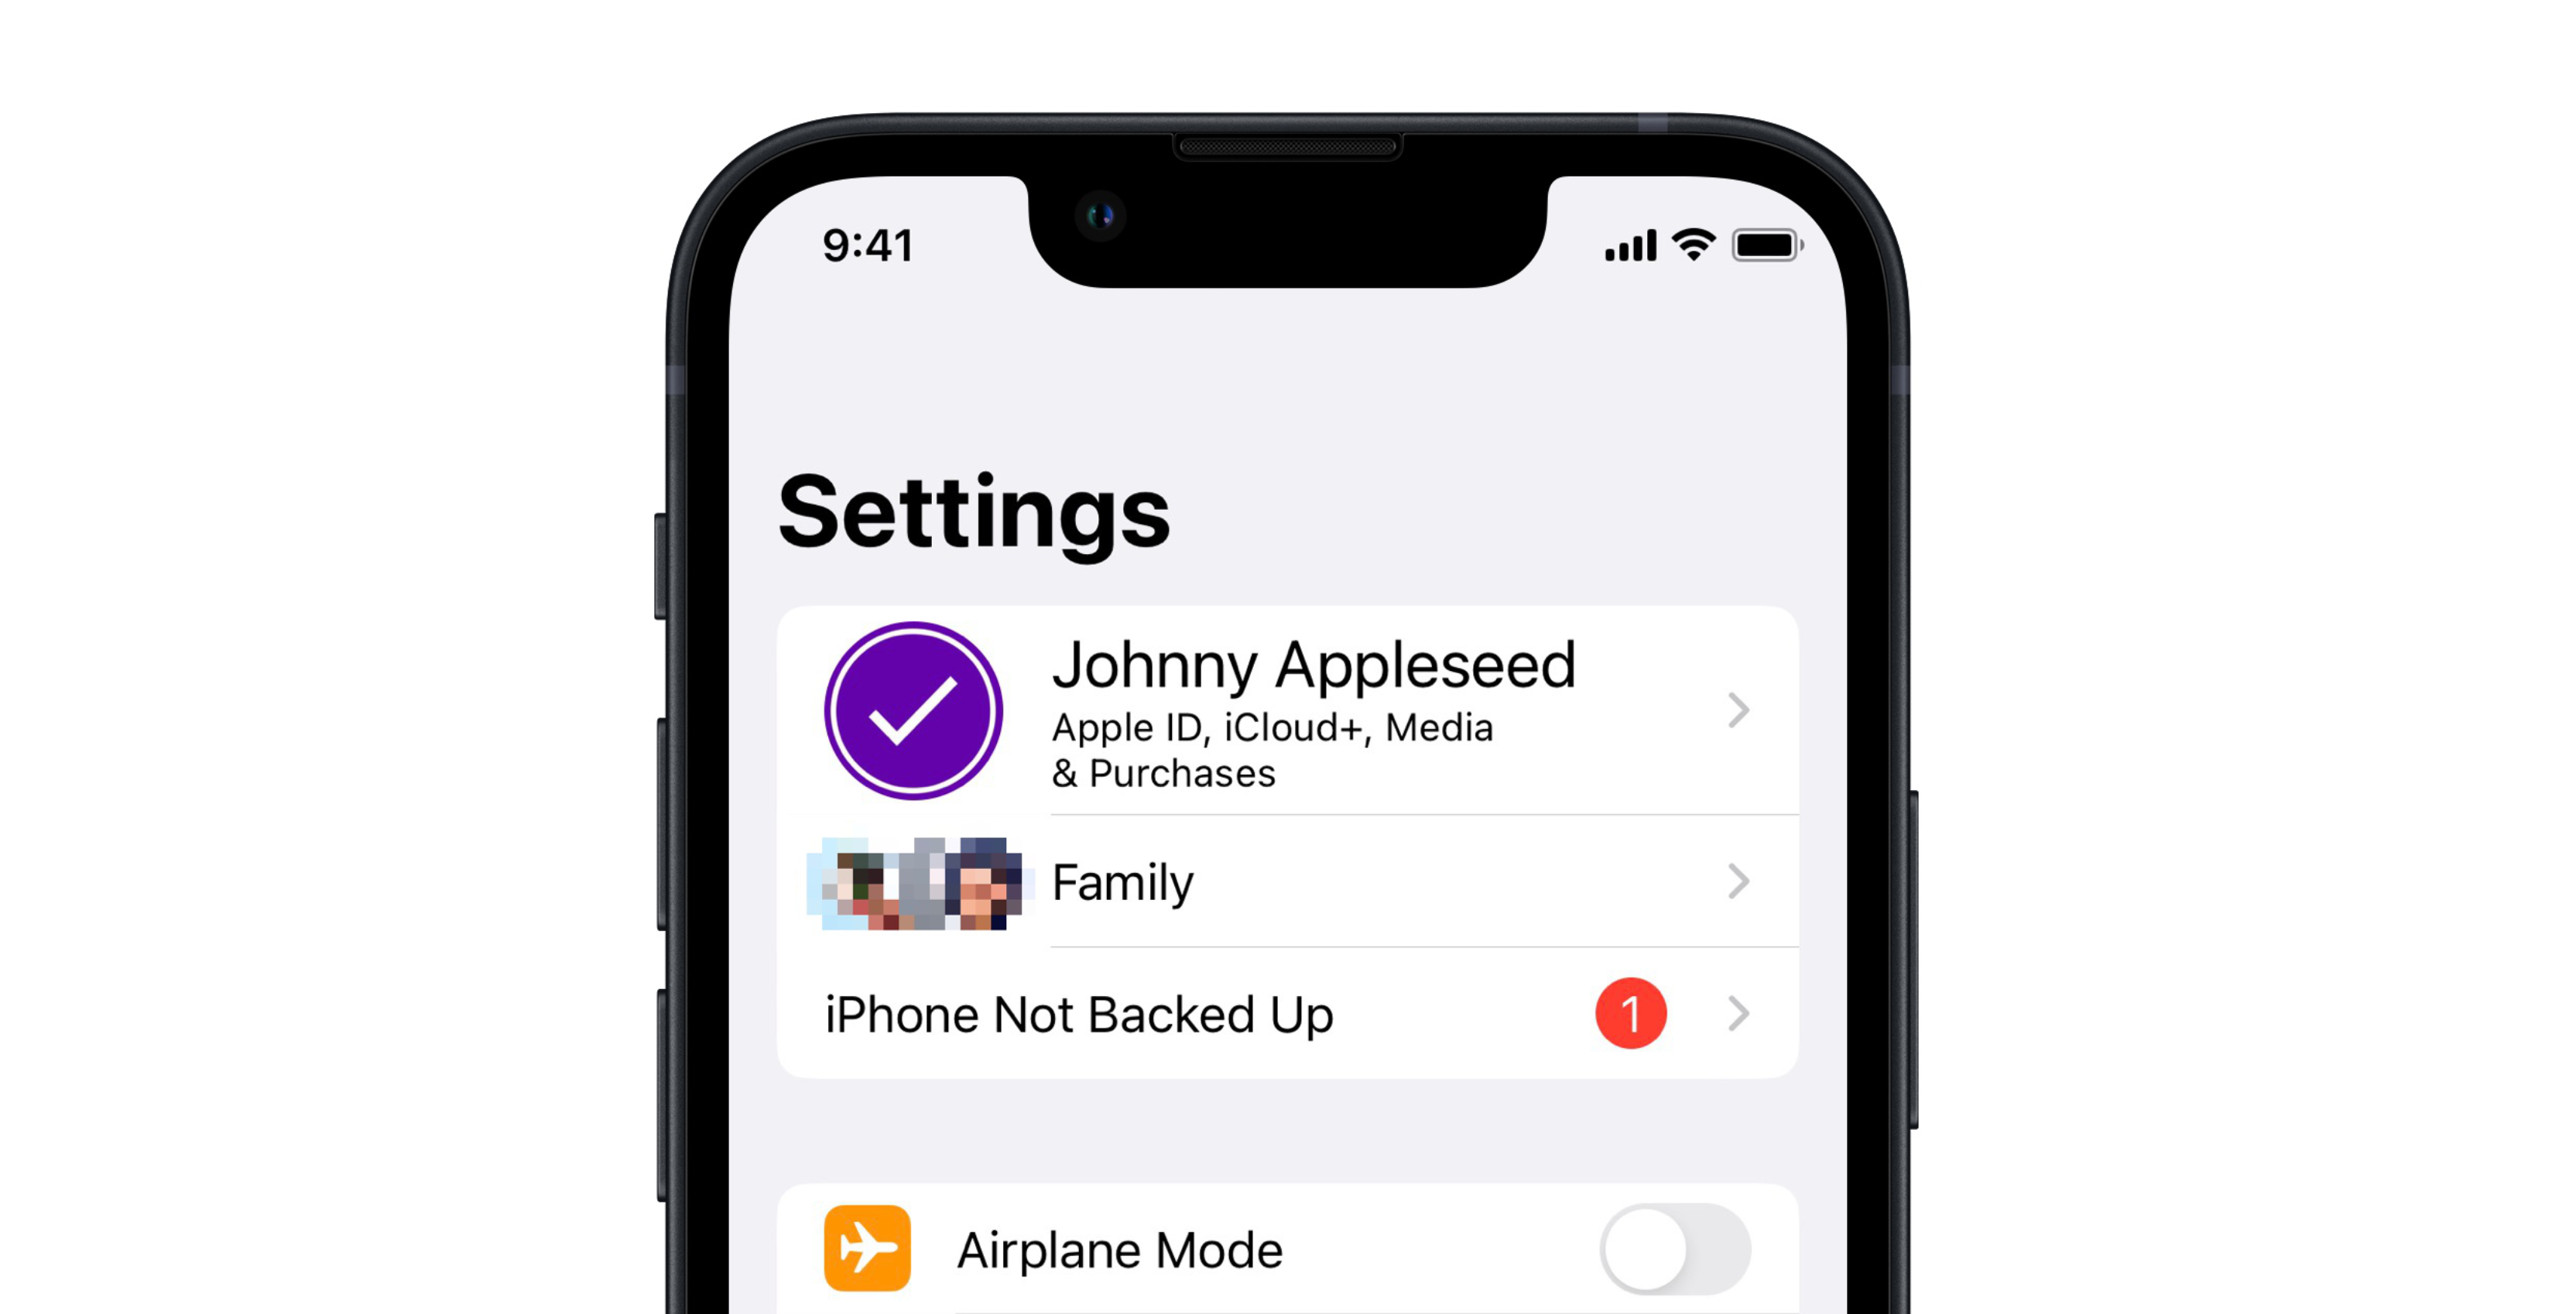
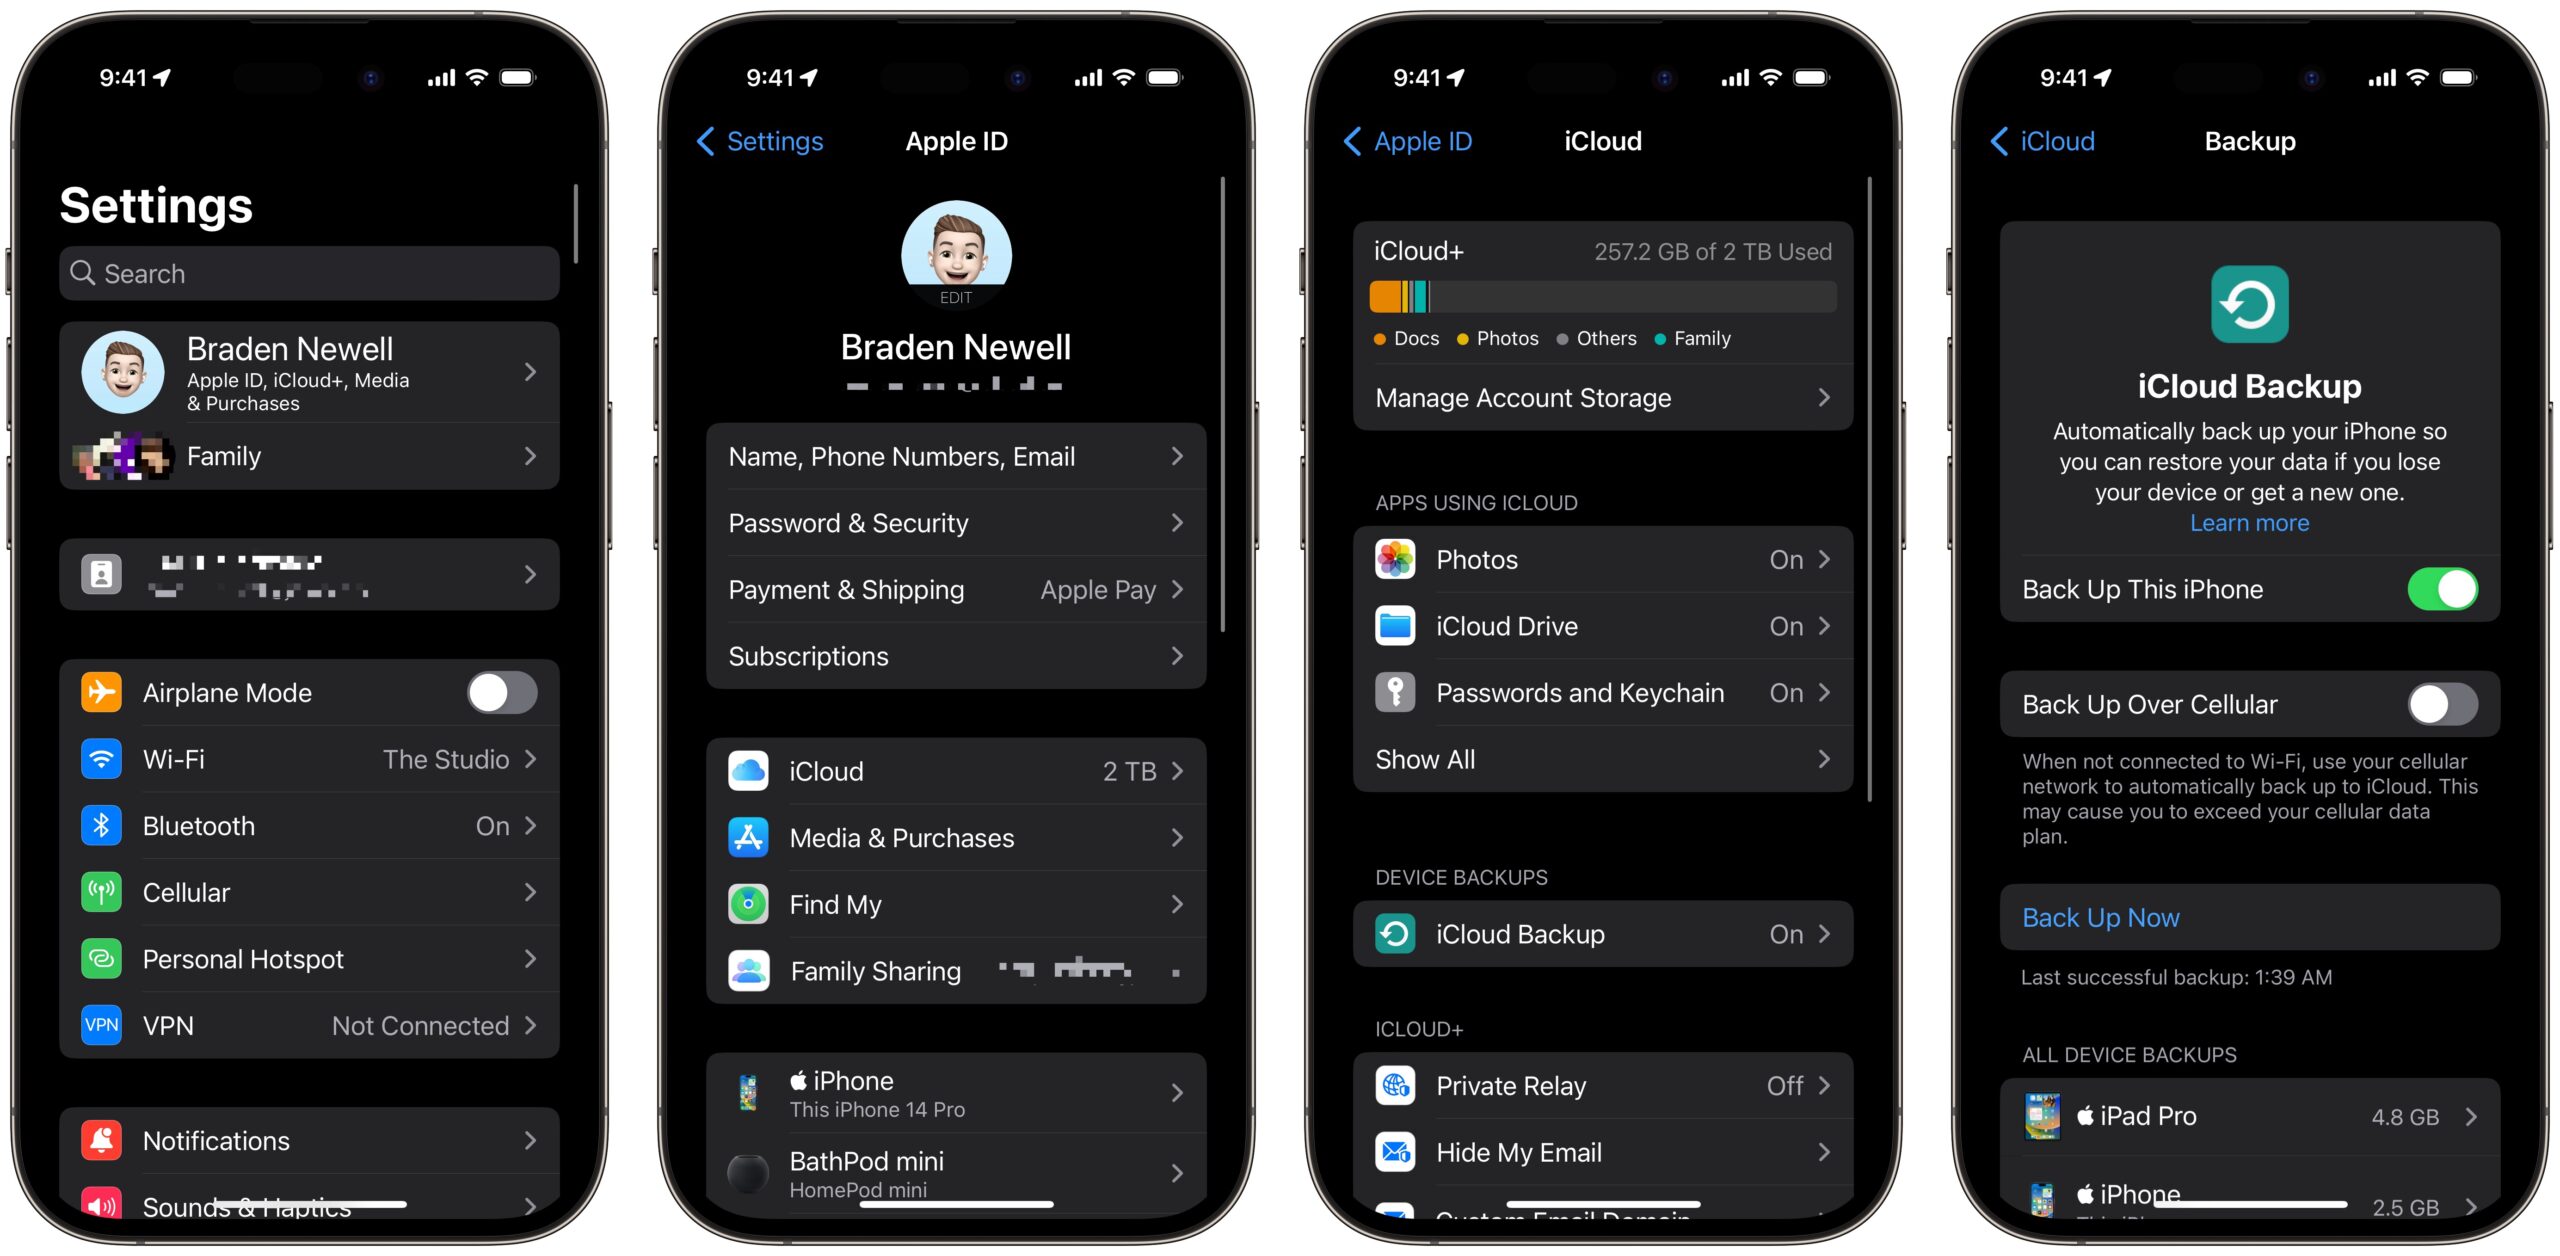
To backup your iPhone or iPad to iCloud:
- Open Settings
- Tap on your name at the top
- Tap iCloud
- Tap iCloud Backup
- Toggle Back Up This iPhone to on (green)
- Tap Back Up Now
Once Back Up This iPhone is toggled on, your iPhone or iPad will back up automatically overnight when connected to Wi-Fi and plugged into power. Additionally, you can see when the last successful backup took place below the “Back Up Now” button.
Computer
While an iCloud backup provides us the most convenience, it isn’t the backup that contains the most data. For me, iCloud is my emergency safety net. I know that should anything ever happen to my iPhone or iPad, my iCloud backup has a copy of all my data. However, whenever I’m intentionally going to get a new device, I like to create an encrypted backup of my iPhone or iPad to my Mac. Using iTunes on a Windows PC works similarly to backing up an iPhone or iPad to Finder on a Mac.
 An encrypted backup means you’re securing the backed-up data with a password. The backup will only be restorable with the password you set. Leveraging an encrypted backup allows you to transfer over more sensitive information, such as health data and keep you logged into many of your apps — something an iCloud backup won’t do. Of course, the risk of an encrypted backup is that should you ever lose your password to the backup, you won’t be able to restore from it.
Even if you opt not to encrypt the backup on your computer, you still need to remember to backup your device regularly to your computer when not using iCloud. While I recommend having both an iCloud and computer backup of your iPhone and iPad, some opt to avoid backing up to iCloud altogether to avoid paying for iCloud storage. However, remember you need enough storage on your Mac or PC to backup your iPhone or iPad.
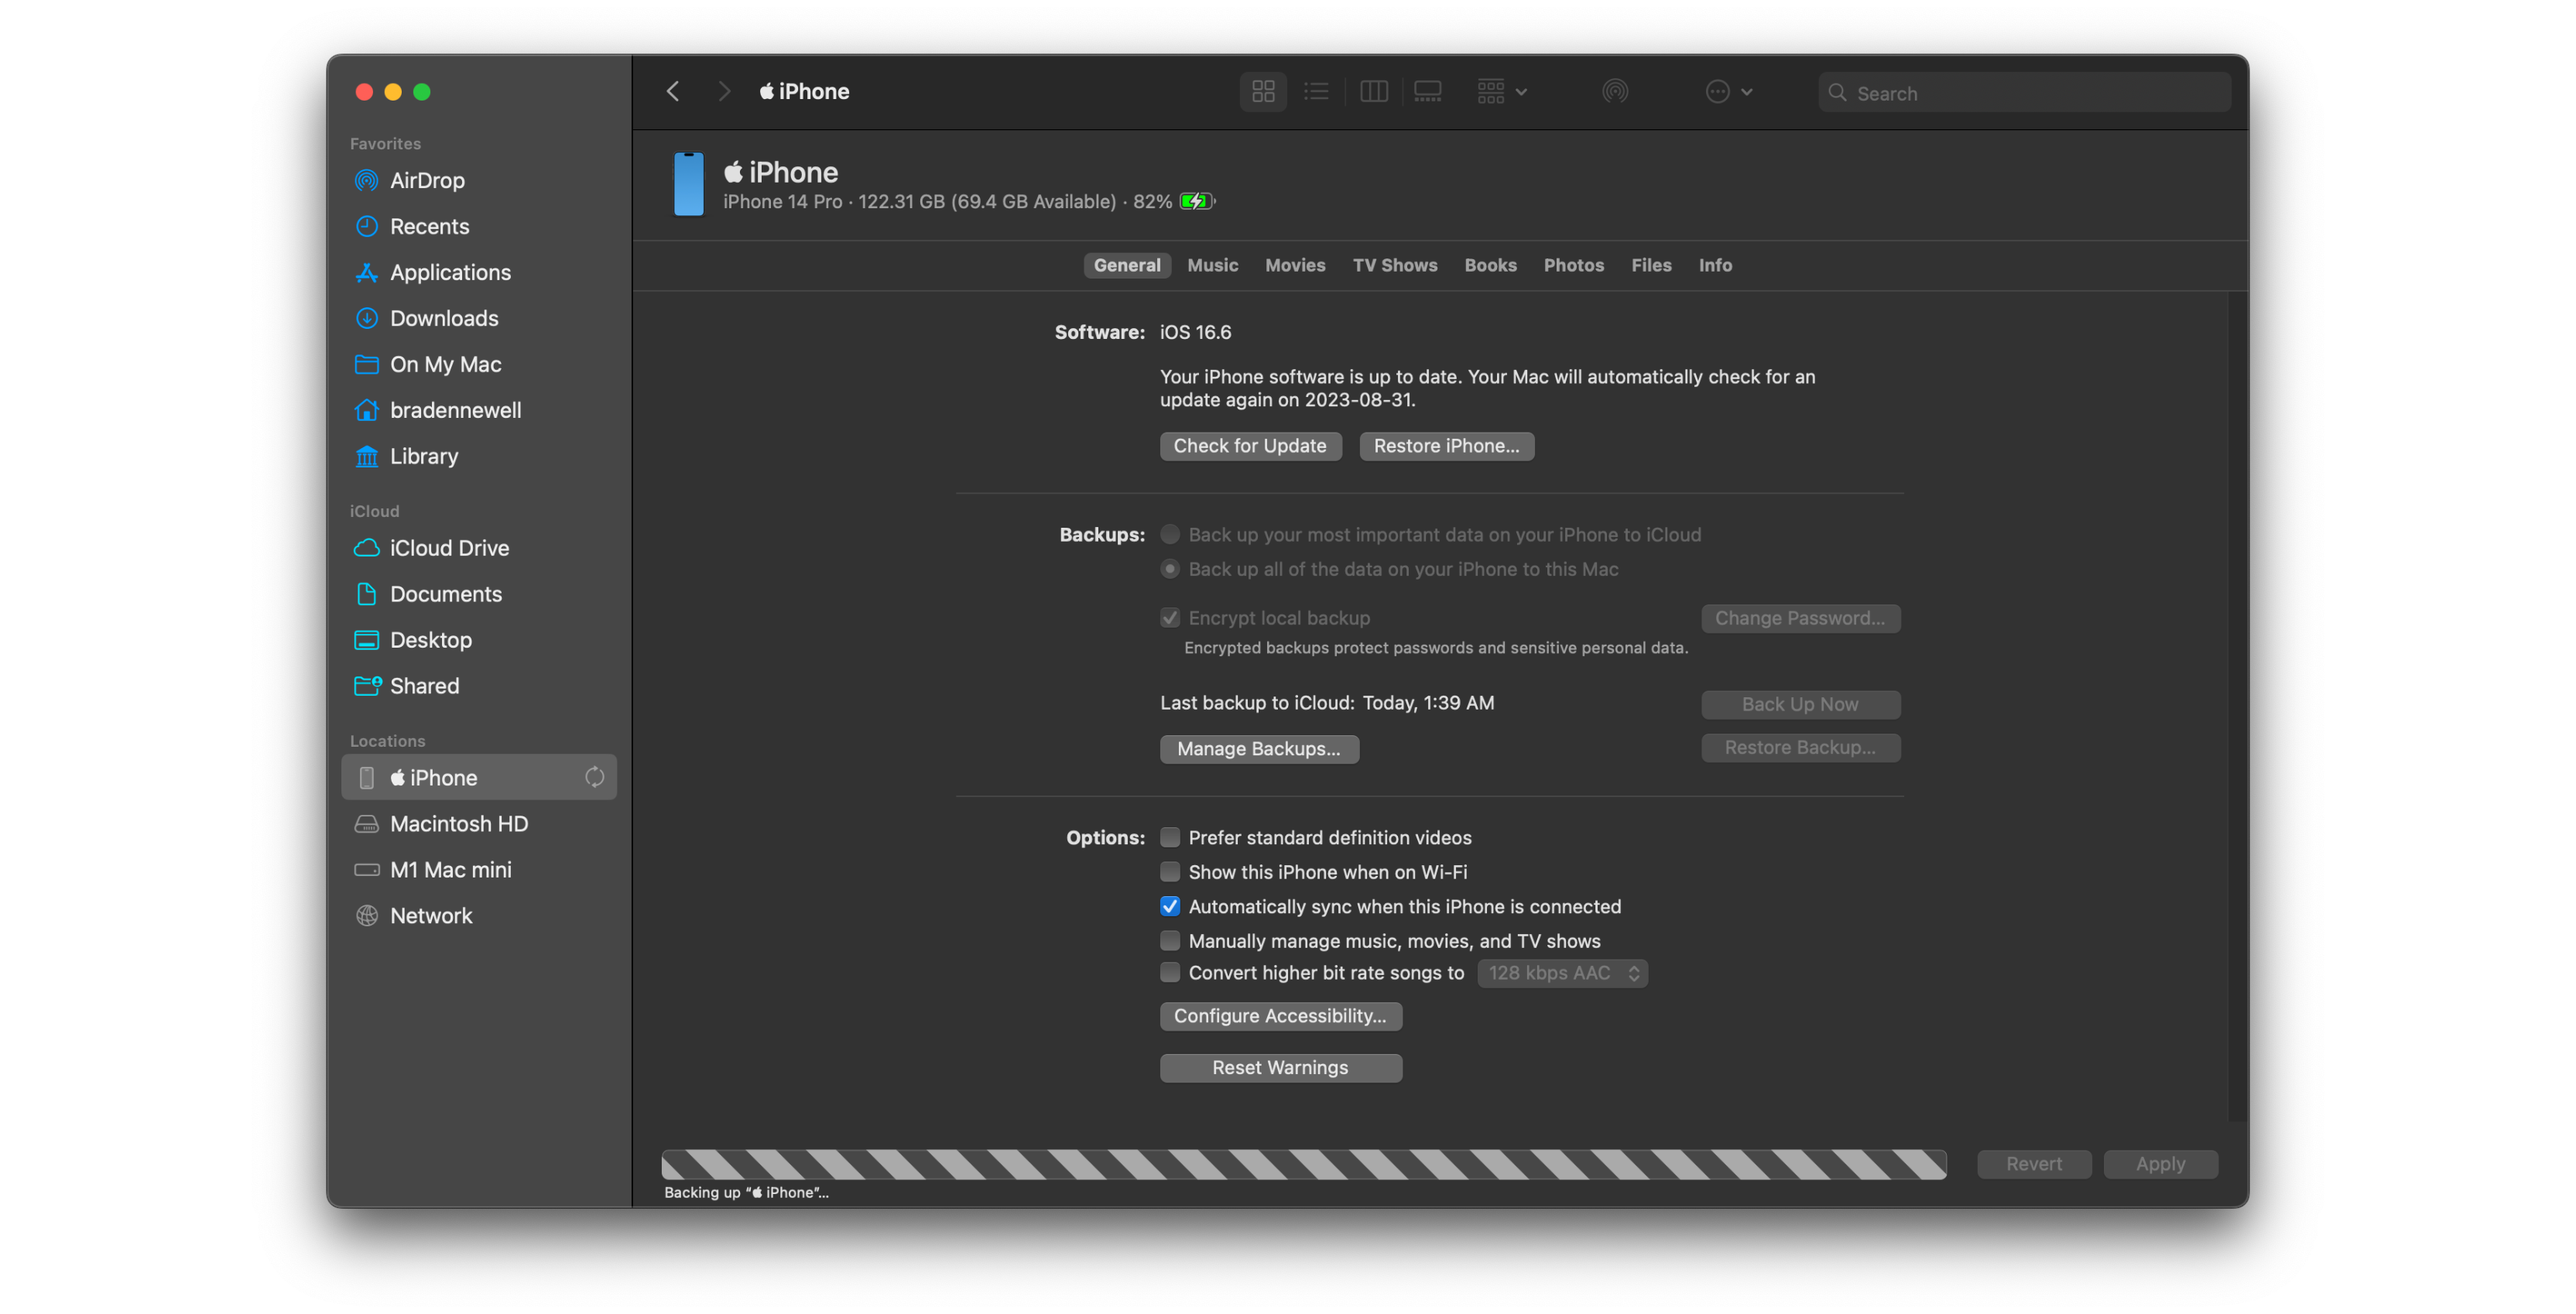
To backup your iPhone or iPad to your Mac:
- Connect your iPhone or iPad to your Mac
- Launch Finder
- Select your iPhone or iPad under Locations
- Click General
- Select Back up all of the data on your iPhone to this Mac
- Optionally select Encrypt local backup and set a backup password
- Click Back Up Now
To backup your iPhone or iPad to your Windows PC:
- Connect your iPhone or iPad to your PC
- Launch iTunes
- Click the iPhone or iPad button in the top left corner next to the Music dropdown
- Click Summary
- Optionally select Encrypt local backup and set a backup password
- Click Back Up Now
MobileSyrup may earn a commission from purchases made via our links, which helps fund the journalism we provide free on our website. These links do not influence our editorial content. Support us here.
