Do I love working out? No. But I like it enough to attempt to get myself moving a couple of times a week. My biggest barrier is putting myself in a space where working out is easy.
I like to work out alone, ideally in a space where no one else is present. So while working out at a gym by myself is okay, it’s not ideal. Plus, getting dressed, travelling to the gym, and getting ready for the workout gives me plenty of opportunities to talk myself out of it. If that fails, I can always rely on my phobia of gym showers to do the trick.
My point is that I like working out at home, and I think I’ve successfully set myself up with the tools to make it happen.
When the opportunity to challenge this routine came up, I couldn’t help but try it.
A quick analysis ticked all my boxes: the device would allow me to work out at home, seemed to have minimal setup, and focused on strength training, an area I feel can be challenging to complete at home.
The setup
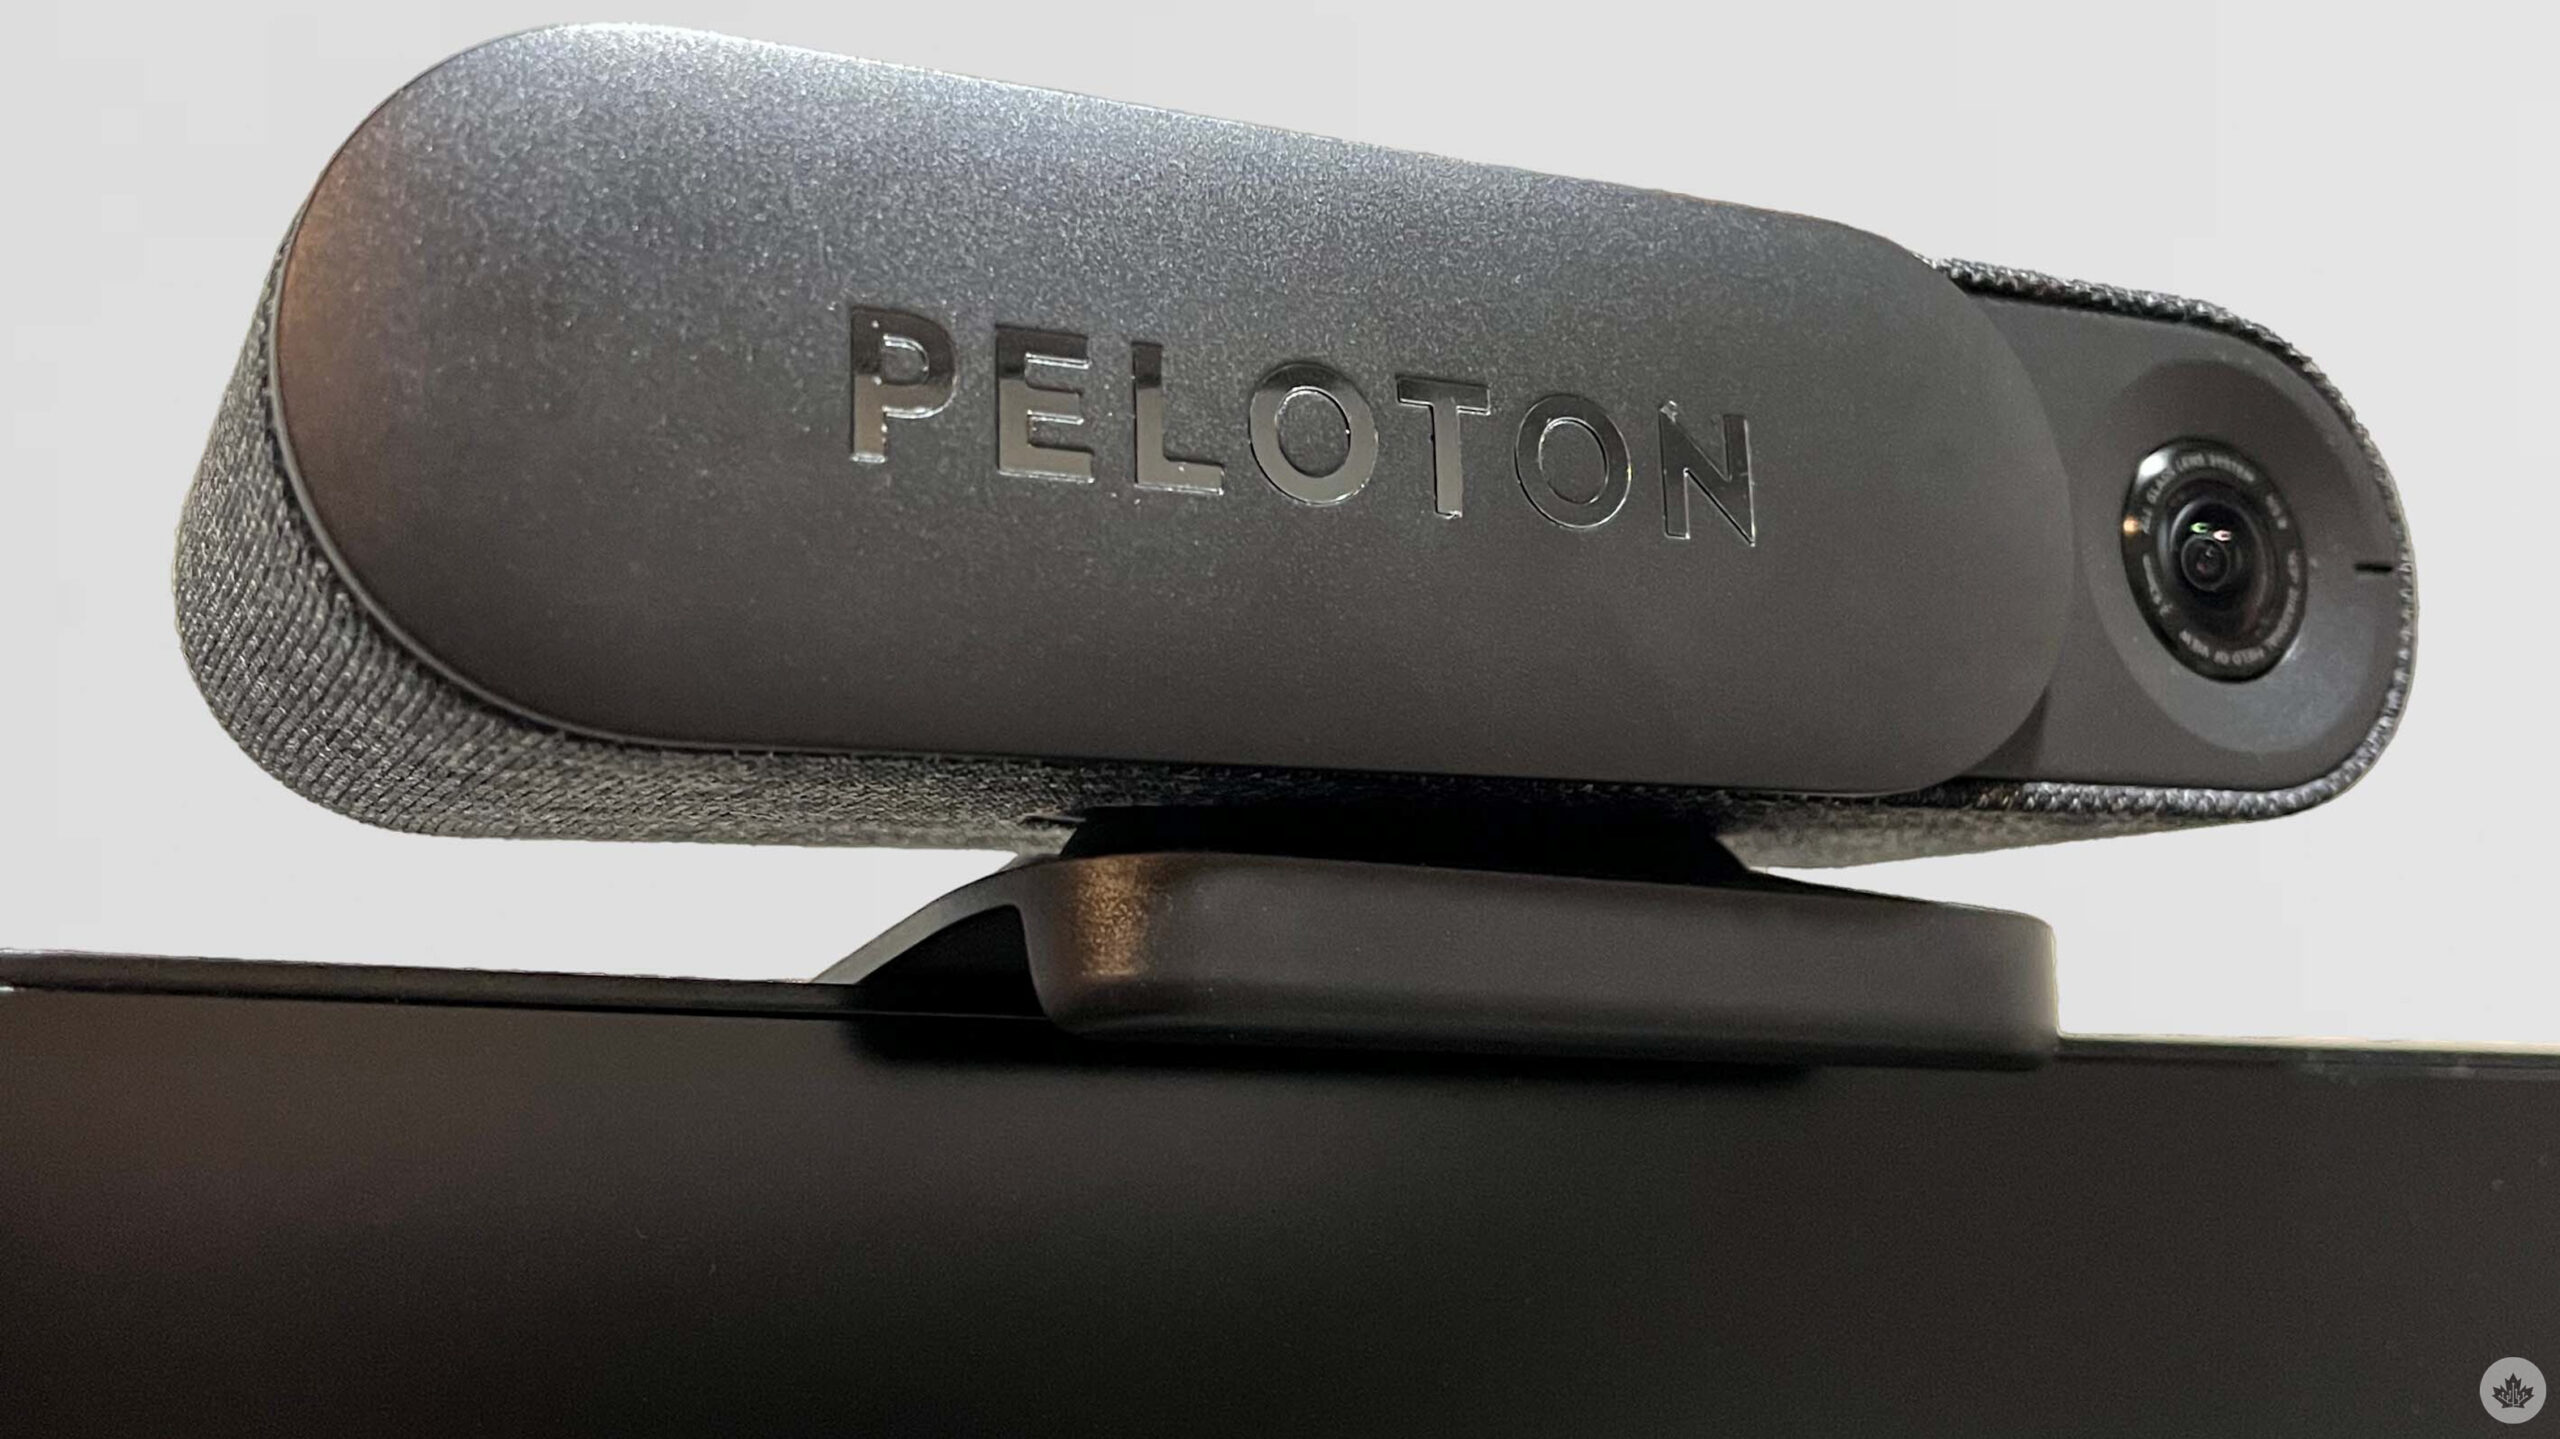
I don’t think I’ve unboxed anything as luxurious looking as the Guide. It comes in a sleek black box with all equipment placed neatly in its compartments. The device is six and a half inches wide, about two inches tall and is covered in a dark grey fabric that carries the luxurious feel of the packaging.
The camera has a 4K resolution, a 30 frame ratio, and a 12MP camera sensor.
Setting up involves connecting the Guide to its mount (if you want to perch it on top of a TV), connecting the device with the TV through HDMI, plugging the battery in, and adding batteries to the provided remote.
The remote helps you set up the Guide once connected to the TV.
There’s a little on/off switch in the back. The Guide has a built-in microphone and webcam, which tracks your movements as you exercise. There’s a sliding flap that allows you to cover the camera. A rep from Peloton told me the camera and microphone are only on when you’re partaking in a class. The sliding flap is there to ease anyone uncomfortable leaving an uncovered camera in their living room.
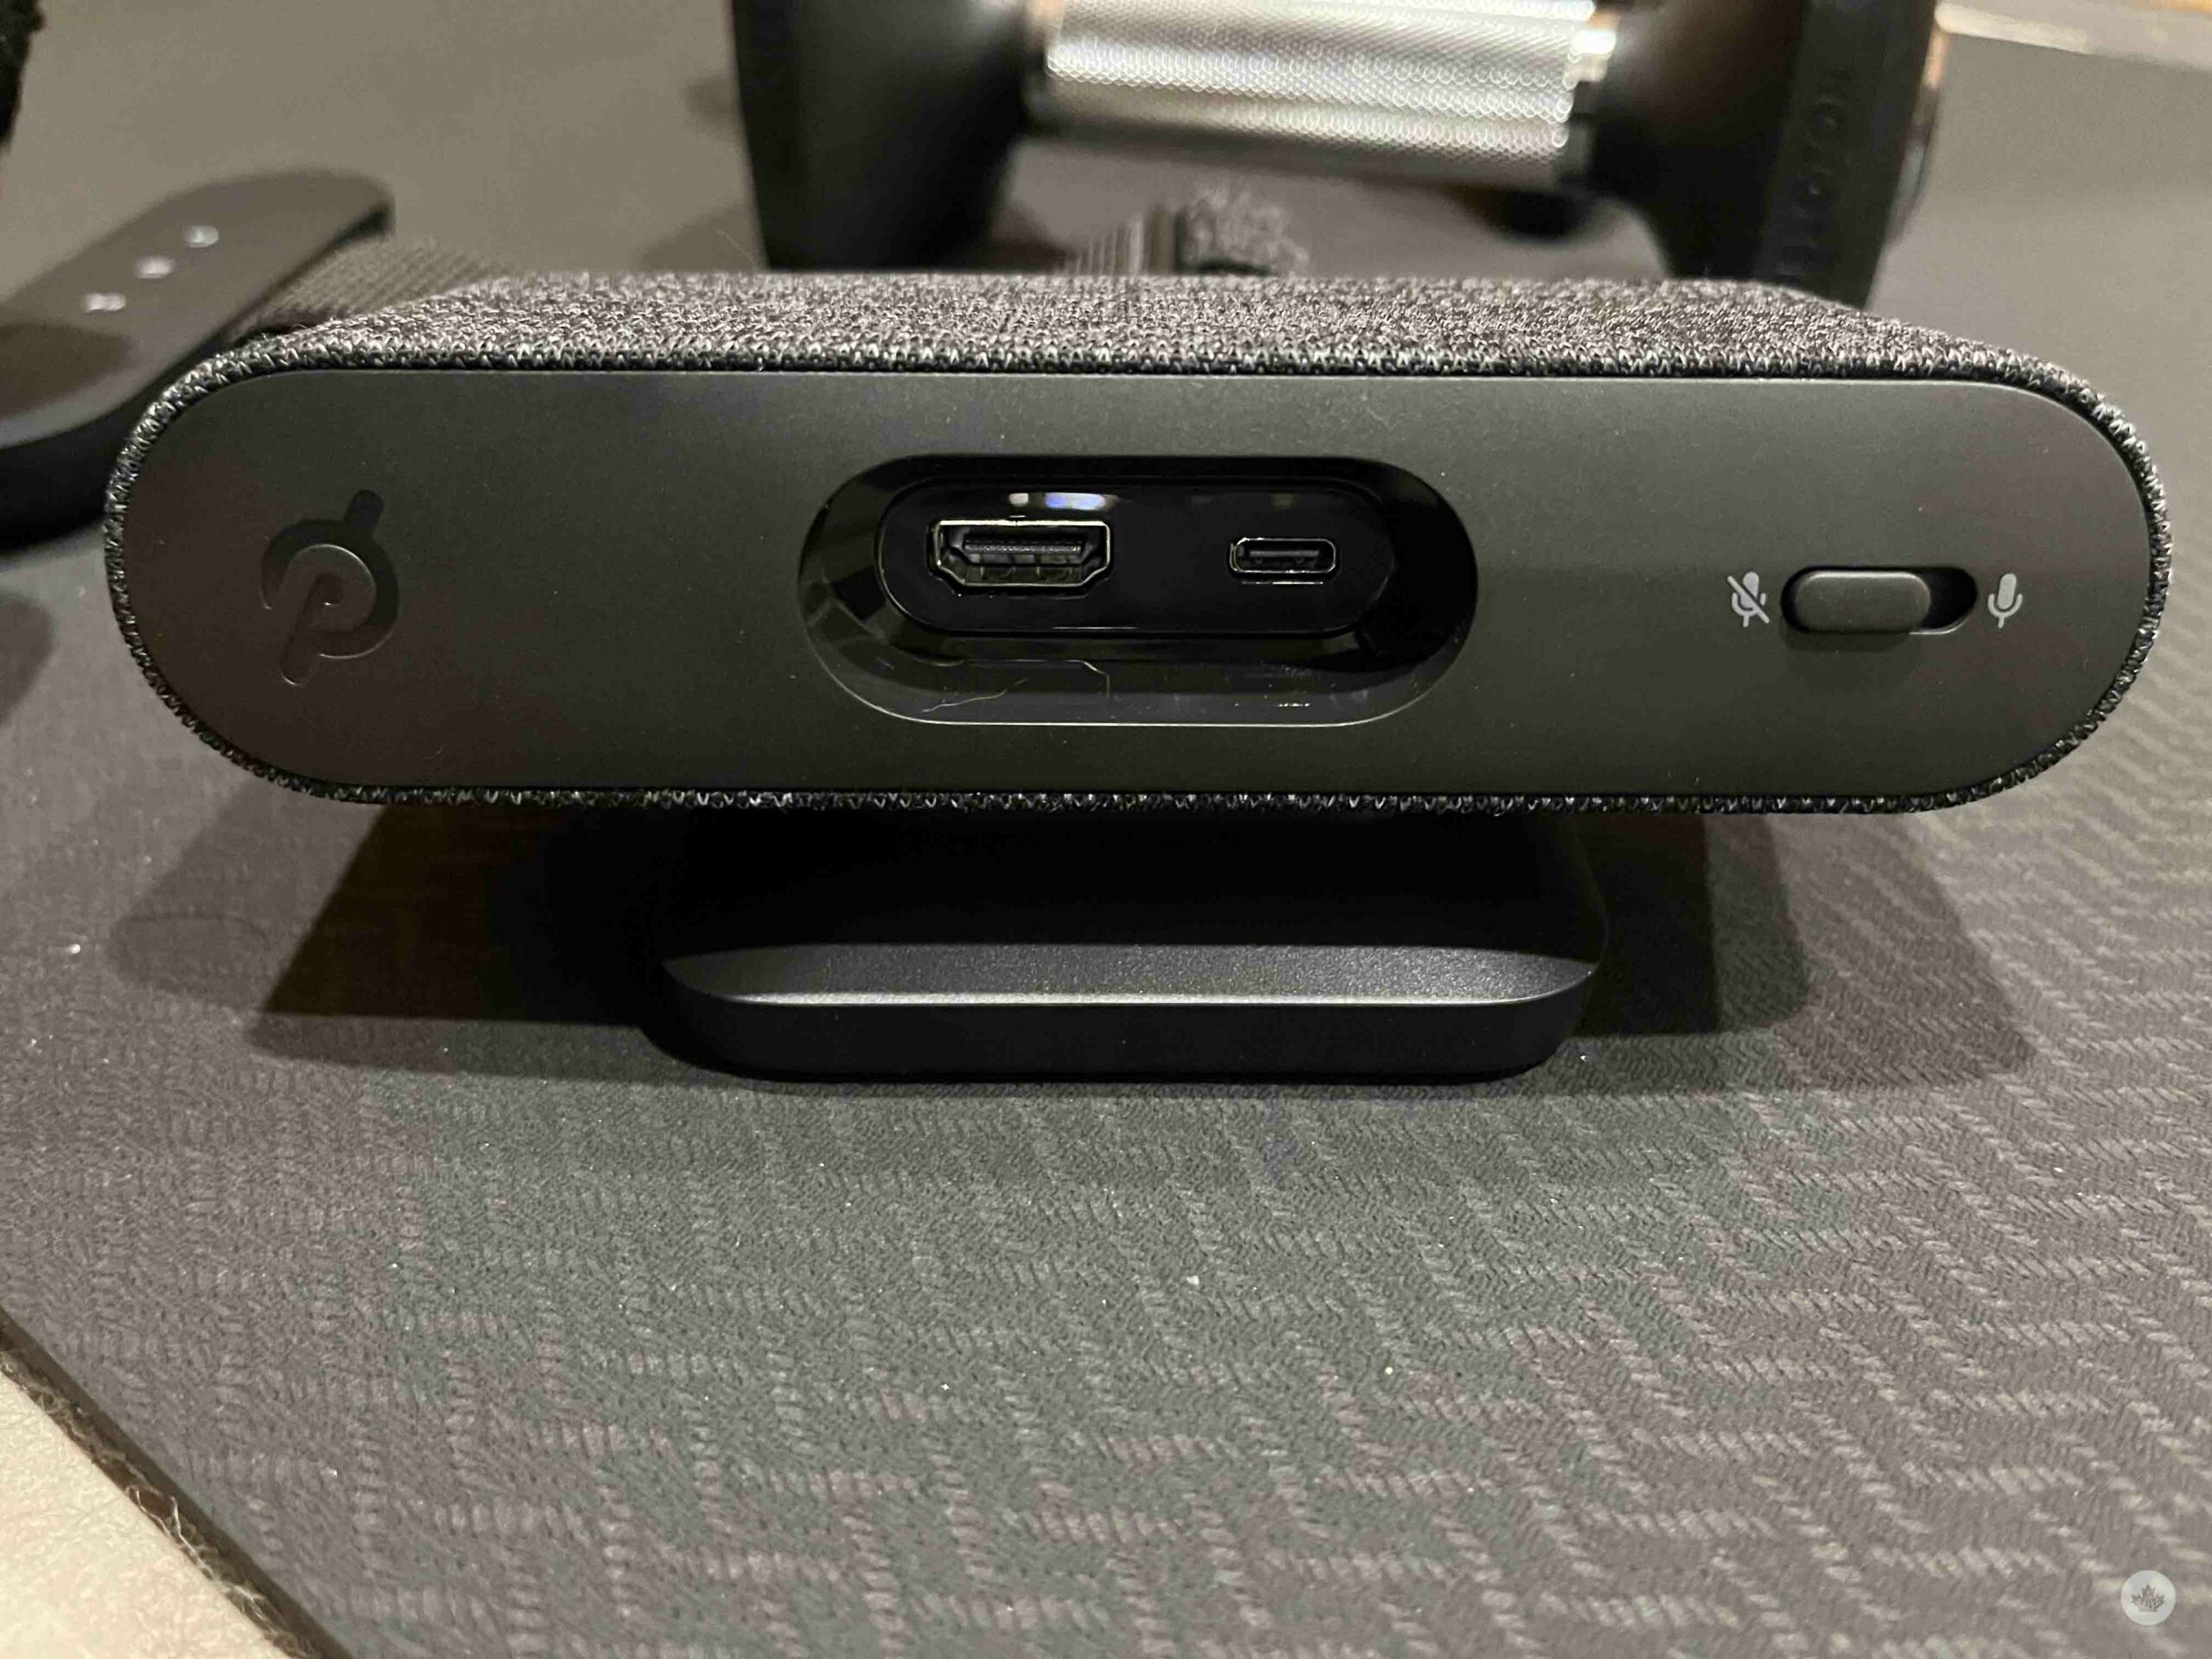
There’s no similar piece of mind offered for the microphone. The only thing you can do is turn the Guide off completely. I personally disconnected the Guide when I finished my workout.
After that, I paid for a membership and made a profile. I added my name, location, and other personal details such as height and weight to get an accurate reading on the Guide (more on that below).
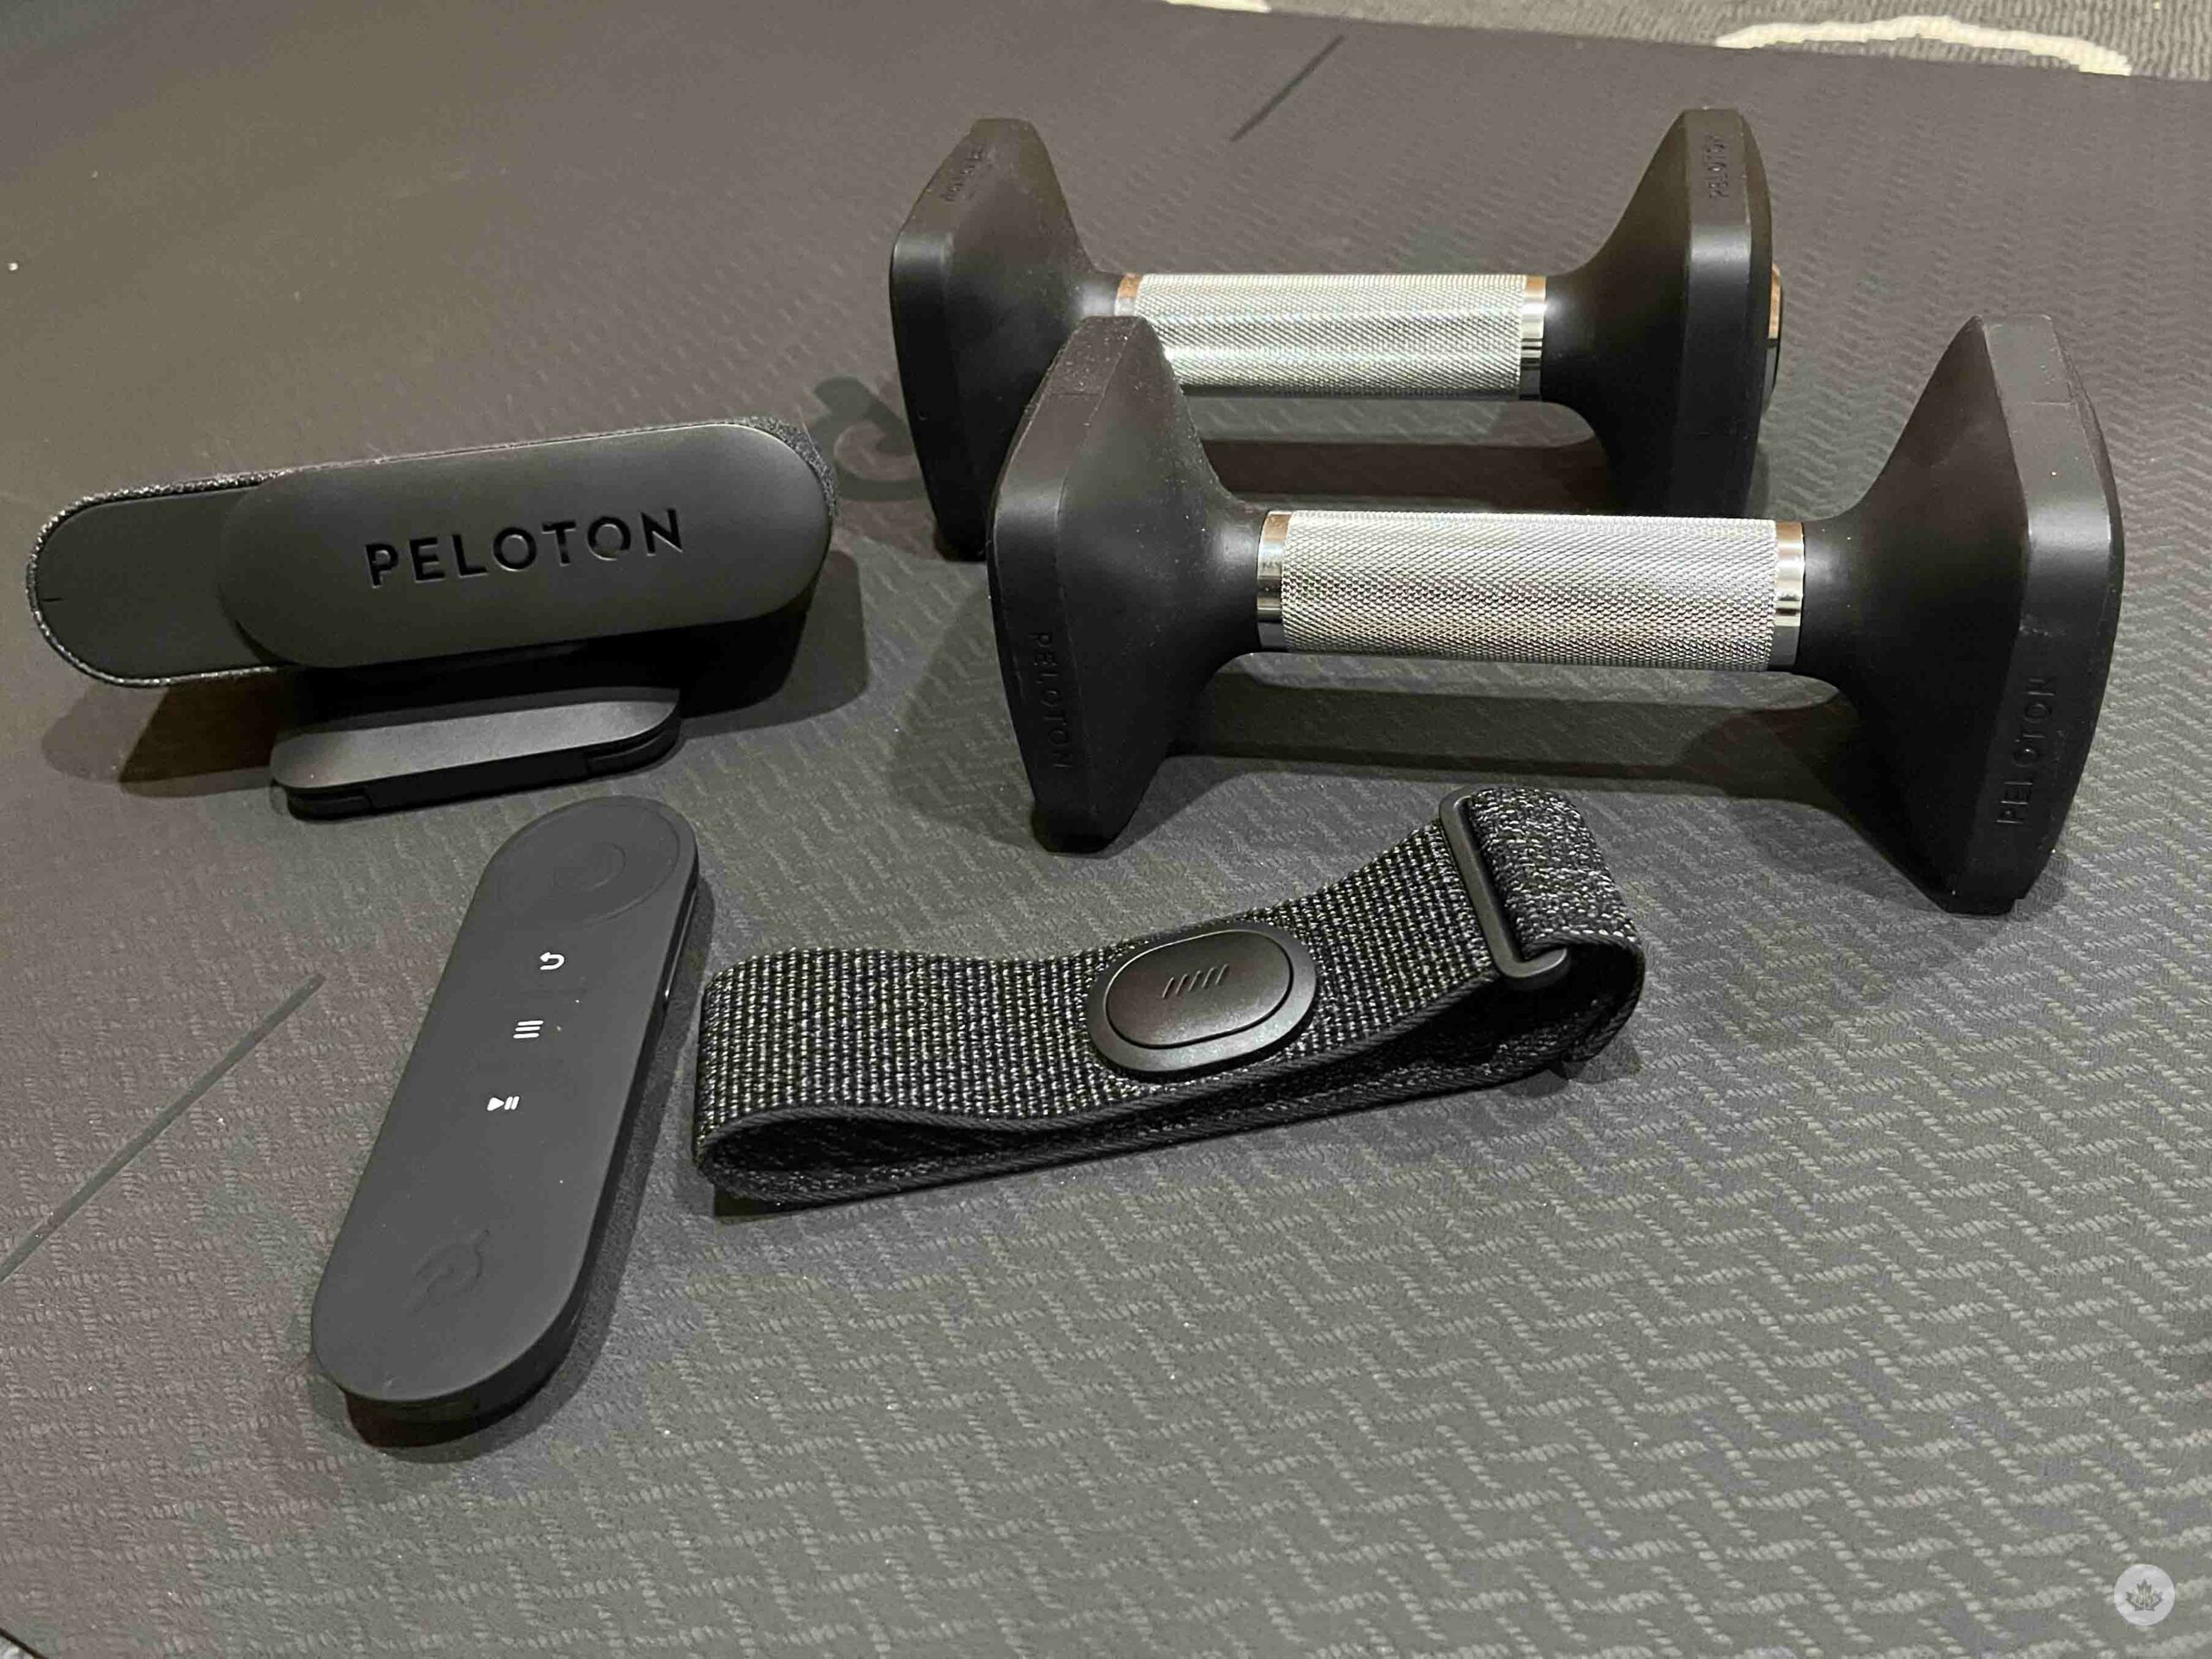
Peloton released a heartrate band with the Guide that’s purchased separately.
The workout
Once in, I’m greeted with a screen showing me many options. Towards the top is an avatar called ‘Body Activity.’ It’s essentially a breakdown of what muscle groups I worked out during the week, how many classes I took, and the total calories burned.
You can select a class based on the type of training you want to complete and the instructor you want to teach it. Once you’ve made the selections, it’s time for the Guide to shine.
I appeared alongside the trainer, showing me how I was doing. Users have several options on how they want to appear on the screen, including minimizing the window showing their movements.
As I worked out, a little transparent icon appeared on the screen that filled with a light blue tint as I moved. Called the Movement Tracker, it tracked how I completed each exercise. The goal is to fill up the icon entirely and earn credit. As I learned, it doesn’t track how accurately I’m doing an exercise but whether I’m doing all the reps. If you don’t earn credit, you can do the exercise again.
I liked the Movement Tracker because it made me give my all during the workout. The badges on my profile served as a virtual pat on the back for completing the workout.
The Guide also tracked the number of calories I burned based on some of the personal information entered in the profile section.
The Guide is voice-activated, and I can skip to a different section of the workout by saying “Okay Peloton” to wake the Guide up. I found this helpful as I didn’t have to stop my workout when I wanted to restart an exercise.
Alternatively, you can use the remote if you want to change things manually.
The heart rate band was placed on my forearm and tracked my heart rate. Several tiny slivers on the device lit up in accordance with my heart rate. You can also review how your heart did over completed classes.
The negatives
When I’m working out at home, I like to follow training programs on YouTube or apps that are free to download. The Guide does the same thing, but it’ll cost me hundreds of dollars. You also have to buy the heart rate band separately, alongside dumbbells if you don’t already own them, which adds to the total cost.
The only thing that makes the Guide stand out to me is the ability to track how I complete an exercise, which is a great way to hold myself accountable. However, I don’t require tracking to know if I’m giving a workout my all.
By itself, the Guide costs $395. The ‘Guide Strenght Starter’ costs $695 and also comes with three pairs of weights. A third option, the ‘Guide Power’ comes with three additional sets of dumbbells and the heart rate band. You can purchase it on Peloton’s website.
Update 04/12/2022 11:37am EST: The term ‘sweat tracker’ has been replaced with ‘movement tracker’ to reflect the correct term.
MobileSyrup may earn a commission from purchases made via our links, which helps fund the journalism we provide free on our website. These links do not influence our editorial content. Support us here.
