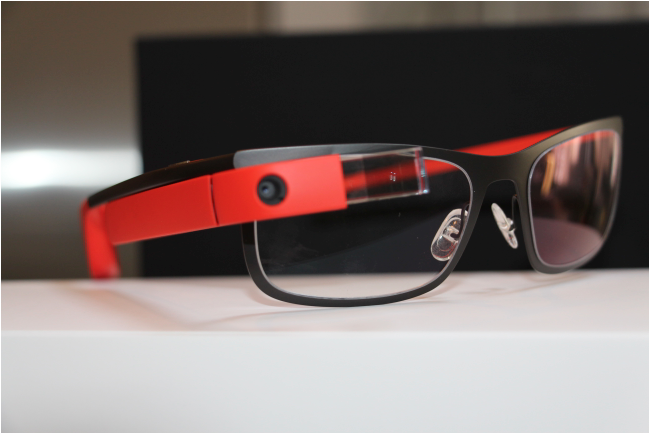
Last month, Google released new frames for Google Glass. The frames aim to make Glass more approachable and also give users who normally wear prescription glasses a way to use Glass without having to resort to contacts or a blurry experience.
Google’s frames come in four iconic and classic styles including Bold, Thin, Curved and Split. All four are made of titanium, making them extremely light. Within each style users can choose an accent colour which works with their Glass. The frames cost $225USD + tax and are ordered from the Glass accessory store.

The Google Glass frames come packaged in Glass’ signature oversized white box. Within the box are the frames, an absurdly large eyeglass case and two envelopes marked “For Your Eyecare Provider” and “For You To Keep”.
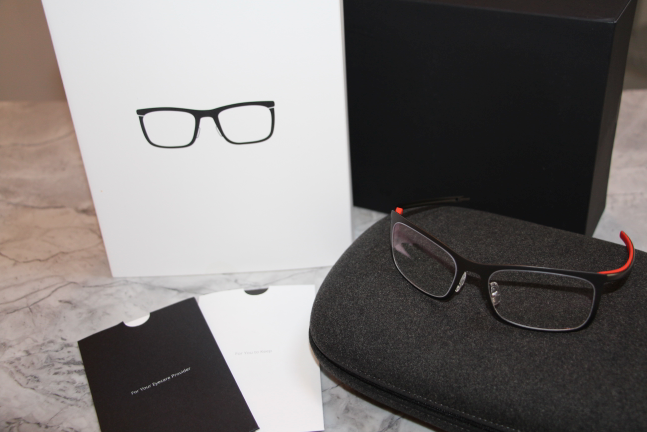
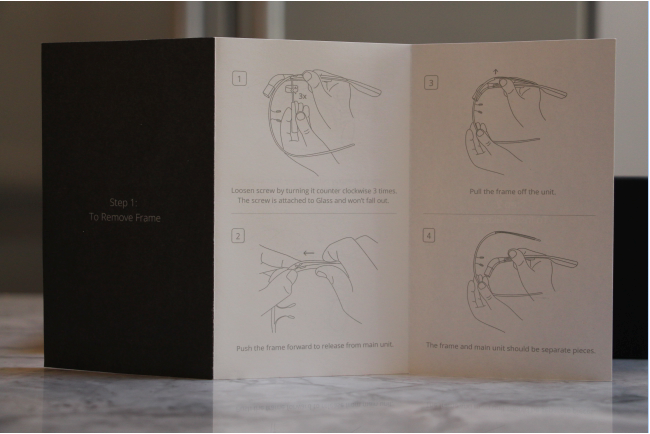
The black eyecare provider envelope contains guidance for the professional on how to ensure prescription lenses are optimally installed to work with Glass. The white envelope is for the user which contains extra nosebuds and a branded lens cleaner. Both include instructions on how to attach the frames to Glass.
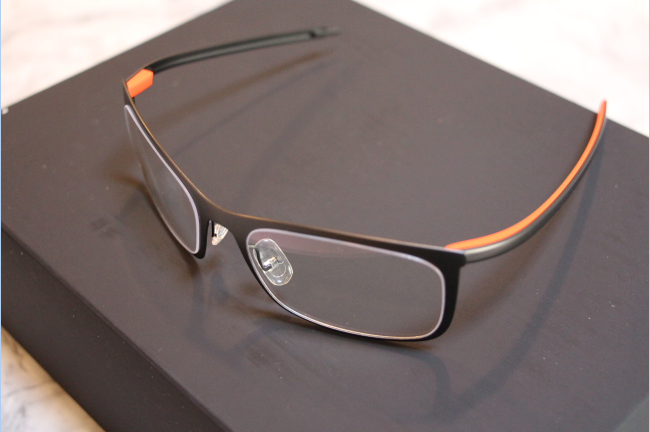
The Bold pair, shown below, is thicker and more square compared to the other four styles. The frames themselves are extremely light. And you would almost not be able to tell the difference between regular frames and these made for Glass if it weren’t for the modified right-arm which looks as if it was unfinished.
To attach the frames you need to first remove the lens-free band that comes with Glass. To do so, you need to loosen the small screw on the inside of the device near where your temple would be.
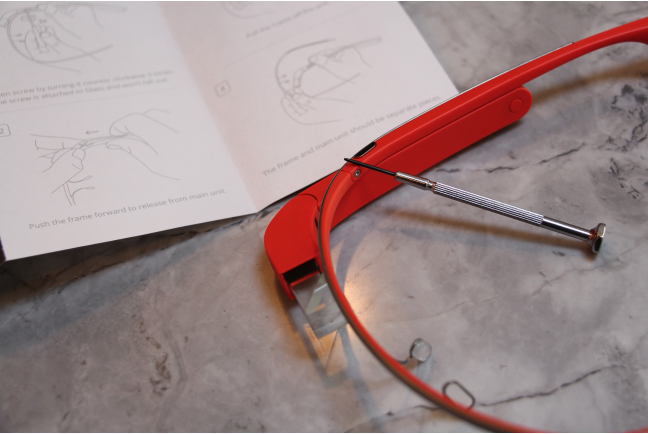
Google says on their website help page that “new frames are shipped with a free precision screwdriver especially made for Glass” but my delivery did not come with the tool. Luckily we found you can use any small screwdriver you would normally use to tighten screws on a pair of glasses.
Once you give the screw a couple of counter-clockwise turns (Google suggests three) you then gently pop the band out of position and pull it off the actual device. You are left with what is actually Glass, the right side that houses the battery, computing power and the prism.
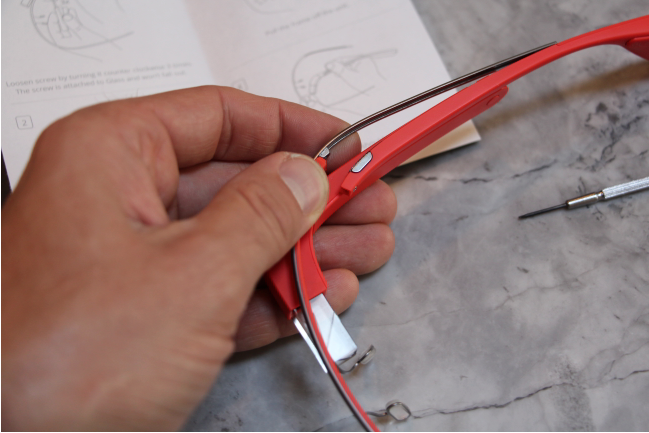
To attach the frames, you slide the right arm of your new frames into where the band was released. Press the frame close to Glass and then tighten the screw. Google recommends that you use the included cloth to protect the prism during installation to protect it from the screwdriver, which is good advice.
The removal and installation takes about five minutes in total and is dead simple. Once you are done you have a pretty stylish looking pair of Google Glass which also looks much more normal than the futuristic lens-free band it Glass comes with out-of-the-box.
Using Glass with frames is the same as Glass without. The prism display was easy to see, although it was more noticeable when Glass wasn’t on straight as the screen would be on a tilt. Adjusting the screen was trickier with frames since you need to adjust the entire pair of glasses instead of just the band which was more flexible.
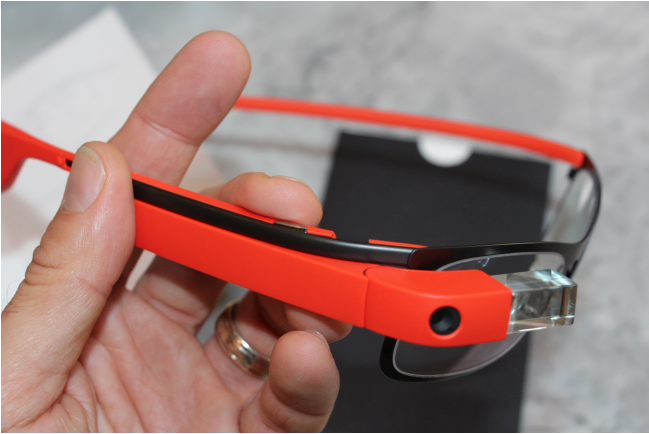
Glass with frames also feel extremely comfortable on your face. As the frames are extremely light, they do not feel much heavier than the lens-free band. And if you are used to wearing glasses, Glass with frames feels much more like what you are used to instead of feeling like a headband.
Of course the real benefit beyond style is that you can wake up and use Glass without having to put your contacts on, that is once you pay to get the plastic lenses updated with prescription ones.
MobileSyrup may earn a commission from purchases made via our links, which helps fund the journalism we provide free on our website. These links do not influence our editorial content. Support us here.


