Last night, my partner had a scare. Her iPhone 5 was misbehaving, apps closing without warning, text messages showing up in the Notification Center but not in the Messages app itself.
After restarting a couple of times to excise any demons, I checked the available storage and saw it was 0 bytes. That’s right, there was no storage left on her 16GB iPhone, an increasingly common refrain I’m hearing from people.
Determining what apps were using her storage — Settings/General/Usage — it became quickly apparent that the Photos app was the culprit. After nearly three years with the phone, she’d taken some 2,500 photos and some 80 videos that, together, totalled 6GB.
Knowing the only way to get rid of these photos was to upload them somewhere to the cloud and delete them locally, she mourned the loss of these photos before they were even gone. But I remembered a recently-released feature called iCloud Photo Library that promises to be the best of both worlds.
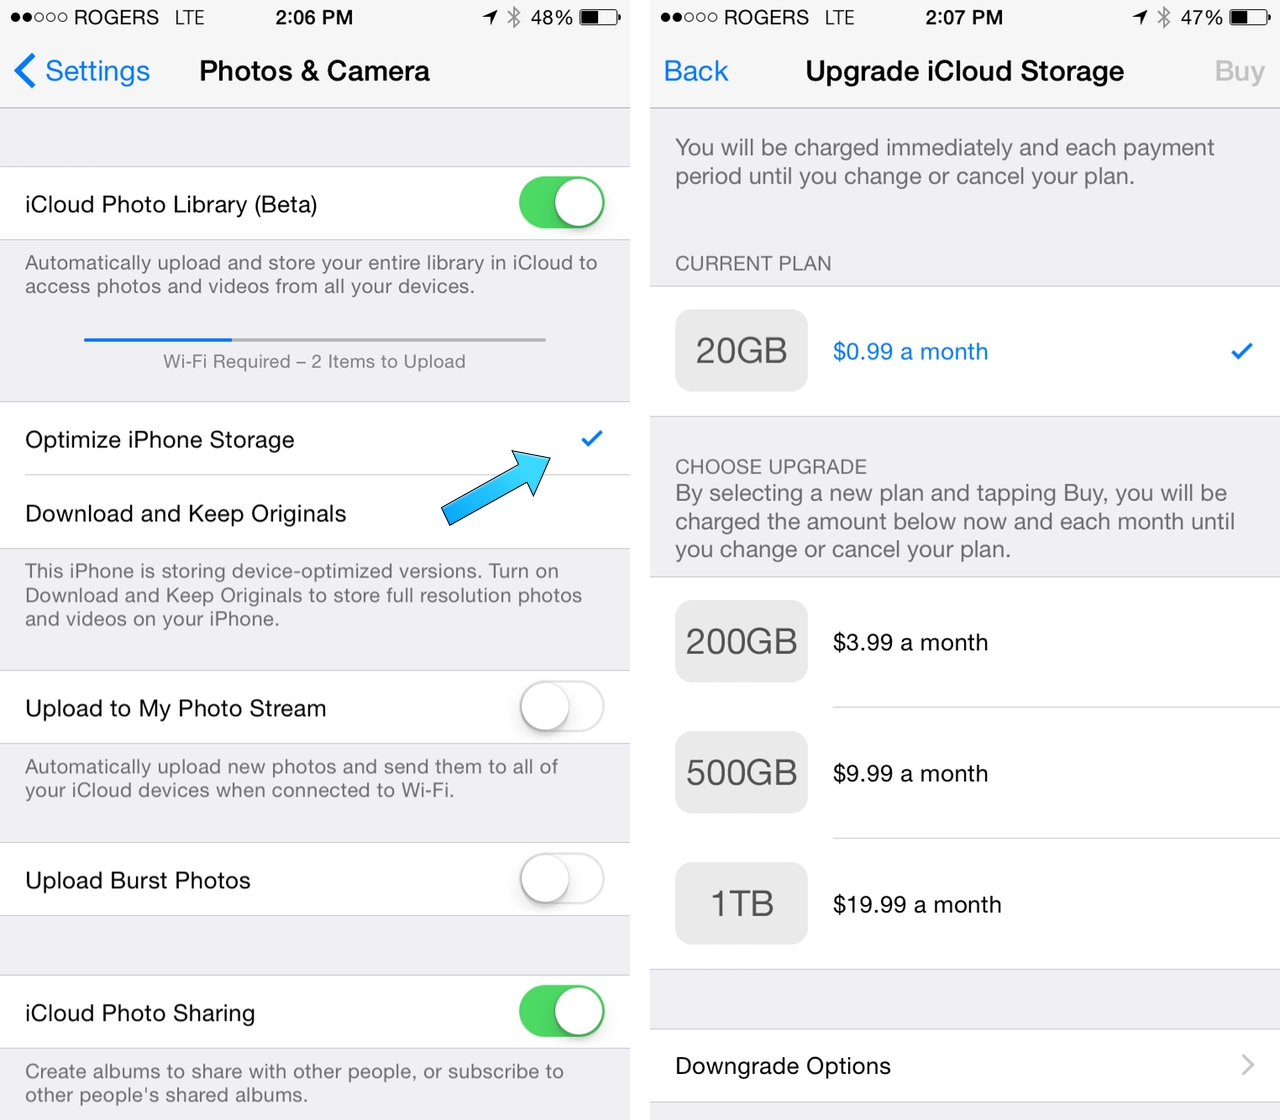
See, iCloud Photo Library is part of the newly-launched iCloud Drive product that Apple announced alongside iOS 8. Supplanting (but not replacing) My Photo Stream, iCloud Photo Library allows an iPhone, iPod or iPad user running iOS 8.1 to back up his or her entire photo collection, in full quality, to the cloud. Every iCloud user (which is practically ever Apple user these days) gets 5GB of free storage, and higher storage tiers begin at $0.99 CAD per month for 20GB, rising to $3.99 for 200GB and $9.99 for 1TB.
Turning on iCloud Photo Library is fairly easy, but doing so initiates a synchronization process that ensures any photo taken on an iDevice is uploaded, in its original, full quality prestige, to iCloud. But getting back to the storage-saving, best-of-both-worlds scenario we were talking about, a setting inside the feature also converts all the photos stored on one’s iDevice to a lower-quality version — think a thumbnail, or the equivalent of Adobe’s Smart Preview — that can quickly be converted to full quality upon command.
I did this on my partner’s iPhone 5 and, after an overnight upload session of 2,600 photos, nearly 3.5GB of storage was freed up on the phone. While that’s not quite the 6GB we started with, it allows her to preview all of her photos and, on command, download the full versions individually or in bulk, back to her device should she choose. Sound good? Here’s how you do it:
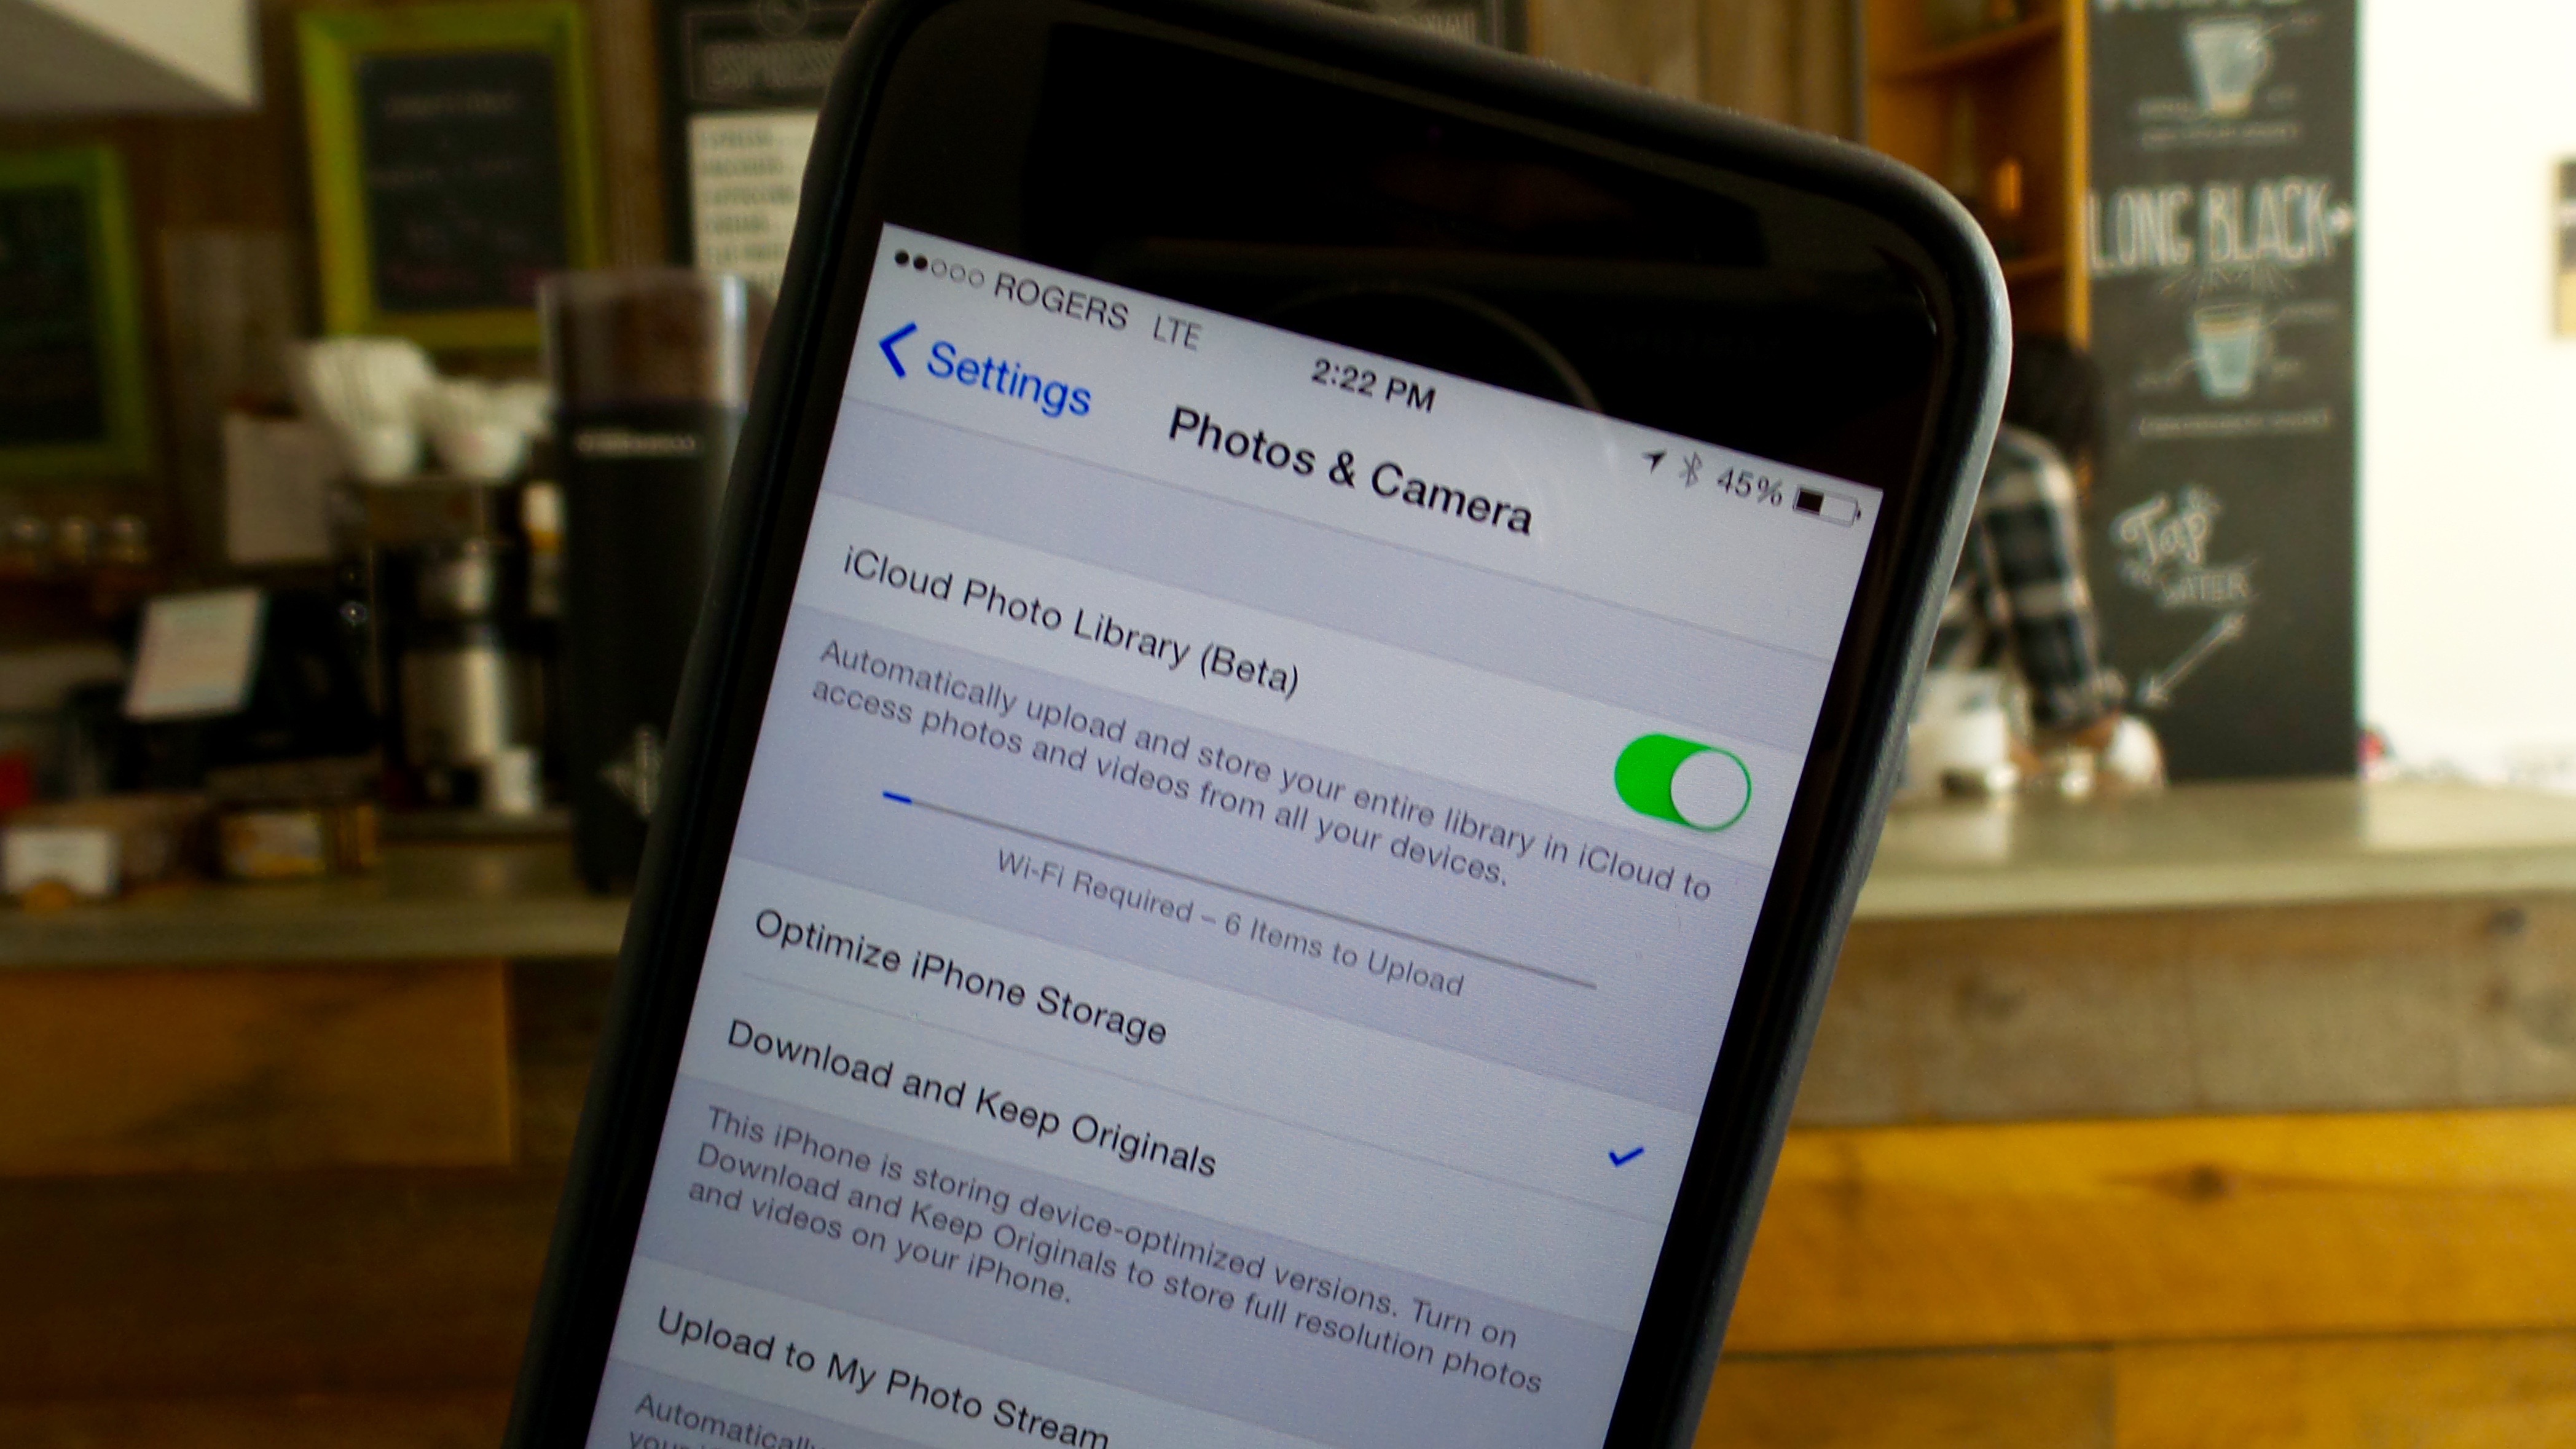
1) Go to Settings/Photos & Camera and enable iCloud Photo Library (Beta)

Doing so will override any previous settings. It’s possible to turn off iCloud Photo Library, and Apple will give you 30 days to download all of your photos to a local device, after which time they’ll be deleted from the company’s servers.
To save space on your phone or tablet, make sure that ‘Optimize Phone Storage’ is selected, otherwise the device will merely upload full-sized versions of your photos to the cloud and keep the same ones on your phone, which is not what we want.
2) Once the uploading process has completed, if you want to download full-sized versions of your photos, go to the Photos app and open older content. They will automatically download higher-quality versions.
MobileSyrup may earn a commission from purchases made via our links, which helps fund the journalism we provide free on our website. These links do not influence our editorial content. Support us here.


