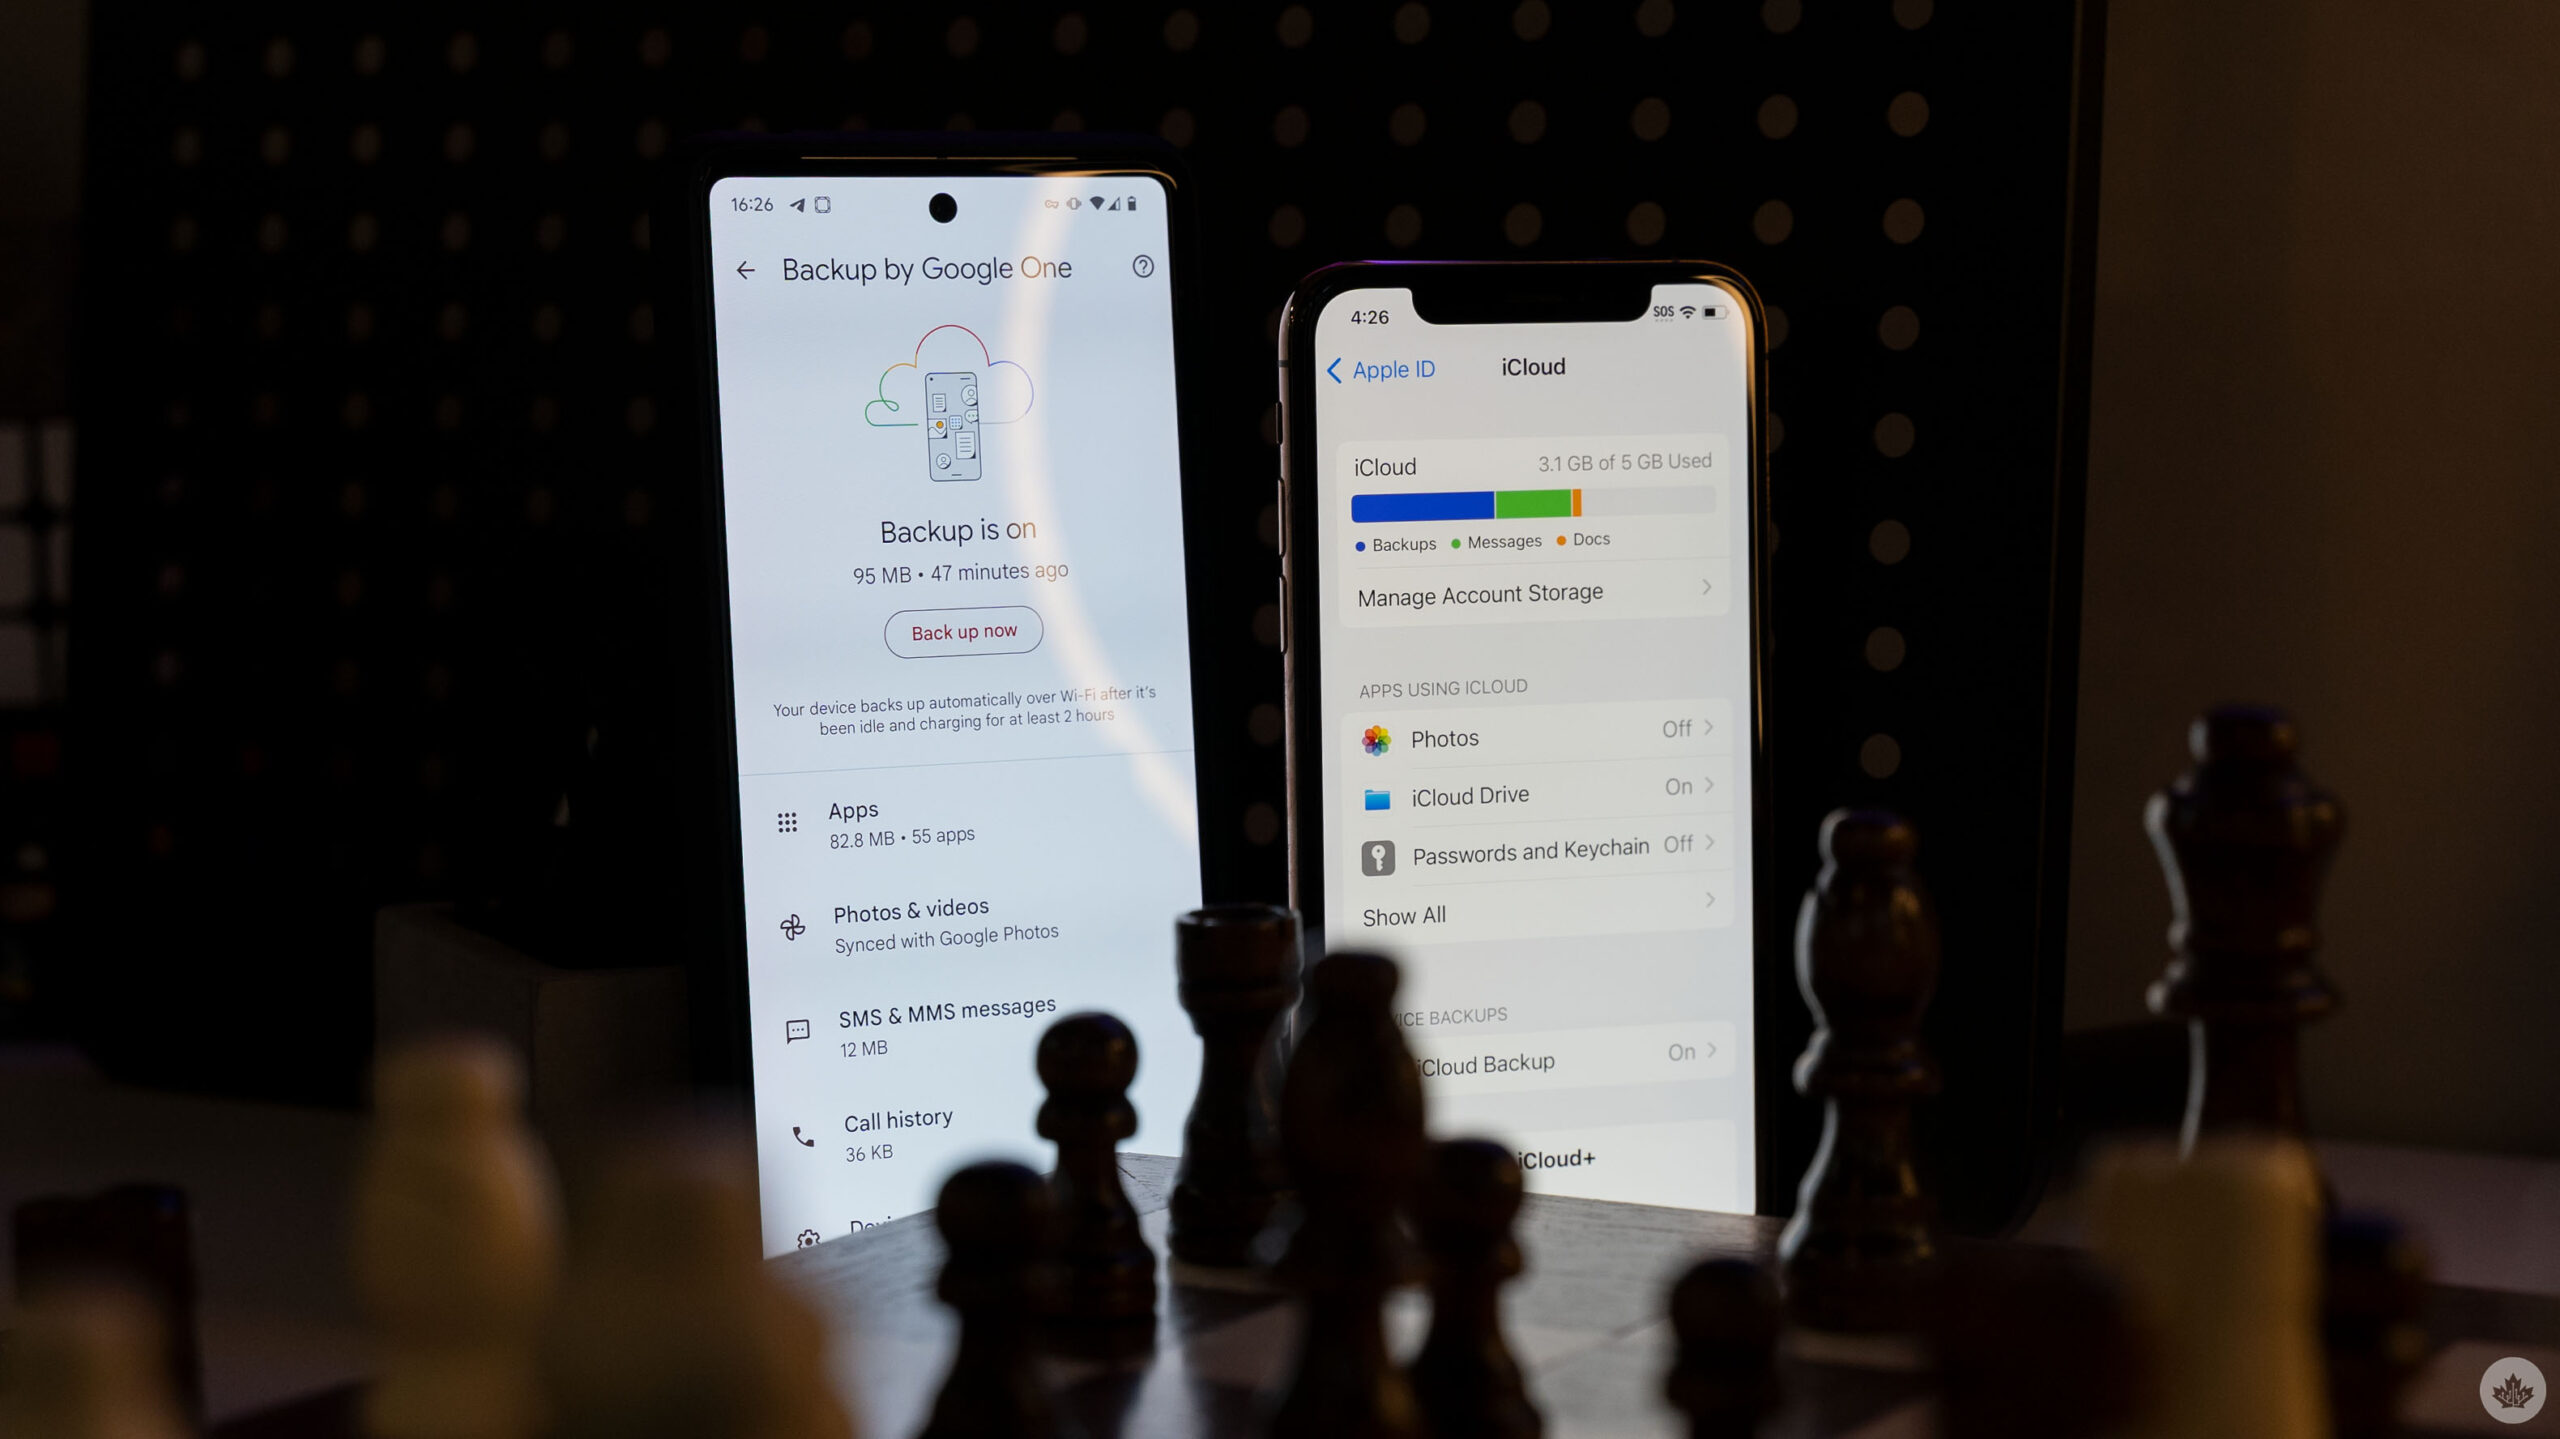
A critical part of owning a smartphone these days is managing the associated cloud storage holding backups of your photos, messages, contacts, and more. Unfortunately, most people neglect this, often to their detriment, when an ageing smartphone gives up the ghost, or a clumsy hand sends it rocketing to the floor, never to work again.
As someone who spent years working at a cellphone store (and who still serves as the resident IT guy for friends and family), cloud storage often ended up causing problems during the upgrade process. With that in mind, it might be a good idea to check in on your cloud storage, make sure you have space for your phone’s backups, and more. Here’s how to manage it.
iPhone
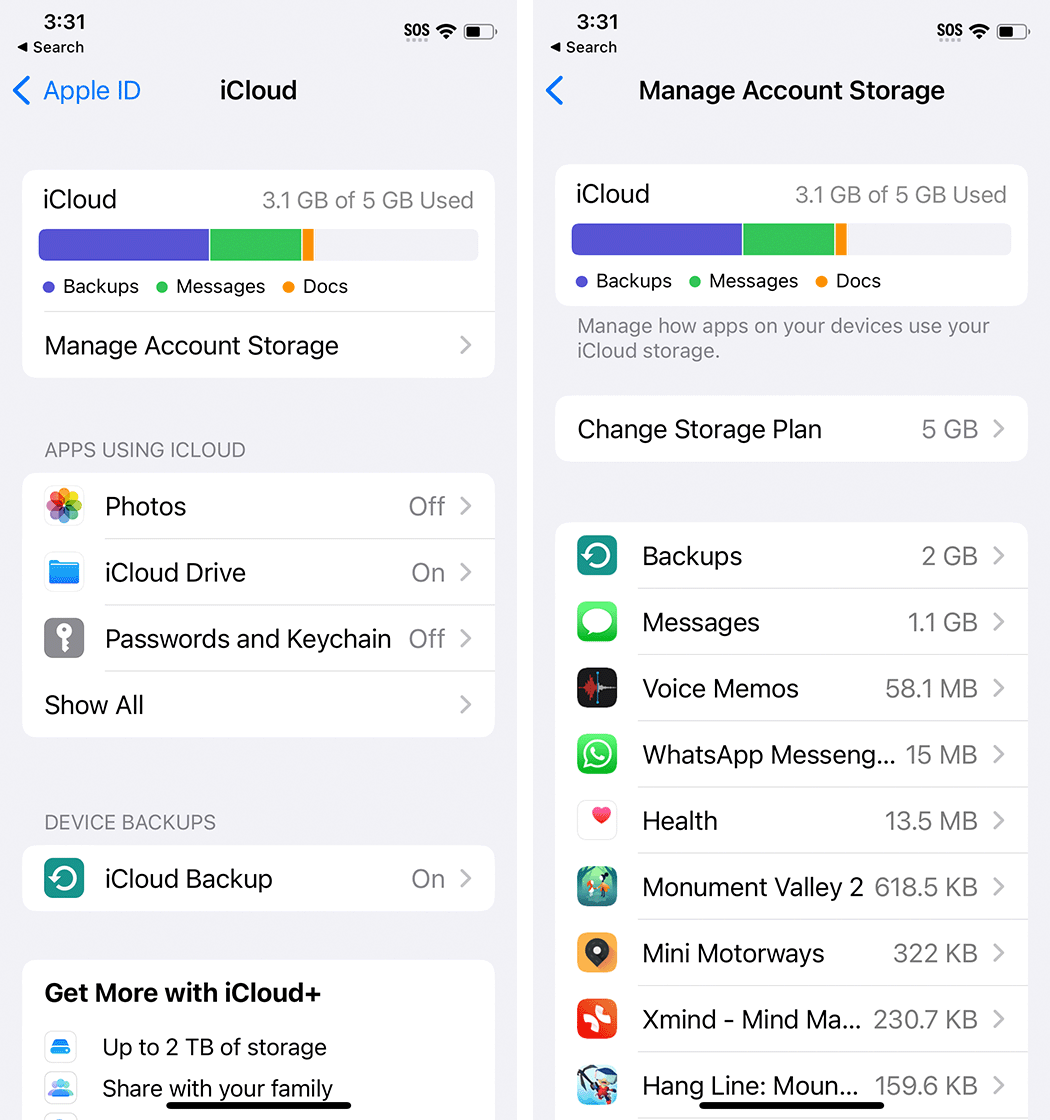
Every Apple ID comes with 5GB of free iCloud storage that can be used for backups, but chances are you’ve already filled it with photos and other storage-heavy content. To clean up your iCloud from an iPhone, open Settings > Tap your name > iCloud. In this menu, you’ll see a breakdown of what’s using up your storage, followed by an option to manage your storage. Below are some apps that use iCloud, like Apple Photos, a Device Backups section, ‘Advanced Data Protection’ (which will let you encrypt your iCloud data, although the feature isn’t available in Canada yet), and finally a toggle to turn on access to your iCloud data from the web. You may also see ads pushing you to upgrade your iCloud storage.
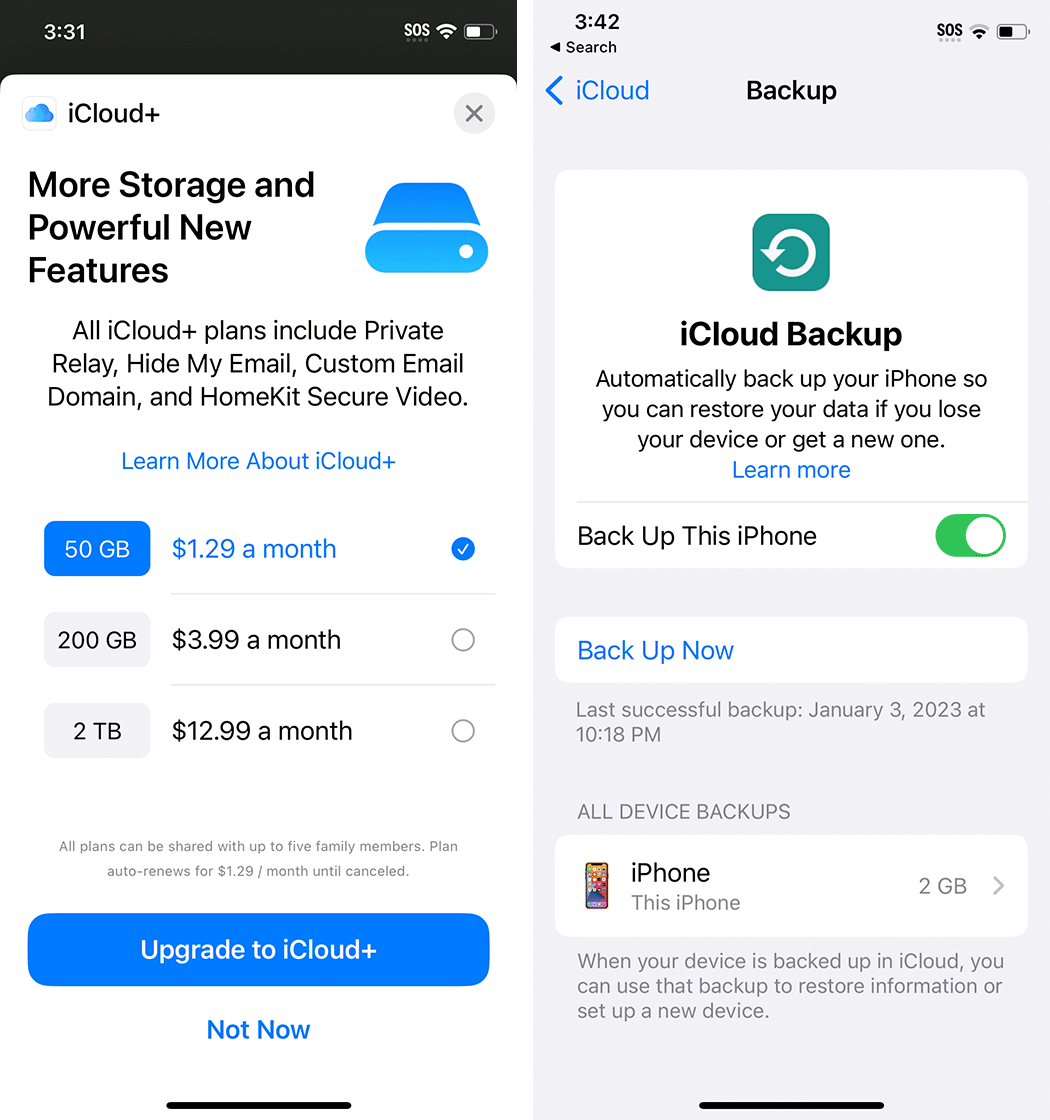
Tapping ‘Manage Account Storage’ brings up a list of everything stored in your iCloud along with how much space is being used by that thing. Most of my storage is used up by Backups and Messages because I disabled Photos backup (more on that in a moment). This list can be handy if you want to clear out any large items — simply tap an item and tap ‘Delete’ on the next screen to remove it from iCloud. You can also expand your iCloud storage from this screen with the following options and prices in Canada (as of January 6th, 2023):
- 50GB – $1.29/mo
- 200GB – $3.99/mo
- 2TB – $12.99/mo
Paying for iCloud also gives you access to iCloud+ features like Private Relay, Hide My Email, and more — learn about those here.
iCloud Photos will likely be the thing gobbling up most of your iCloud storage. It’s a system for backing up photos and videos from your iPhone and it’s a great way to protect your pictures in the event you break or lose your iPhone. As I mentioned above, I don’t use iCloud to back up my pictures because I prefer Google Photos and I primarily use Android phones. If you don’t want to back up images to iCloud, you can turn this feature off (but I’d strongly recommend using another backup service to protect your pictures, whether that’s Google Photos, Microsoft OneDrive, or something else).
Most importantly, check the Device Backups section to ensure your iPhone is backing up to iCloud. This will make it easier to restore your data on a new iPhone.
Android
Android’s backup system is fairly complex, thanks partly to manufacturers offering their own backup systems on top of what’s available as part of Android. My recommendation is to make sure the Android backup system is set up and good to go first, and then look into setting up the manufacturer backup system (for example, Samsung Cloud backup for Galaxy phones).
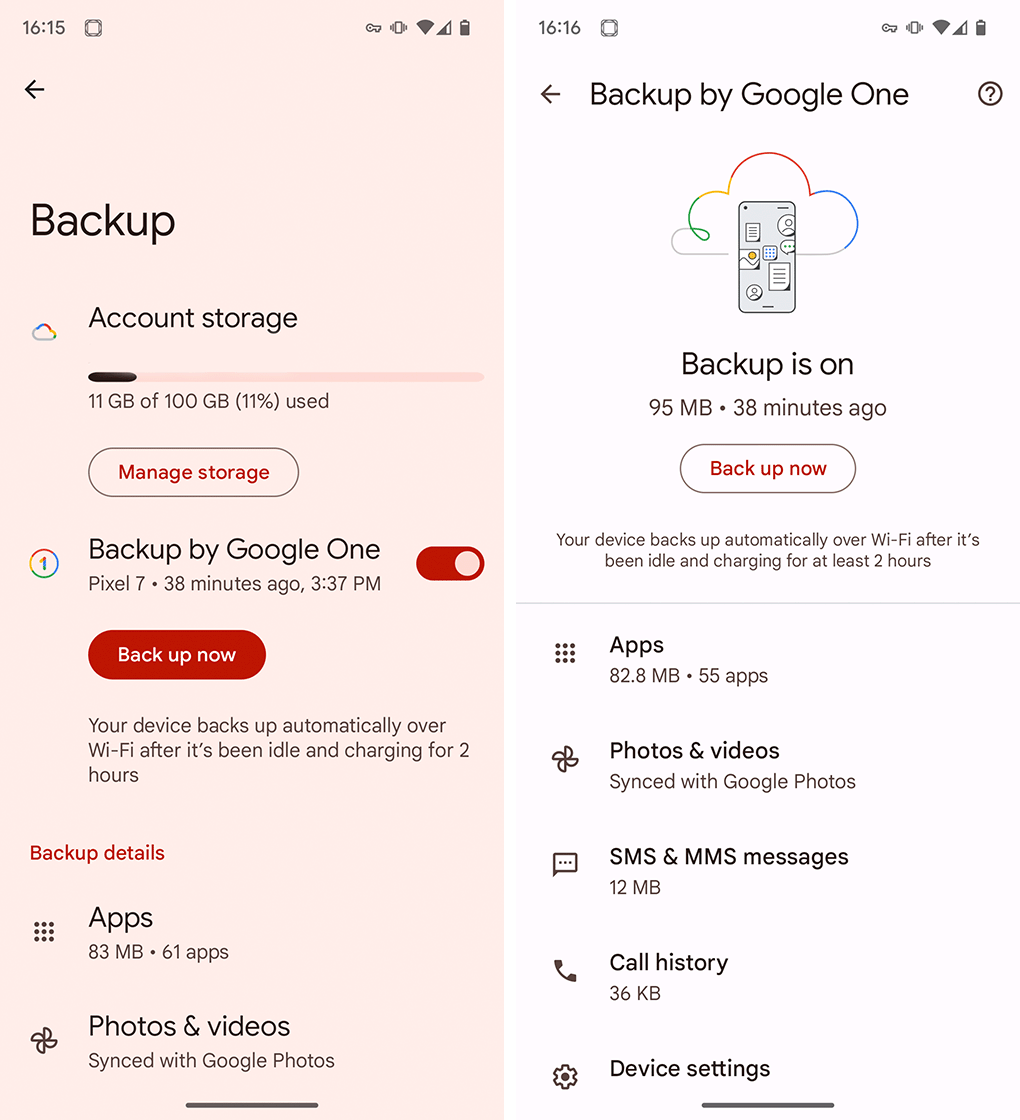
You can manage your backups from two places on Android. The first is through the Google One app, and the second is by heading into the Settings app and going to the ‘Backup’ section. It might be in a different spot depending on your phone — on my Pixel 7, it’s in Settings > System > Backup, while on a Galaxy S10e I checked it was in Settings > Accounts and backup > Back up data under the Google Drive header.
Regardless, you should end up on a screen showing your Google account storage, an option to manage the storage, and then backup details for your device, including a ‘Back up now’ button and a list of what’s included in the backup and how much space it takes up.
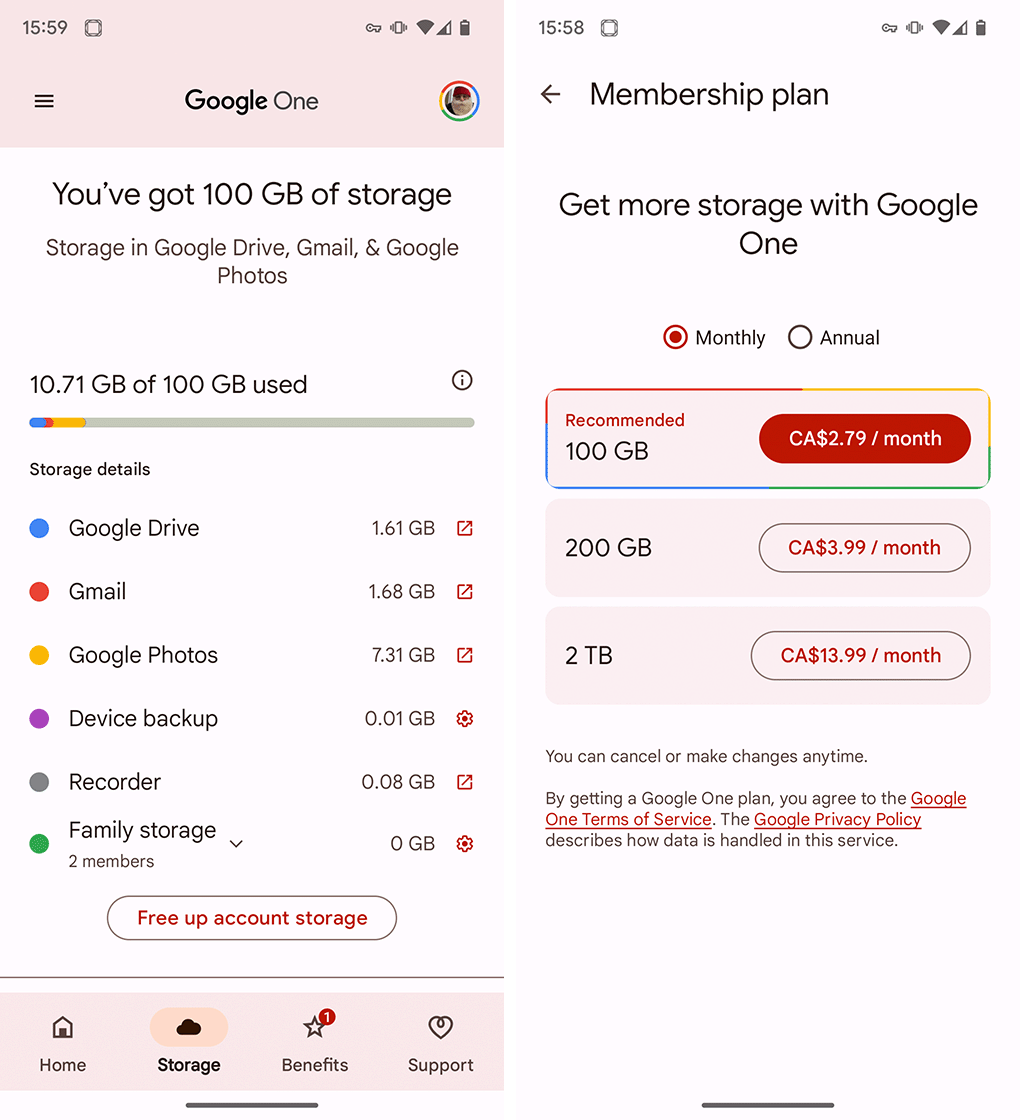
Android backups are stored in Google One cloud storage, which is shared across various Google services, including Drive, Gmail, and Google Photos (it’s worth noting that while photos are listed in the device backup section, the Google Photos app handles the backup). You get 15GB for free and can upgrade your storage to:
- 100GB – $2.79/mo or $27.99/year
- 200GB – $3.99/mo or $39.99/year
- 2TB – $13.99/mo or $139.99/year
Controlling what gets backed up and what doesn’t is a little more confusing than it is with the iPhone. In the Backup menu in my phone’s Settings app, I could only view a list of what was backed up. However, if you head into the Google One app to view your backup, there’s a ‘Manage backup’ button that takes you to a menu with options to toggle off certain categories, such as device data, multimedia messages, or photos and videos. However, other parts of the Android backup interface will bounce you to Google Photos to manage what gets backed up.
Again, your photo library will probably take up the most space in your device backup, so being able to manage that separately is the most important thing — none of the other stuff in my backup takes more than 100MB of space.
MobileSyrup may earn a commission from purchases made via our links, which helps fund the journalism we provide free on our website. These links do not influence our editorial content. Support us here.

