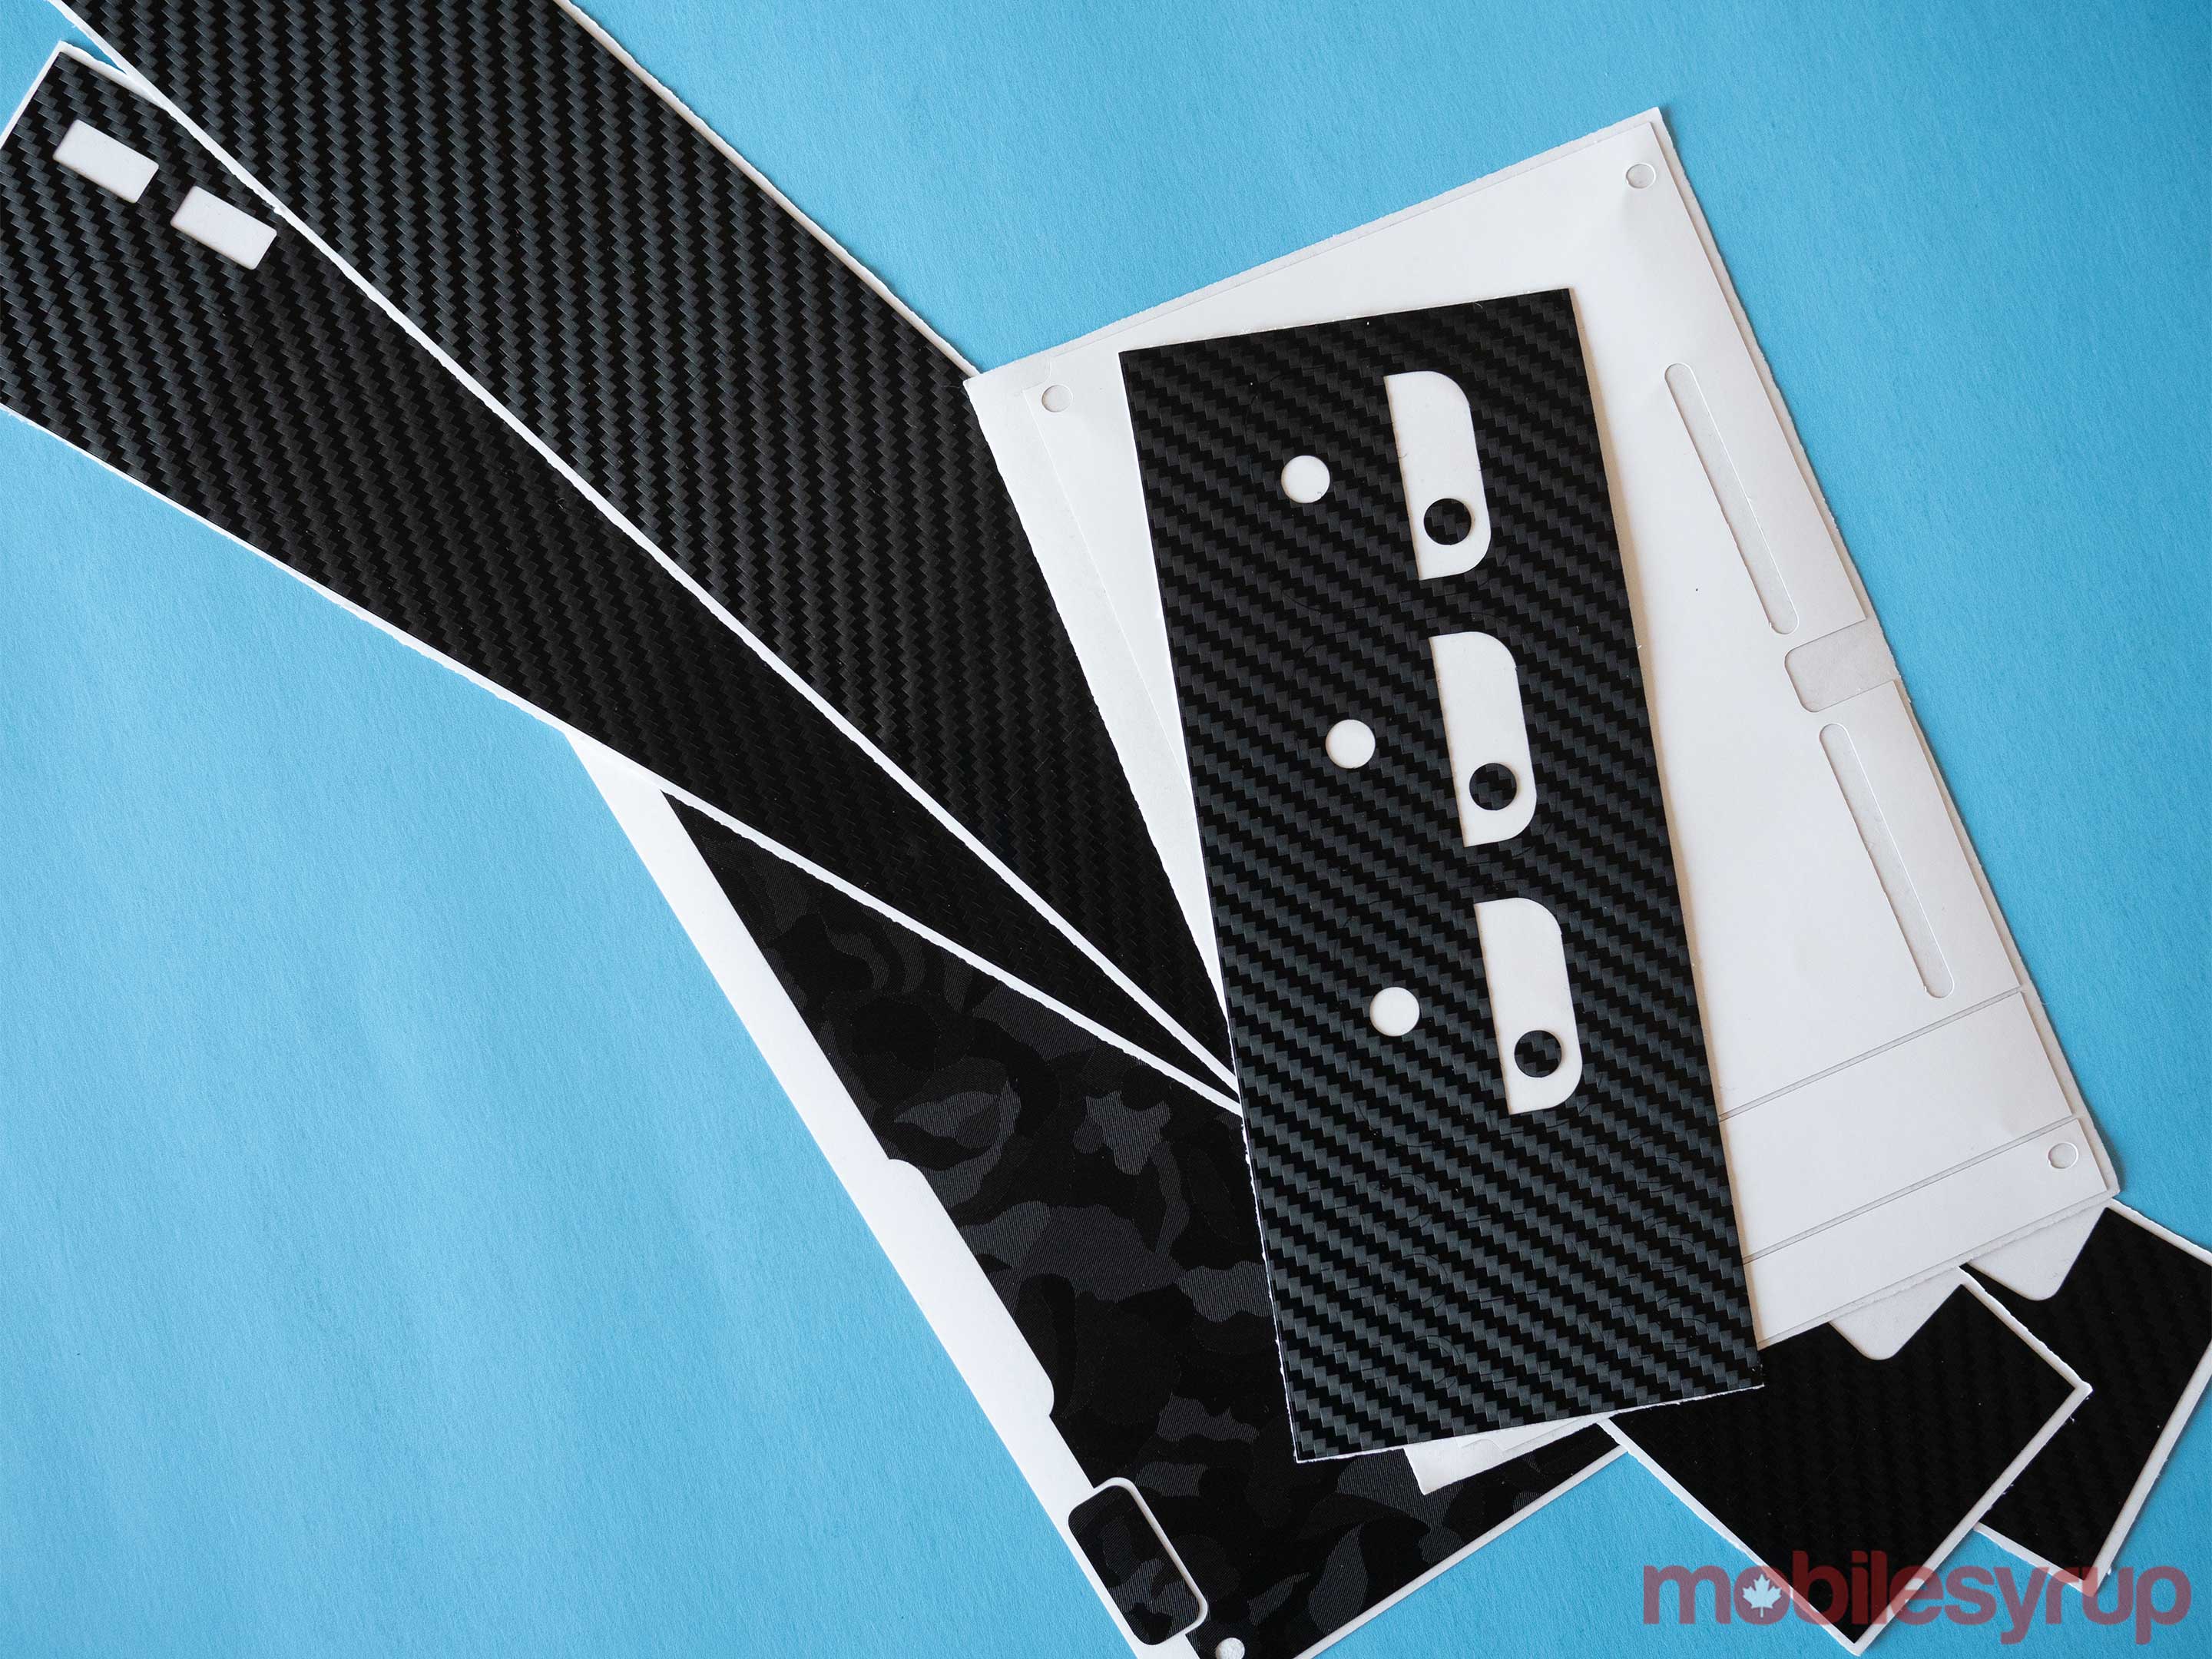
If you’ve spent any amount of time on YouTube watching tech-related videos over the last few years, it’s likely you’ve come across a Toronto-based manufacturer called dbrand.
The company, which has rapidly built up a positive reputation in the tech industry, sells custom 3M skins for a variety of smartphones, video game consoles, tablets and even laptops.
While Nintendo’s Switch has been out for over a year, attaching a skin to the console that doesn’t damage its finish hasn’t been possible — at least not until now. At one point, dbrand even published a warning to consumers telling them to avoid using Nintendo Switch skins from all manufacturers, complete with images of the finish being peeled of the Switch’s Joy-Cons, as well as the back of the console’s tablet.
Since this warning, I’ve tried using various Switch snap-on cases, but each one I’ve tested out either ruins the look of the handheld-home console hybrid video game system, or makes the Switch uncomfortable to hold for long periods of time.
A few weeks ago, this changed with the release of dbrand’s new Nintendo Switch skins that the manufacturer claims are safe to use on the console. Naturally, as MobileSyrup‘s resident Switch fan and smartphone case fanatic, I needed to put the Canadian skin manufacturer’s claims to the test.
The selection of Switch skin colours is a little limited when compared to other devices and consists of ‘Carbon Fiber, ‘Matte’ (which is white), red, yellow, blue, pink, orange, green, purple and of course, ‘Camo.’ While dbrand sent me a wide variety of skins to test out, I opted for a mix of Carbon Fiber and Matte, though I also — as you may have already guessed — tested out Camo briefly.

The application process for specific sections of dbrand’s Switch skin is mostly simple and painless, but it’s also exceedingly difficult for some parts. That said, watching dbrand’s easy-to-follow how-to YouTube video (seen above) is important if you want to attach the skin properly.
Applying dbrand’s glass Switch screen protector is an easy process that only requires cleaning the Switch’s display well before attempting to apply it — otherwise you’ll end up with unsightly bubbles and other blemishes. The rear tablet skin is also relatively simple to apply, with the most difficult part of the process being lining up the skin with the notches on the back of the tablet.
The same can be said about dbrand’s skins designed for the Switch’s dock, even down to attaching specific cut outs for the console’s logo.
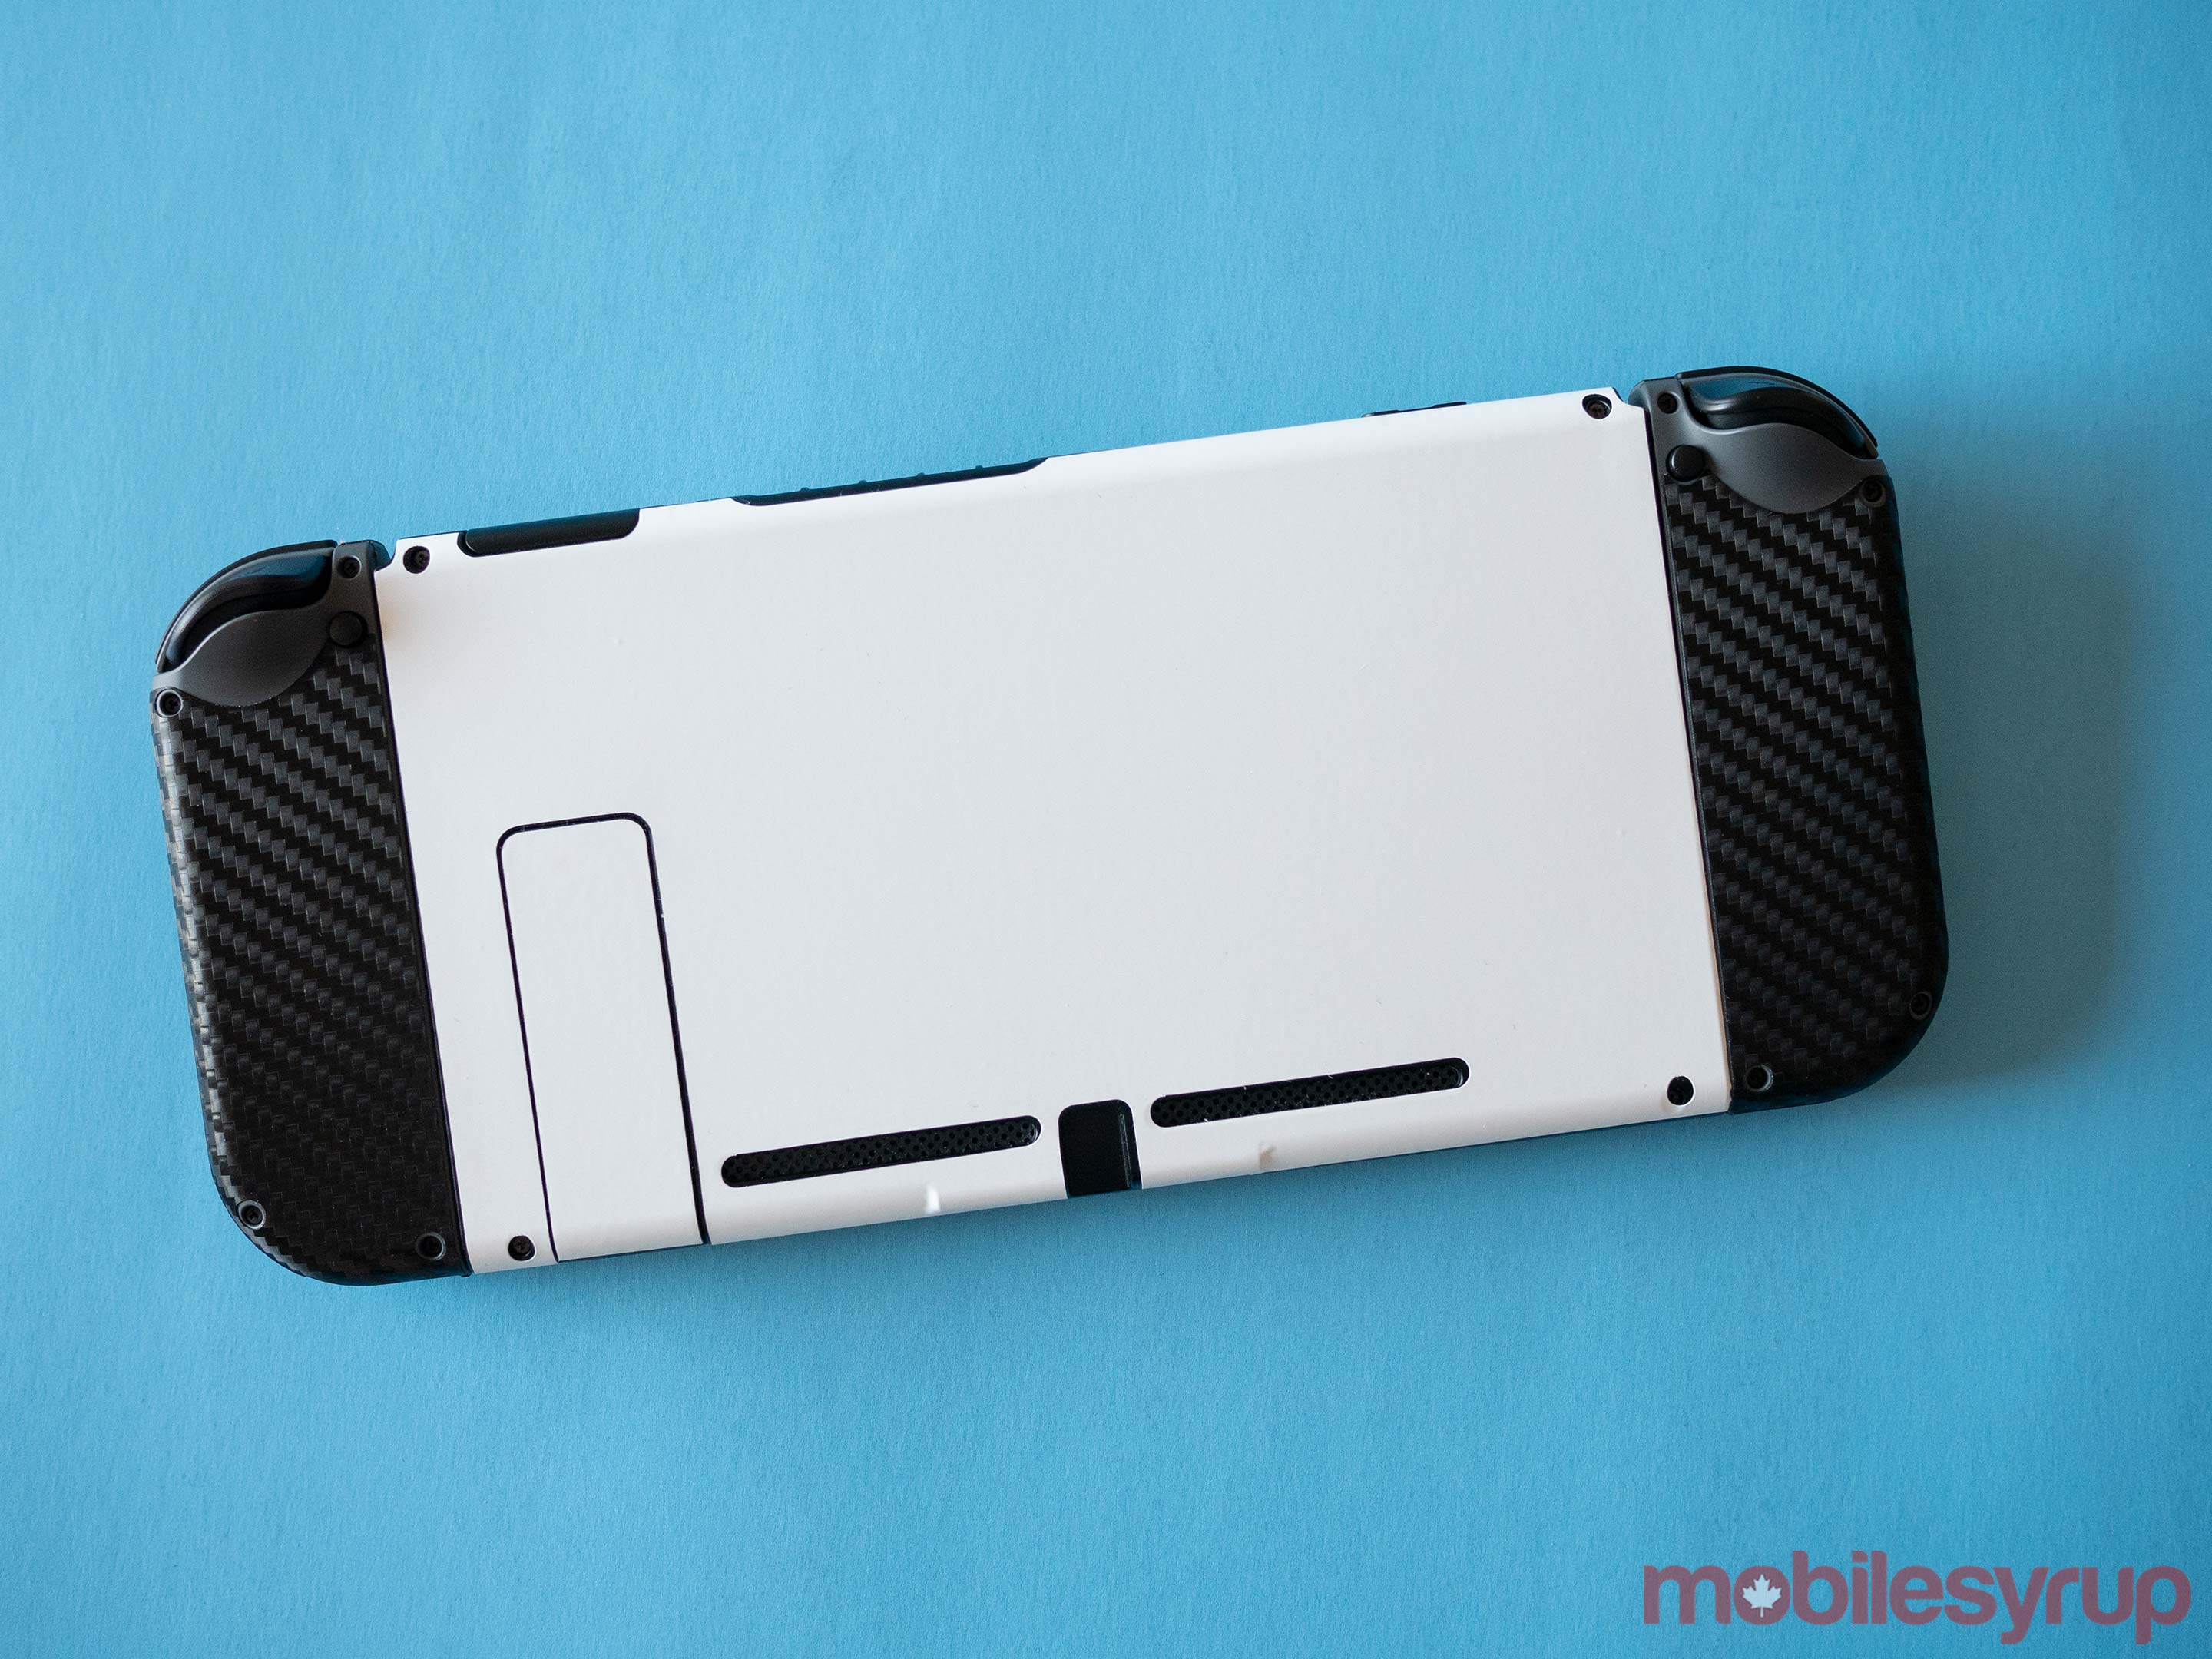
This is where the easy stuff ends, though. While applying both the precision and regular dbrand Joy-Con skin is a very doable process, it can get painfully difficult if you aren’t careful. Here’s a tip, though: make sure you’ve cleaned the Joy-Cons extremely well and that all grease and grime is completely gone from the gamepads.
Also, when dbrand’s how-to video suggests you use use a hair dryer to smooth out the corners of the Joy-Con skin, follow this step and take it seriously. If you don’t, you’ll end up with annoying and unsightly bumps running along the side of the the Joy-Con.
To my surprise, the most difficult part of the skin to properly attach is the front portion of the tablet. This took me three attempts before I finally got it right because the Switch’s various screw holes and notches wouldn’t line up properly. In one instance, the sides of the skin running along the edges of the display also became too long because I peeled up the skin repeatedly in my attempts to readjust it, causing the 3M material to stretch.
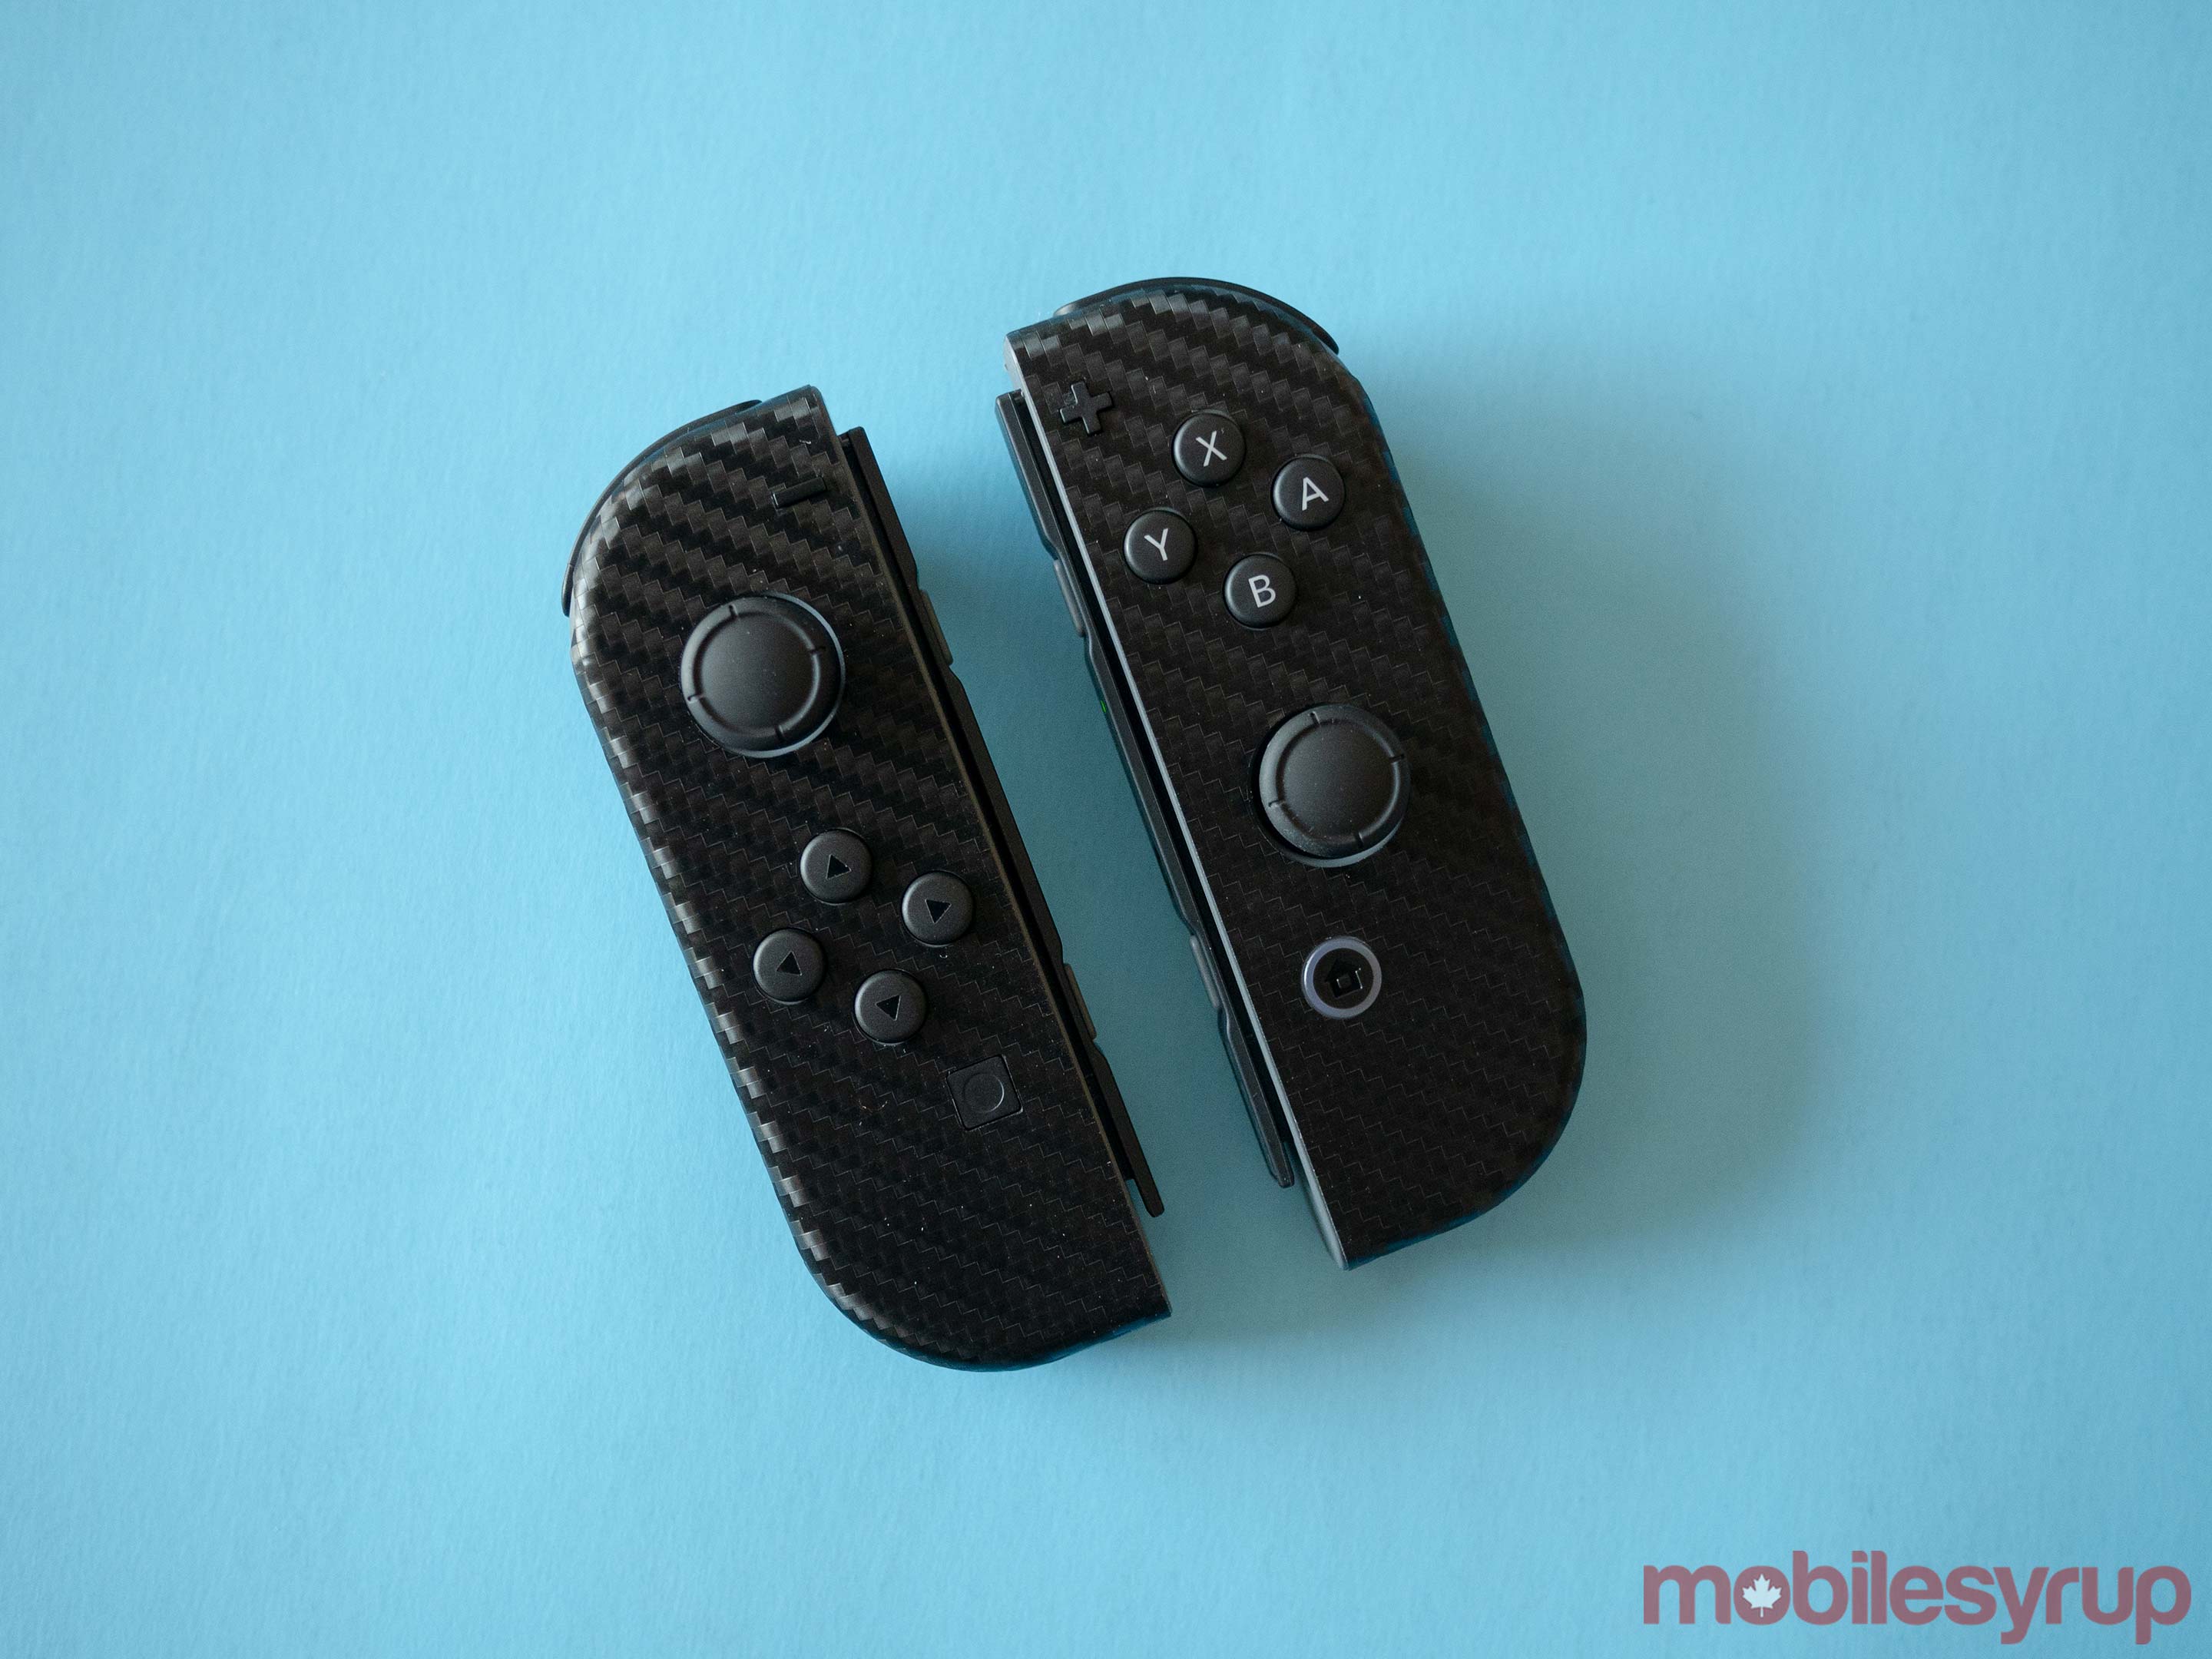
This is when I learned that in most cases you’ll need to get the application of dbrand’s Switch skins right on the first try if you want it to fit perfectly. In order to get rid of the extra side material, I ended up stretching out the tiny creases by applying pressure with my fingers. This took a few attempts, but eventually the tiny ridges disappeared.
The most important thing to know about dbrand’s new Switch skin is that it doesn’t seem to damage the system at all, just as the company claims on its website. Over the last few days, I’ve peeled off and applied various skins to the Switch and haven’t noticed a single instance of damage to the console’s finish or the logo on the rear of the tablet.
dbrand claims that its new Switch and Joy-con skins were developed through “an extensive one-year research and development agreement between 3M and dbrand.” The goal was to create skins that are 100 percent safe for Nintendo’s console, says the skin maker.
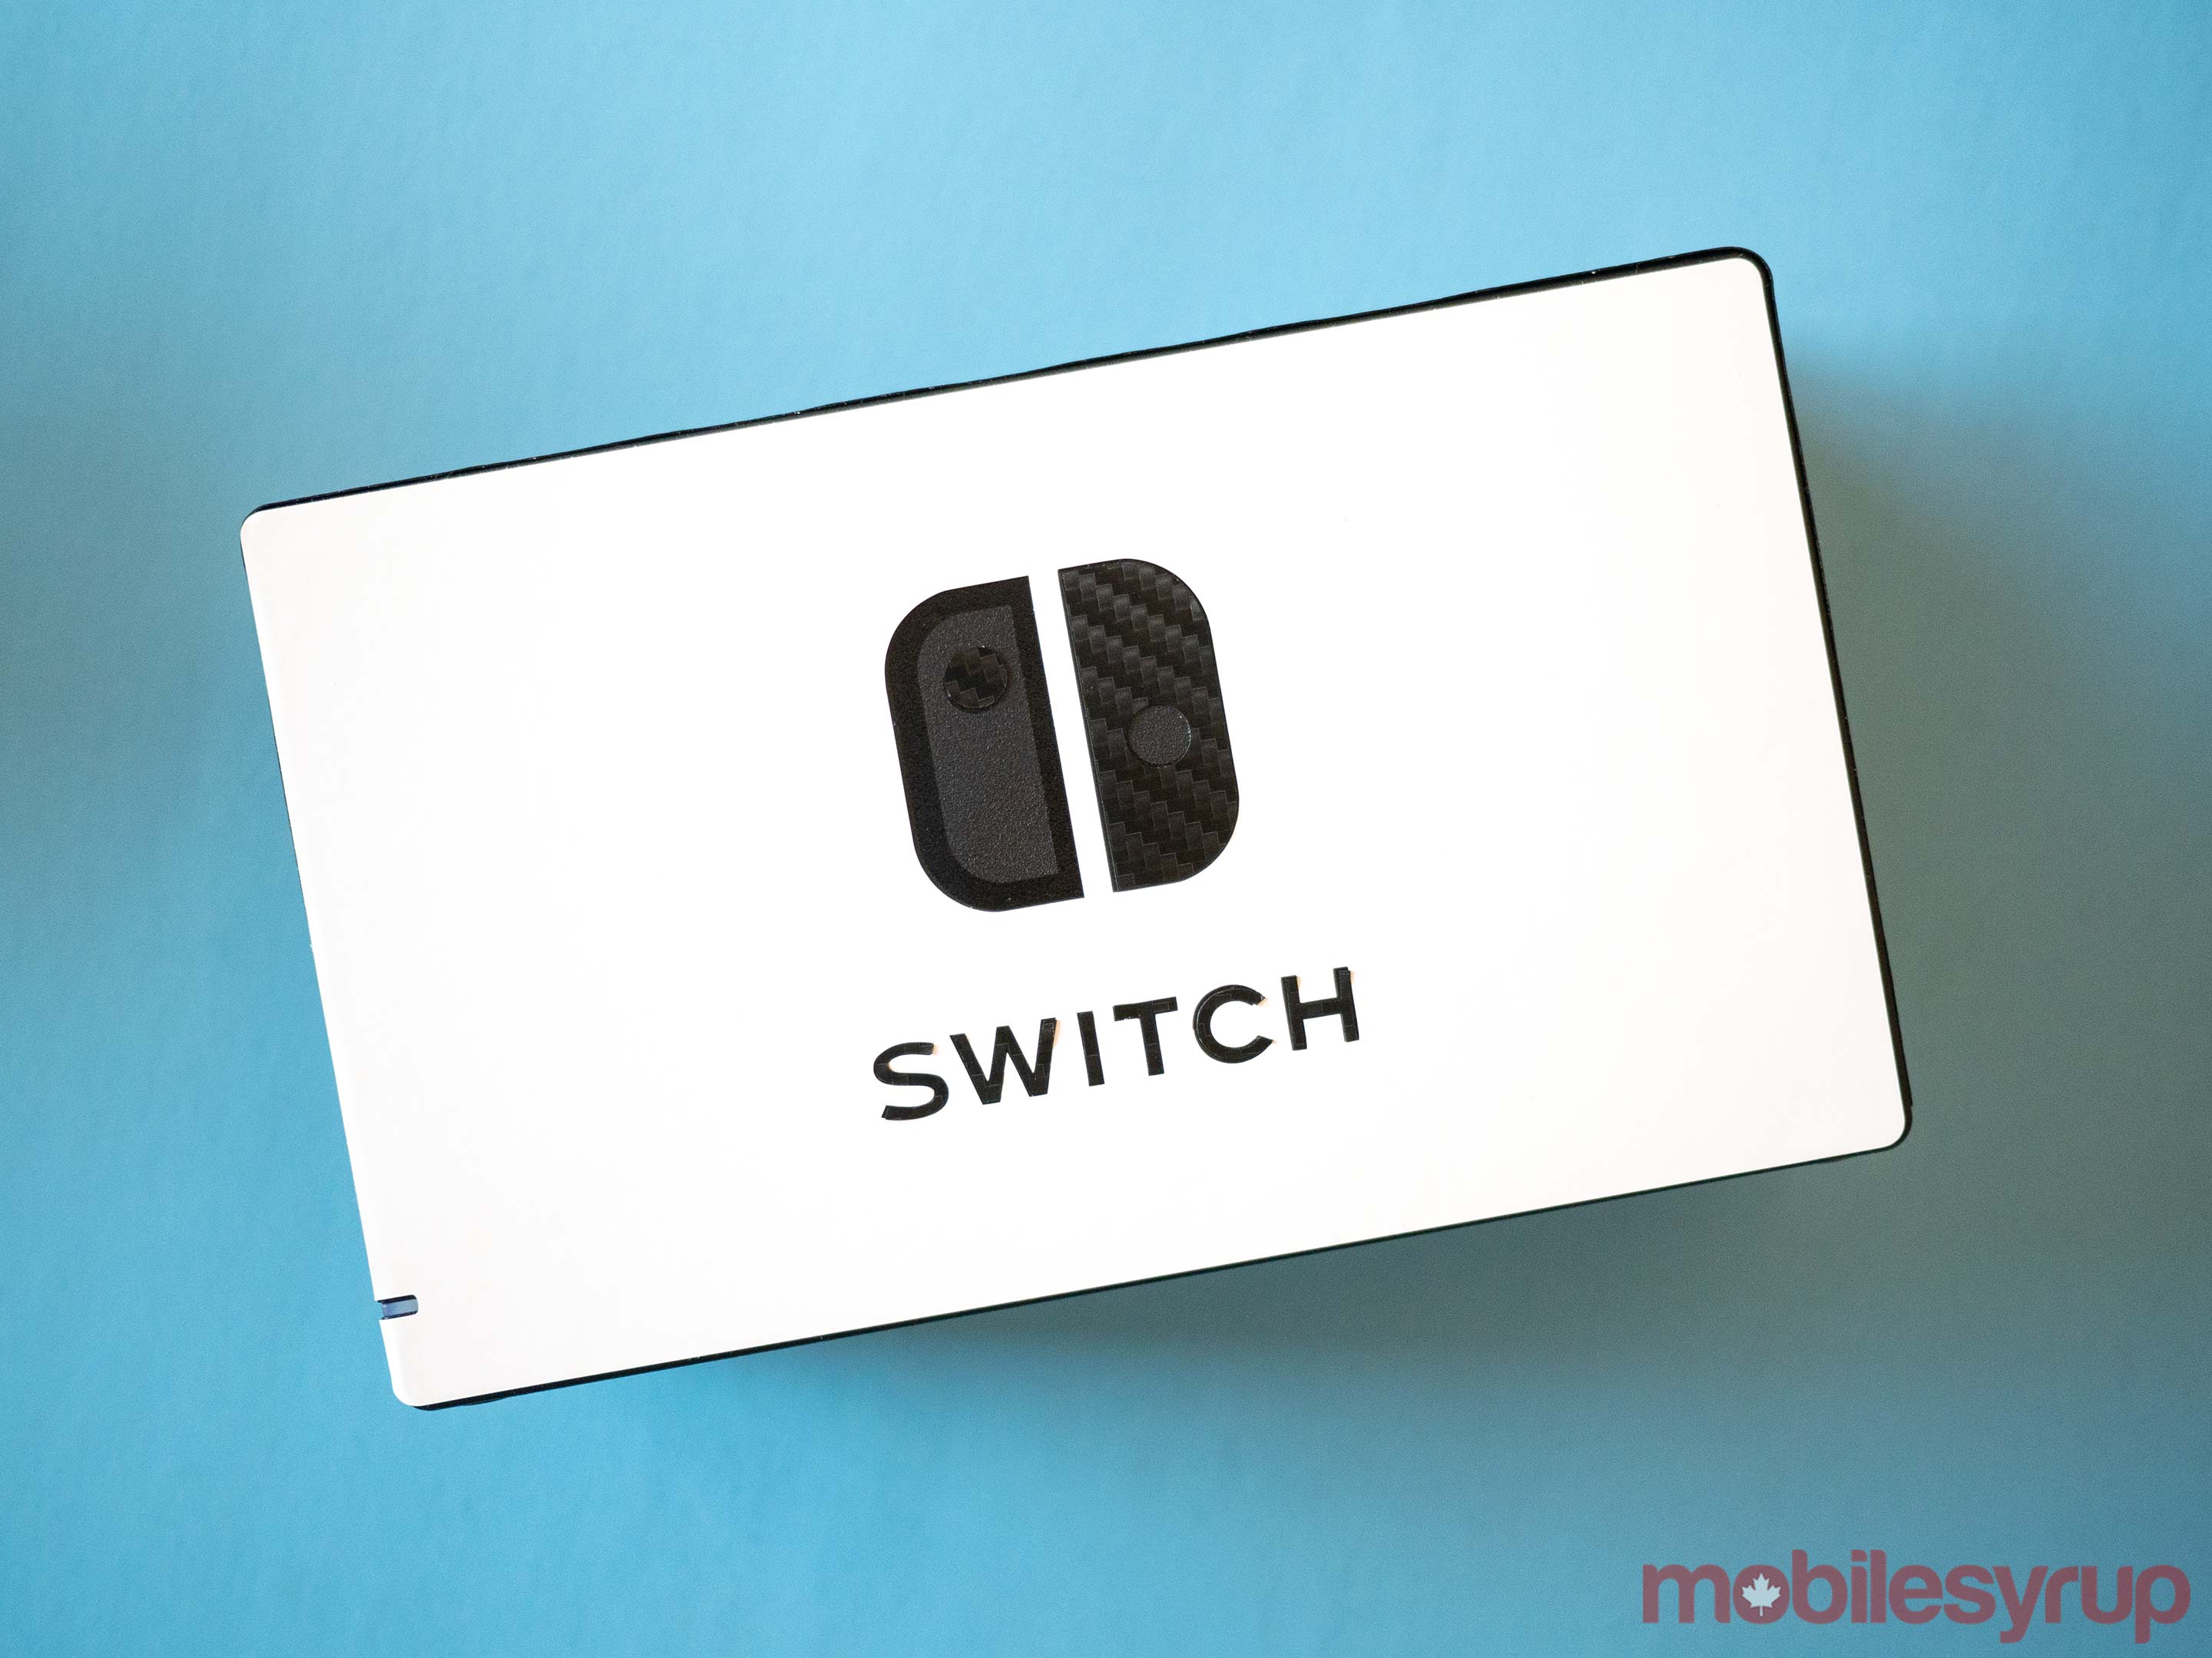
If you’re looking for a way to protect the Switch that doesn’t ruin the console’s aesthetic and in fact — depending on how you feel about skins — actually adds to its look, this seems to actually be the Switch protection option you’ve been waiting for.
Here’s dbrand’s Switch skin pricing below (shipping typically costs $5). Shipping is also free on orders over $20.
Joy-Cons: $4.95
Console Body: $9.95
Dock Face: $6.95
Dock Accents: $ 7.95
Tempered Glass 2-pack: $9.95
MobileSyrup may earn a commission from purchases made via our links, which helps fund the journalism we provide free on our website. These links do not influence our editorial content. Support us here.

