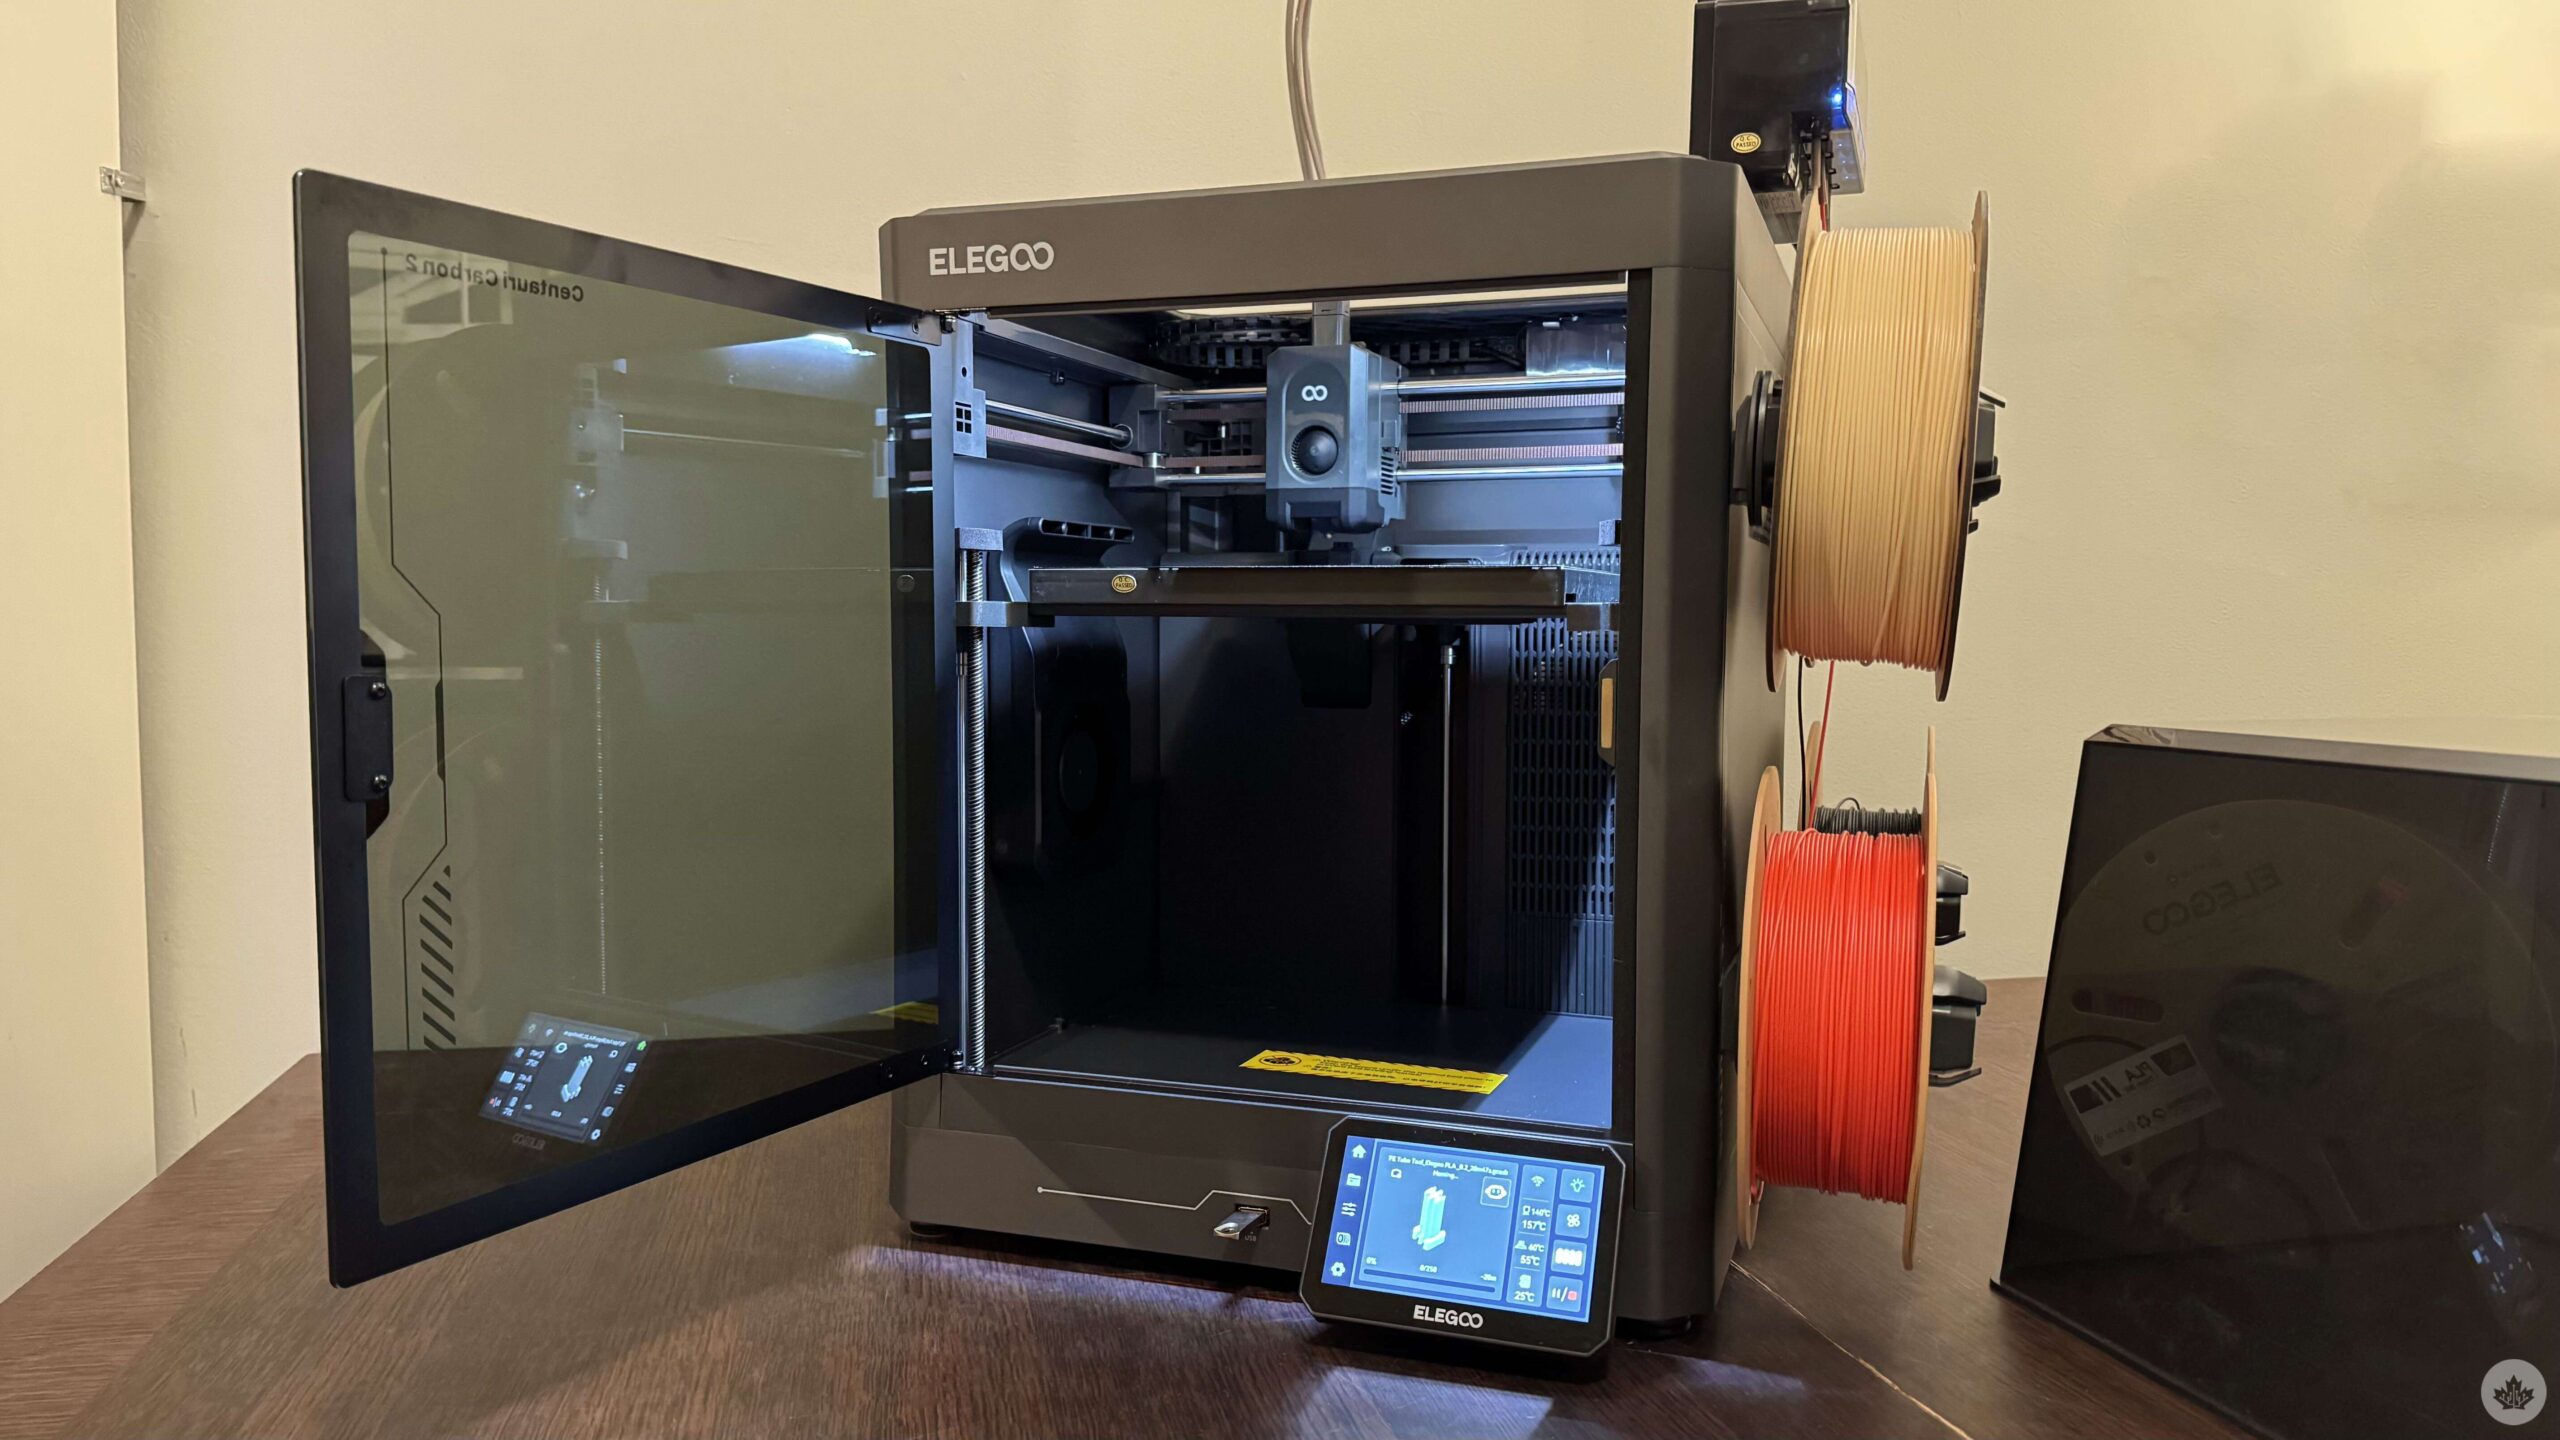
3D printing has always appealed to me, but because of the associated unknowns, I have never really pulled the trigger. I’m sure I’m not alone.
Will I be able to set the printer up? Will the experience truly be plug-and-play? How will I design the things I want to print? Are there other associated costs?
Those are just some of the early questions that kept me away from seriously getting into the hobby.
My curiosity really piqued when I stumbled upon an Instagram account that shared short timelapse videos of Pokémon figurines being 3D printed. The account’s entire feed offered a look at vibrant figurines materializing layer by layer from the ground up.
I’m a sucker for figurines, and I, along with my housemates, have an entire cabinet dedicated to Funkos and such. The idea of designing and printing my own figurines to add to the collection pushed me closer than ever to finally take the plunge.
Then came the opportunity to spend some time with Elegoo’s Centauri Carbon 2, and, well, it made me realize that 3D printing has come a long way and is remarkably easy to get into. It also made me realize that social media has a way of hiding the less fabulous parts of any hobby. What looks like a seamless print actually involves several smaller decisions and learning points.
The printer isn’t really the problem. That’s actually the easiest part of 3D printing. Unboxing and setting up the Centauri Carbon 2 was a breeze.
I had expected a gruelling setup process, but that wasn’t the case. The factory folks did most of the heavy lifting here.
Once the initial calibration process and the obligatory Benchy (a standard test print) were out of the way, I ran into my first real issue: even the most beginner-friendly printer needs to be told what to print.
What to print?
Elegoo includes a USB stick with the Centauri Carbon 2 that has a few basic designs, which gave me an easy way to get my feet wet. But those models will only get you so far.
That’s when I realized that figuring out what to print is a hobby by itself.
You could go the designing route and learn software like Tinkercad, Onshape, or Blender. There’s a learning curve there, but the payoff is ultimately very rewarding, especially when you get to see your own idea come to life.
Learning to design, however, takes time. That’s where online repositories and 3D printing communities come in.
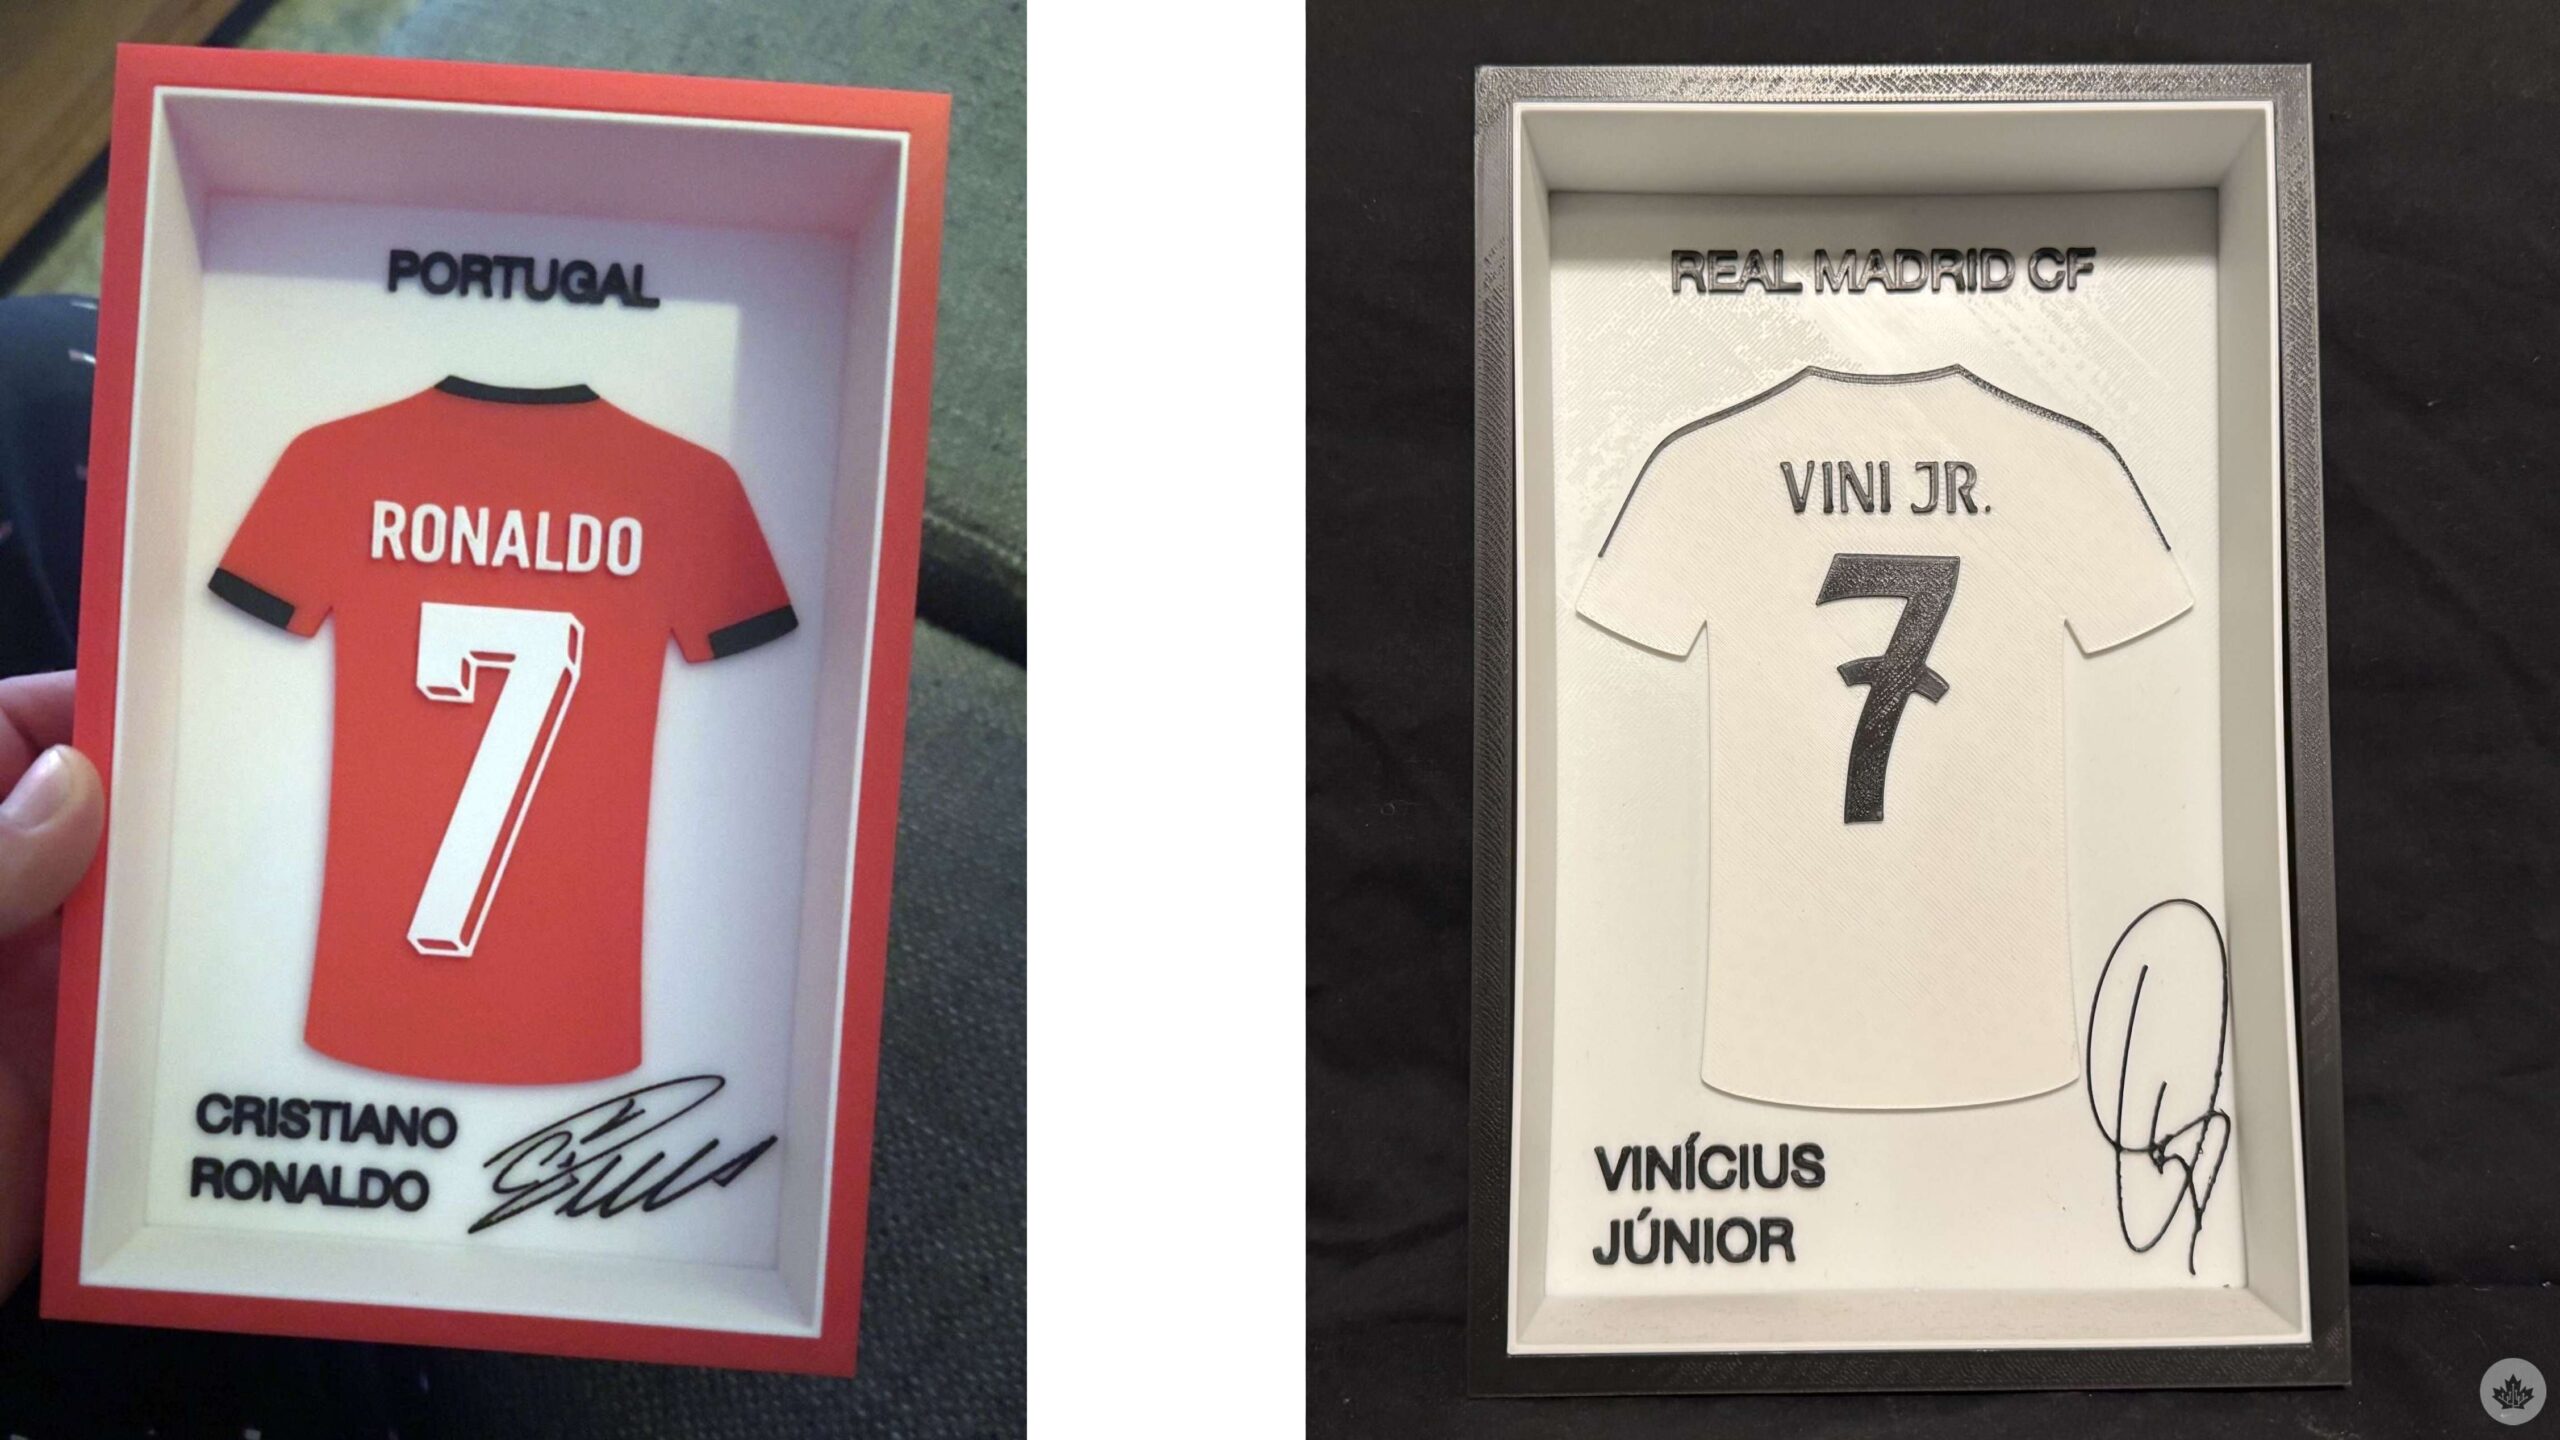
MakerWorld is one of the biggest options, but alternatives like Printables, Thingiverse, Nexprint, and more are equally valuable resources for beginners. Said websites offer thousands of pre-designed files created by other users. You either browse around until you see something that interests you, or you search for a specific idea already in mind. I’m a huge soccer fan, so I had to print these jersey designs as soon as I saw them on MakerWorld:
Then comes the slicer
You still can’t simply hit print though. Once you’ve decided what you want to print, you still need to prepare the file for printing. This is where slicers come in.
Slicers come in all shapes and sizes, but I, up until now, have only relied on Elegoo’s own slicer. For beginners, this is where things actually start to feel a little intimidating.
Think of slicers as the middlemen between designs and your printer. This is where your design (or the design that you found online) is broken down into thousands of individual layers, turning it into instructions that your printer can actually understand and print.
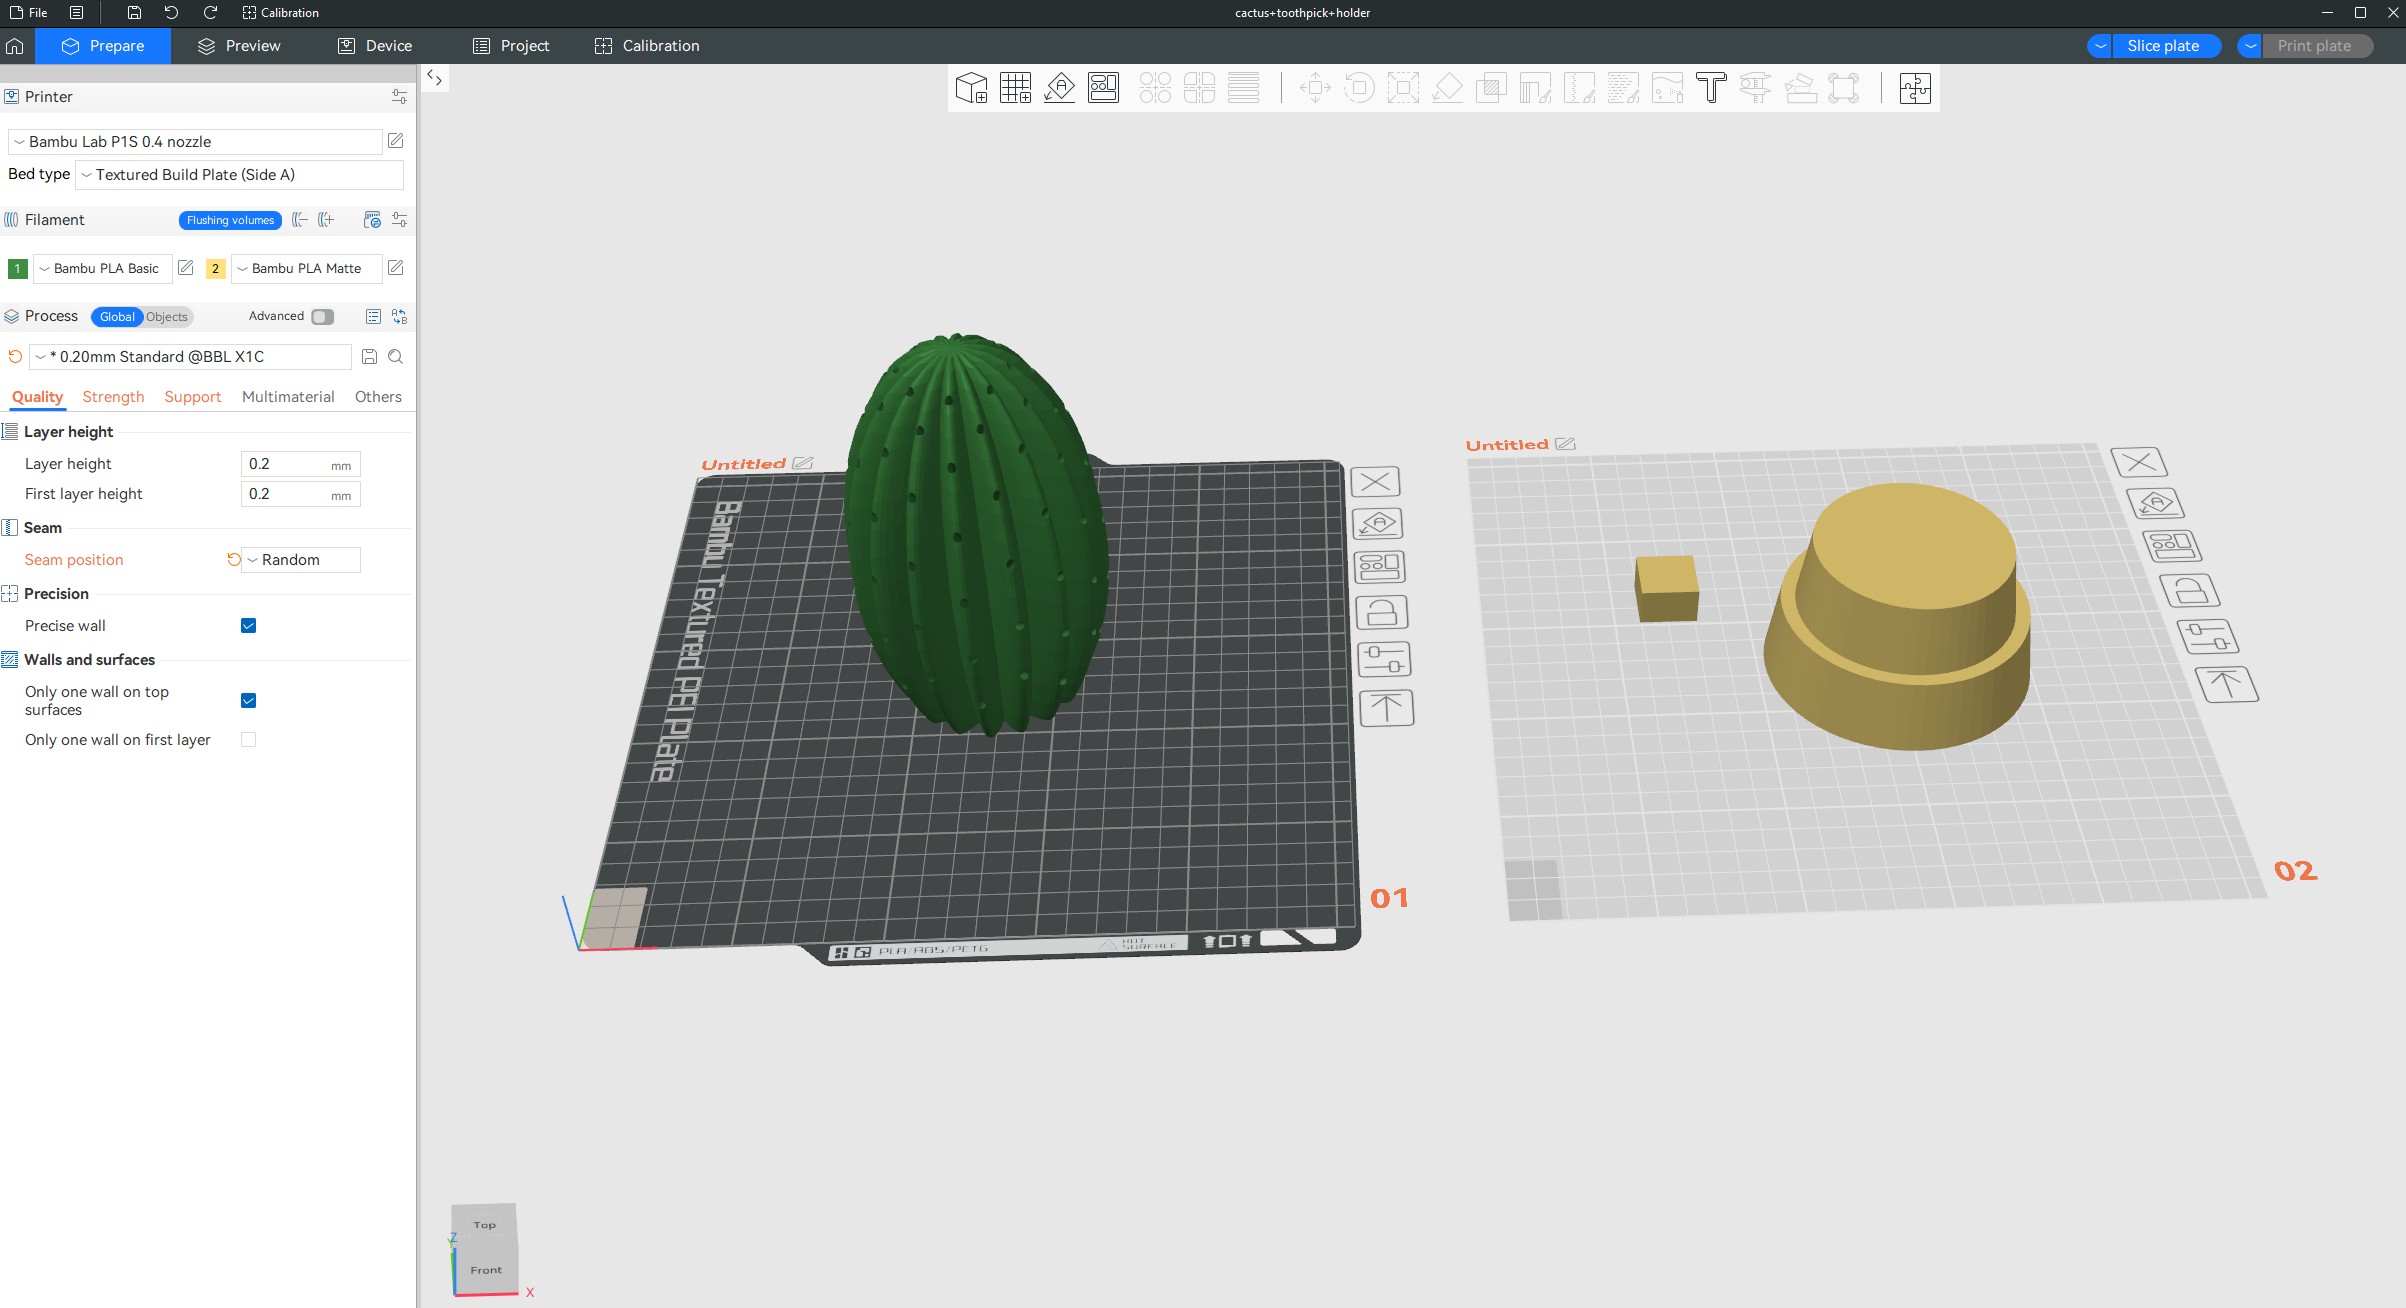
Slicers can be difficult to understand, but that’s only if you get into the intricacies of it. For a beginner, simply slicing a design and making minor placement or size-related changes is a relatively seamless process.
This is also where you’ll get an estimate of how long your print will take (more on that later) and how much filament it will take up – this leads me to the next main concern that crisp timelapses on social media do not show you.
Failed prints and wasted filament
Things will go wrong, and sometimes, that’ll be right when you walk away.
You could be monitoring your print and see its first few layers come out absolutely fine. You think that’s great and go about your day only to find a spaghettified mess hours later. That truly sucks, not just because of the wasted filament or because of the time taken. It’s the anticipation of seeing the design eventually come to life, only for the excitement to be delayed by a failure that could have been avoided.
Failed prints, however, are part of the learning experience. For example, after a few of my prints failed back-to-back, I researched and learned that the base plate could become oily from contact with my fingers. This was causing adhesion issues where the first layer of the print wasn’t properly sticking to the base plate. Wiping the plate down with isopropyl alcohol solved the problem. Now, I’ve made a habit of proactively wiping down the plate after a few prints.
On that note, failed prints aren’t the only way you can end up wasting a lot of filament. There’s another source of filament waste, and this one truly surprised me. Printing in multiple colours at once, even when your print goes right, will eat up your spool.
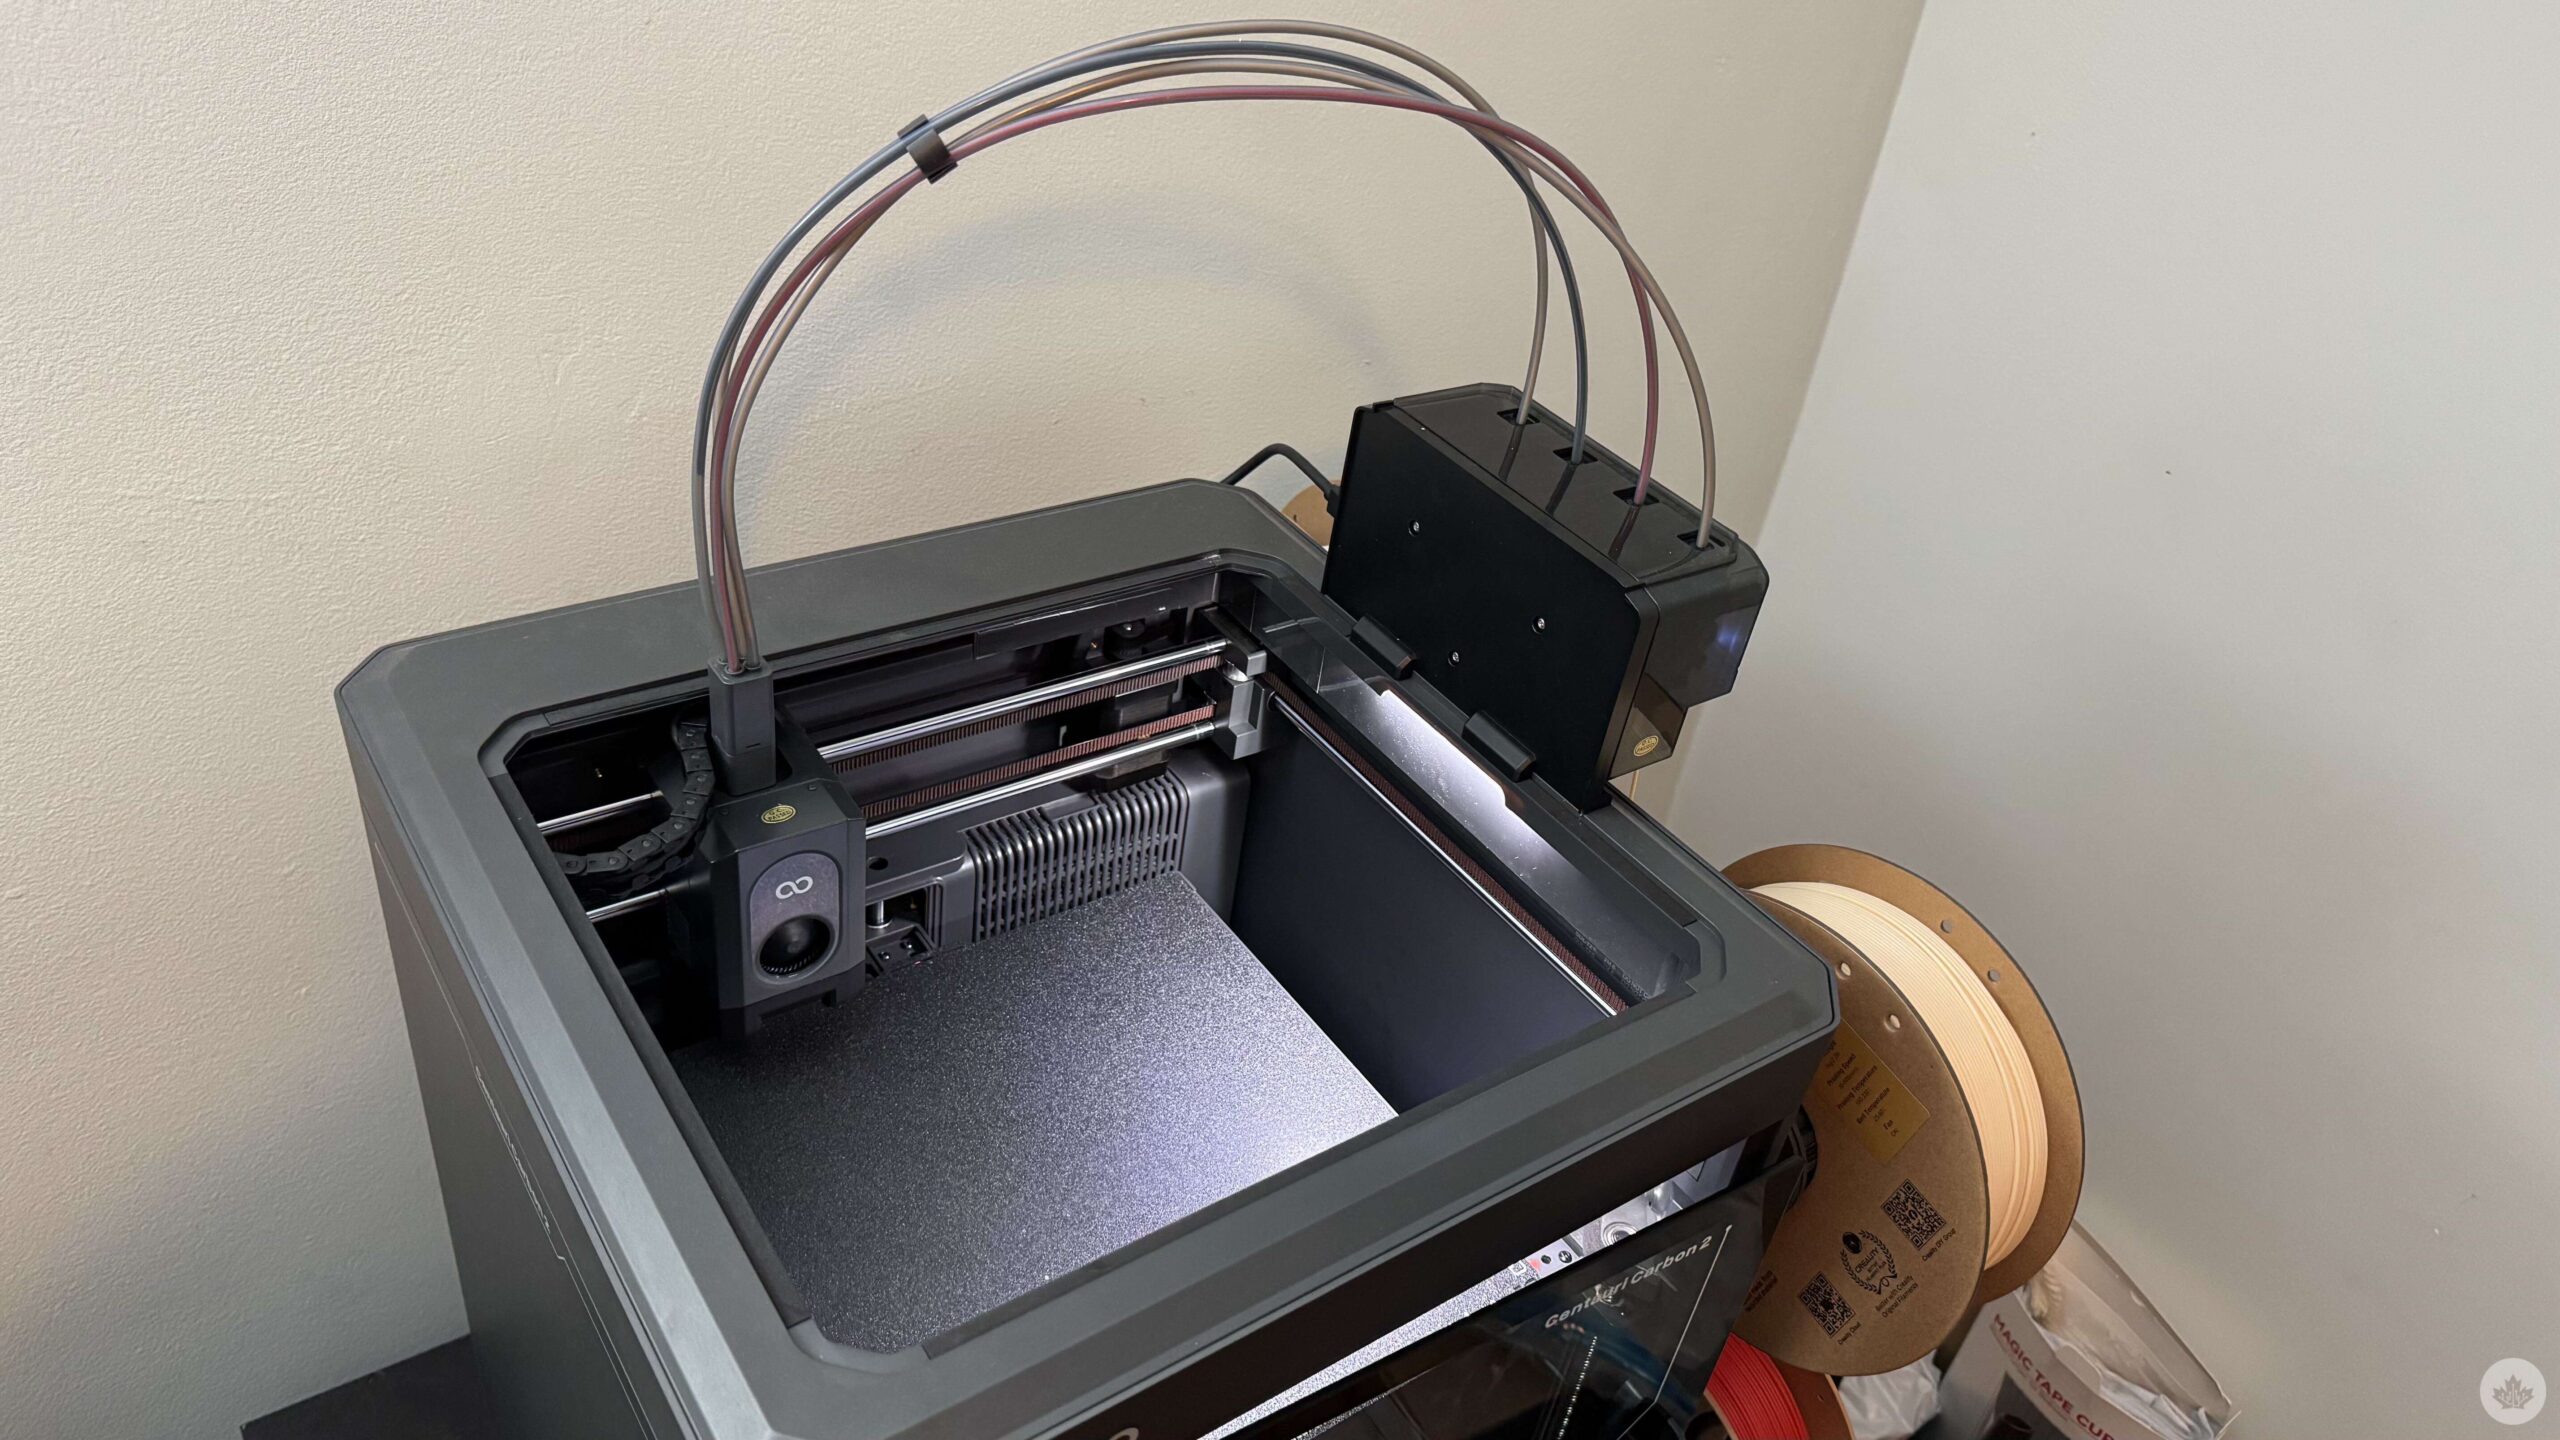
The Centauri Carbon 2 has a Canvas system that allows it to swap between four filament spools. This is incredibly useful if you’re printing something that has multiple colours. However, there is a catch. Each time that the printer switches to a different spool, it first has to purge the remaining filament from the previous colour before feeding in the new one. This is done to ensure no mixup of colours.
When a model requires frequent colour changes, this purge, or as the community likes to call it, Printer Poop, can be substantial. This, on the Centauri Carbon 2, shoots out from the proverbial rear.
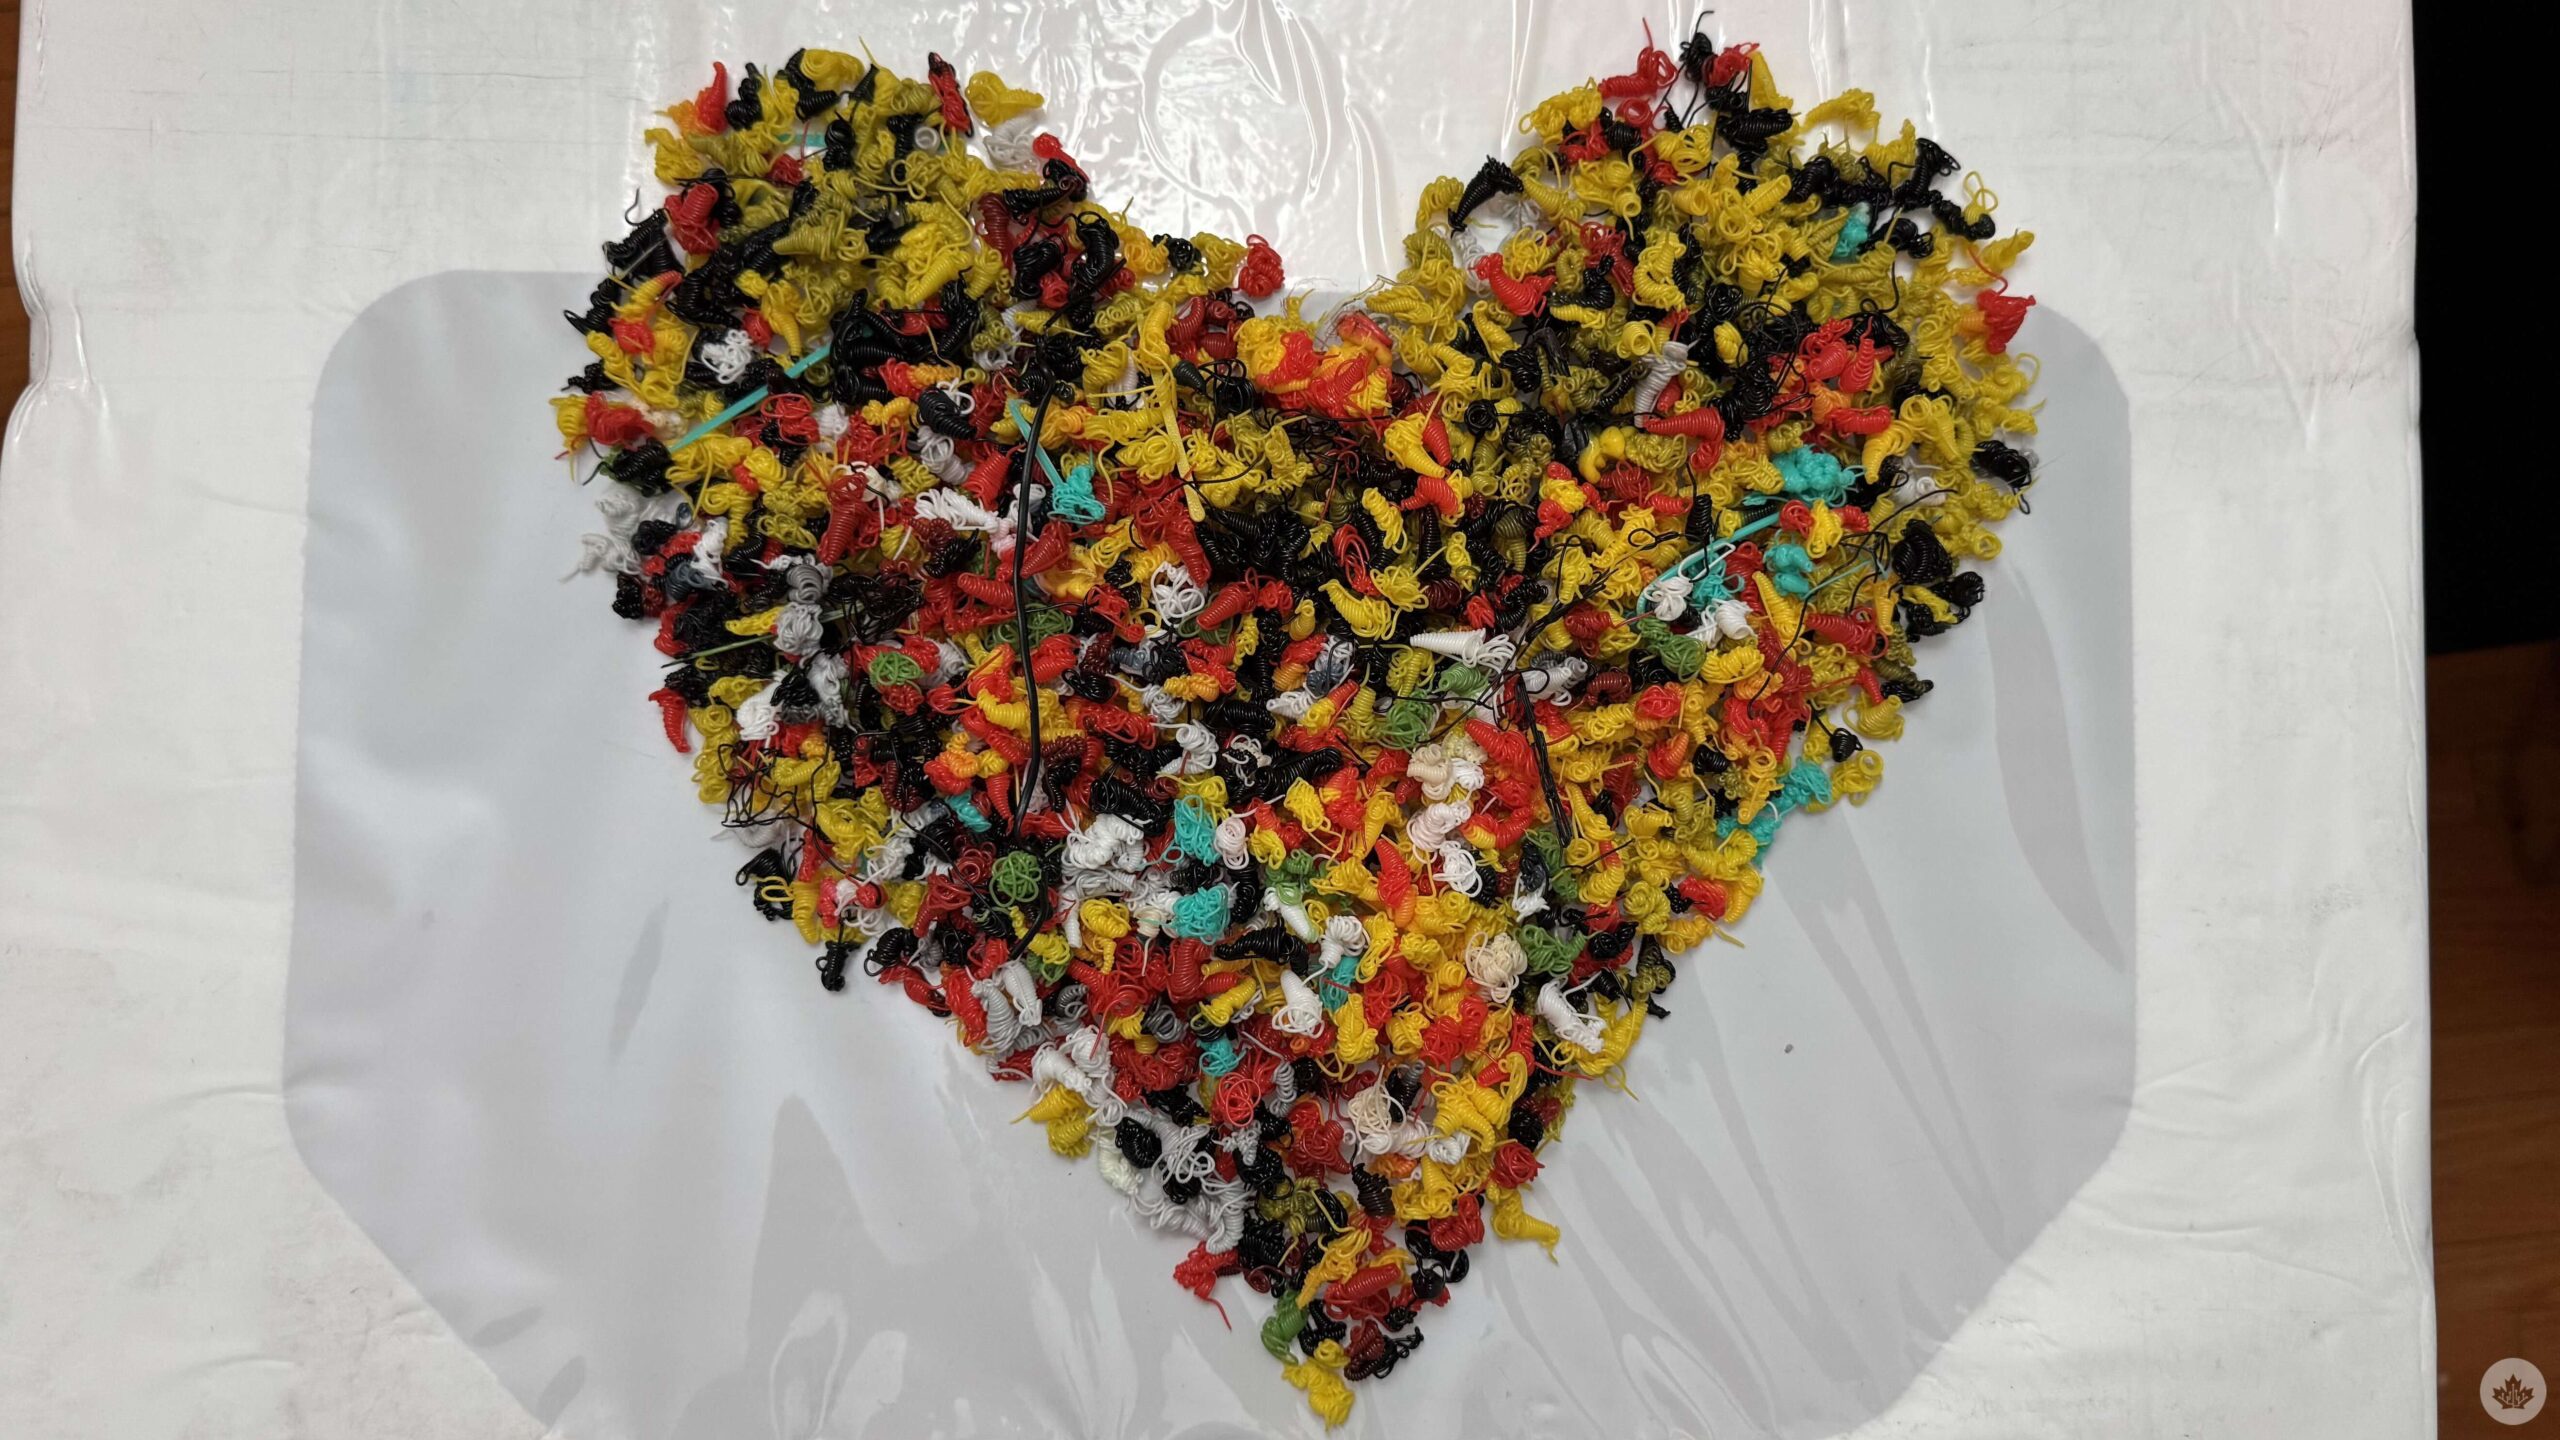
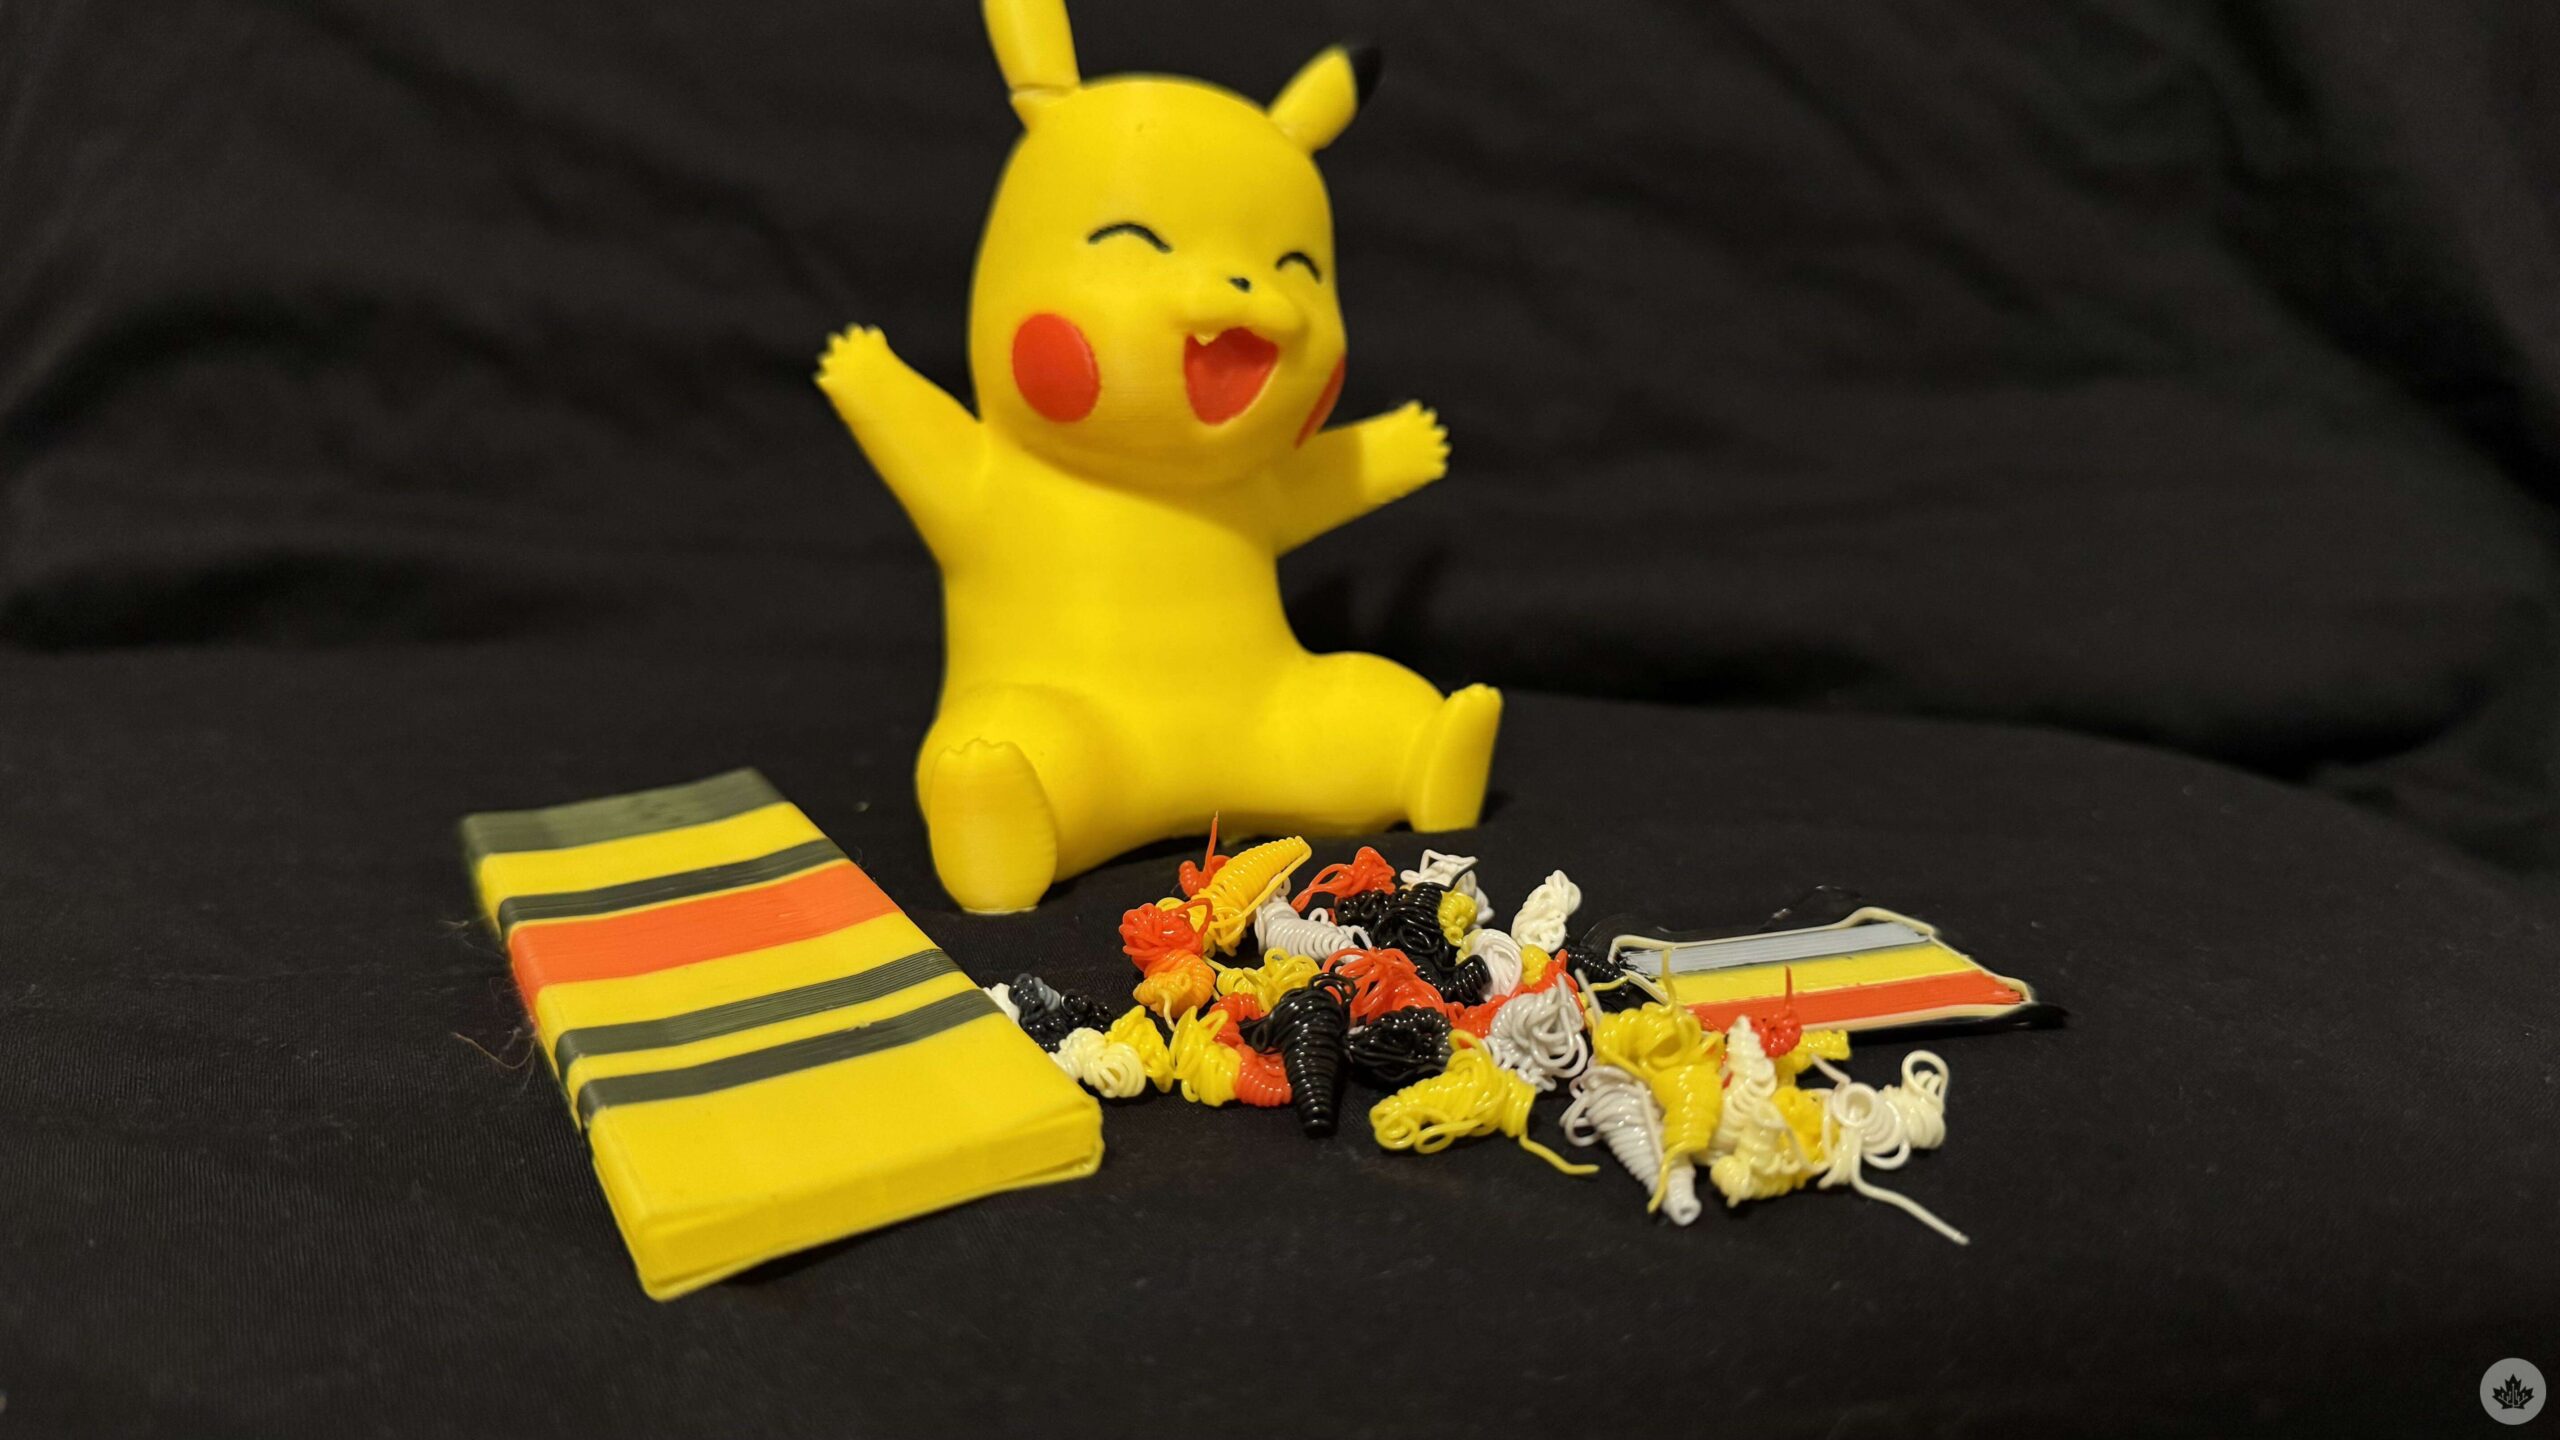
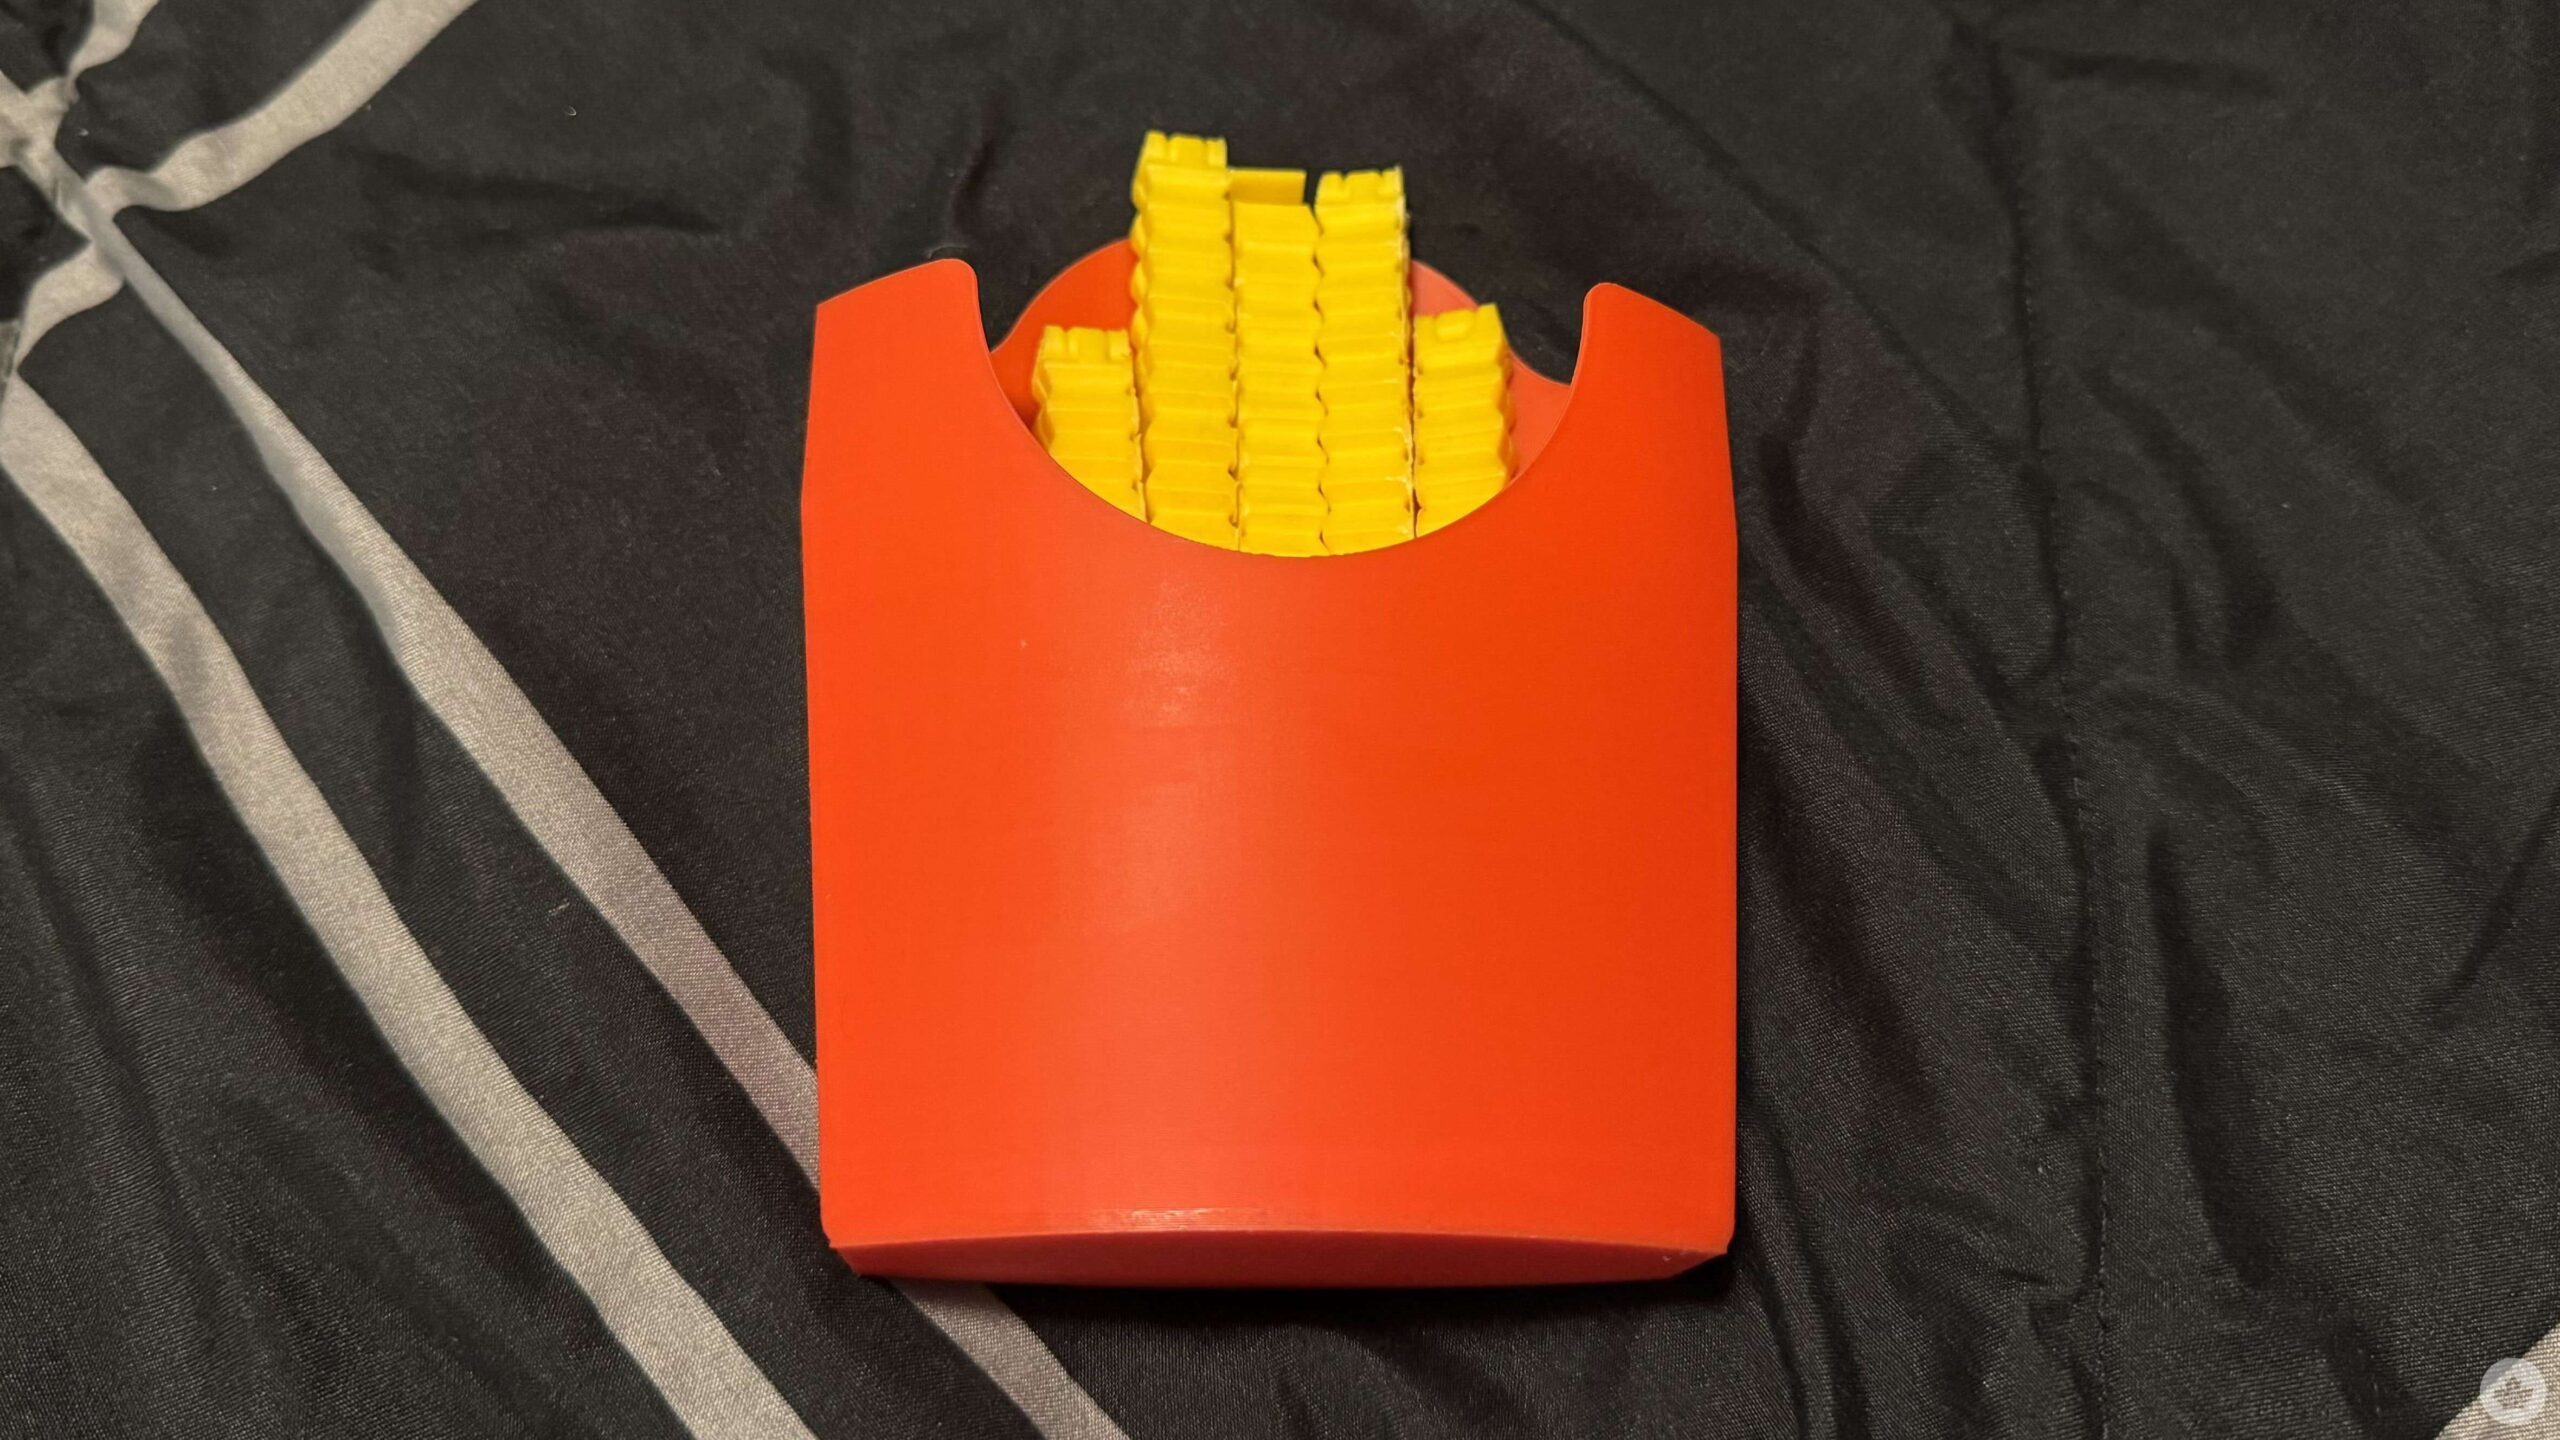
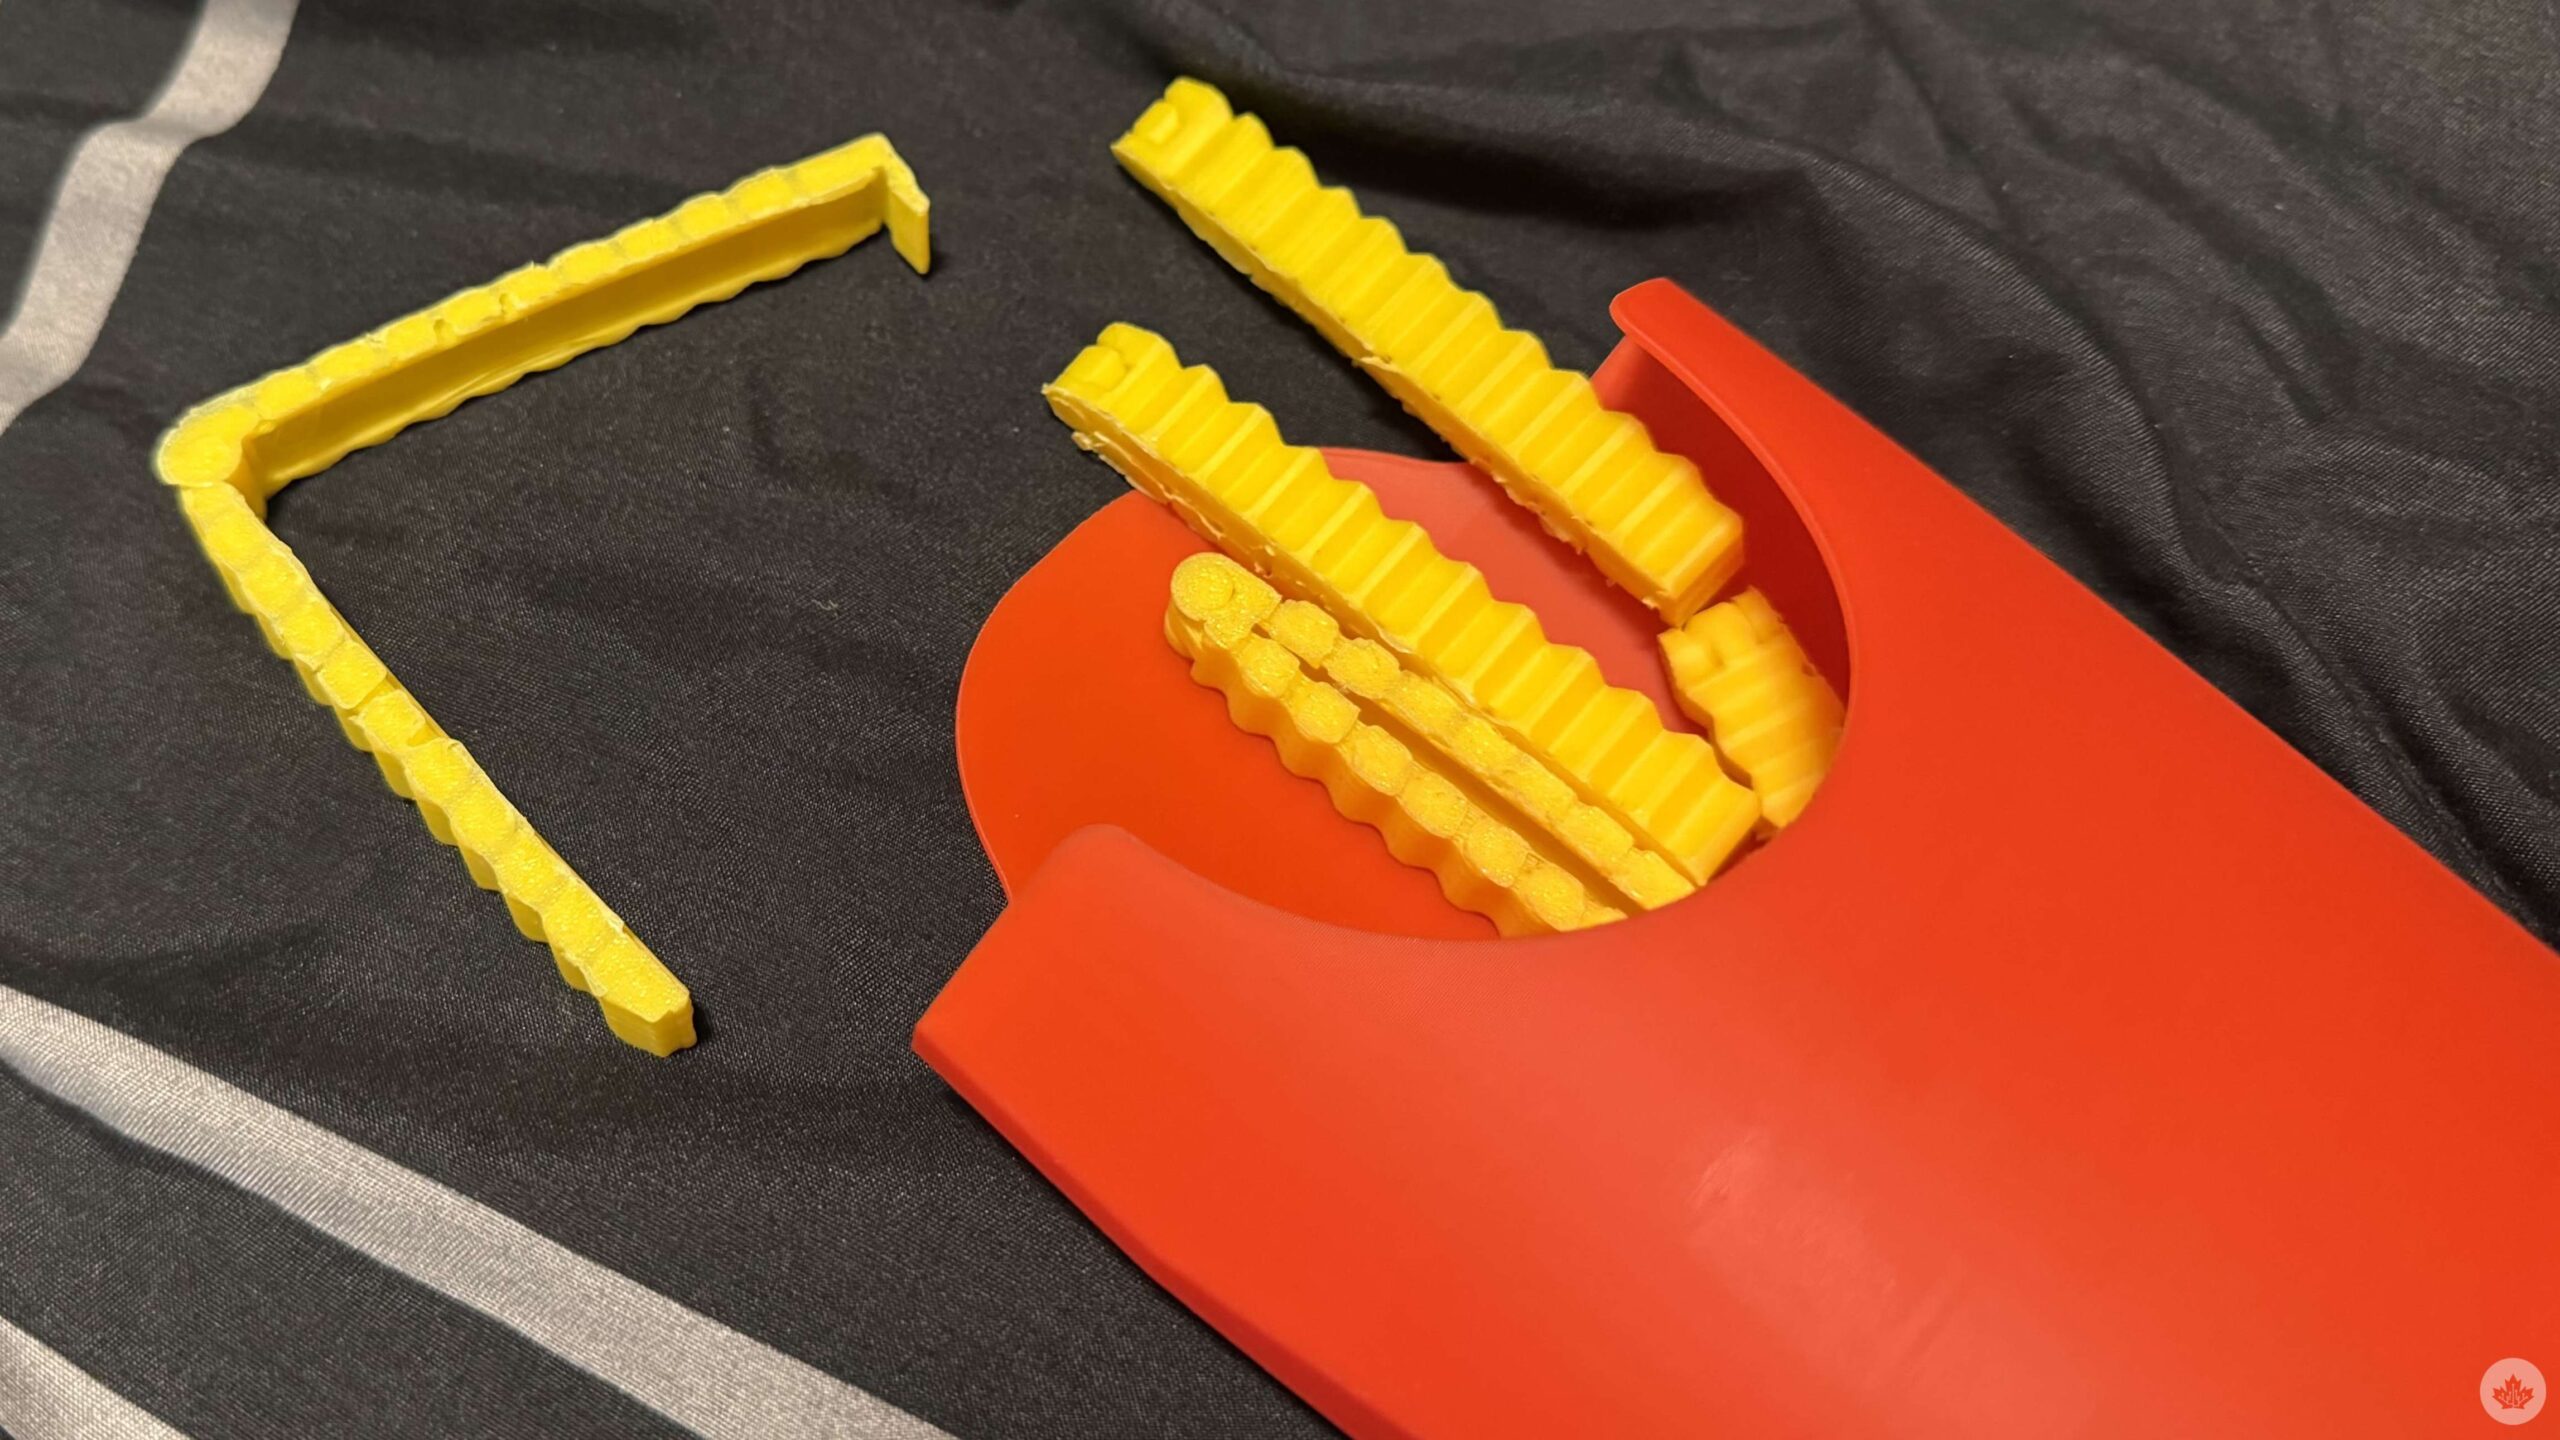
With several of my prints, the amount wasted on printer purge was more than the amount of filament that actually went into the print. That’s the tradeoff that comes with being able to print in colour. That immediately changed when I realized that some designs don’t need to be printed in multiple colours at once. Instead, I could split my model into different parts, print each part separately in the required colour, and then put everything together afterward.
This approach, of course, is more work, but it significantly cuts down on the filament wasted.
Prints take time, more than you might have expected
Okay, so you’ve calibrated your printer, ironed out the initial kinks, and have found a design that’s all sliced up and ready to be printed. You glance at the estimated time the print is expected to take, and it’s in hours. Double-digits too.
You soon learn about another reality of 3D printing: printing takes a lot of time.
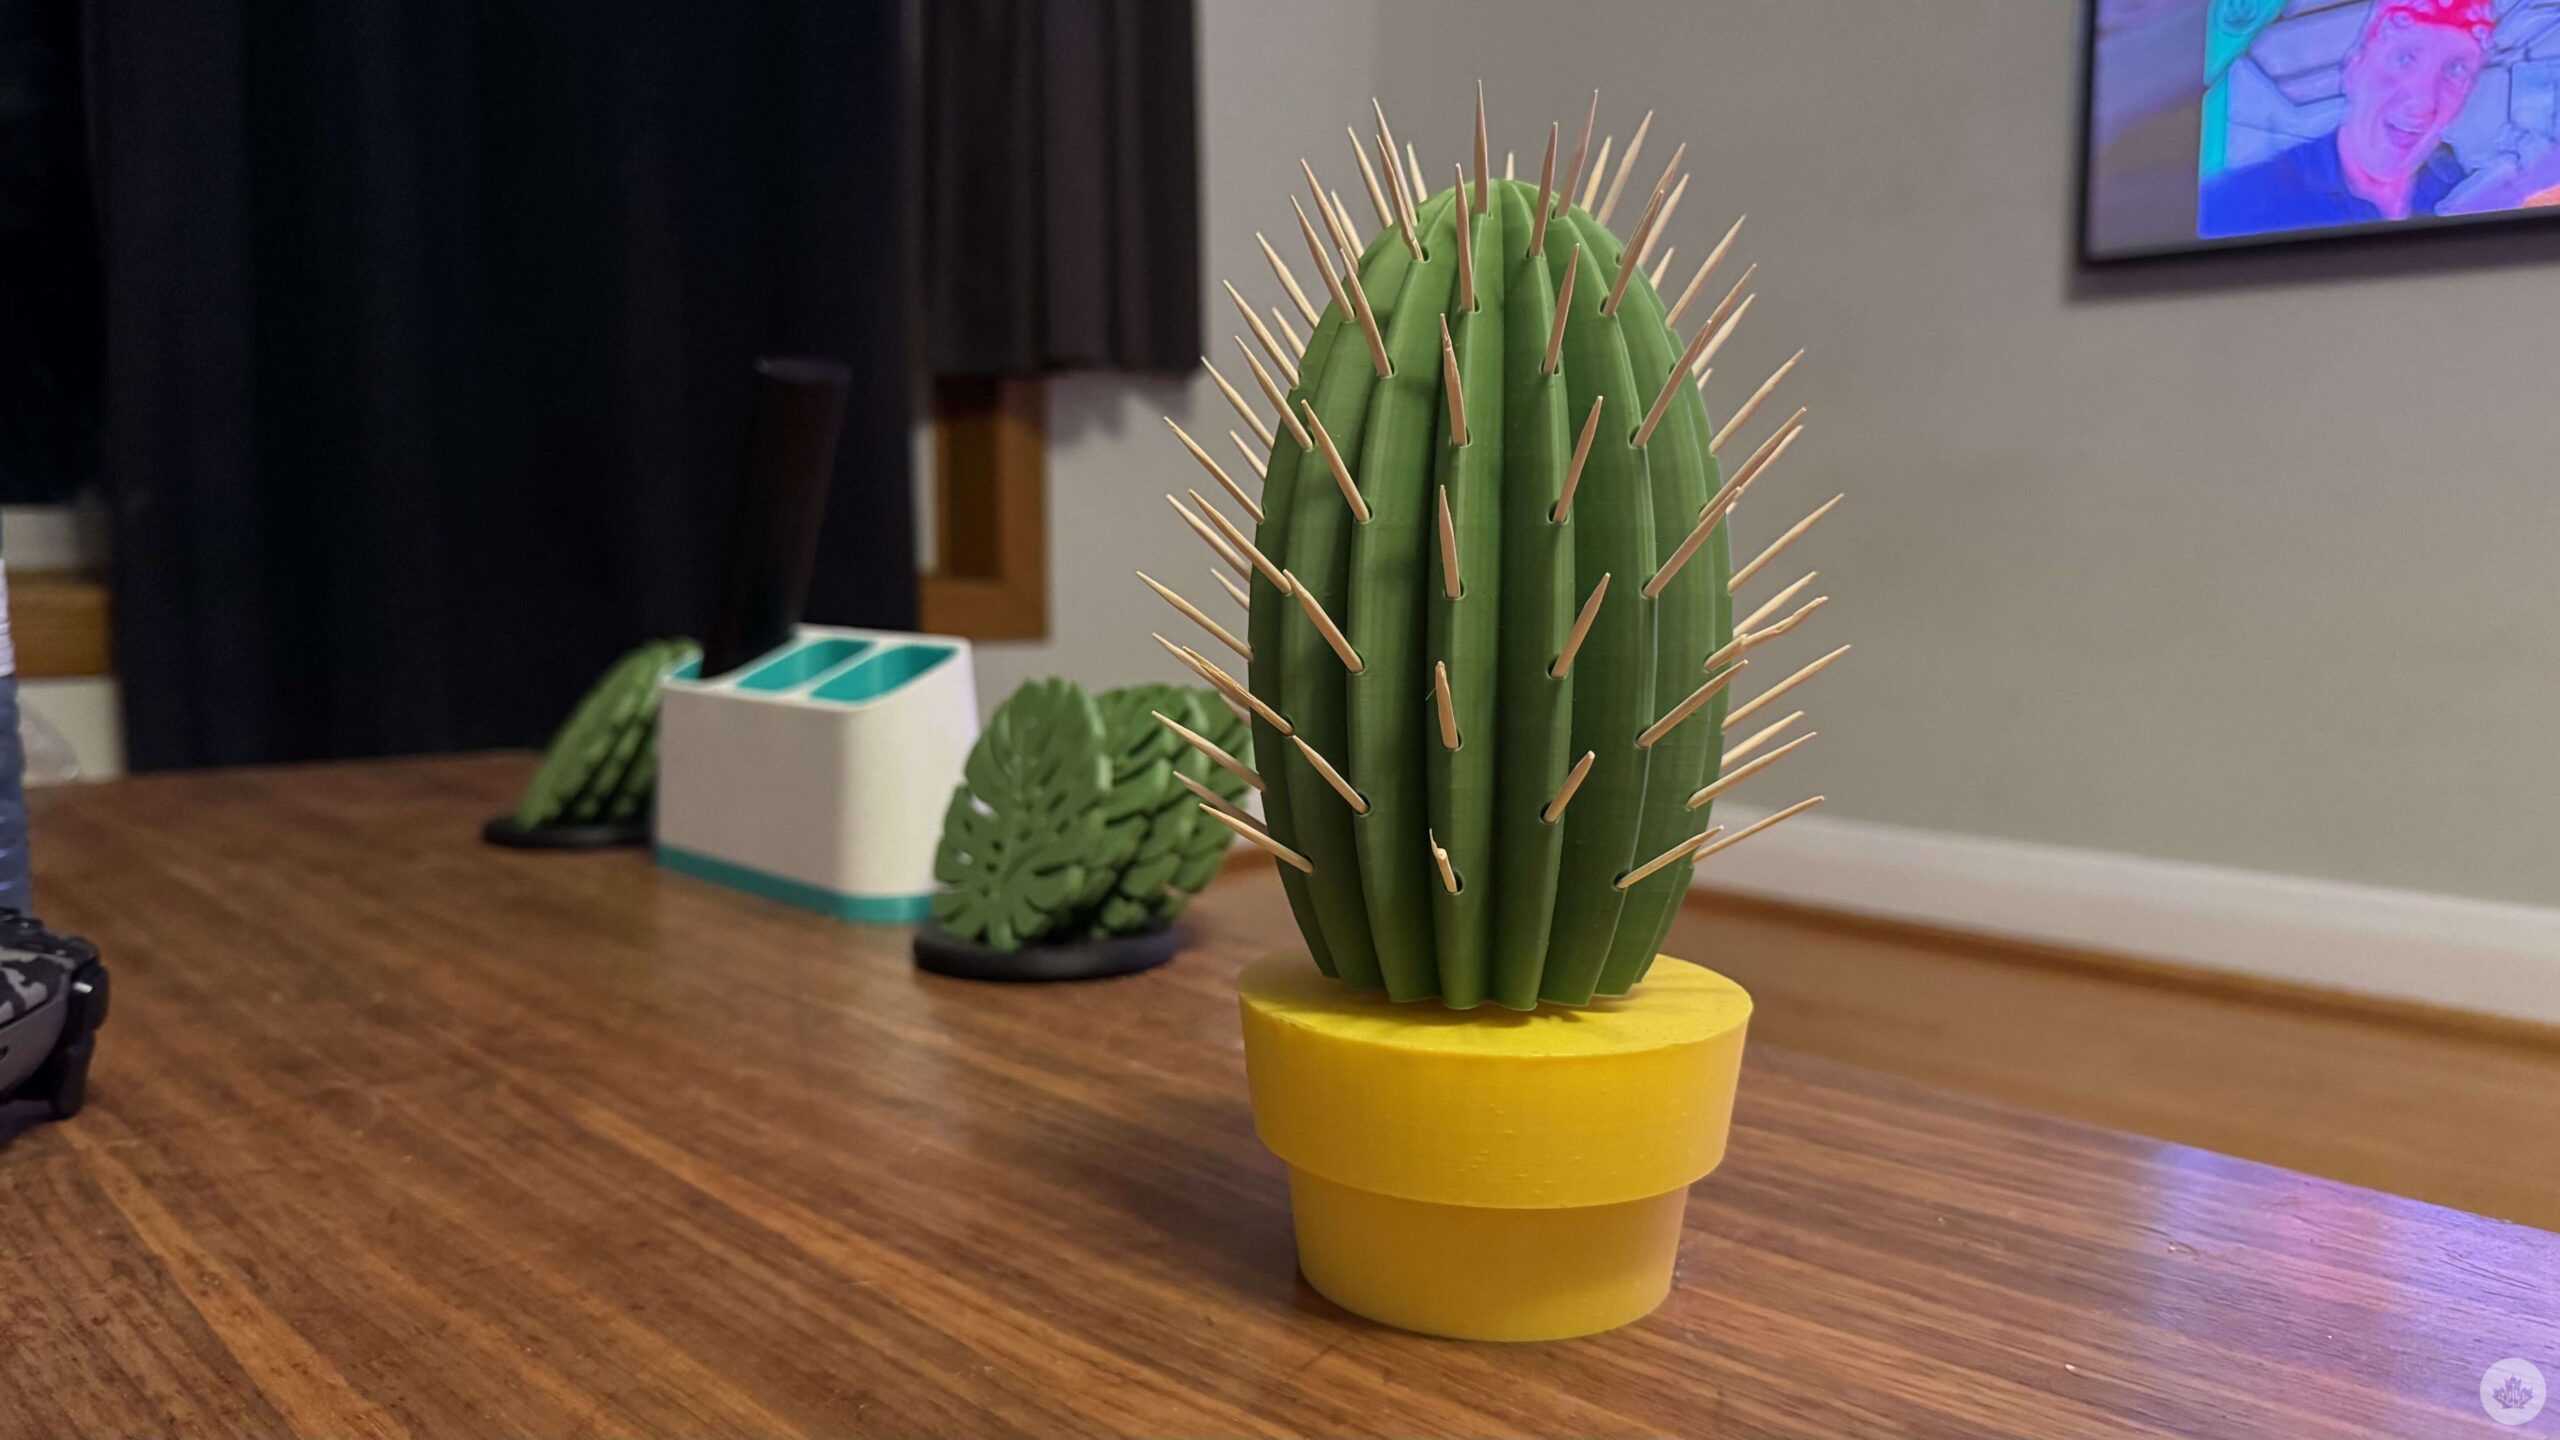
A small Pokémon figurine that looks relatively simple on your computer screen can take several hours to be printed. The Pikachu I referenced earlier took a little over 6 hours to print. The Cactus toothpick holder took a little under eight hours.
Larger prints that often make the rounds online can easily take over 24 hours of constant print time to materialize. And if things go wrong near the end of a long print, you’ve essentially wasted an entire day’s worth of printing time and filament.
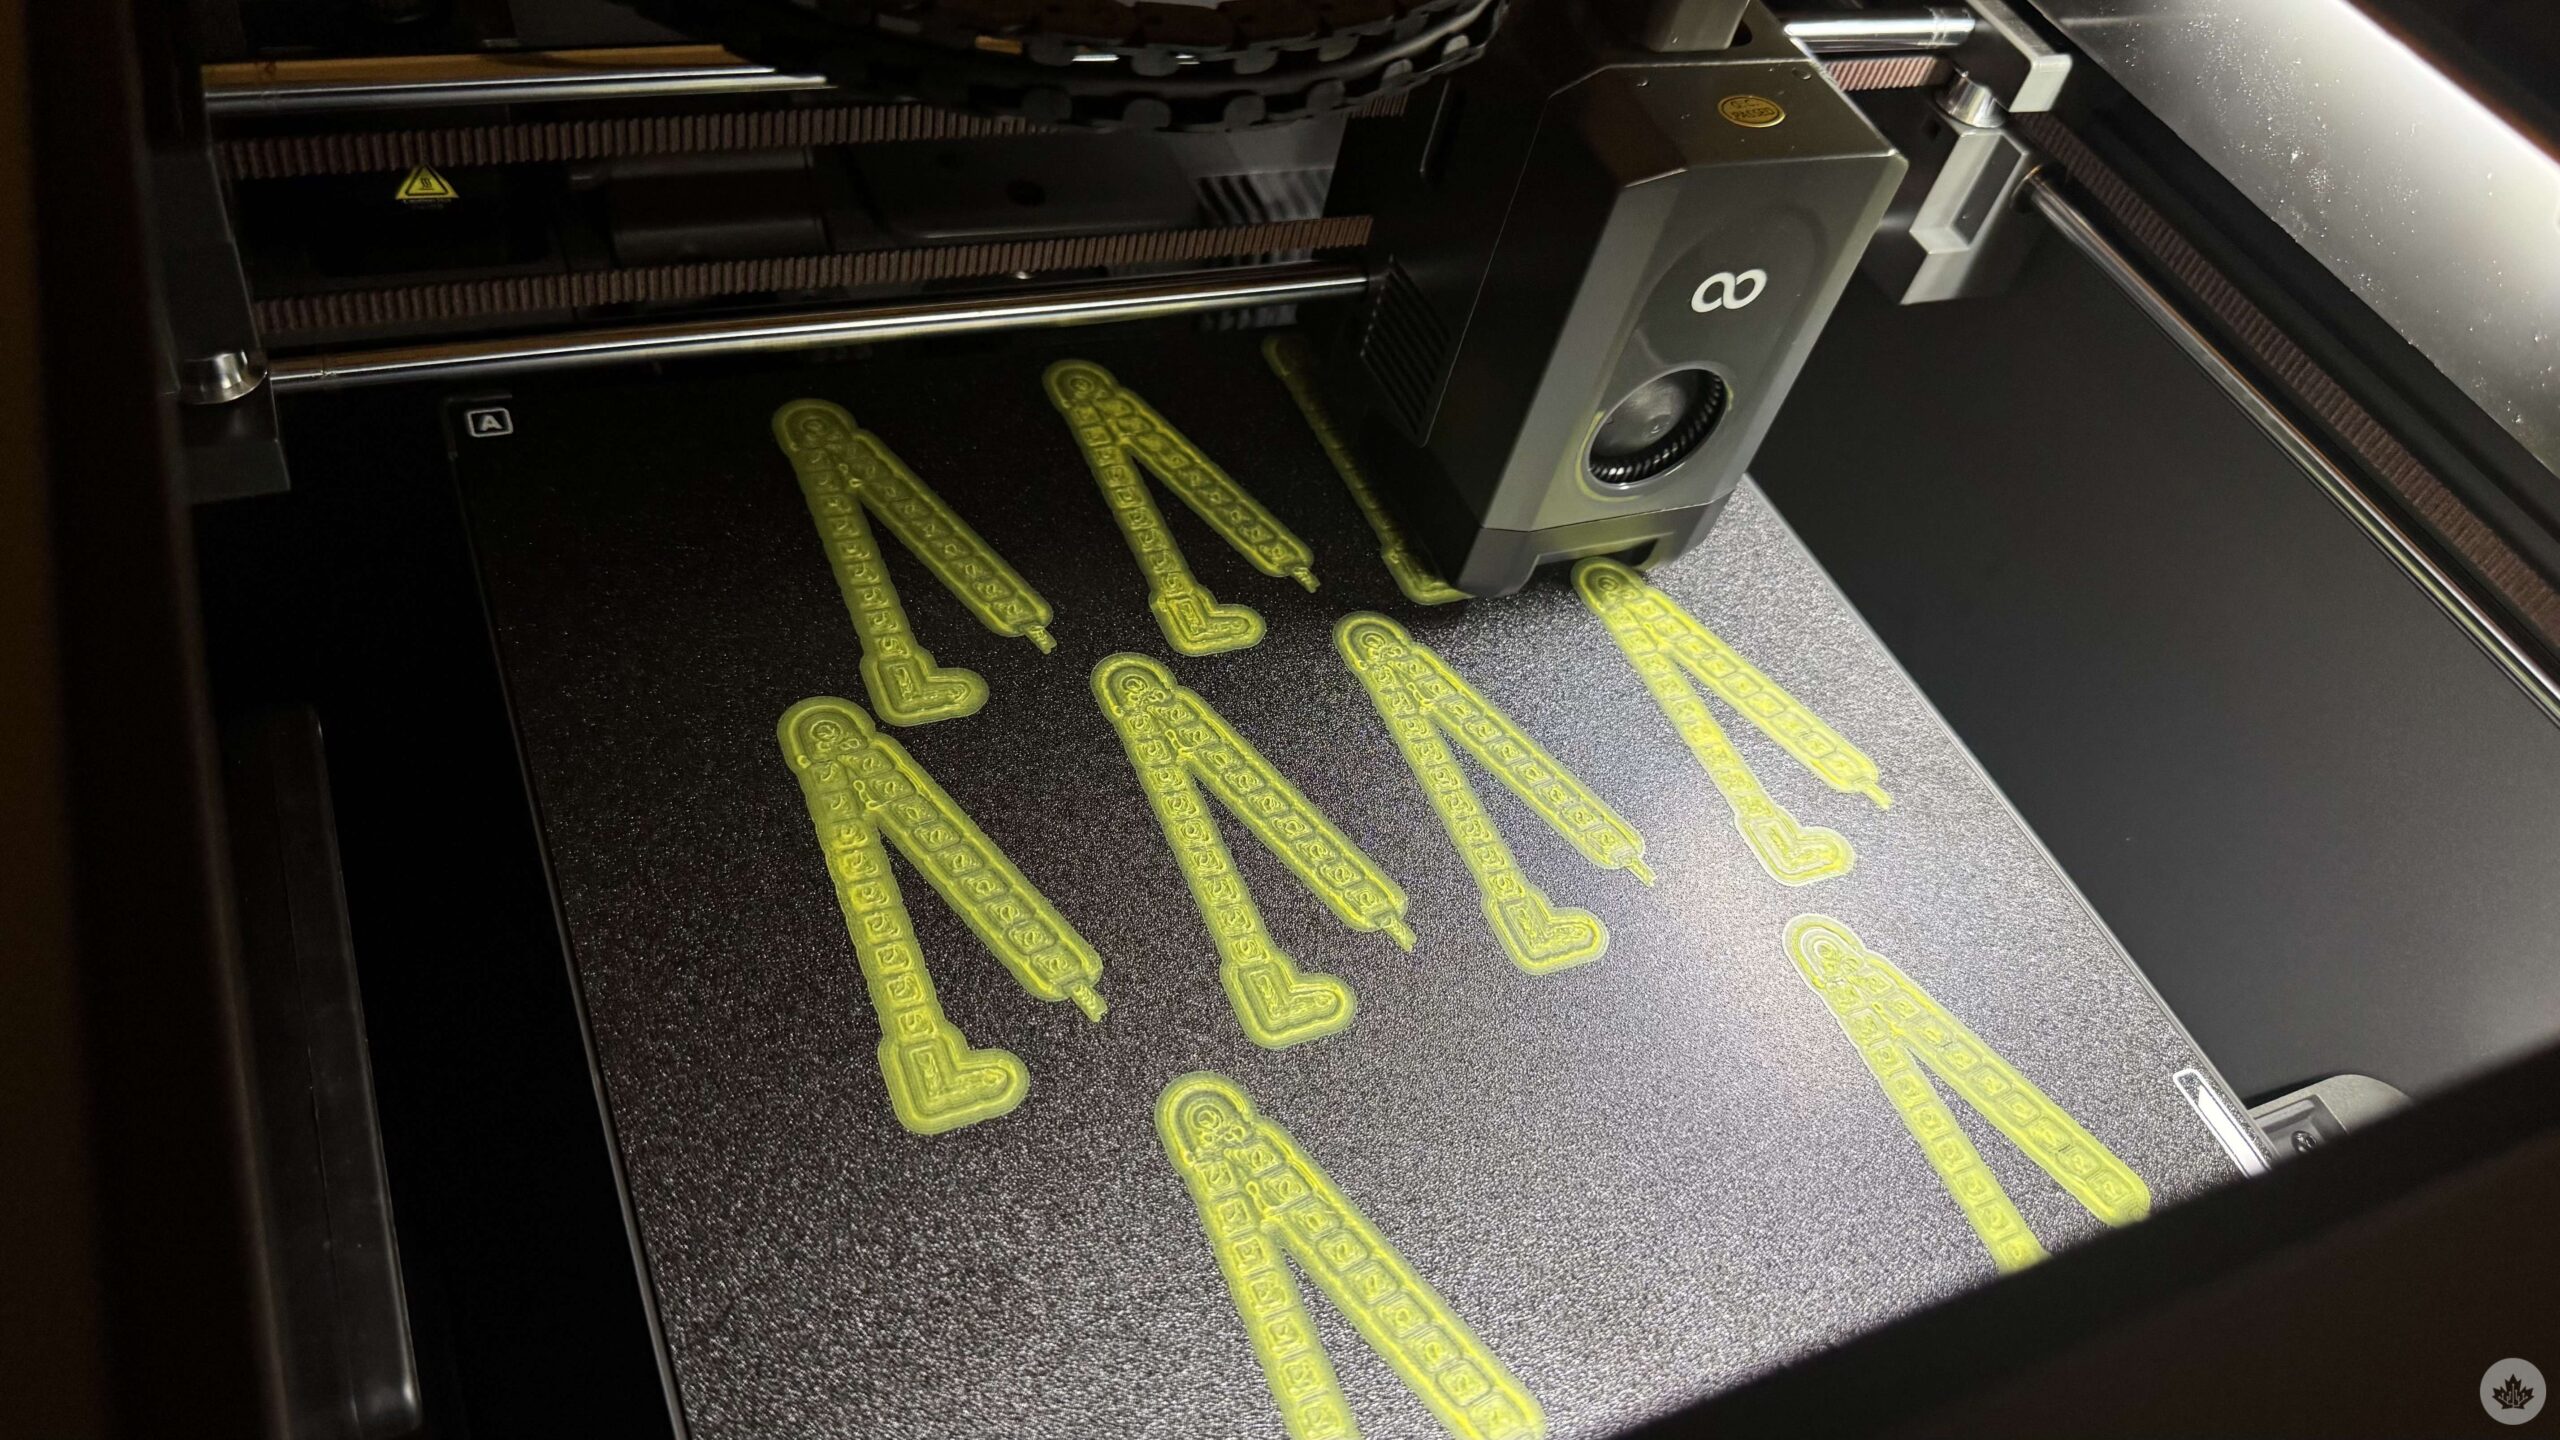
It’s helpful that the Centauri Carbon 2 has a built-in camera that faces the base plate. It allows me to monitor the print remotely from the slicer instead of having to constantly walk over to the printer to check whether everything is going according to plan. It’s a great quality-of-life feature that I can see being useful regardless of whether you’re a complete beginner or a 3D printing veteran. More importantly, remotely monitoring your prints can also help save filament.
In scenarios where my print begins failing for any reason, monitoring via the camera allows me to catch the problem early and stop the print before too much filament is wasted on something that was never going to turn out as intended.
That pretty much sums up my short-term experience with the 3D printing and the Centauri Carbon 2. The printer has given me the occasional error, but nothing that a little troubleshooting doesn’t fix. Oh, and that isn’t unique to the Centauri Carbon 2. From what I’ve learned, troubleshooting errors is simply a not-so-fun part of 3D printing, regardless of which printer you use.
I’m still very much a beginner, and there’s a lot more that I need to learn. I haven’t yet experimented with different filament types, textured base plates, nozzle sizes, advanced slicer settings, and more. Expect a much deeper dive into 3D printing and the Centauri Carbon 2 once I have more experience under my belt.
MobileSyrup may earn a commission from purchases made via our links, which helps fund the journalism we provide free on our website. These links do not influence our editorial content. Support us here.