Taking screenshots on the Nintendo Switch is easy enough, but sharing them or saving them onto your phone can be a bit more of a convoluted process.
Hopefully, this guide can help you become a screenshot master so you can share all your awesome Switch memories from here on out.
How to take a screenshot
On the left Joy-Con controller that came with your Switch, there’s a little square button with a circle inside it. This is your camera button that takes screenshots when you tap it.
If you want to record a 30-second video, hold down on this button, and you’ll record half a minute of footage.
This small button should be on all of your controllers below the directional pad.
Sharing your screenshots and saving them onto your phone
There are two ways to do this, but neither is as simple as it probably should be.
Using a MicroSD card
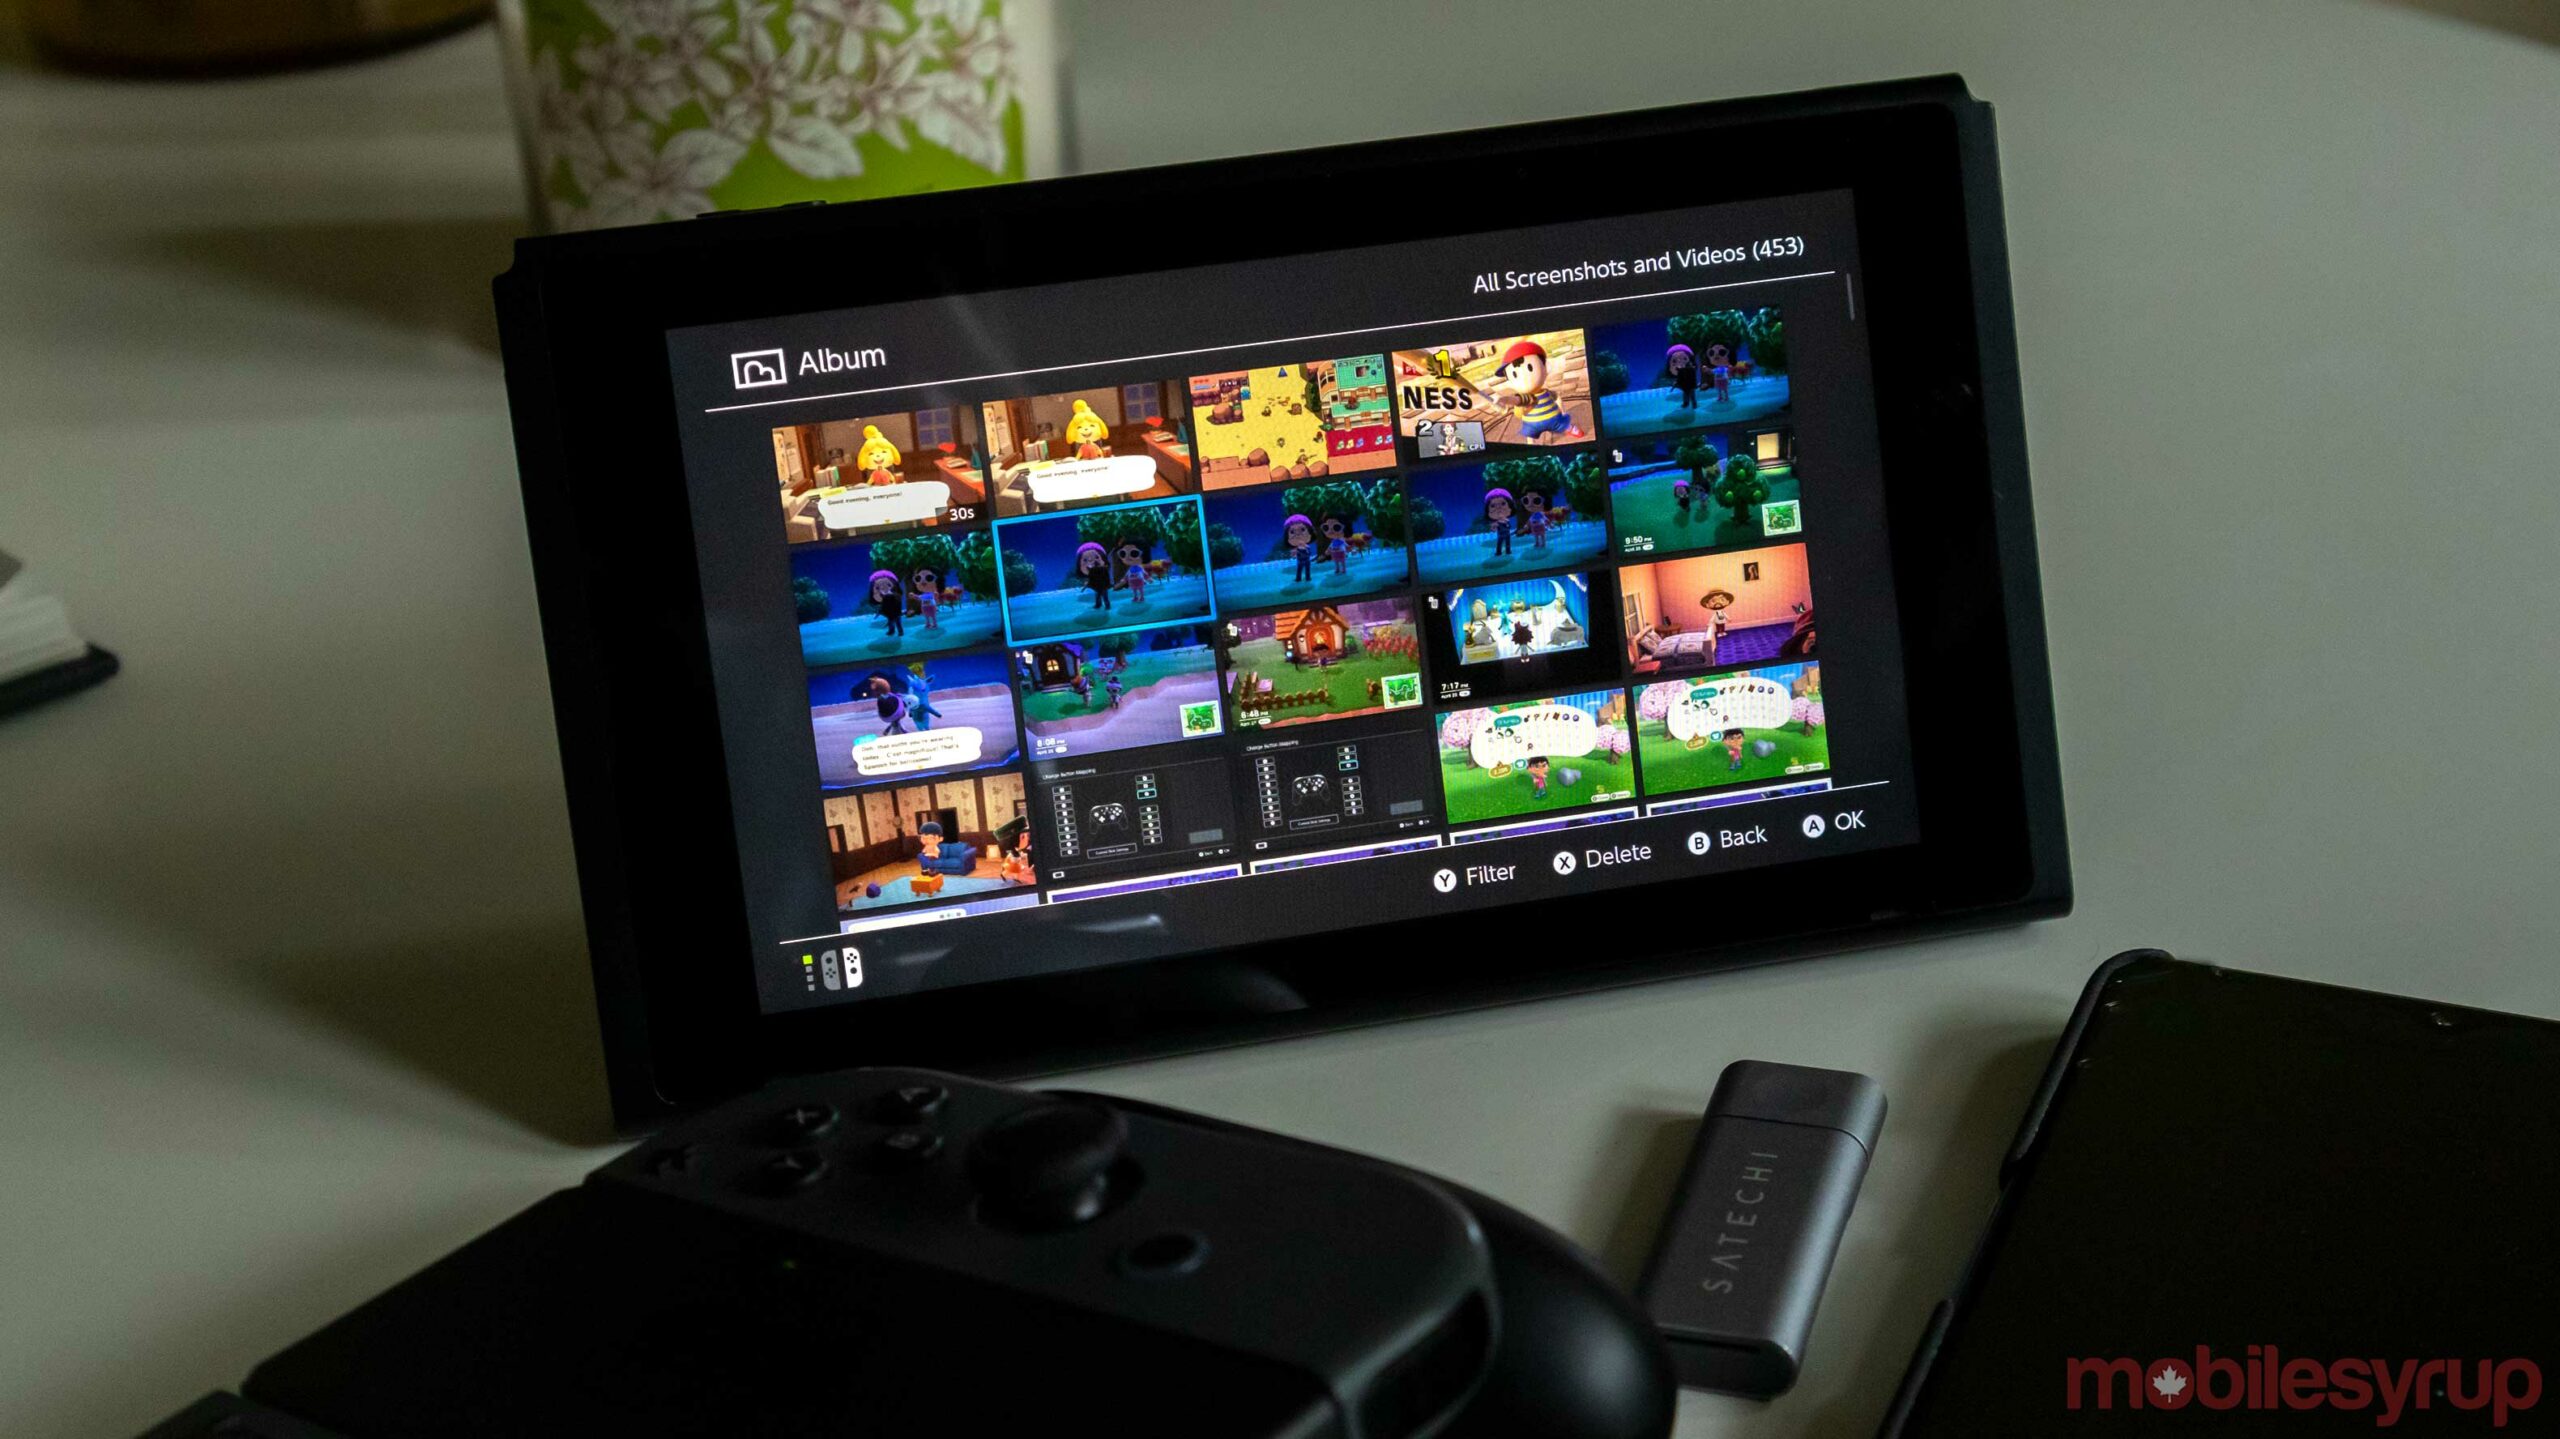
The first method involves using a MicroSD card. If you have the SD card in your Switch, it should save screenshots to it automatically. However, before you remove the card, it’s worth going into the Switch’s ‘Album’ app to make sure.
You can do this by opening a photo in the Album and selecting the ‘Editing and Posting’ option. From there, select ‘Copy’ and the Switch tells you if the photo is saved on the handheld’s hard drive or MicroSD card. If the picture is on the hard drive, this is also where you can move it over to the SD card.
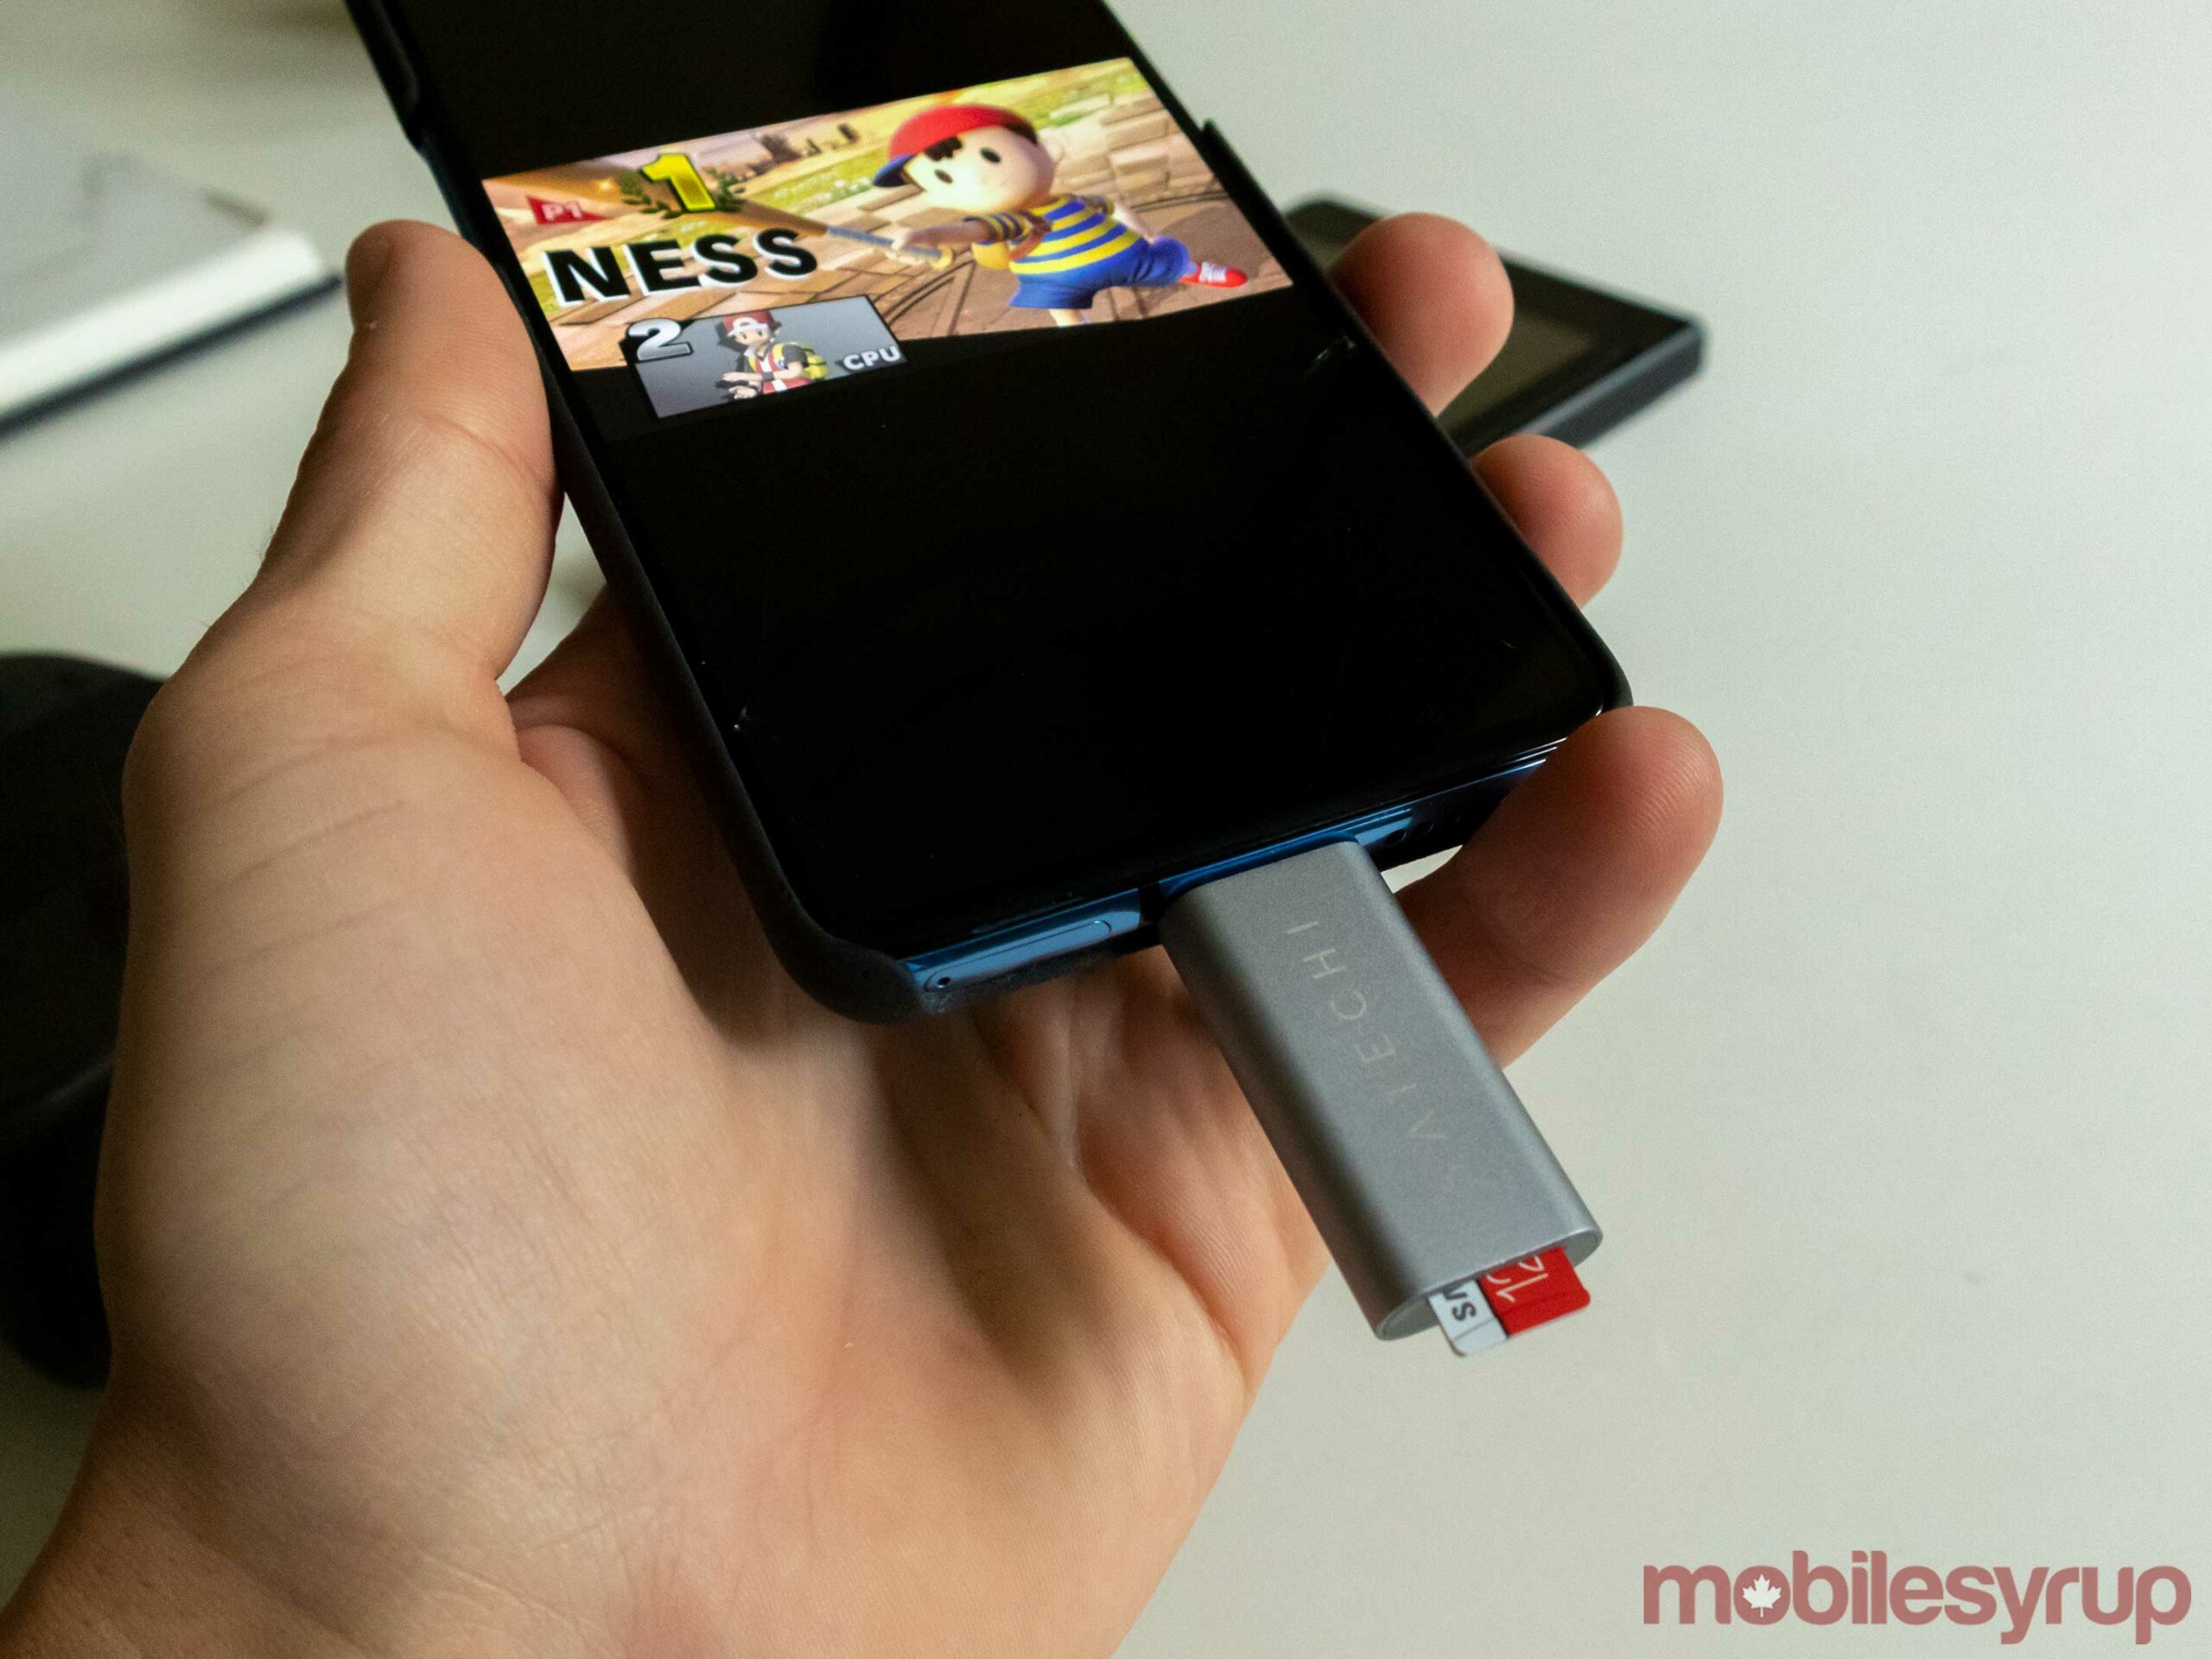
Once you’ve got the photos on the card, you can plug it into a computer or a phone, as long as you have a microSD card adapter. If you can plug directly into your phone with a USB-C or Lightning connector, it will save you a step and you can just save the photos from there.
If you need to plug into a PC or Mac, there are a few more things you need to do. Nintendo organizes screenshots and videos in folders numbered after the month you took the photos. Then, inside of that folder, there are several smaller pictures for each day you took screenshots.
On your computer, simply save the files or upload them to a cloud service like iCloud, Google Drive or Google Photos. If you do this, that’s how you can get them onto your phone.
Using social media
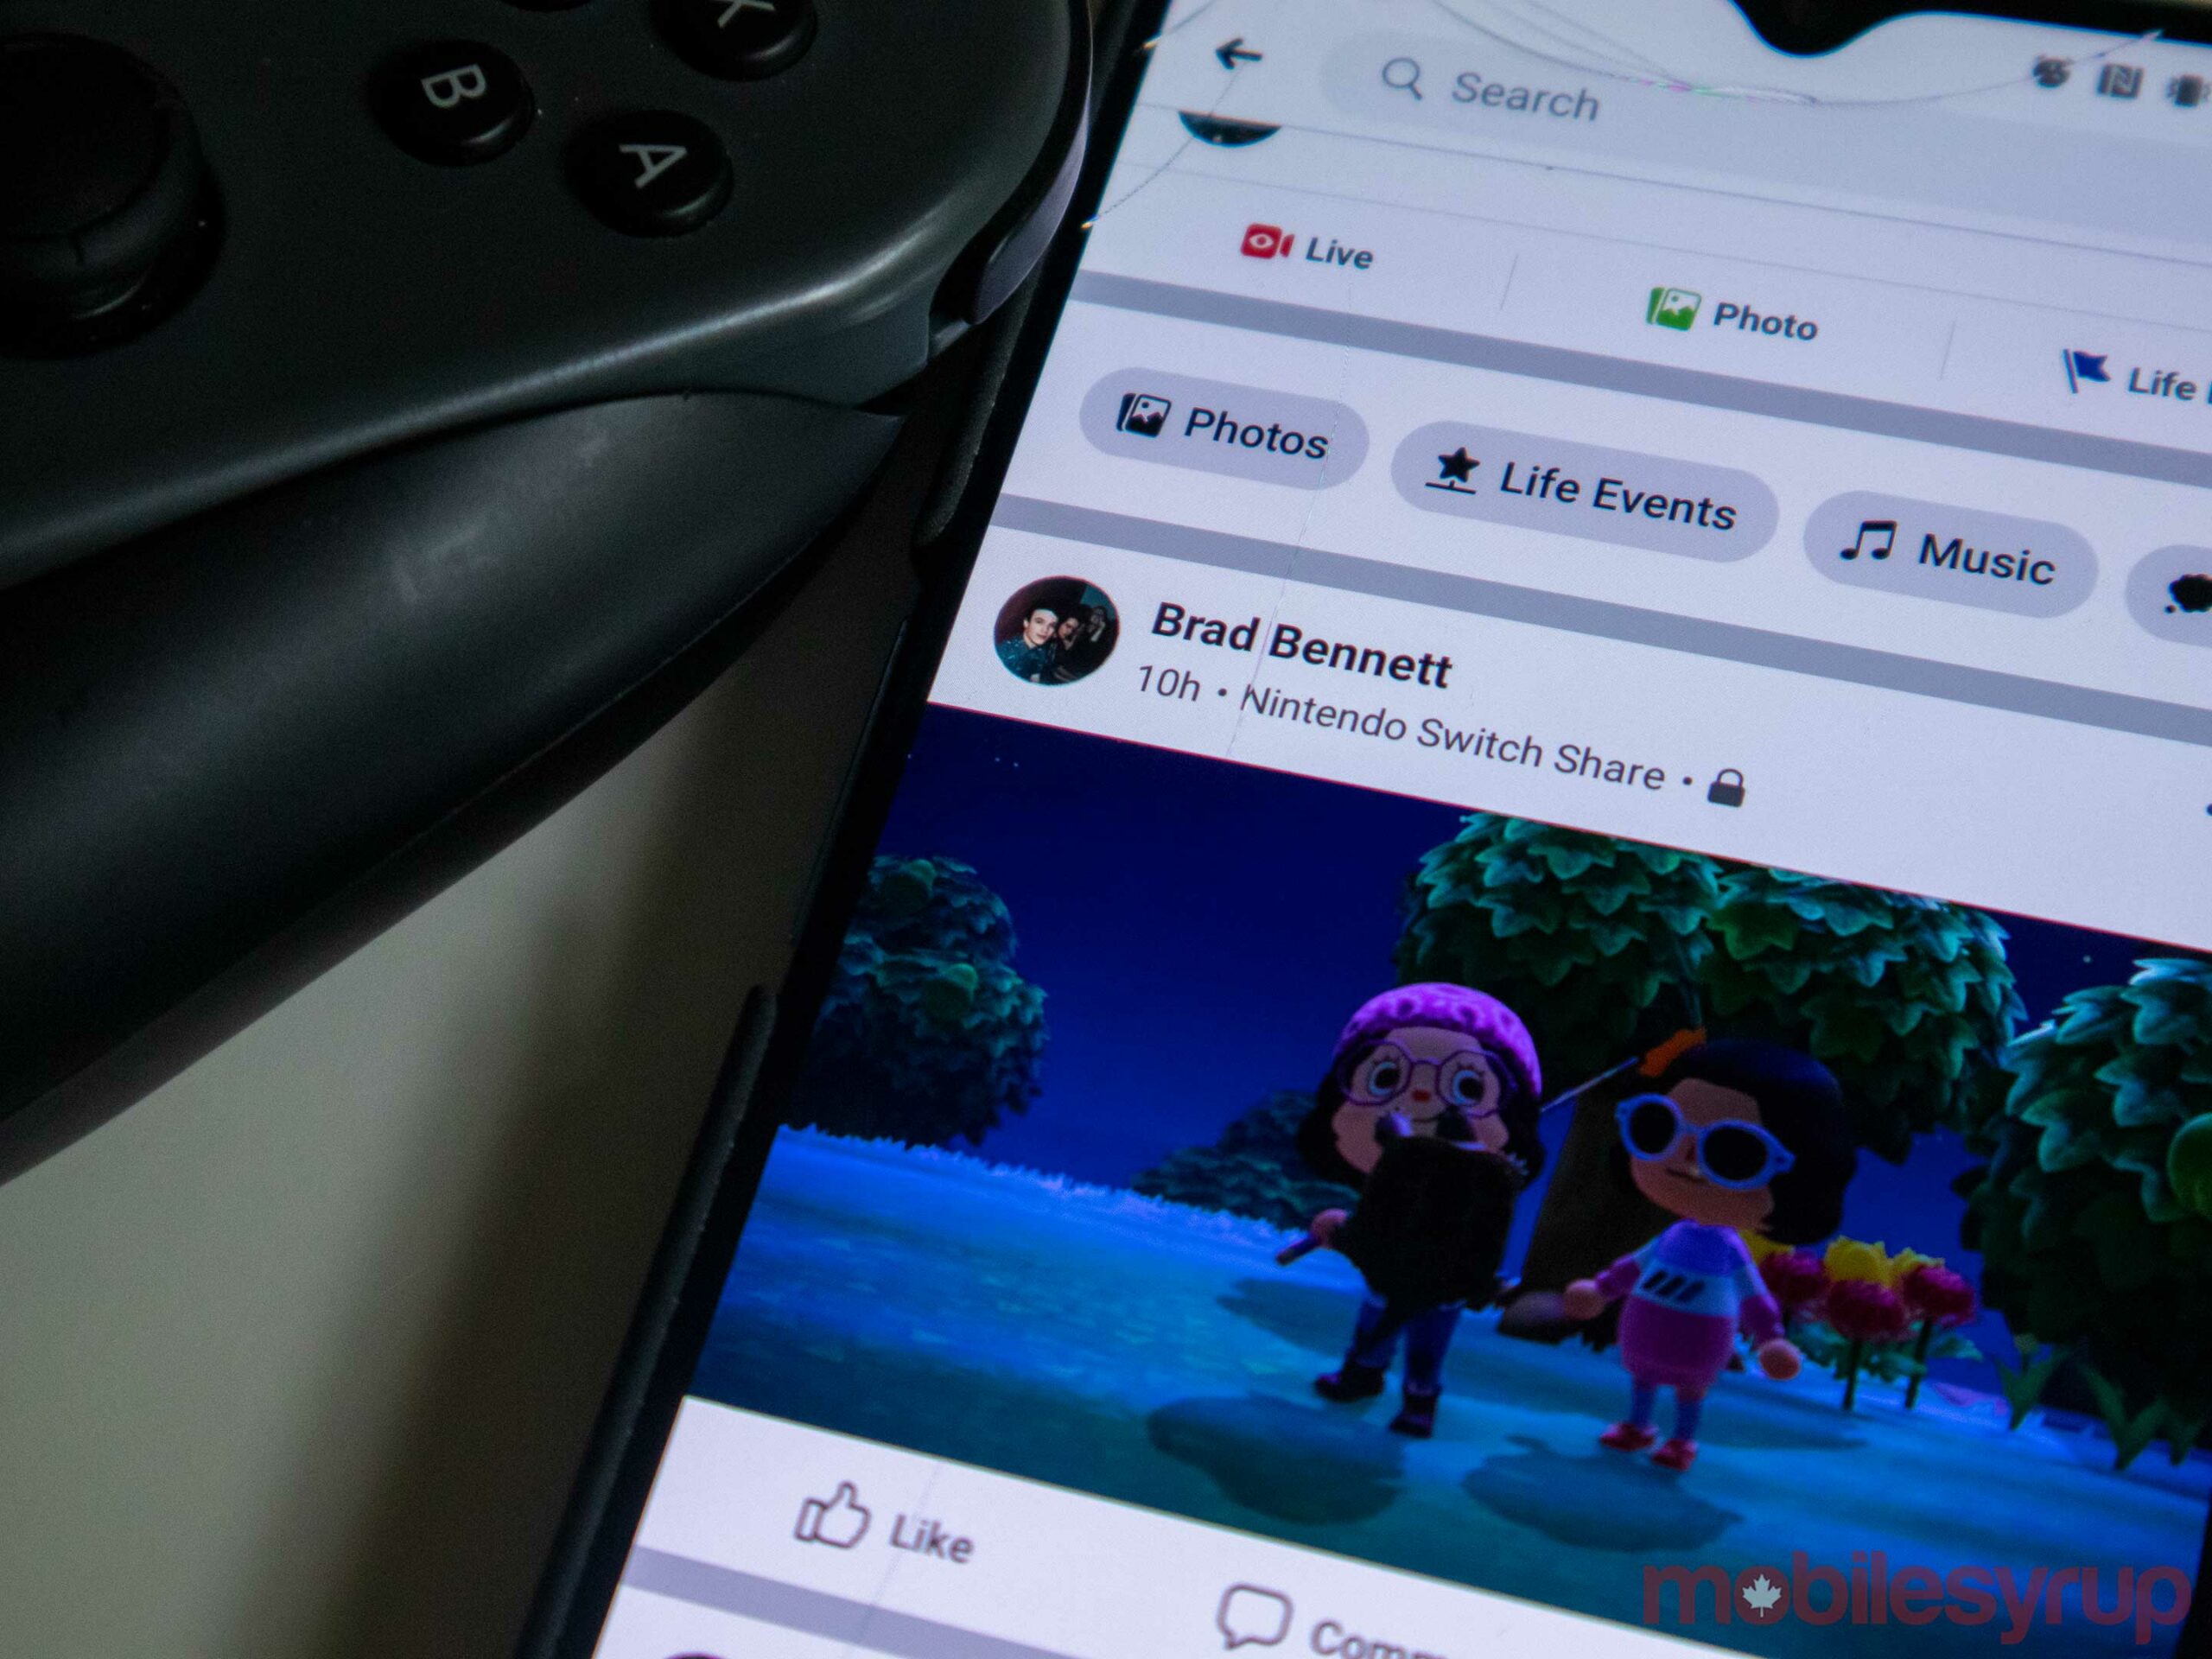
Depending on who you ask, this method might be a bit easier. It involves privately sharing batches of photos to Facebook and then saving those Facebook photos to your phone from the app on your handset.
The main drawback here is that you can only do four photos from a single game at a time, but the plus side is that you don’t need a MicroSD card reader.
Once you’re ready to post navigate back to ‘Editing and Posting’ menu within the Album, but this time choose ‘Post,’ or ‘Post Batch.’ Then, select Facebook from the following screen.
You’ll need to log into The social network, but then you can post. If you want to post these privately so no one can see your photos, choose ‘Only me’ from the drop-down menu before you share.
Now you open Facebook on your phone and save the screenshot from the social network via a screenshot or some other method.
MobileSyrup may earn a commission from purchases made via our links, which helps fund the journalism we provide free on our website. These links do not influence our editorial content. Support us here.
