
Most of the time, we here are MobileSyrup cover smartphones, tablets and computers. Those seem to be the main pillars of tech news coverage, and even when we don’t write about those specifically, we’re covering things adjacent to them – accessories, earbuds, apps, the list goes on.
Well, I’m going to break the mould and write about tech for babies because, well, my wife and I recently had one.
Over the last few months, I’ve tested a bunch of different baby tech. Some of it has made my life better; some has not. Regardless, I’ll run through some of the pros and cons of the I’ve tested and give recommendations about what’s worth your money.
So without further ado, let’s dive into the wonderful, weird world of baby tech.
Baby bottle tech
Let’s start with bottle tech. I’m going to touch on two main things here, bottle warmers and bottle sterilizers. These two items were probably the biggest lifesavers for us, even though we mostly breastfed our baby.
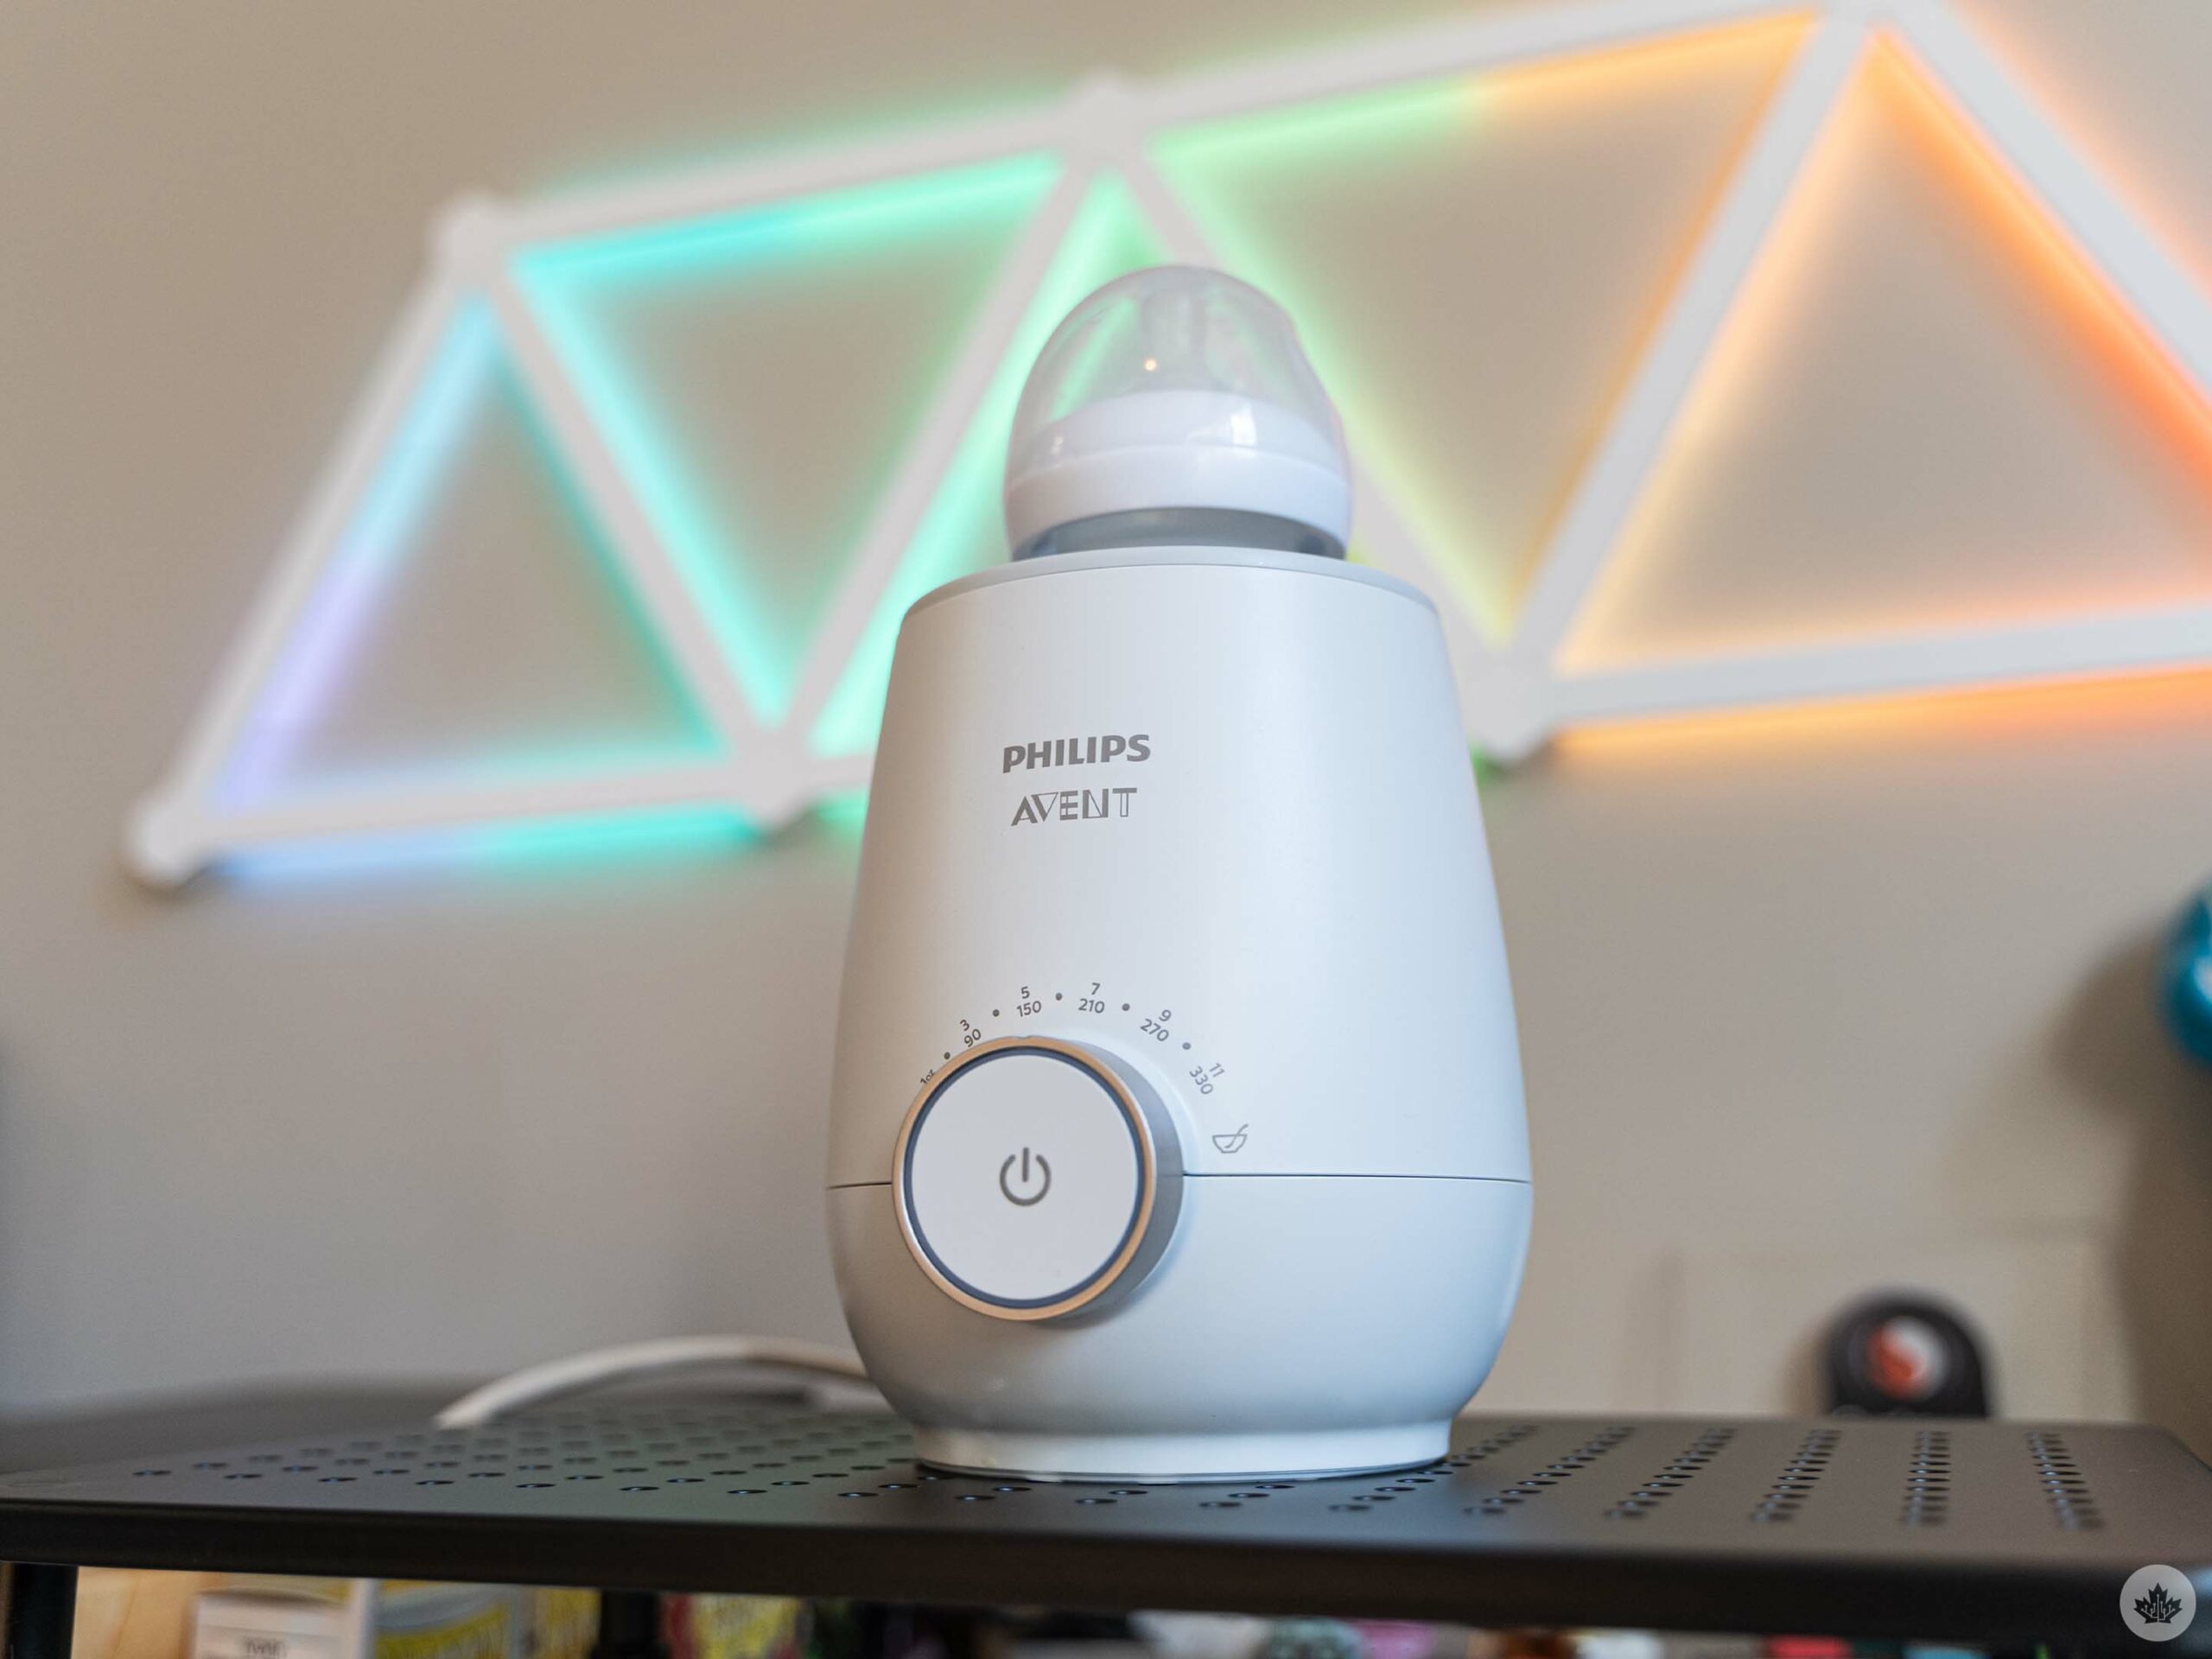
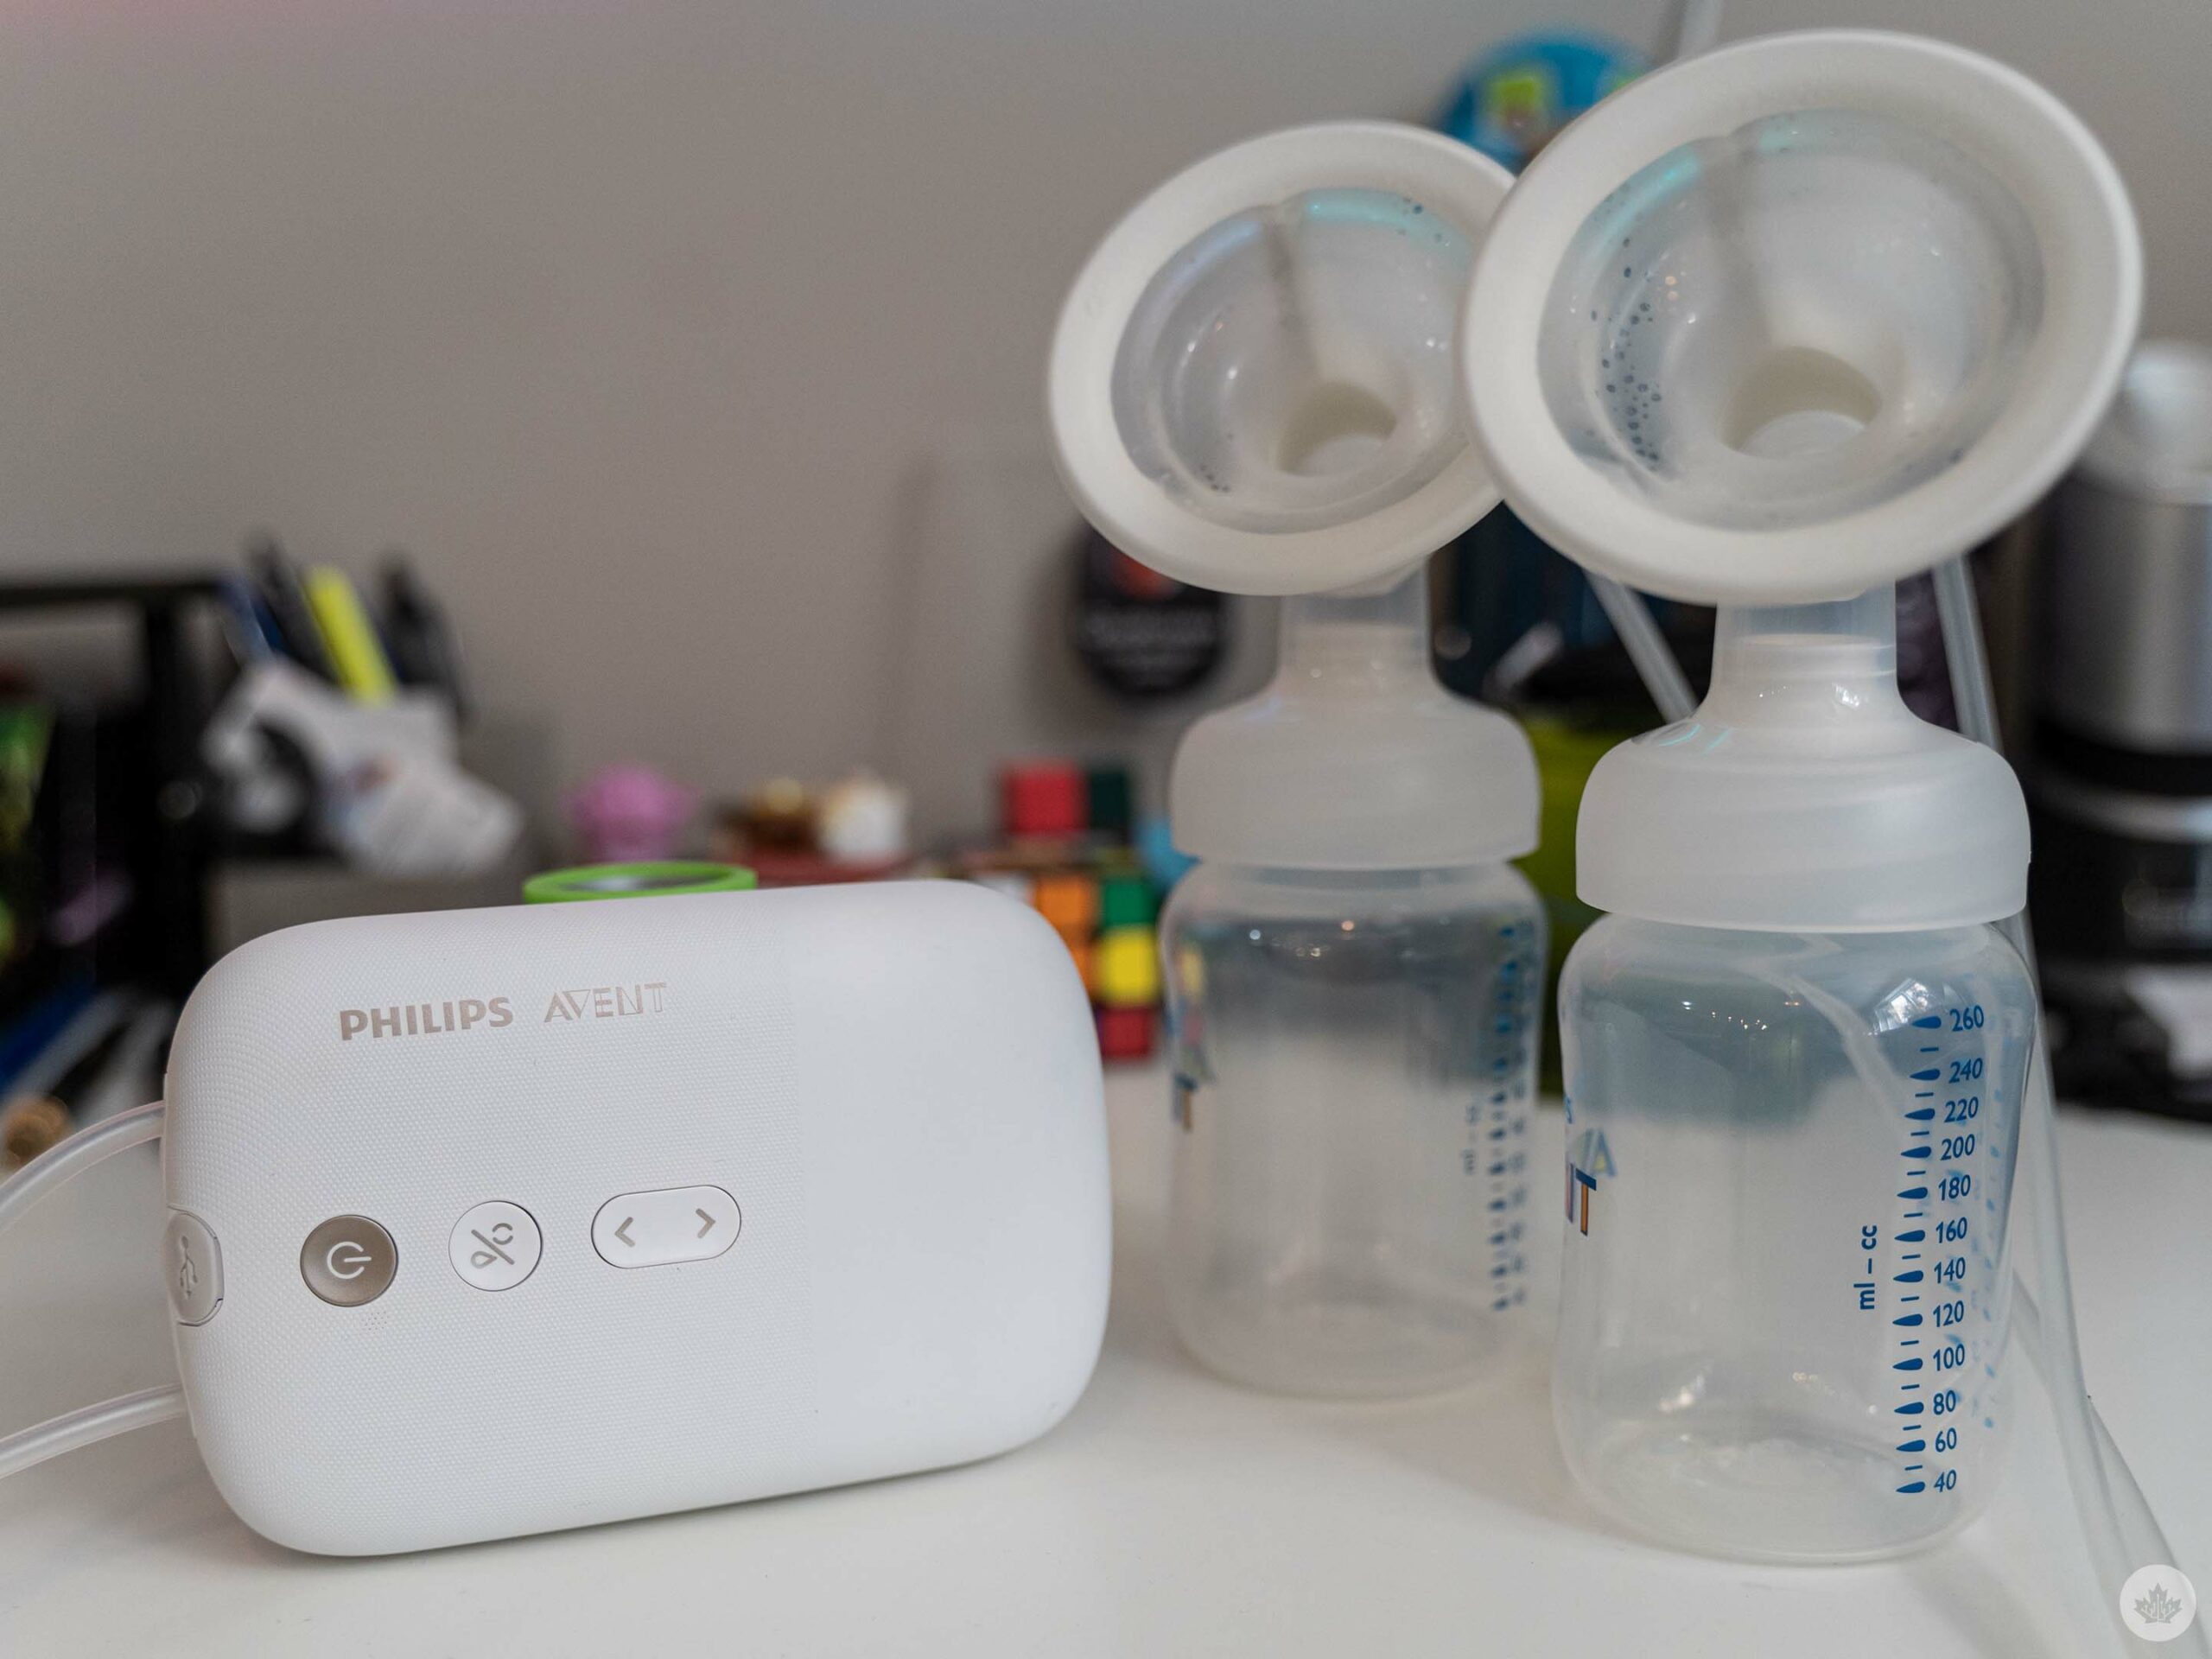
Philips sent over its Avent bottle warmer and electric sterilizer for us to try and both worked great. Starting with the bottle warmer, it was much easier than other methods of warming a bottle.
If you’re not familiar with the process, warming a bottle typically involves putting breastmilk into a bottle and placing the bottle into water you warmed on the stove or in the microwave (you can’t microwave the breastmilk, though!). Philips’ bottle warmer expedites this process by letting you put water into the warmer, then putting the breastmilk-filled bottle into the warmer, adjusting the dial, and hitting the start button.
The warmer was faster than traditional warming methods, but the biggest win in my books was the ease of use. The simplicity made it super easy to use with one hand, which was important when I needed my other hand to hold a hungry baby.
The Avent warmer also took the guesswork out of warming breastmilk. I could adjust the dial to match the amount of milk I was warming, then wait for the LED ring to light up to let me know it was ready. A quick temperature test on my wrist confirmed that it was good to go.
Ultimately, I’d say a bottle warmer is a must-have piece of baby tech, whether you go with Philips’ Avent warmer or another option. We mostly breastfed, but it was super handy to have around for times when we needed to bottle feed. A bottle warmer will be an even bigger lifesaver if you’re primarily bottle feeding.
The Avent bottle warmer costs $59.99 in Canada and is available at:
Bottle sterilizer
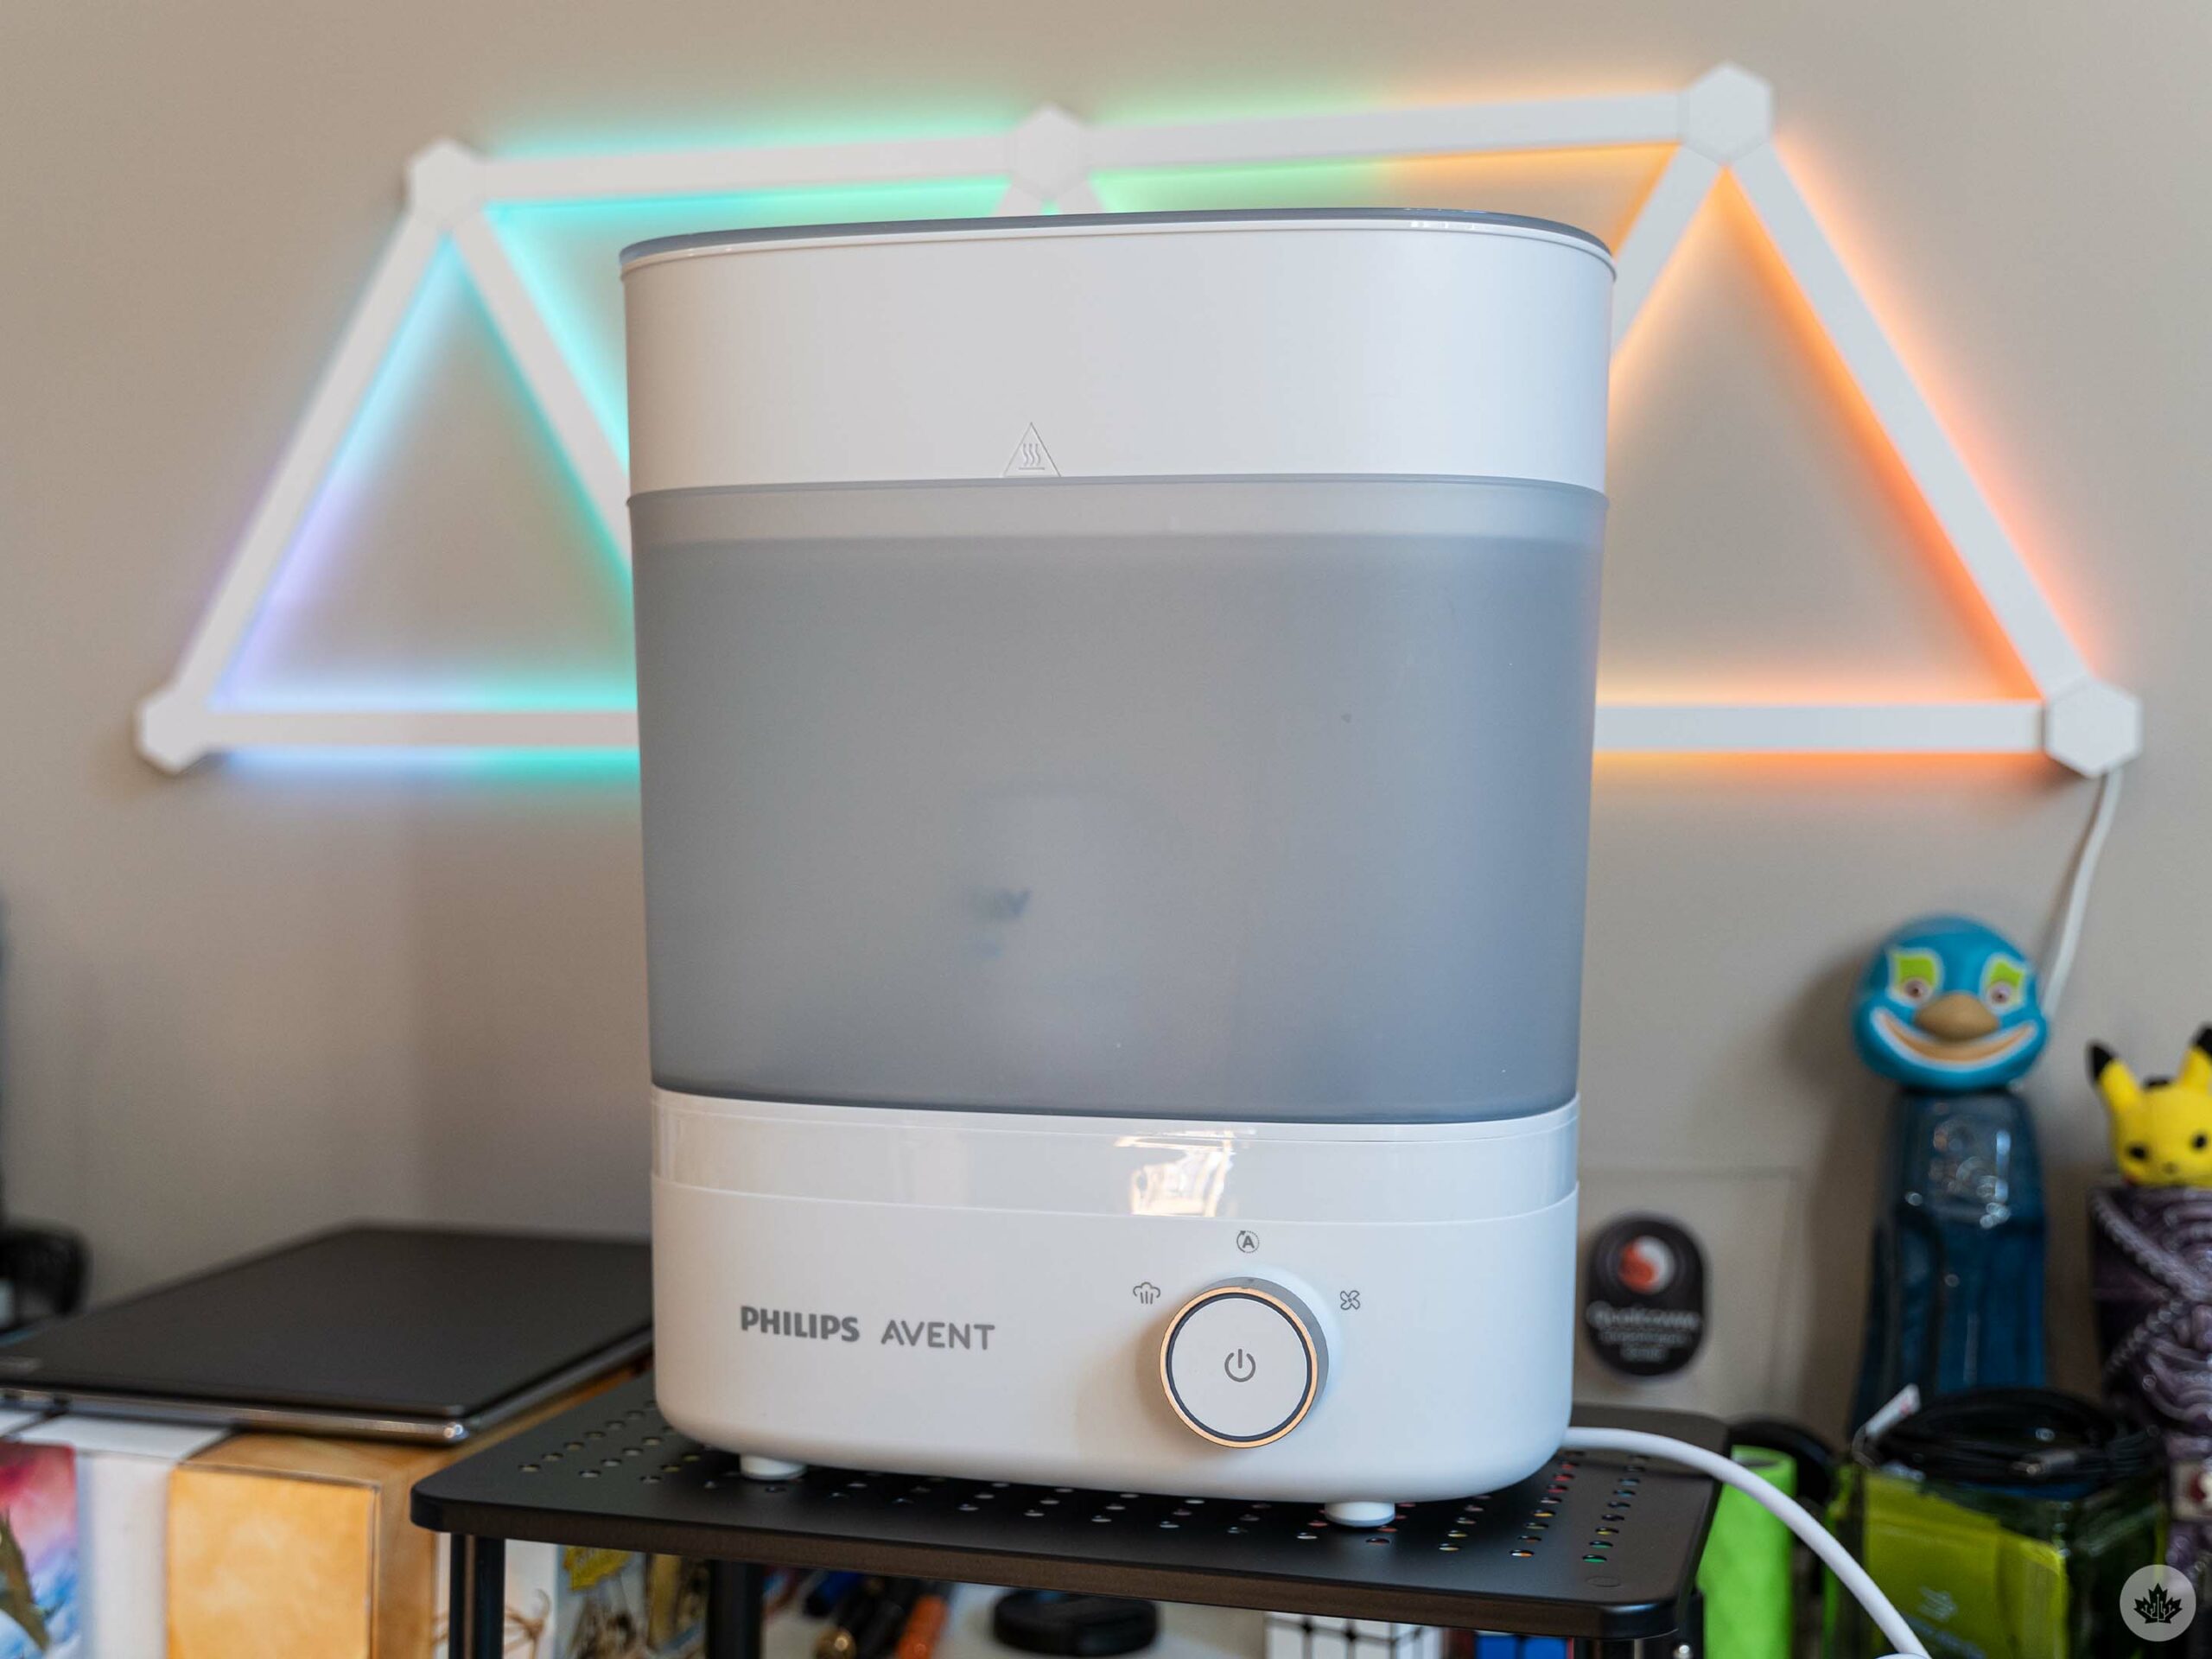
Although the Avent bottle warmer came in handy, Philips’ electric steam sterilizer has perhaps been one of the biggest timesavers of all the baby tech we’ve tried.
For those who don’t know, you have to sterilize just about everything related to baby feeding. I didn’t know this, but I learned very quickly that sterilizing takes a lot of time. Without an electric sterilizer, you need to boil water and submerge bottles and other items for five minutes, then leave them out to dry on a clean towel or drying rack. While not a difficult process, it can be time-consuming (especially if you have a ton of things to sterilize).
The Avent sterilizer makes this much easier by letting you plop a bunch of stuff in it and press a button. It runs a 10-minute sterilize cycle where it heats water and steams everything (Philips claims it kills 99.9 percent of germs) and then a 30-minute dry cycle. You can also run the two cycles separately if you either just want to sterilize or just want to dry.
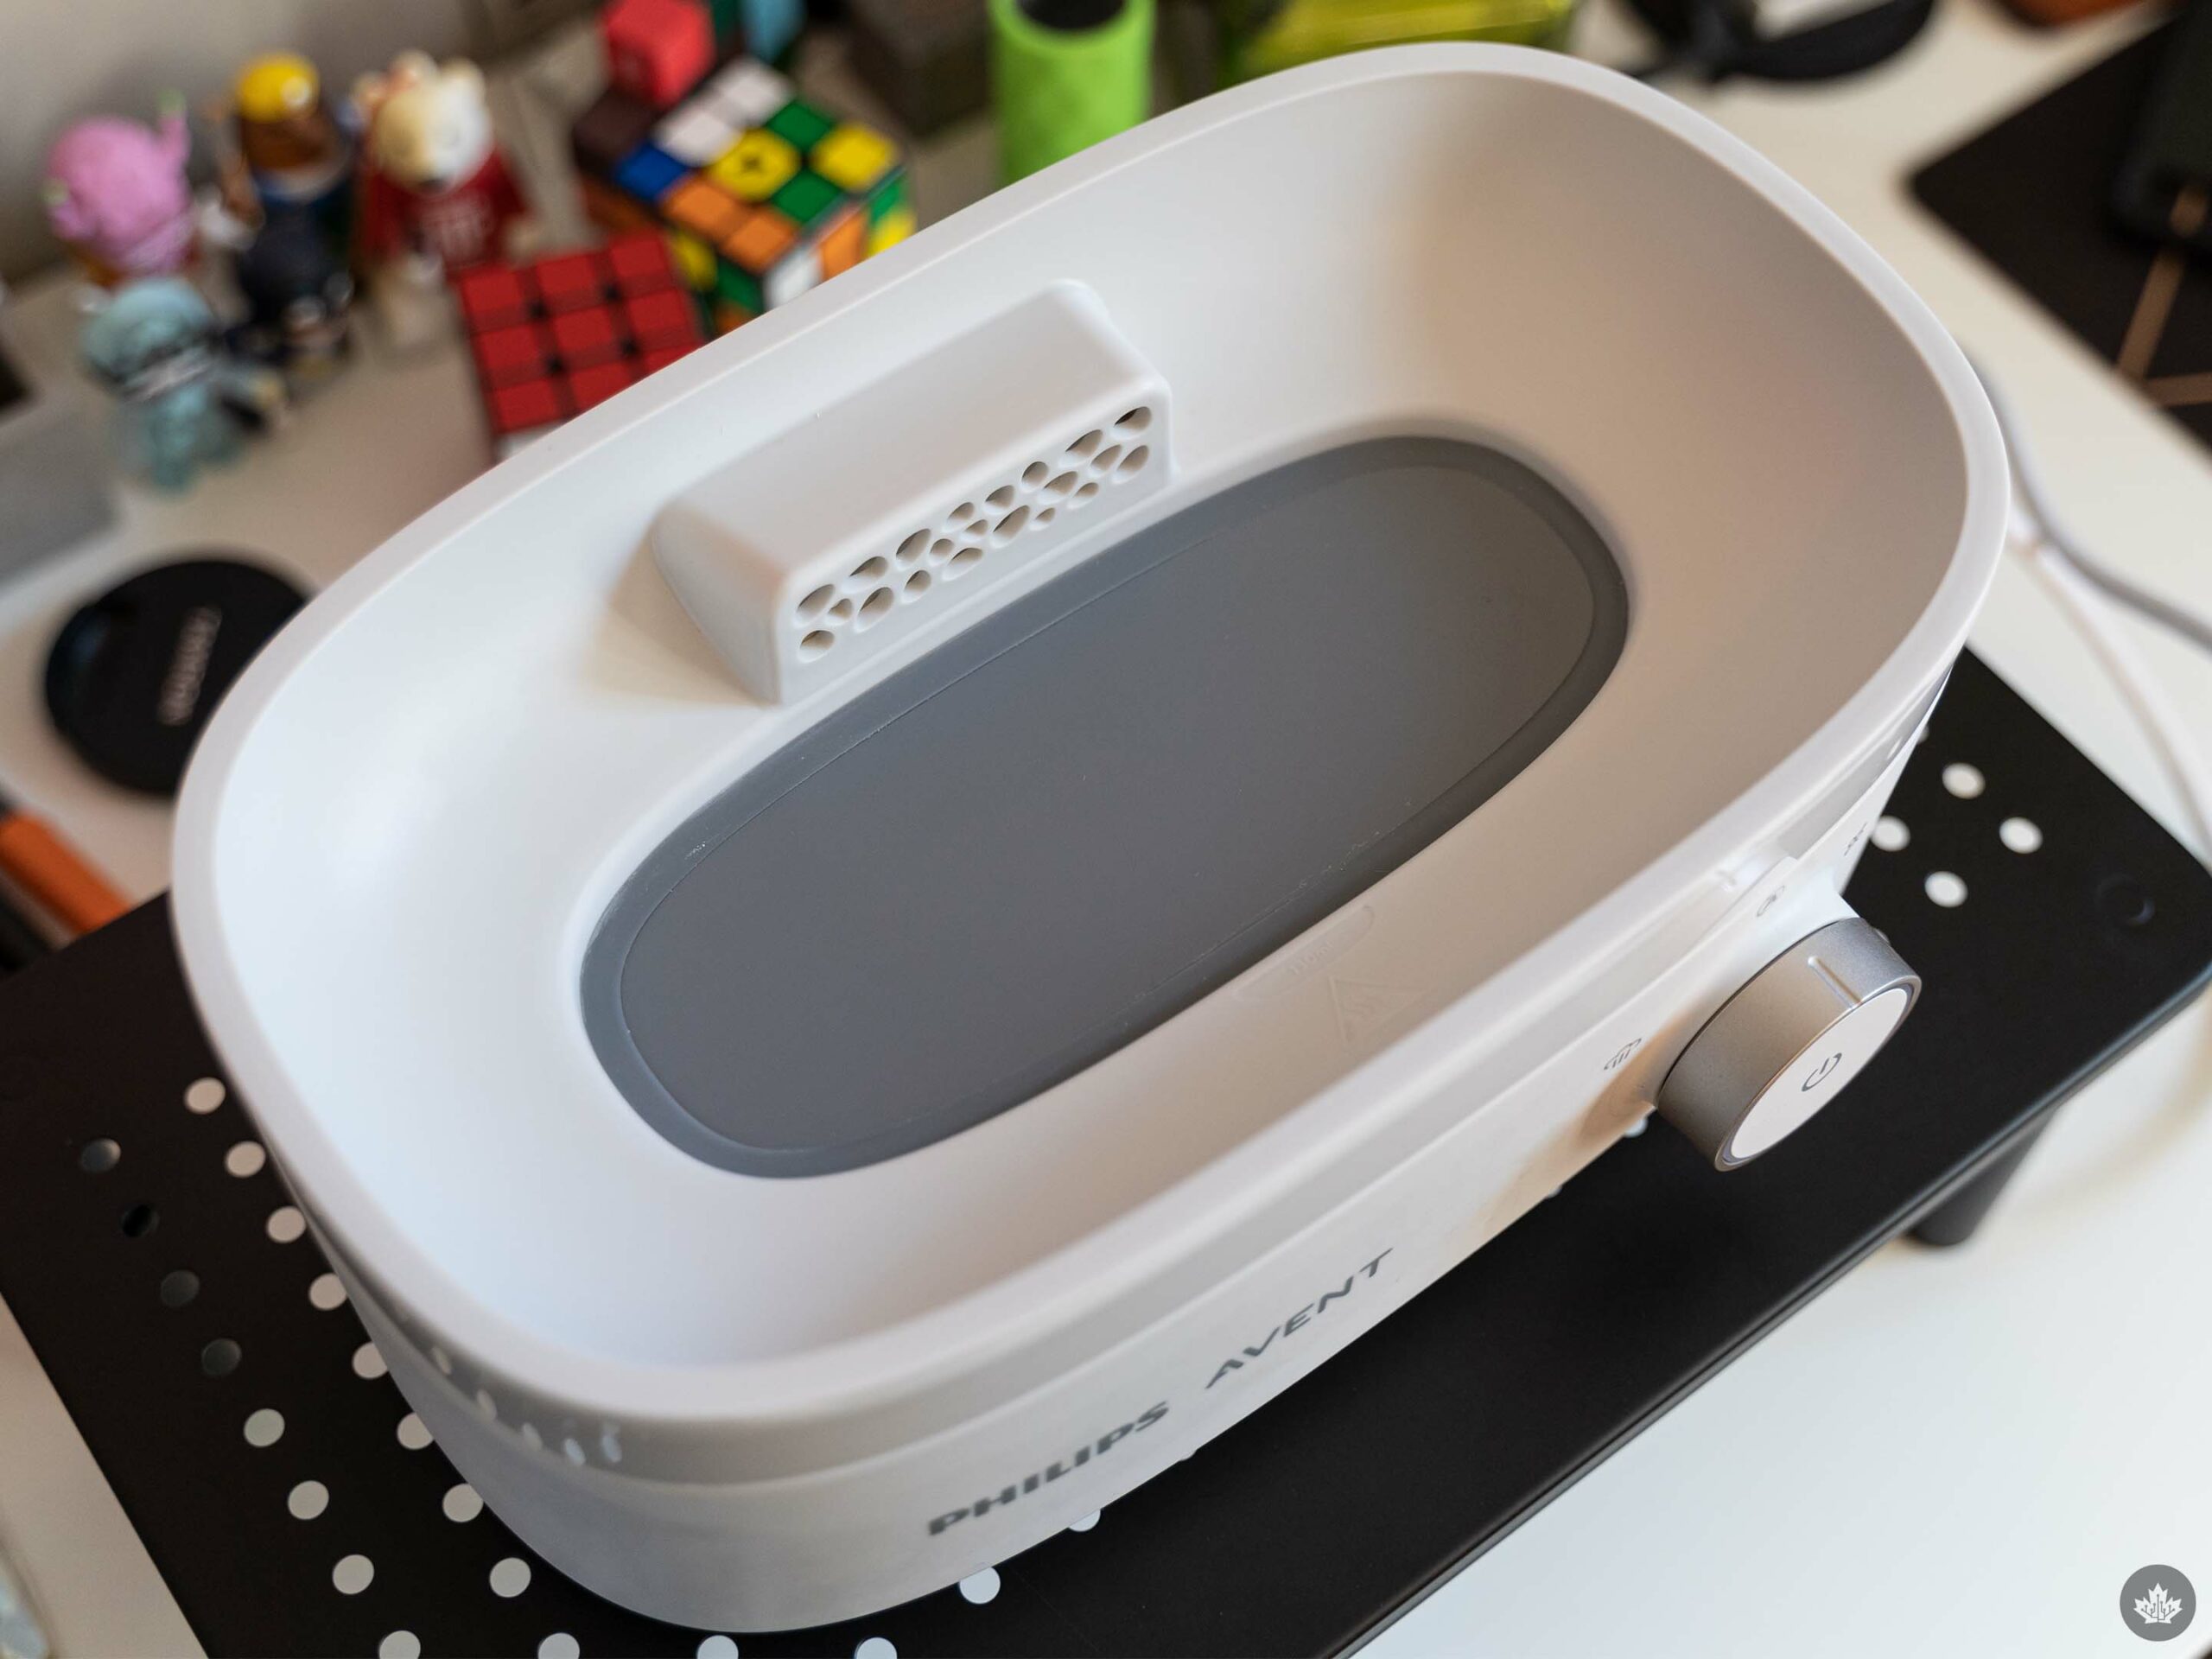
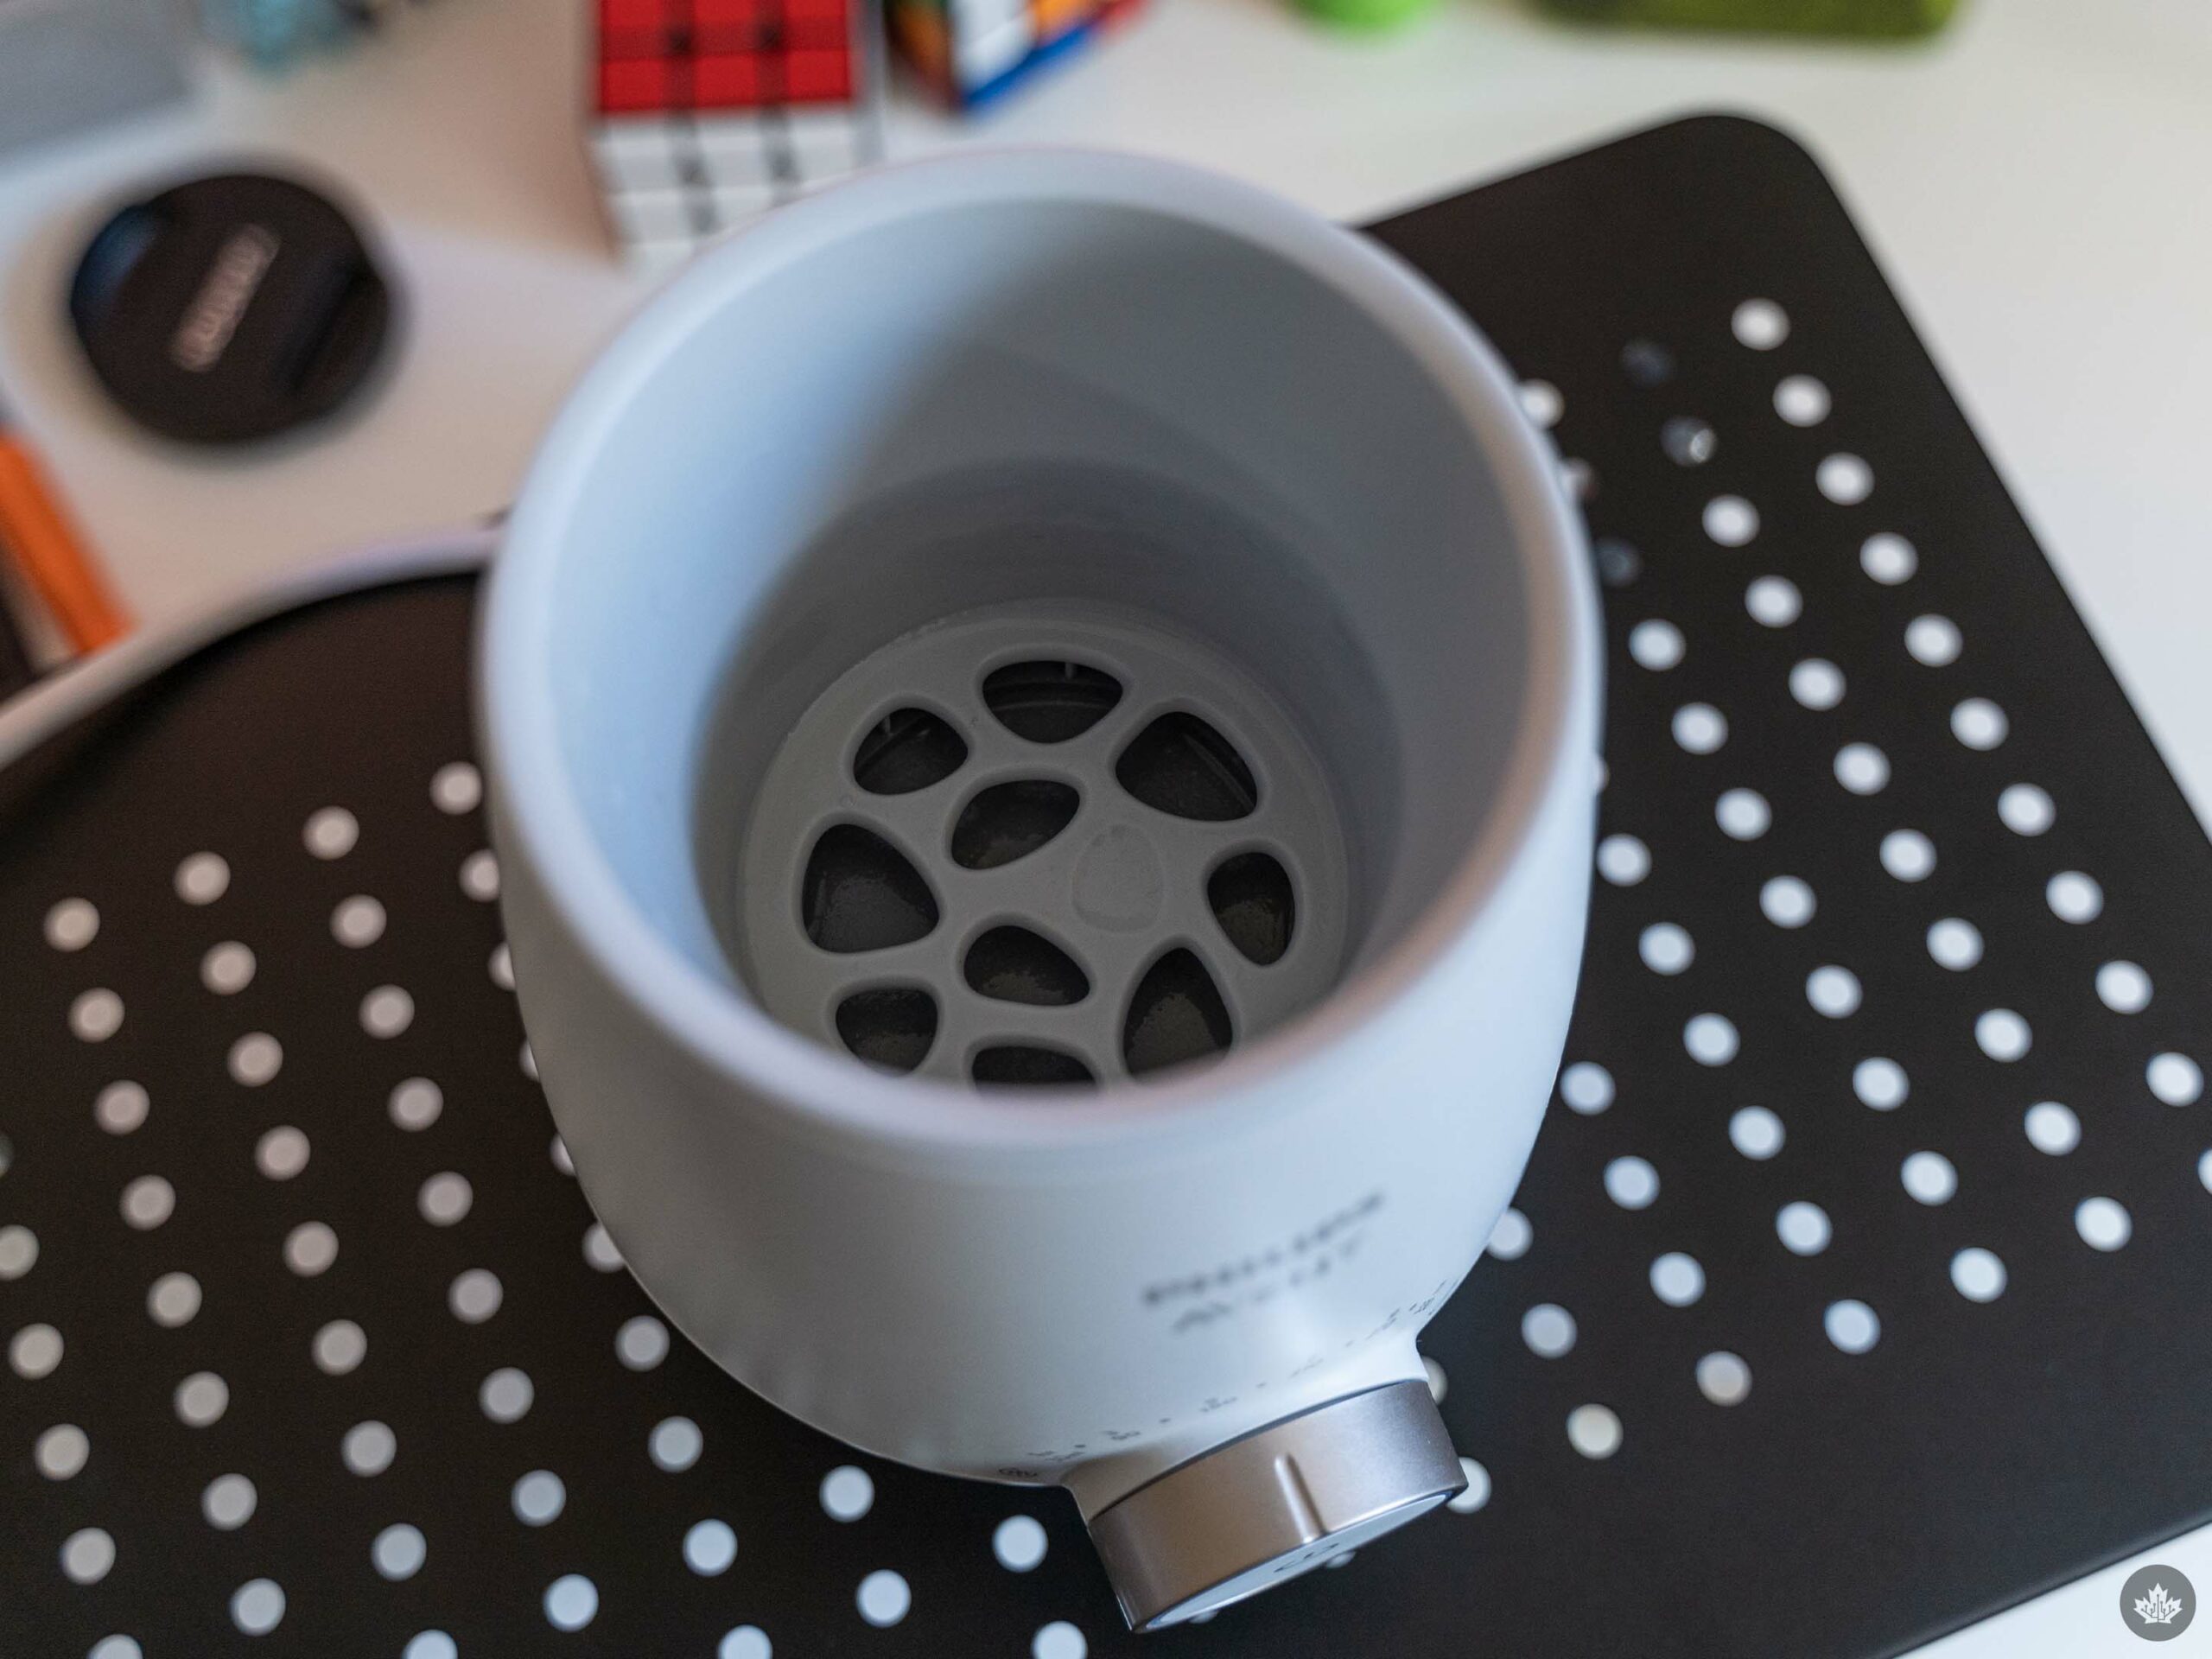
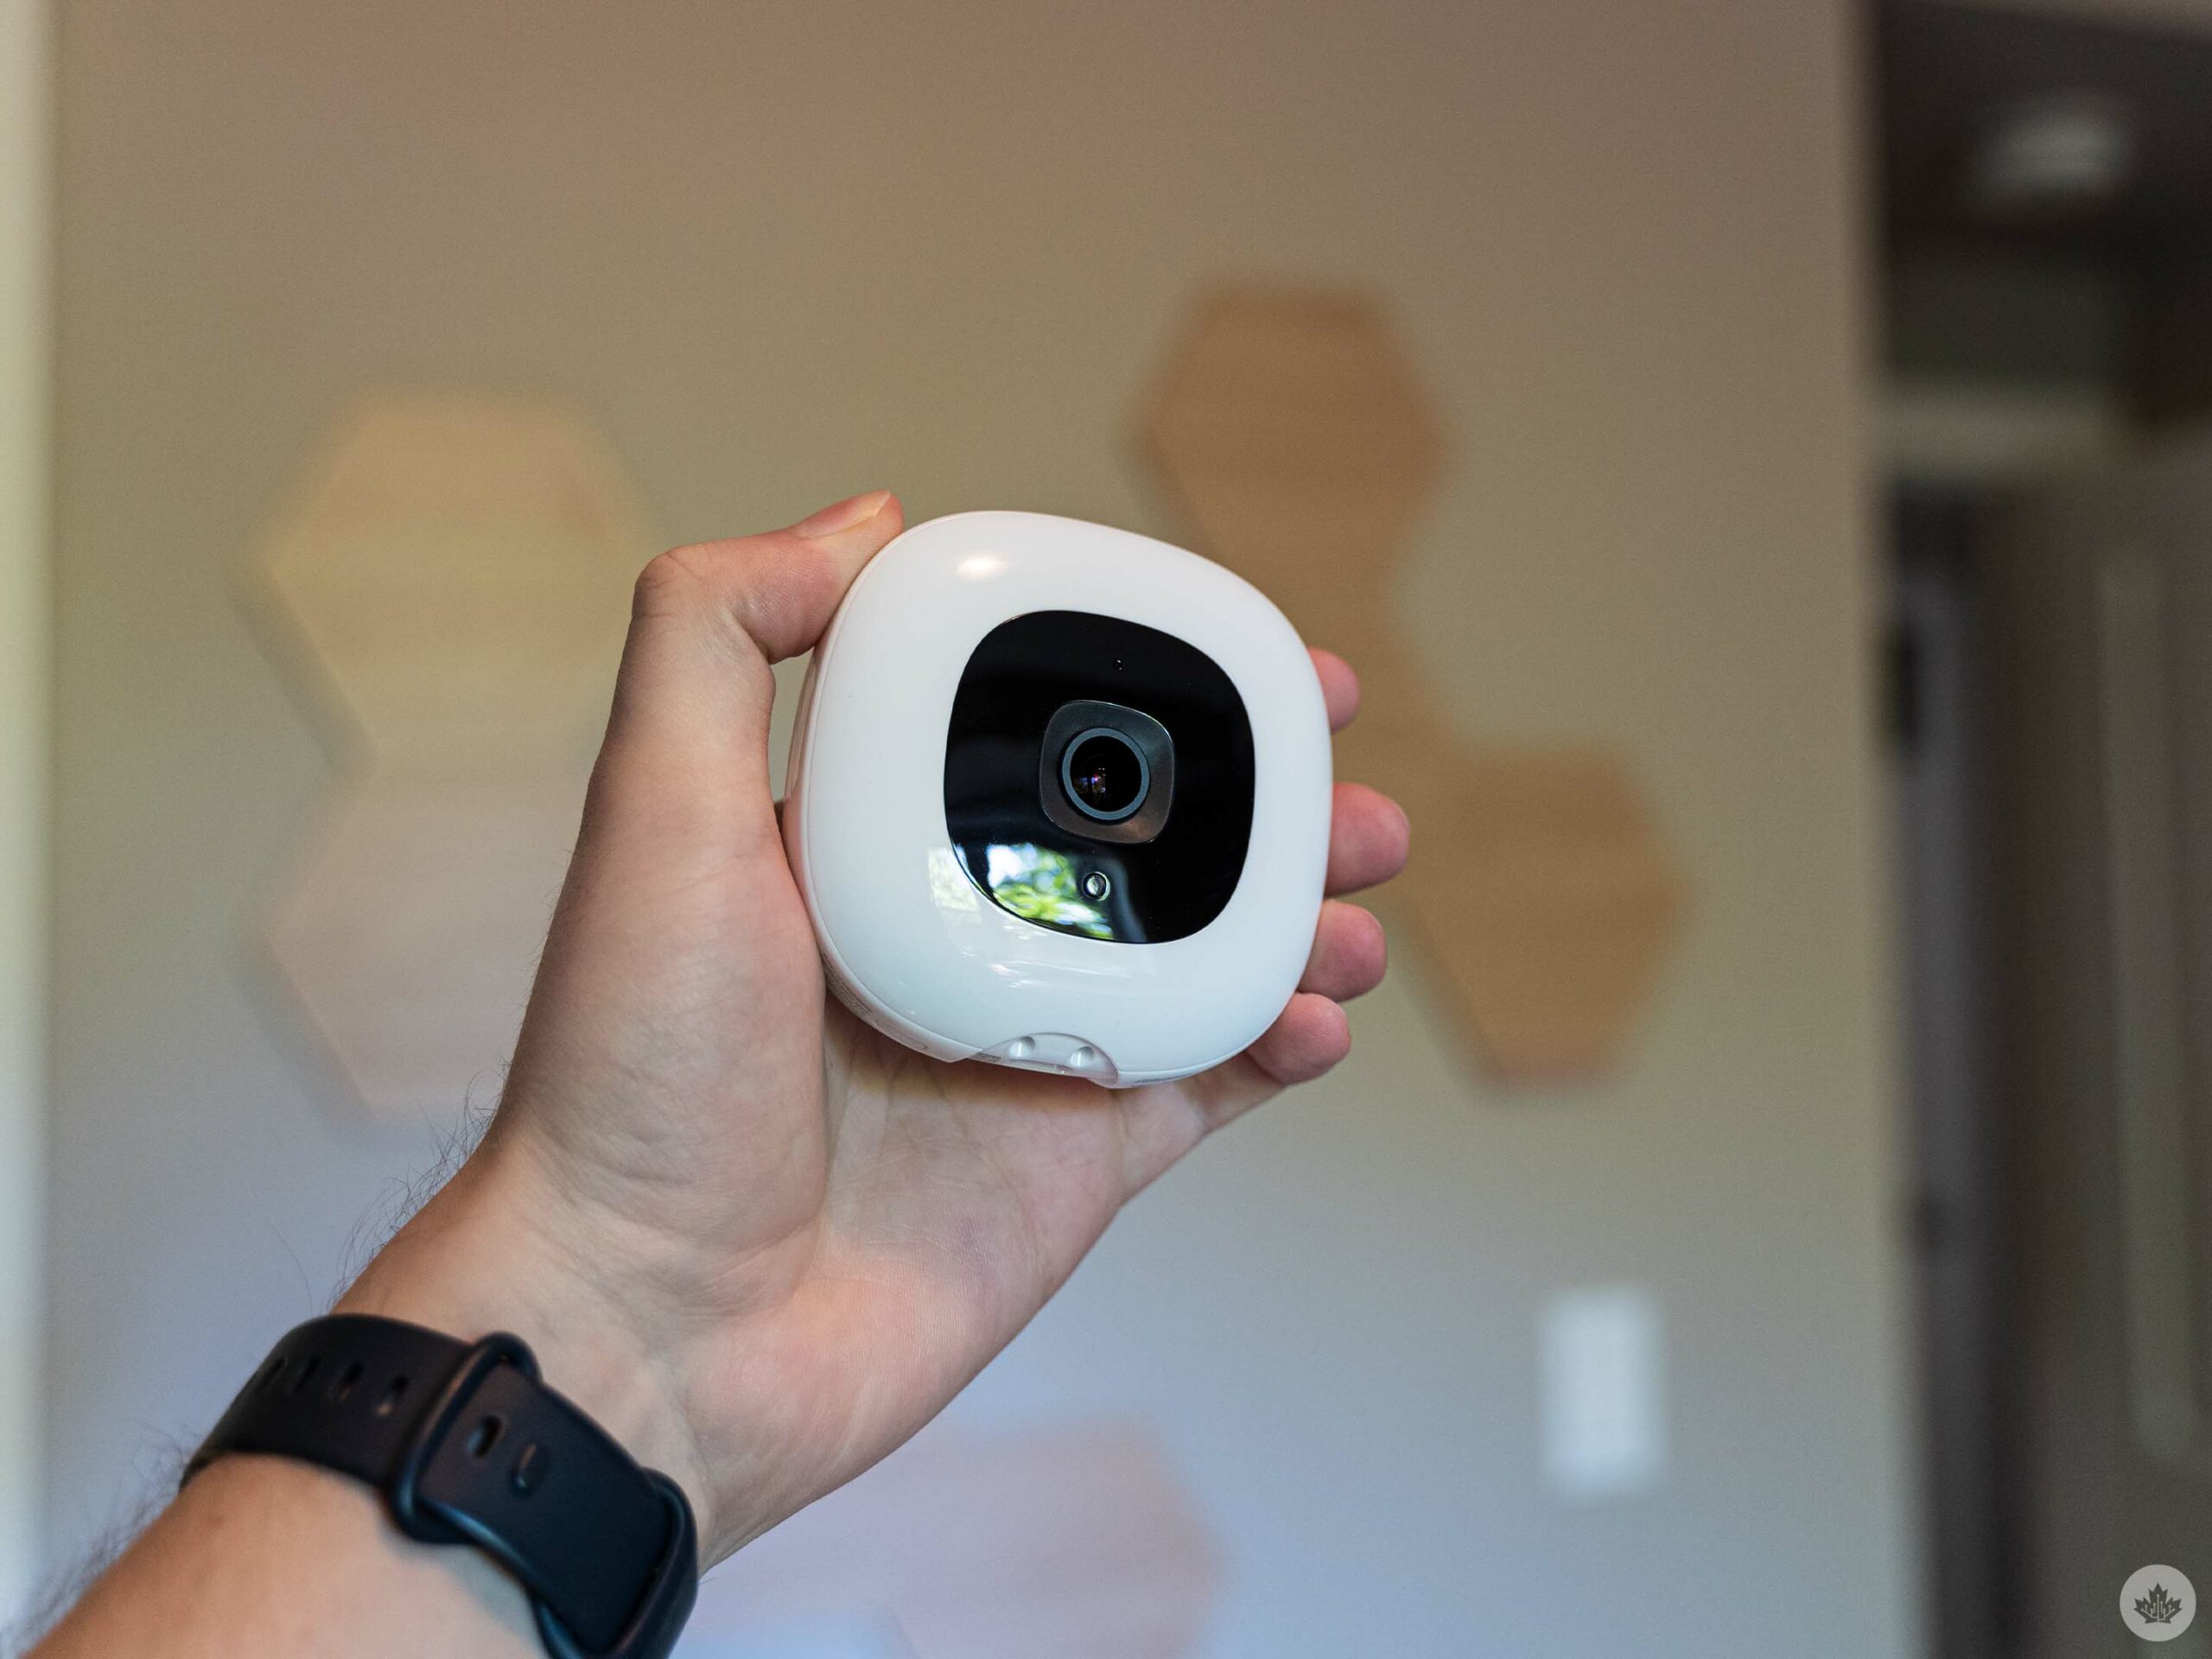
Base of the bottle sterilizer.
It’s a very useful device and super hands-off – load it, hit the button, and walk away. Plus, it’s helpful for more than just sterilizing bottles – my wife, and I have used it to sterilize toys and pacifiers that got dropped on the floor, for example.
The sterilizer does require some minor maintenance, such as cleaning scale build-up off the heating element about once every month. It’s well worth the effort, given how it makes the rest of the sterilizing process so much easier.


It’s worth noting, however, that there are other options beyond an electric sterilizer. Another, more cost-effective sterilizer is the microwave steam sterilizer. This amounts to mostly a plastic dish and lid that holds your bottles and some water. You run it in the microwave for a few minutes and boom, you’re done. Philips has one of these, too, although we didn’t test it (we tried a smaller one specifically for pacifiers that worked well, but the high capacity of the electric sterilizer worked better for us).
The Philips Avent sterilizer costs $129.99 in Canada and is available at:
Breast pump tech
Next, we’re going to venture into the exciting world of breast pump tech! Now, you might be wondering how some dude writing for a tech website is going to accurately review breast pumps. The truth is, I won’t – my wife, Jade, will. I did ask if she wanted to write this section, but she preferred to relay her opinions to me and let me do the writing.
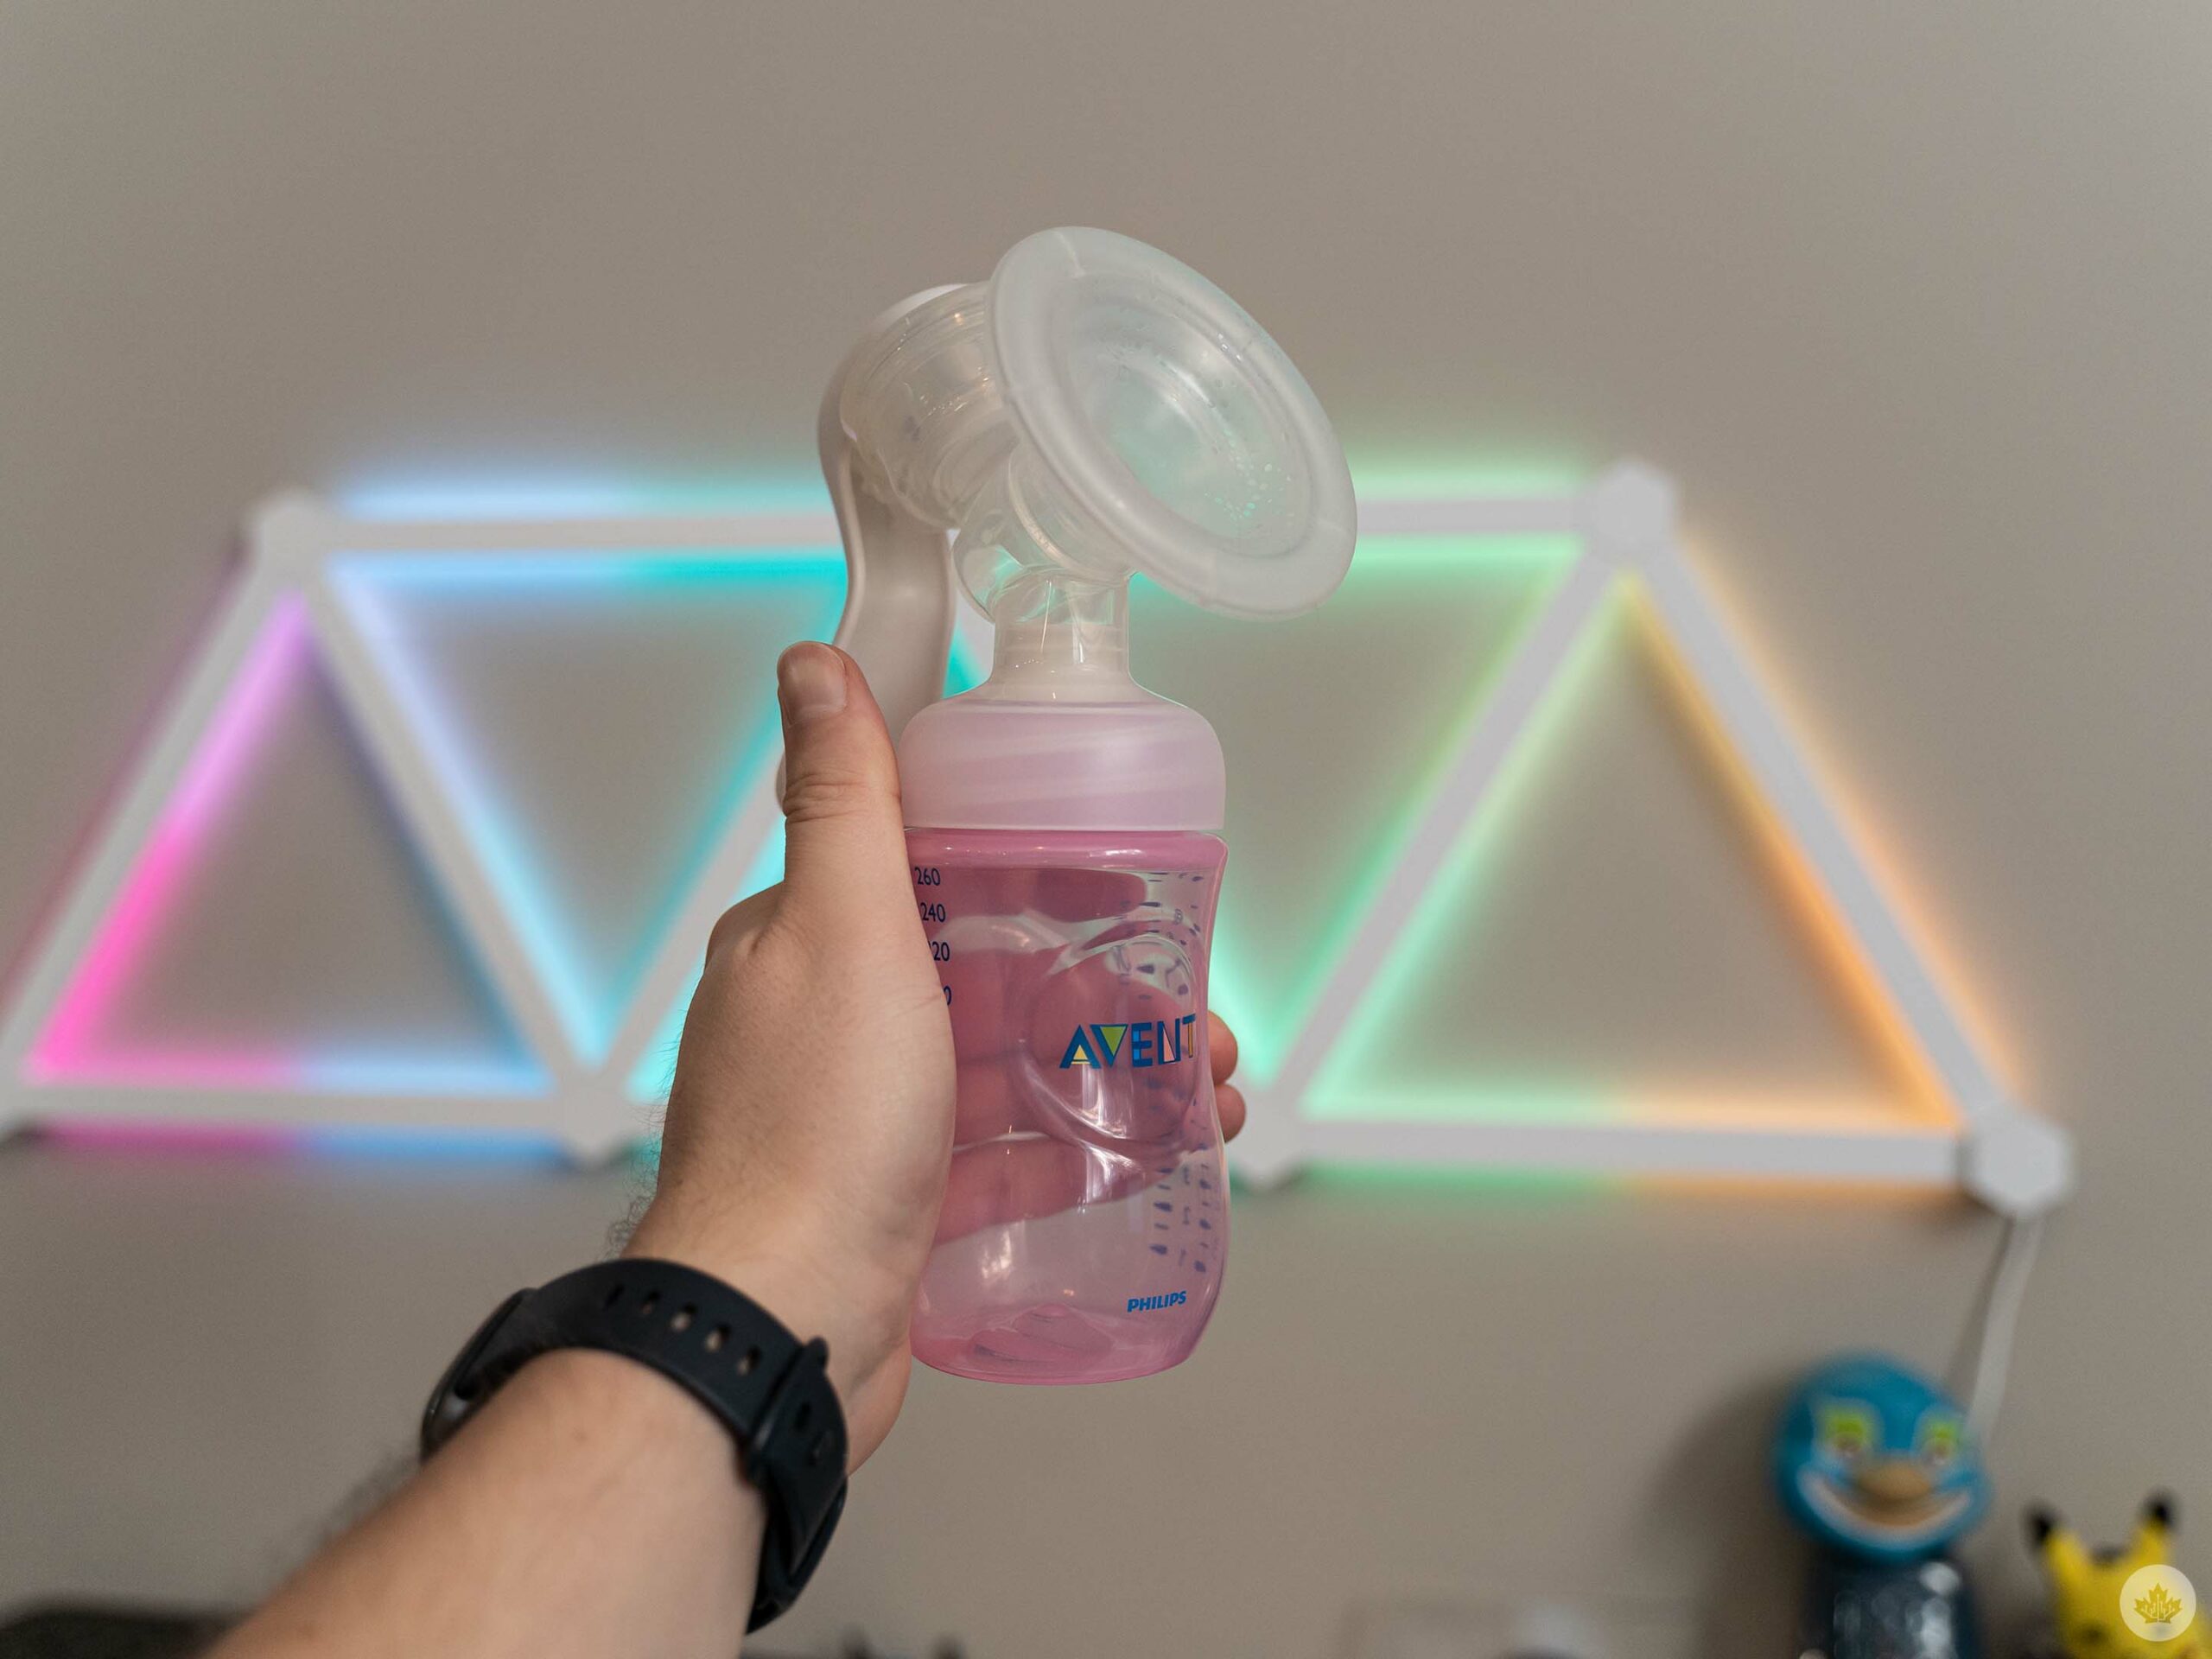
My wife actually tested several different breast pumps over the last several months, but eventually settled on using a manual pump from Philips because it worked the best for her. Before that, though, she used electric pumps, including a high-end Medela one and the Philips Avent Double Electric Rechargeable Breast Pump.
I won’t spend much time on the Medela pump since it’s only really available to hospitals (and she only used it briefly while staying at the hospital), but it was really good. Likewise, the Philips Avent pump worked well, and Jade even preferred it to the high-end Medela pump.
Update 04/06/2023 at 3:47pm ET
Since publishing this round-up, Medela reached out to me about testing their breast pumps since we hadn’t had much experience with them.
Jade took Medela’s Freestyle Hands-free pump for a spin and really enjoyed it. The Freestyle Hands-free is a double electric breast pump that, as the name implies, lets the wearer pump without typing up their hands. Unlike other bumps that rely on a special bra to hold the bottles and flanges in place, the Freestyle Hands-free uses special collection cups that can fit discreetly in the user’s bra.
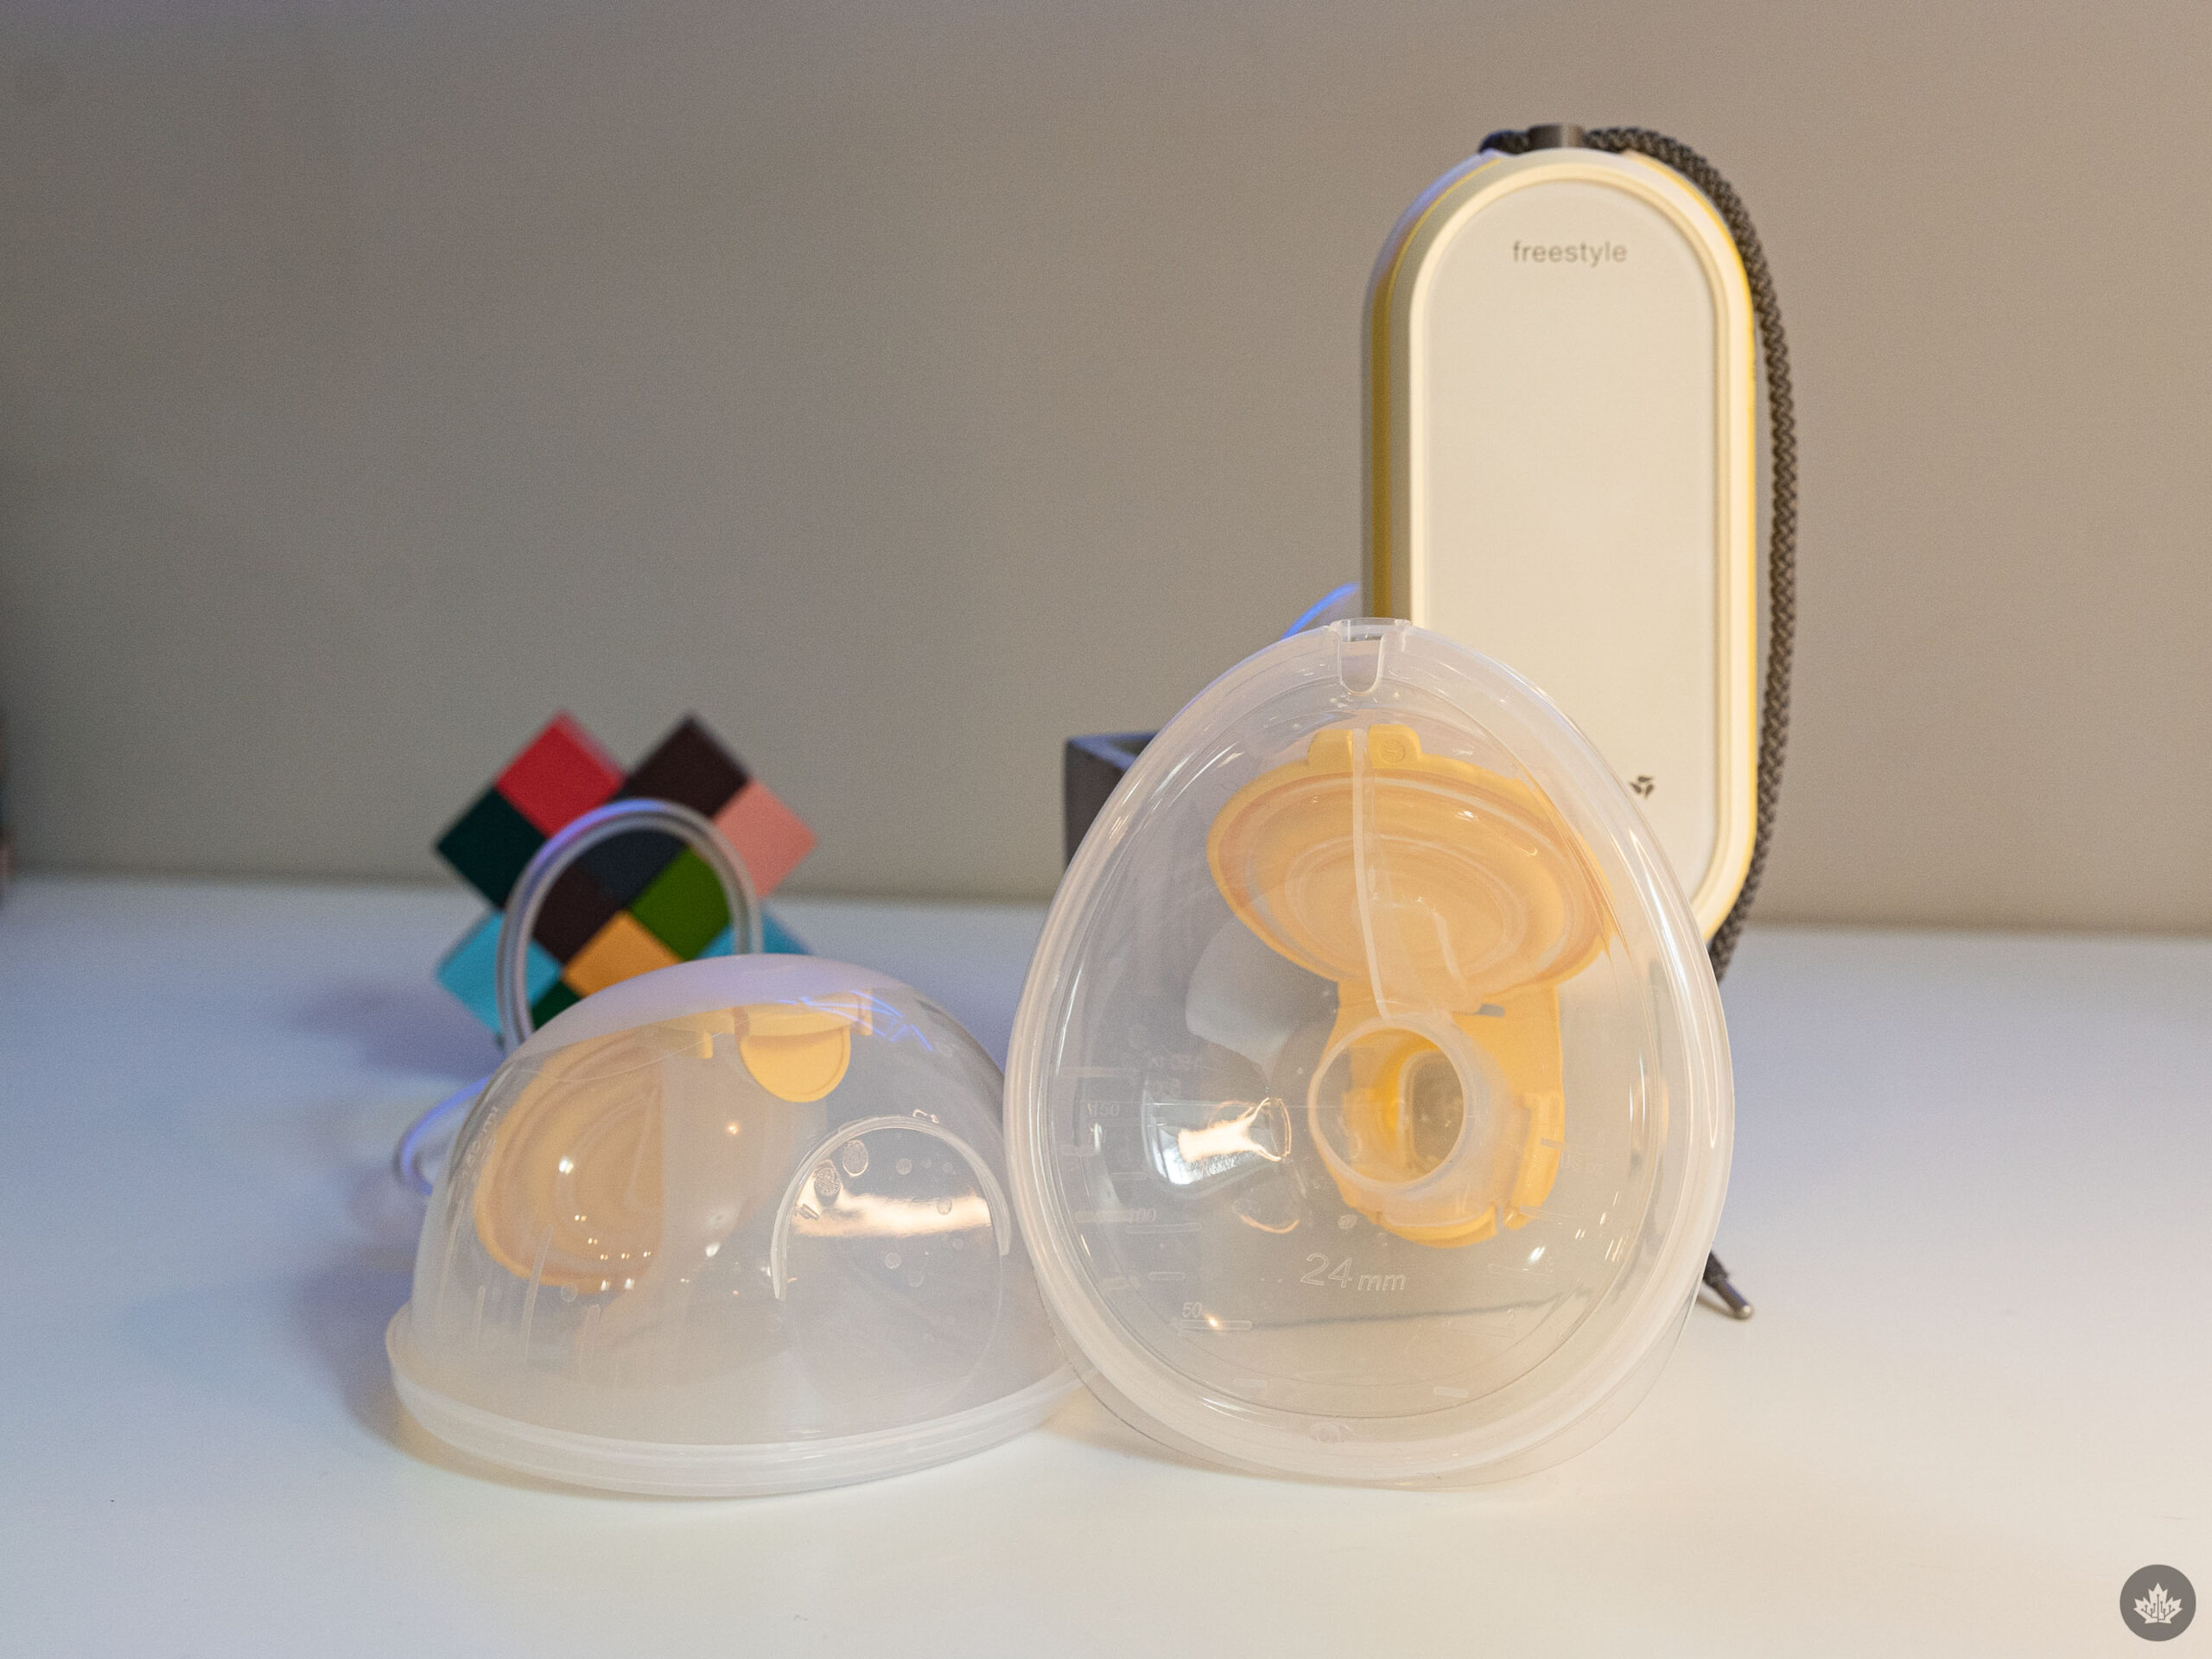
Coupled with a small motor (especially compared to the Philips pump below) that easily fits into a pocket, the Freestyle Hands-free really doesn’t require hands.
The Freestyle Hands-free offered excellent suction and Jade appreciated the memory mode that let her set her pumping preferences and use them repeatedly. Moreover, compared to other pump solutions that use bottles and flanges, the collection cups have fewer parts, making assembly and cleaning much simpler.
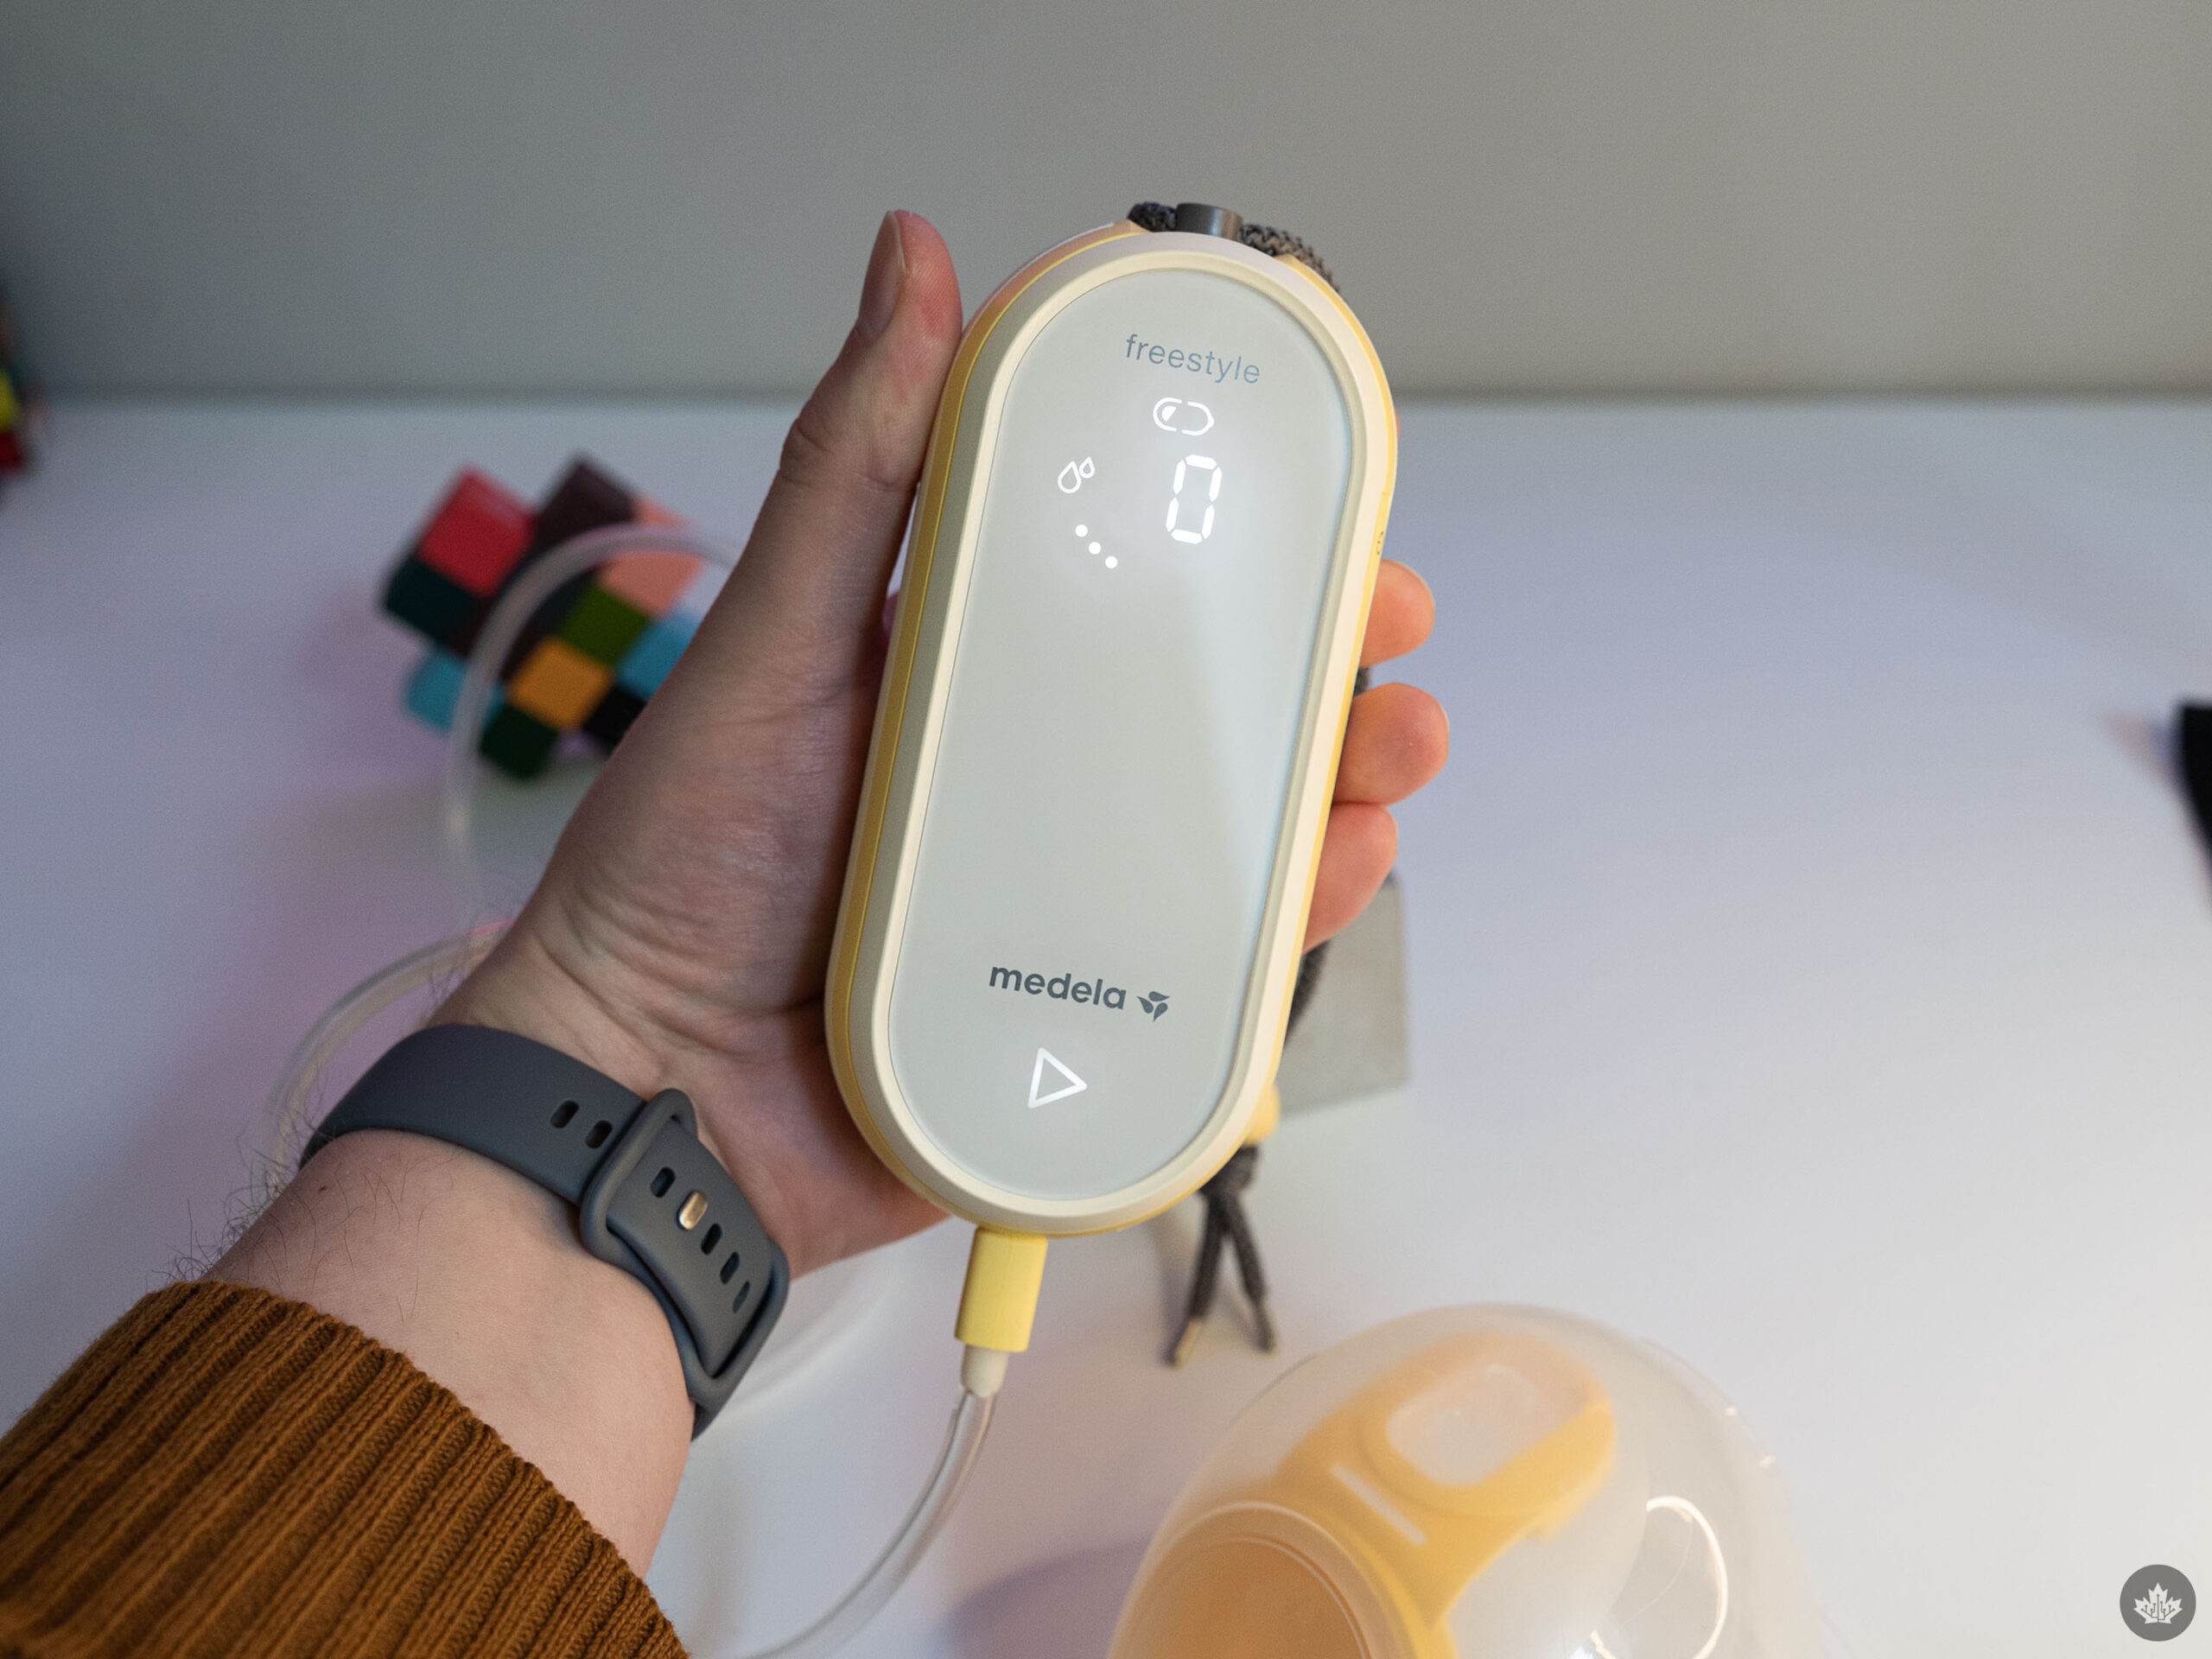
That said, the Freestyle Hands-free isn’t perfect. Jade found the collection cups weren’t as comfortable as the Philips flanges, due in part to the silicon cushion they have. Moreover, the collection cups can be a little tricky to take out without spilling. Still, the truly hands-free setup and convenience of just slipping the collection cups into a bra made the Medela Freestyle a favourite of Jade’s.
The Freestyle Hands-free breast pump set costs $499.99, which is quite a bit more than the Philips Avent pump we tested. However, if the hands-free nature is important to you, then the Freestyle is well worth the investment.
Some of the benefits of the Avent pump include that it’s comfier, and the flanges – the pieces that go on the breast – use a soft silicon material that’s more adaptable to different breast sizes. For comparison, the Medela pump had hard plastic flanges, and you needed to swap them based on breast size.
The Avent pump also offers good suction and battery life. An added benefit of testing other Avent gear was that all our bottles and feeding equipment worked with the pump, making it super easy and convenient.
That said, not everything was perfect. Jade felt like a third suction option that ran longer would be ideal. The pump comes with several helpful accessories, like a carrying bag for pump parts, a cooler bag for storing milk, and a belt to hold the pump. However, it’d be great if it had a pumping bra to hold the flanges in place for hands-free pumping.
The Avent Double Electric Rechargeable Breast Pump starts at $329.99 in Canada, but Philips has other versions for less. There’s a Double Electric pump that’s not rechargeable for $299.99, and a Single Electric pump for $189.99. You can check these out at:
However, if you’re anything like Jade, you might get more benefit from the much cheaper manual pump. Jade tried both the Philips Avent and Medela manual pumps and was able to pump more milk with them then what she got with the electric pumps. The downside to manual is that, well, they’re manual. But if you’ve got the time, manual might be more effective.
The Philips Avent manual pump costs $59.99 (Philips, Amazon) while the Medela costs $69 (Medela, Amazon)
Baby monitor tech
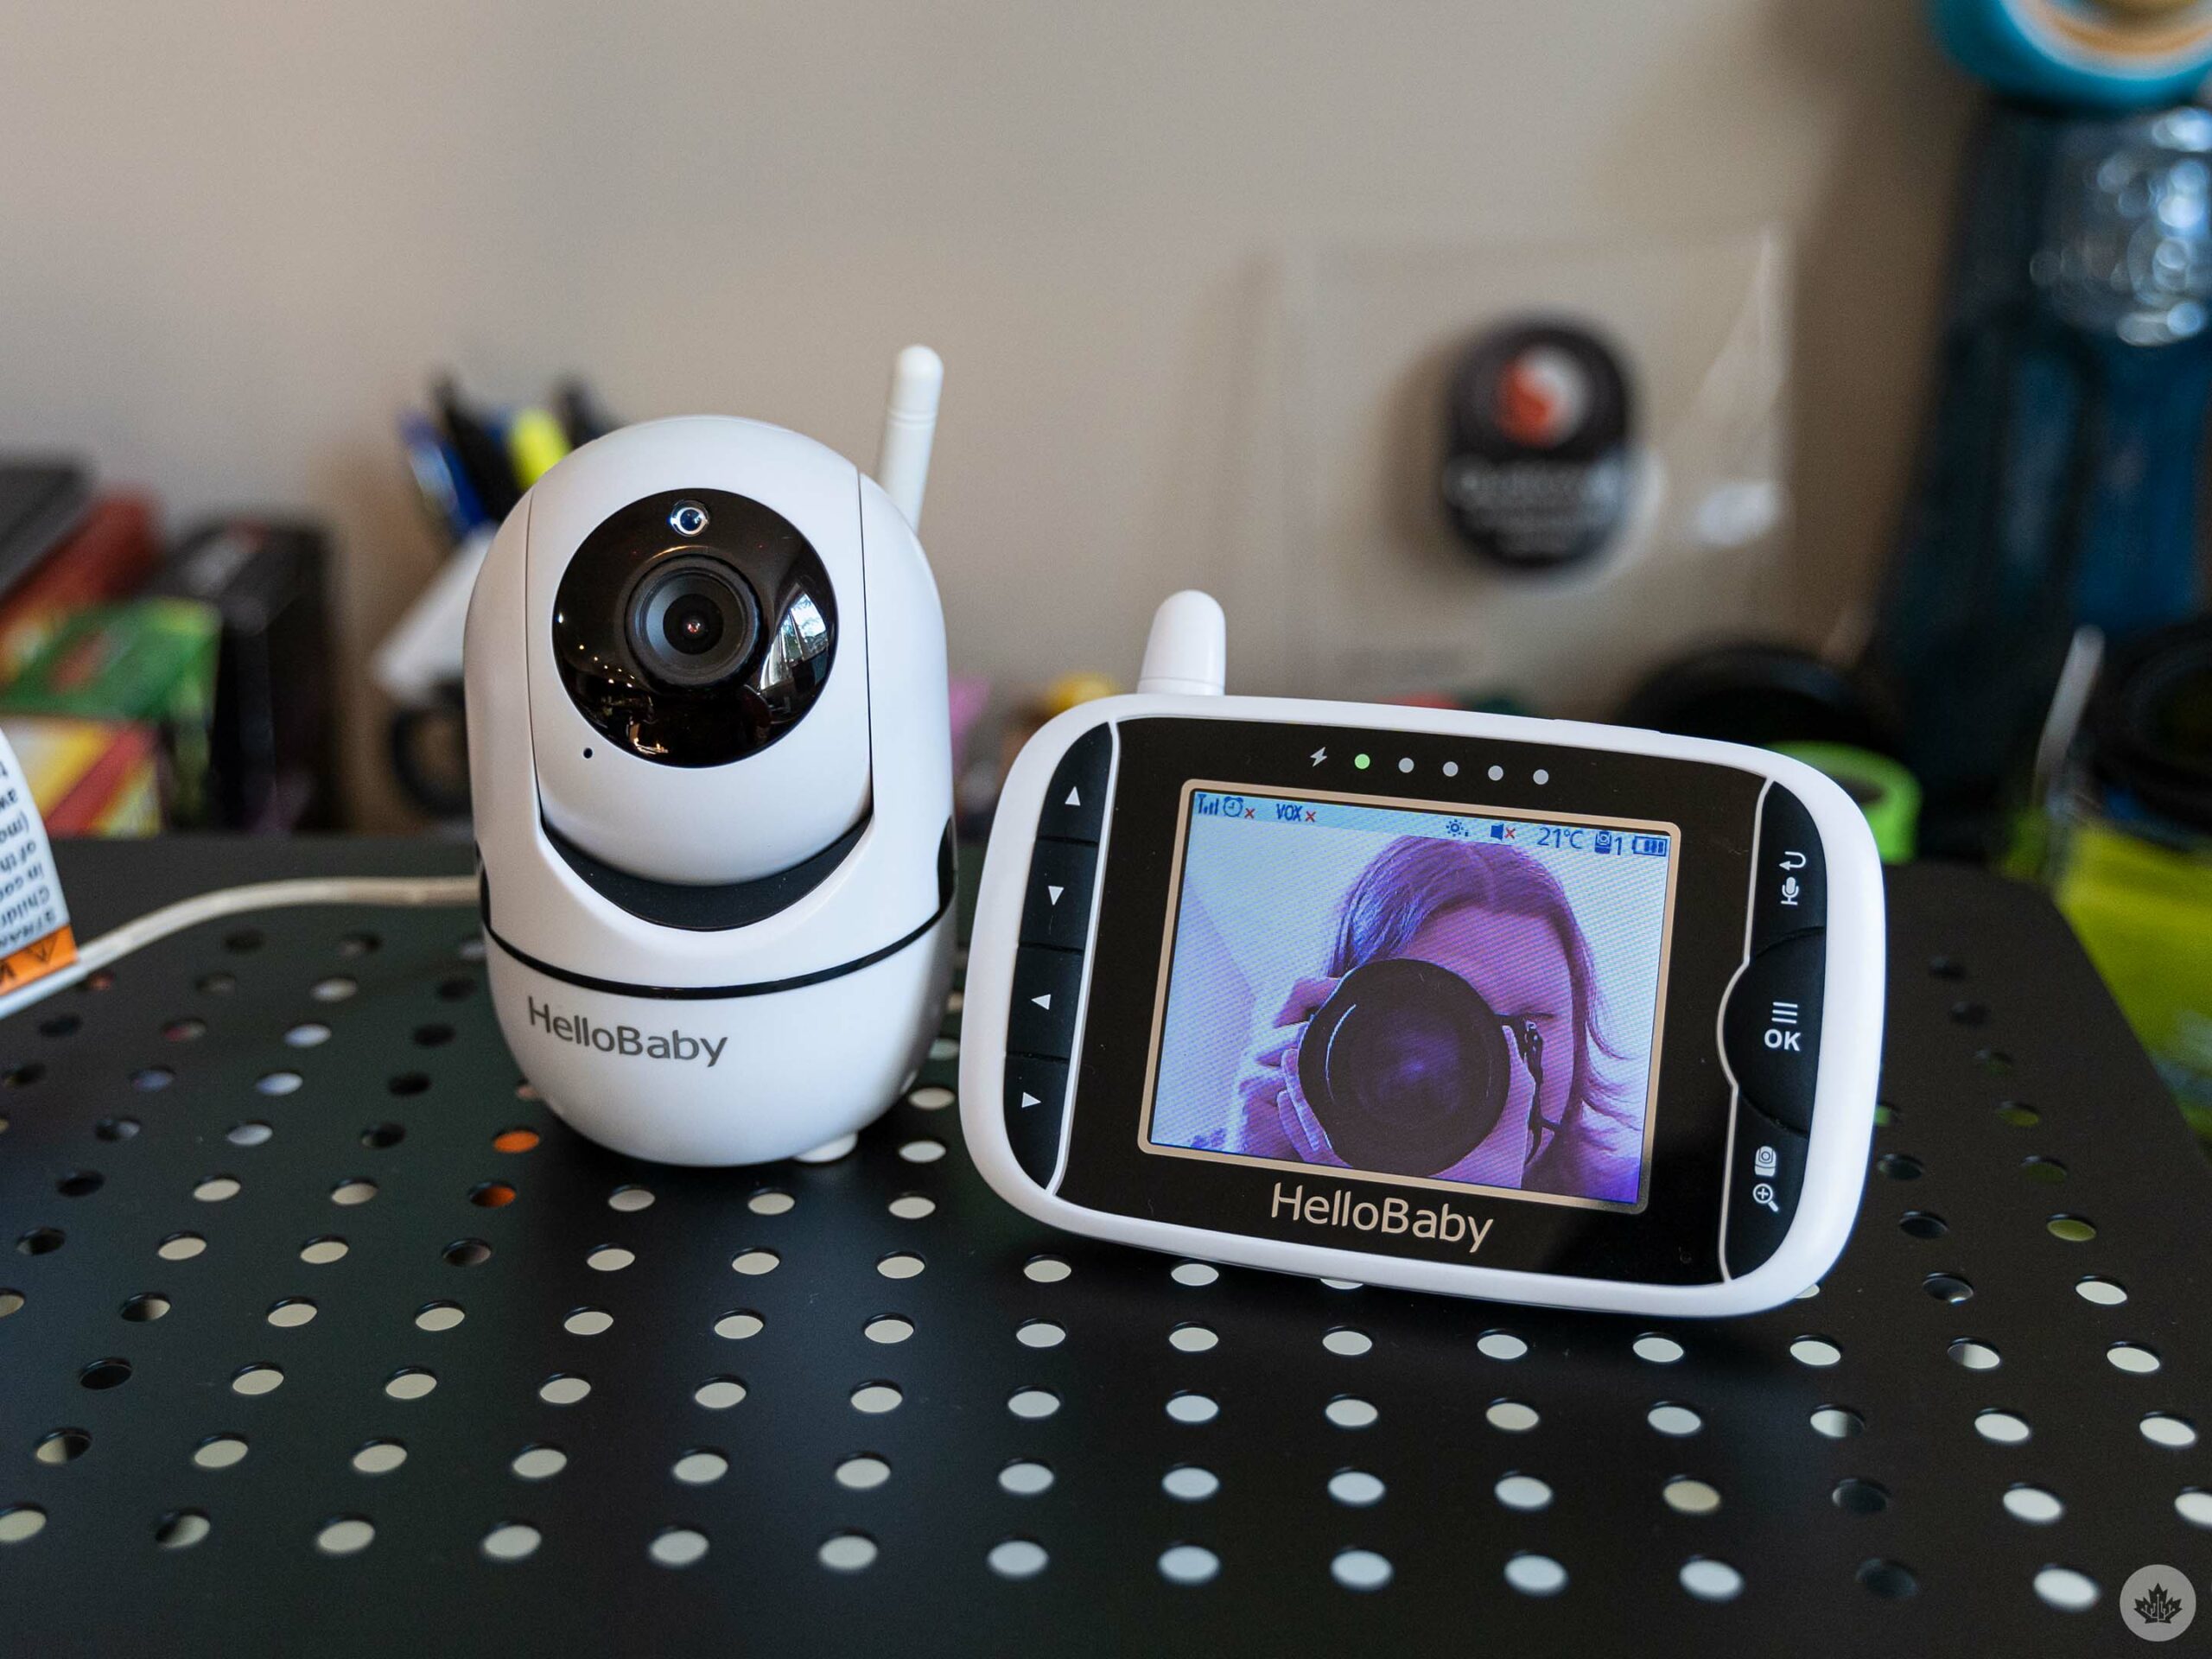
Next, let’s talk baby monitors. These have come a long way since the old days of basically a two-way radio for listening to your baby. Many now have video options, which is frankly an excellent addition. We tried two monitors, the HelloBaby HB65 video monitor and the high-tech Nanit Pro camera.
The key difference between the two is that the Nanit Pro camera is a “smart” camera that connects to your Wi-Fi, letting you check in on your little one from an app on your smartphone. The HelloBaby is, well, less smart. You can still use it to see your baby, but you need to use the included monitor, which is paired wirelessly with the included camera (or cameras, depending on which bundle you buy).
There are pros and cons to both options, but I’ll start by saying most people probably don’t need the Nanit Pro, and given how expensive it is, this might be a no-brainer way to save some money.
HelloBaby HB65
I’ll start with the HelloBaby since everything it can do, the Nanit can also do. Plus, the HelloBaby is fairly representative of other baby monitors and can help set a framework for understanding the benefits of the Nanit.
As I said above, the HelloBaby is effectively an upgraded version of the audio monitors many are familiar with. It uses a wireless connection to stream live video and audio direct from the camera to the monitor, and it automatically switches between a normal colour feed and a greyscale night feed so you can see the baby in the dark. I suspect it uses something similar to 2.4GHz Wi-Fi for its connection, only because I occasionally experience interference when I had the monitor close to a phone or laptop connected to 2.4GHz Wi-Fi (the interference went away if I switched the device to 5GHz Wi-Fi or moved it away from the monitor).
The HelloBaby monitor we used also showed temperature information for the room, and it had volume controls and allowed you pan and zoom the camera. That proved helpful for adjusting the view on the fly once our baby started getting more mobile. Plus, you could turn the video feed on and off for when you only needed audio (the monitor includes a set of LEDs that would indicate sound level).
Battery life was better than I expected for a device that basically wirelessly streams video for hours at a time. Charging was a bit annoying since it uses a proprietary plug and not USB-C or micro-USB, but if that’s a concern, I’m sure there are other video monitors with different charging options available.
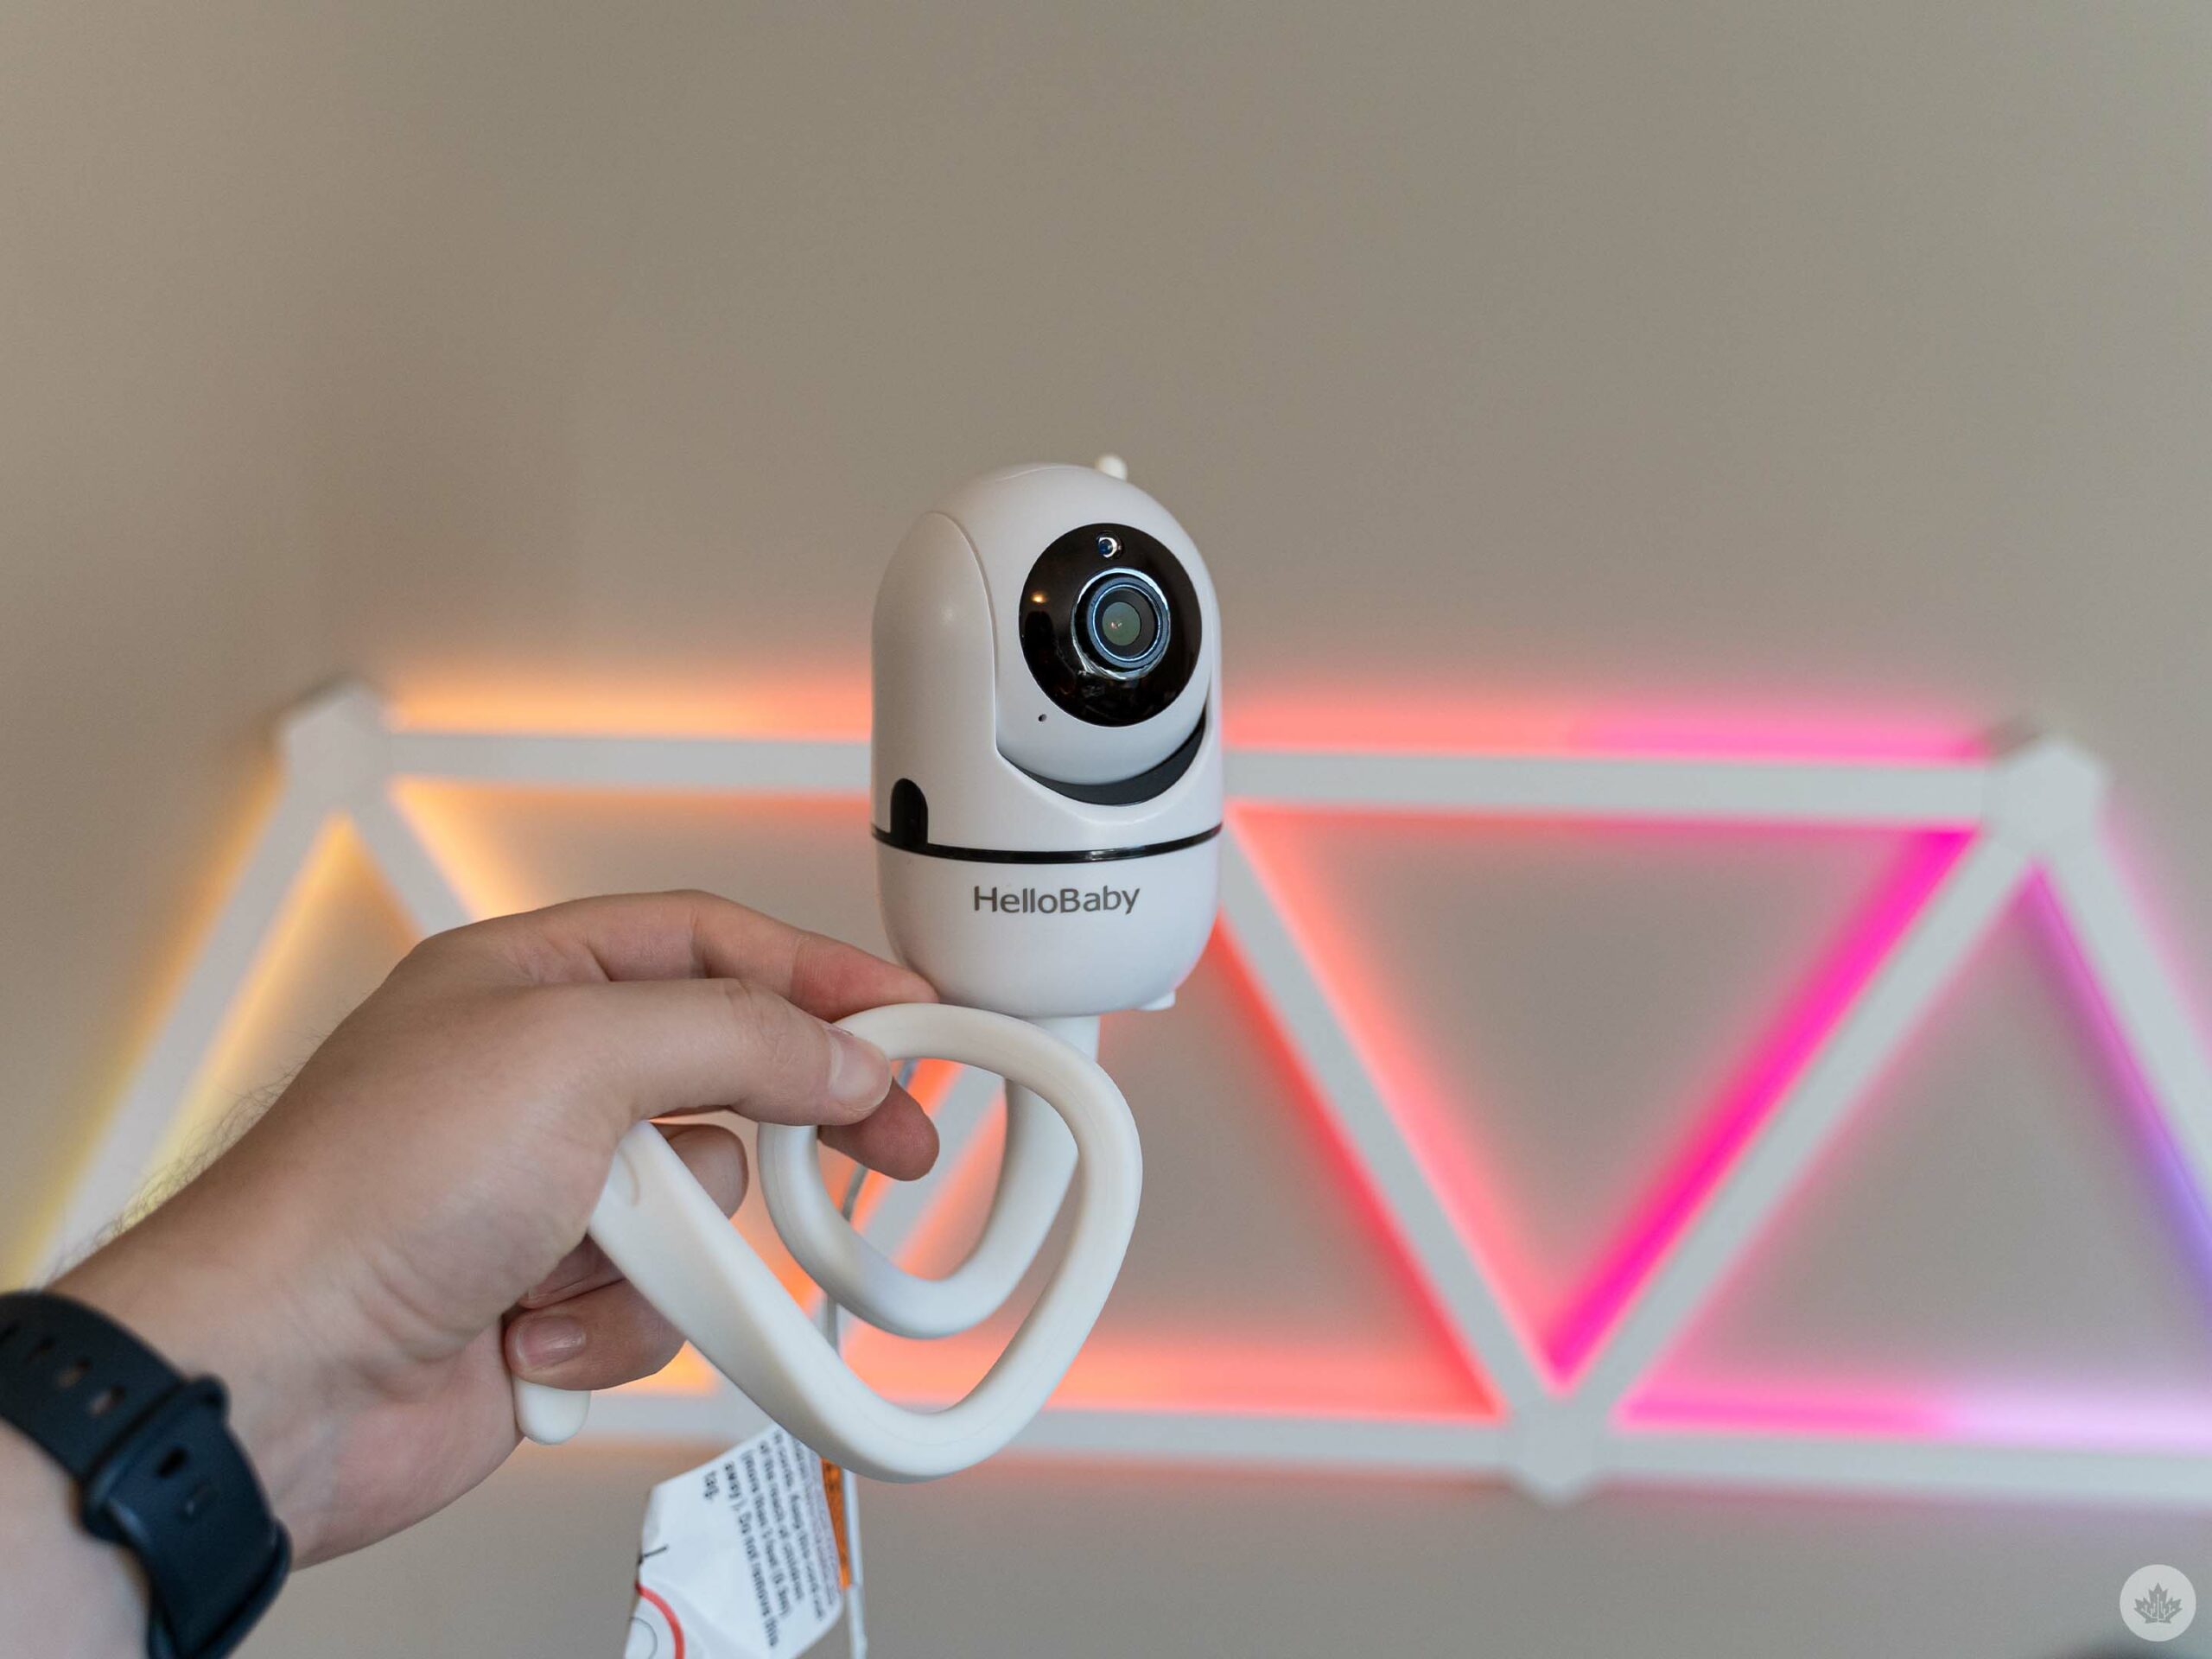
The HelloBaby camera we used didn’t come with a mount, but we got a flexible arm that made it super easy to place the camera wherever we needed it, which was handy when we went to visit family and needed to put the baby down for a nap.
Nanit Pro
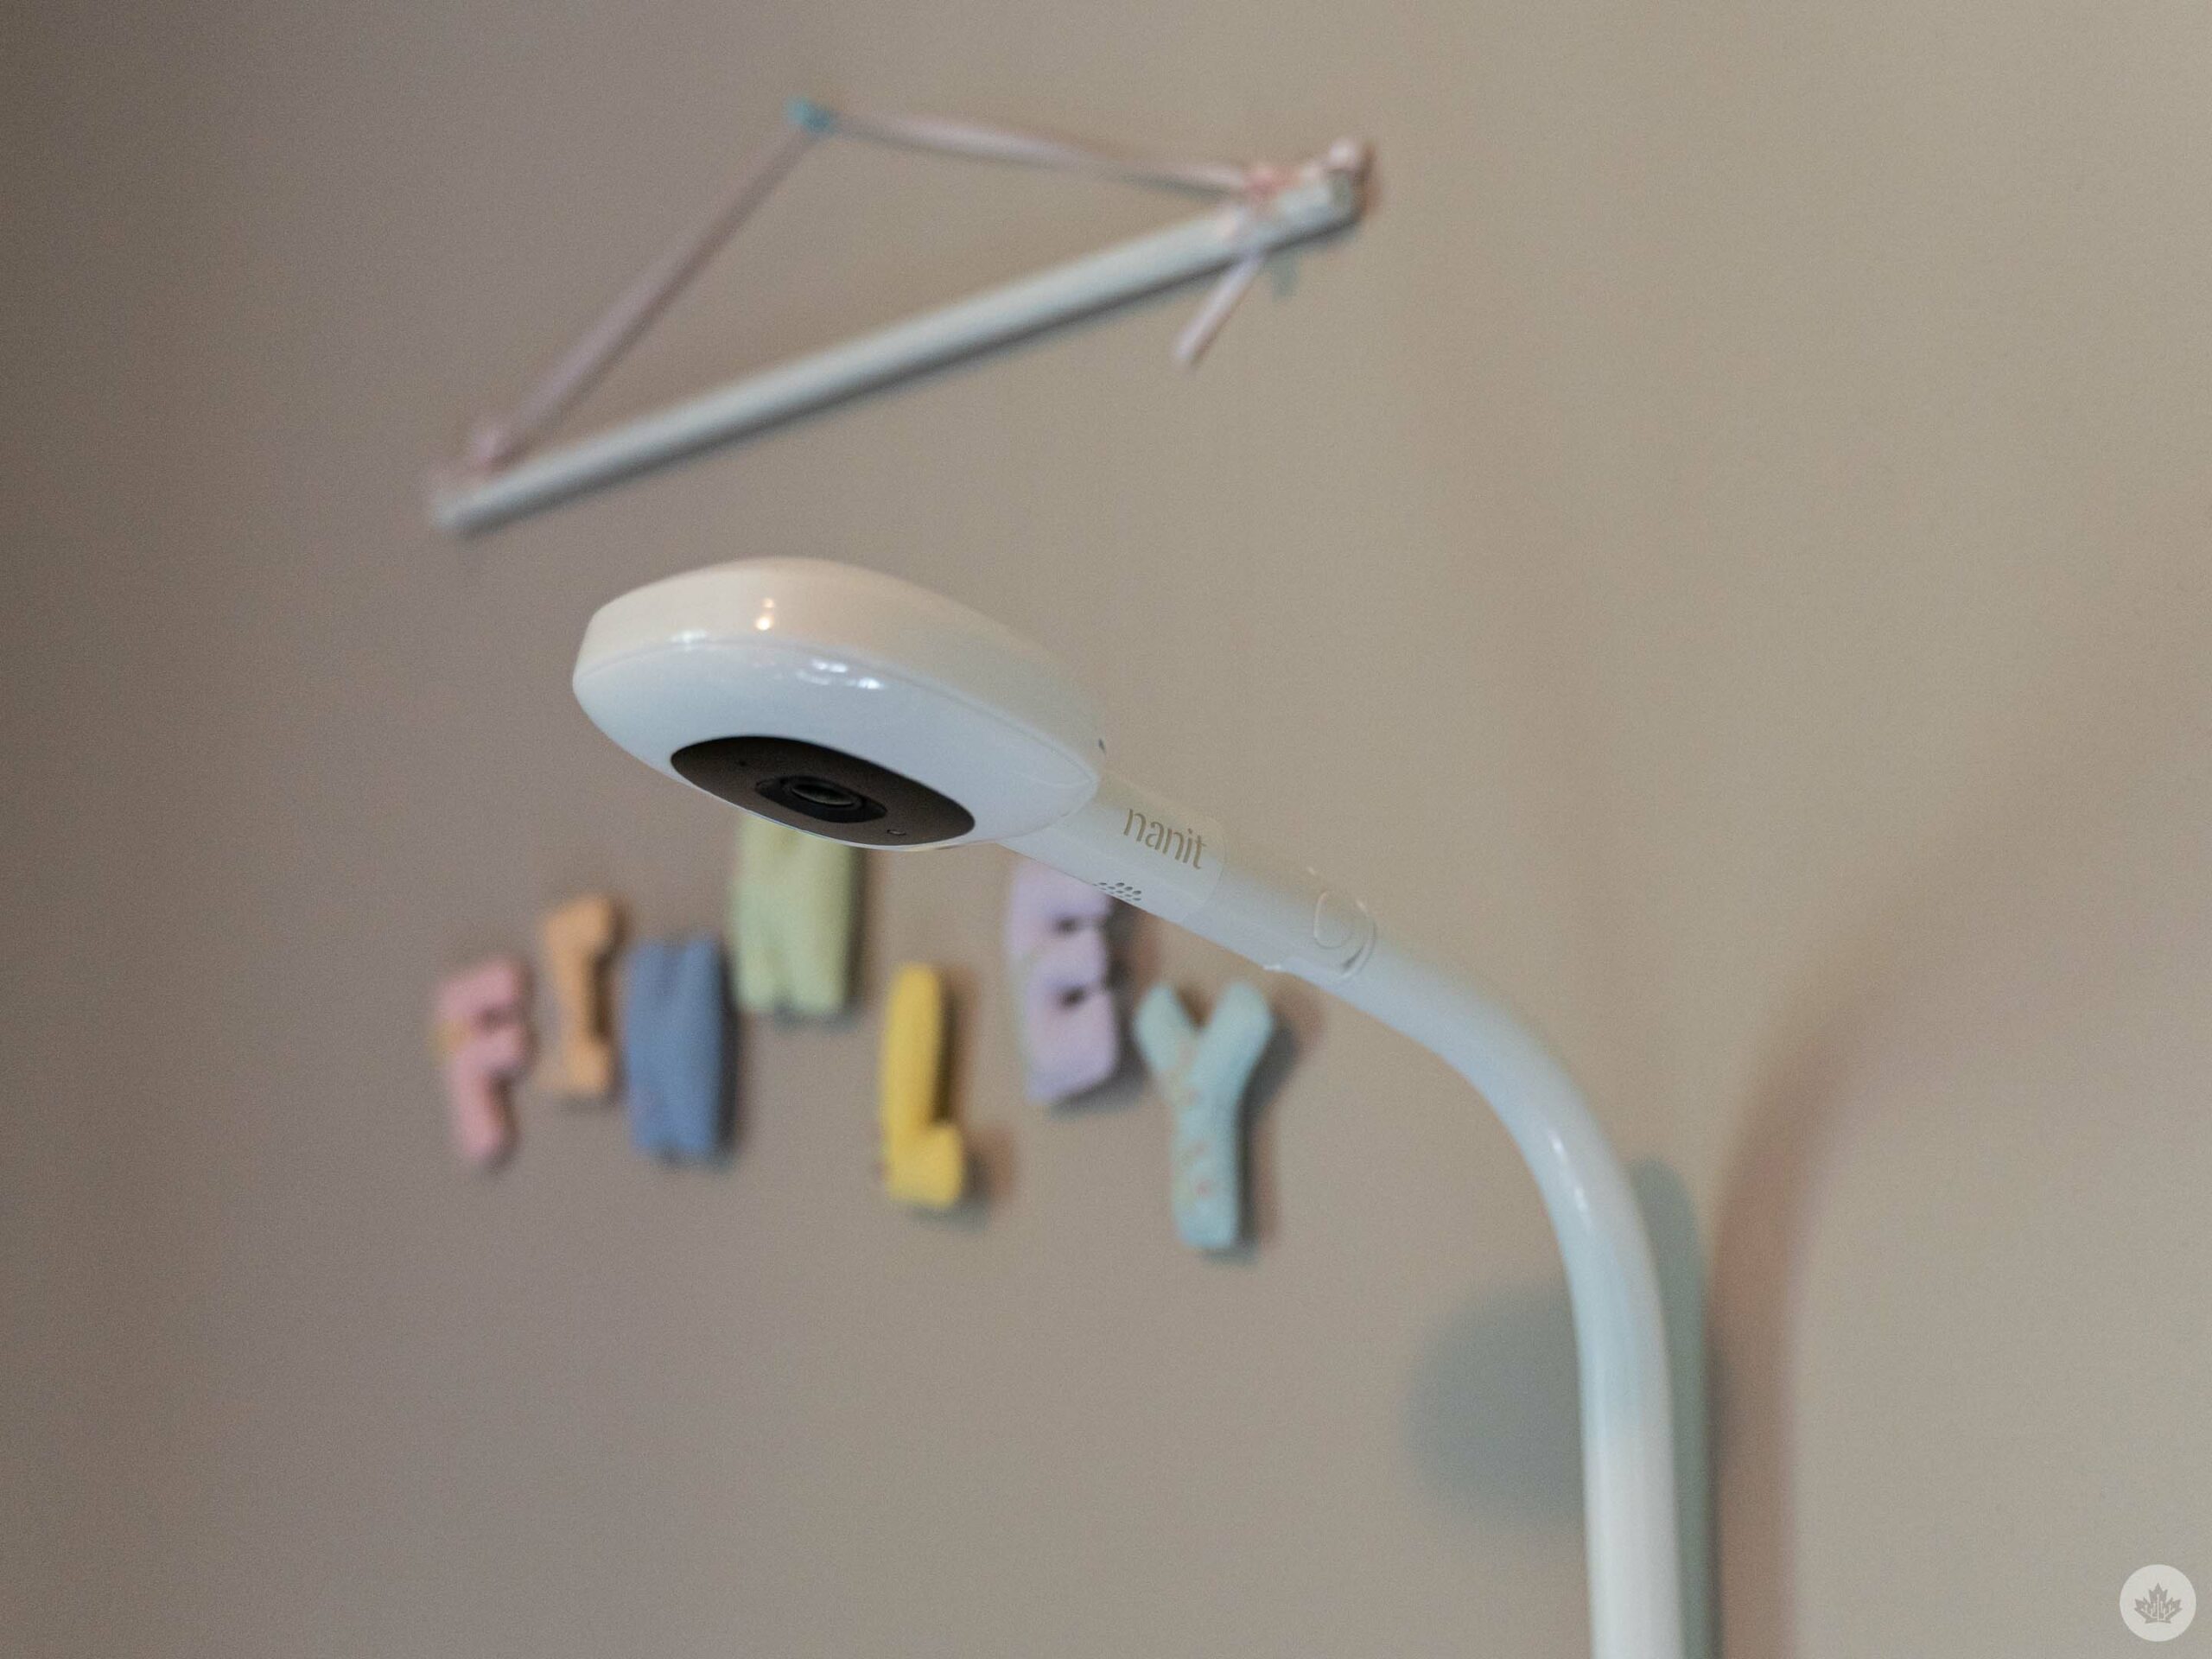
The Nanit experience feels like an odd marriage of a Ring or Nest security camera and Fitbit health tracking. You position the camera above your baby’s crib (either with a wall mount or floor stand) for a bird’s eye view. Then, you can access the live video and audio feed from the Nanit app on your smartphone. You can also pinch and zoom the video feed to get a closer look at your little one.
The live feed gives you plenty of information, including room temperature, humidity, and updates about when the baby last woke or fell asleep. There are buttons to snap a picture (surprisingly helpful when the baby falls asleep in a funny position), a microphone button to broadcast your voice into the room, and a built-in light. There’s also a toggle to mute the sound coming from the app, play the sound, or have it play in the background so you can leave the Nanit app or turn off your phone screen.
Beyond just being a monitor, the Nanit app includes plenty of tracking data, such as wake times and activity. For example, there’s an ‘Activity’ feed that lets you review sleep events and naps from the past few days. There’s a ‘Dashboard’ as well with details about the number of naps and a summary video showing clips of wake-ups and more. One feature I found neat was the ‘Movement map,’ which generates a heatmap of your baby’s movements in the crib.
And if you’re willing to pay, you can get even more data. There are plenty of Nanit accessories you can purchase, such as special crib sheets that can help the camera log baby growth (the sheets just have a pattern on them that enables this). Similarly, you can get various sleepwear – such as sleep sacks and breathing bands – with a special pattern that enables the Nanit camera to track breathing motion.
There’s even a monthly ‘Insights’ subscription that unlocks more sleep analysis and video history. Insights Premium costs $12.09/mo or $144.99 annually, while Insights Ultimate is $30/mo or $359.99 annually.
The problem, however, is that all these add-ons make an already expensive product even more pricey, and often it feels like features that should be baked into the Nanit experience are hidden behind a paywall.
Convenience at what cost?
For example, one feature I particularly liked was the ability to invite additional members to your family group, which could be helpful if you have a grandparent or babysitter who frequently watches your baby. Except, by default Nanit only gives you two family members, and you need to pay for Premium (10 members) or Ultimate (50 members) for more. The limitation meant my wife and I used all our available members, and if family members watched the baby, they couldn’t use the Nanit. So, we ended up running both the Nanit and the HelloBaby for most of our testing period just in case we needed to give a monitor to someone else.
The more we used the Nanit, the more the smart features actually became a problem rather than a solution. The Nanit using Wi-Fi was handy because it enabled remote viewing of the crib from our smartphones from anywhere, including outside the house. But then, whenever there was a power or internet outage (and we had a surprising number of these), the Nanit quickly became useless. (To be fair, power outages also messed with the HelloBaby, but it was fine through internet outages). The reliance on Wi-Fi also made using the Nanit for travel a pain, especially if you were going somewhere with an unreliable connection.
Similarly, getting a live monitor feed to your phone can be convenient, but it also kills your battery (especially when using the background version that kept the audio feed running all the time), and Nanit bombards your phone with notifications whenever the baby moves or makes sound. Although you can tune the sensitivity to reduce incoming notifications, you also don’t want to go too far the other way and not get any notifications since they are (occasionally) helpful.
My wife and I also frequently had issues with the Nanit app (she uses an iPhone while I typically have an Android, often a Pixel, as my daily driver). We both had problems with the video or audio feeds cutting out, the camera not responding to commands from the app, and more. Weirdly, the issues rarely hit us both at the same time, which leads me to believe it’s something in the app.
You got new monitor money?
When it comes down to how much you need to pay, HelloBaby is the winner – no contest. The HelloBaby website lists the HB65 monitor as $182, but you can get it from Amazon Canada for $169.99.
The Nanit Pro camera starts at $399 (Nanit, Amazon). And that’s before you get into all of the accessories, like the floor stand (which tacks on another $100 to the price), the breathing band, the sleep sack, pajamas, sheets, and the app subscription.
Ultimately, it comes down to whether you need all the extra features the Nanit offers. All the sleep data from the Nanit is cool, but it never felt necessary to me. Plus, I just can’t imagine spending at least $400 on a camera to watch my baby sleep when something a fraction of the cost can do the same task just as well. But then, maybe the Nanit is for someone in a higher tax bracket than me.
Sound machine tech
To round things out, we’ve got sound machines. These are, well, exactly what they sound like: little machines that make noise. I’d classify these as a must-have. Having something to play white noise for our baby has made sleep much, much easier.
Over the last few months, we’ve tried several different sound machines. The upside is that the simple premise means just about anything works well – all you need is a speaker and a way to play white noise. We’ve used a Google Nest Hub (presumably, Amazon’s Echo devices would be able to do this too, but I don’t have any to try), a smartphone and Bluetooth speaker, a ‘Hatch’ speaker, and a ‘Hushh’ speaker.
I’ll focus on the latter two items since they’re dedicated sound machines, but I will note that basically anything works in a pinch. Still, it might be worth avoiding using your smartphone itself as prolonged use at higher volume could damage the speaker.
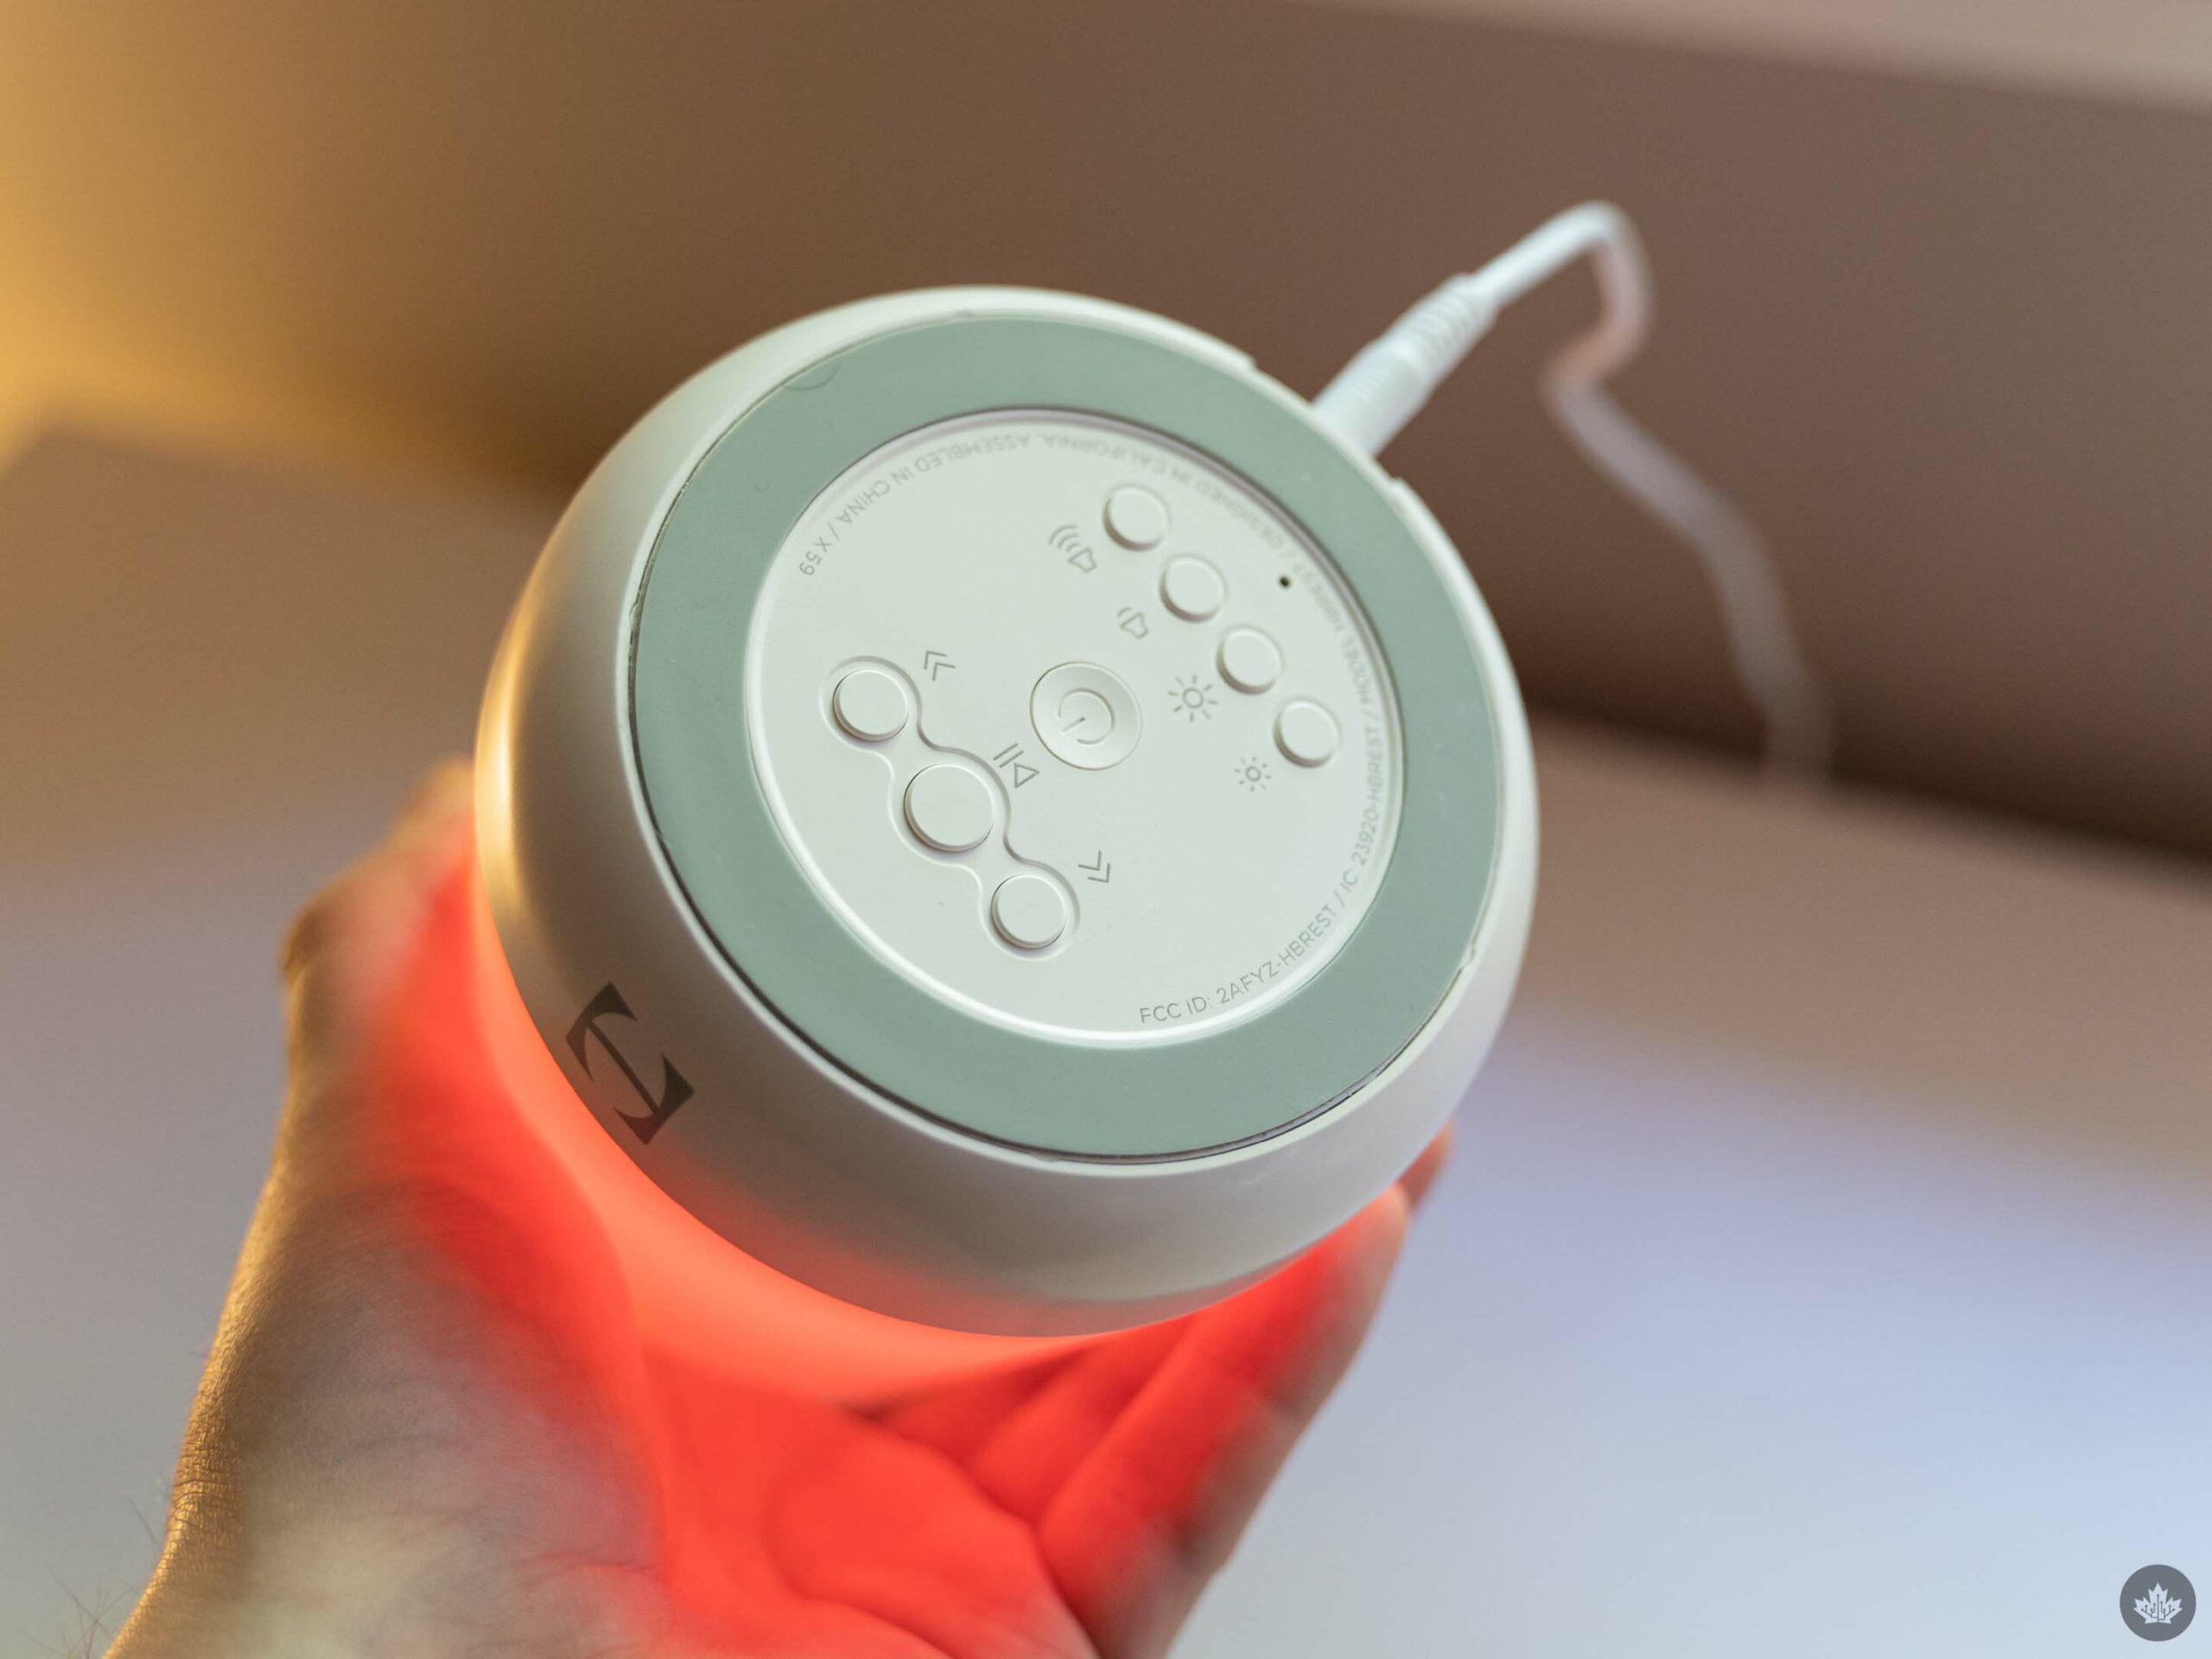
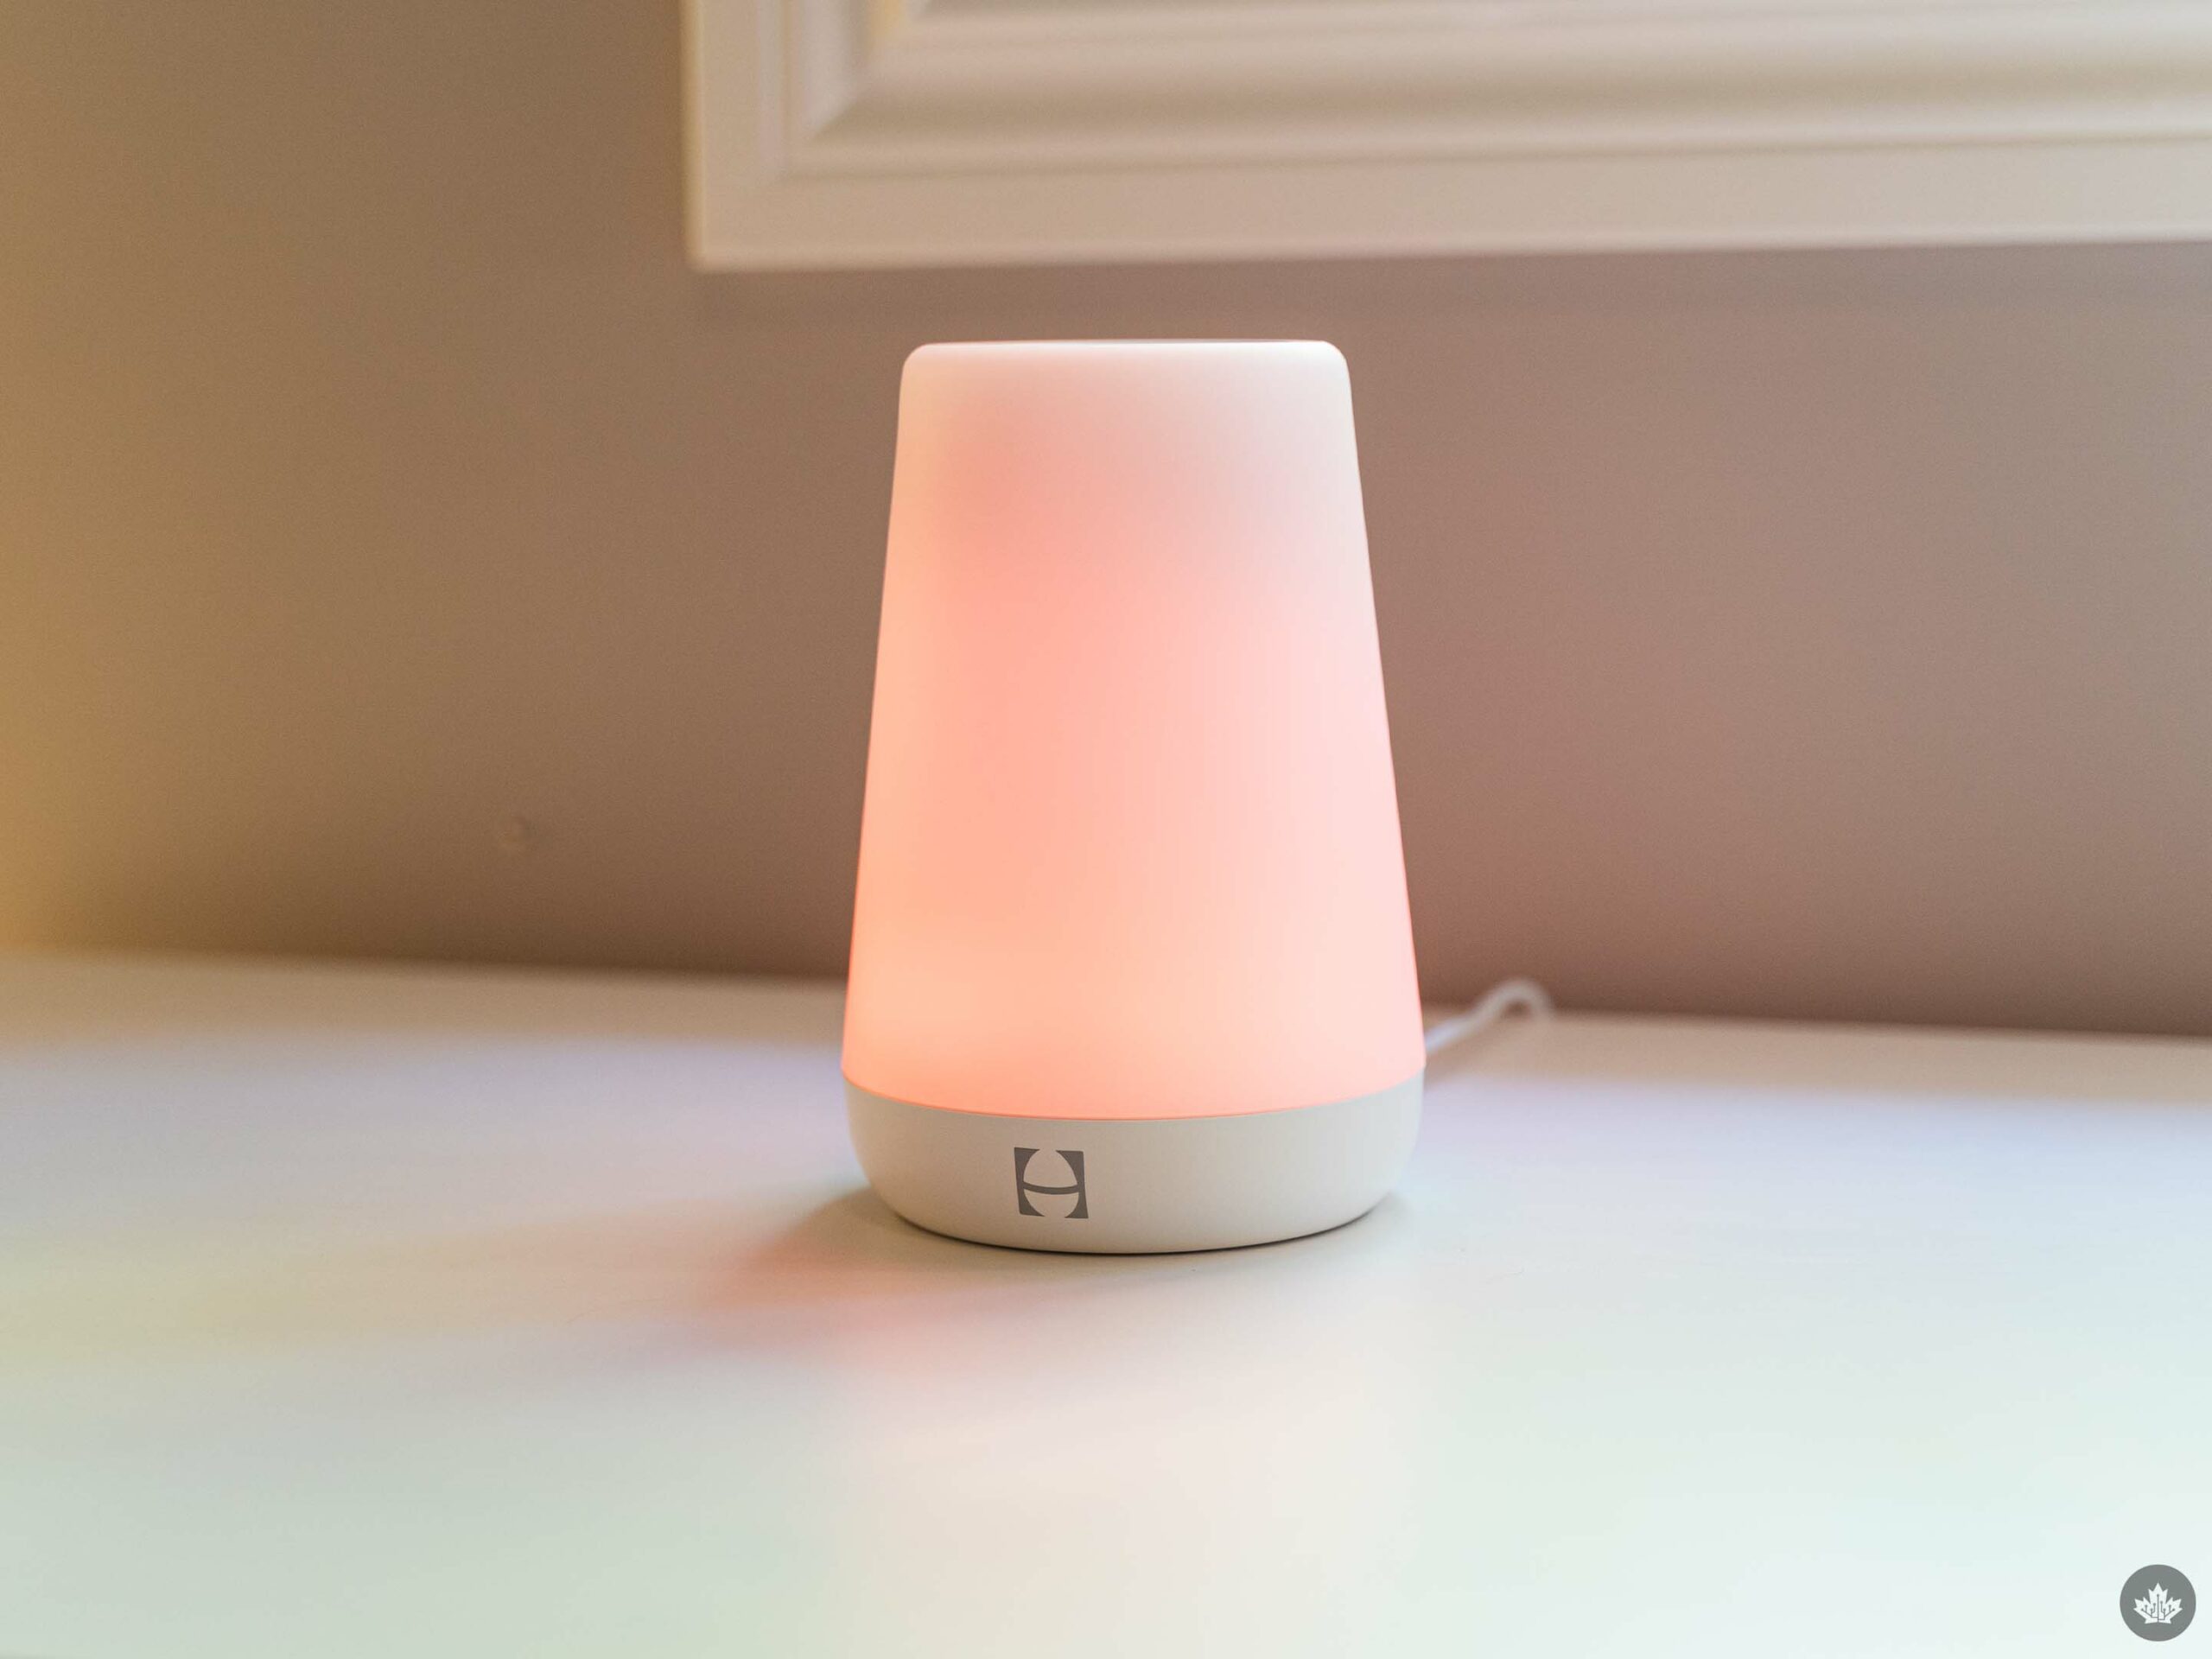
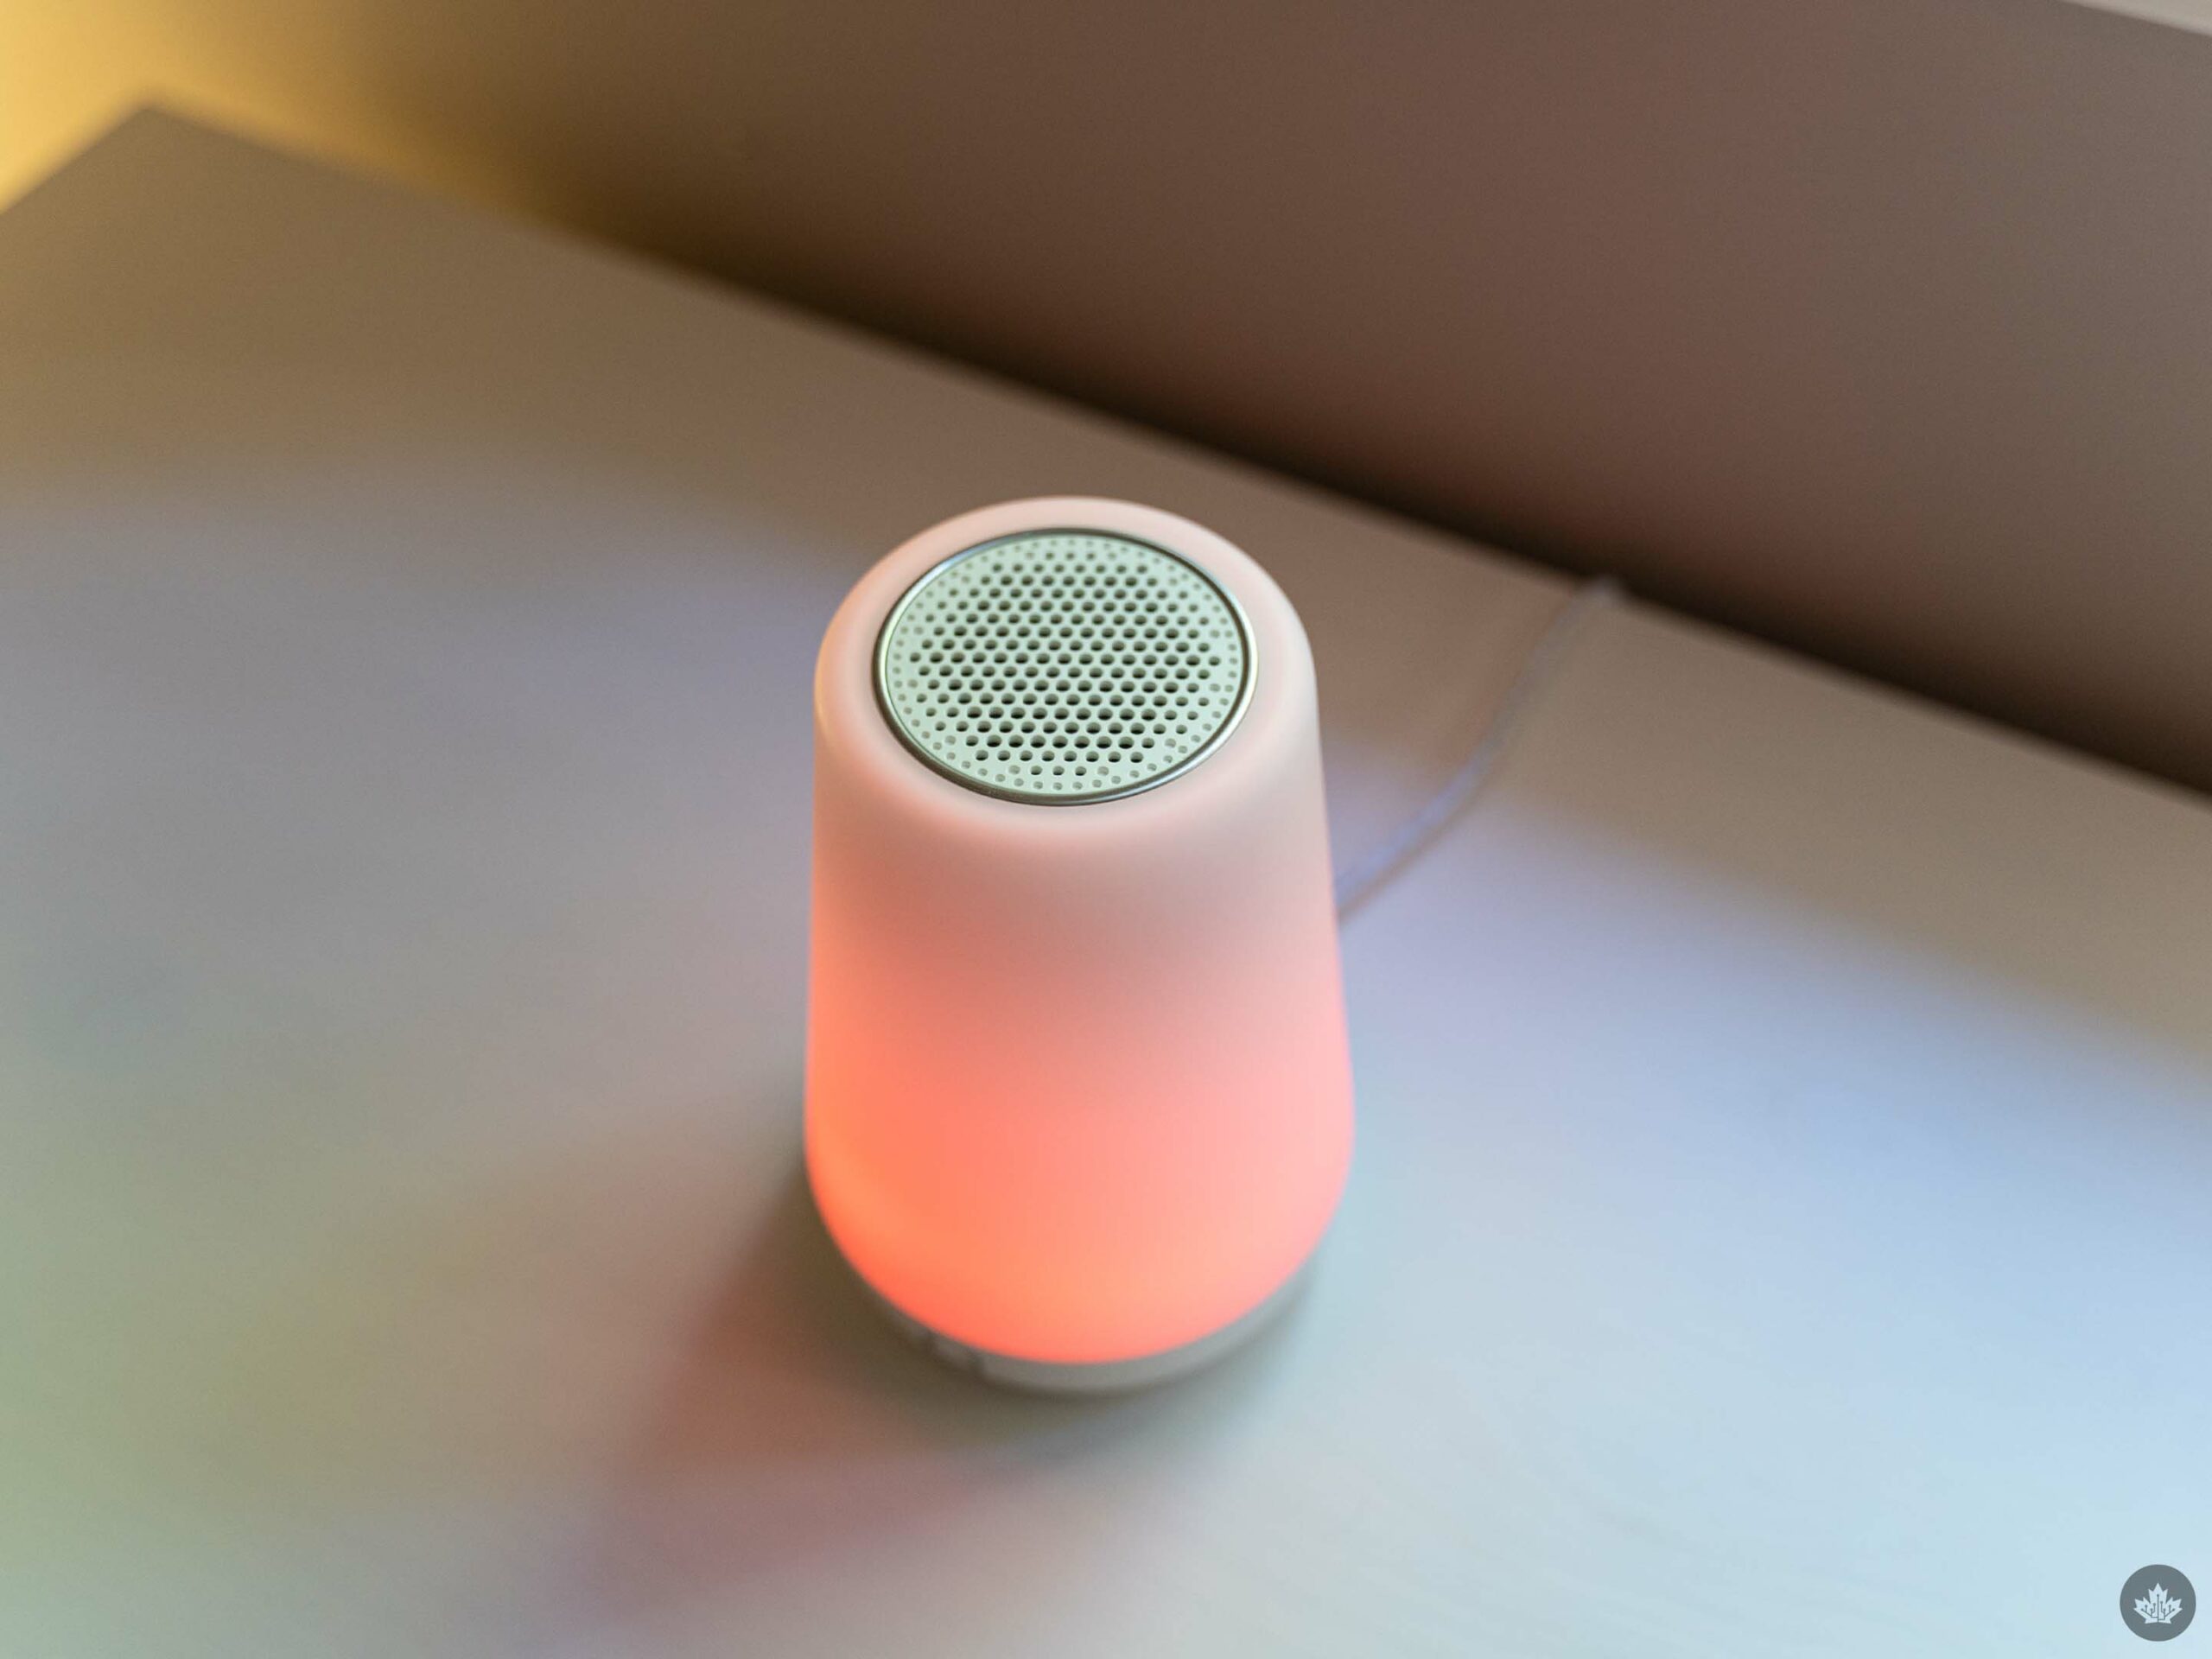
First up, the Hatch Rest “smart” sound machine. Hatch actually recently a new version of the Rest with some more features, which I’ll touch on in a bit. The basic Hatch Rest I tested comes loaded with 11 sounds, including rain, ocean waves, wind, and more (we almost exclusively use the white noise one). It also has a built-in light with a bunch of colours (and the ability to pick your own), and you can control it with the Hatch app (over Bluetooth) or via buttons on the bottom of the speaker.
Plus, there’s a touch-sensitive ring on top that you can customize – I set my ring up to turn on a dim light for late-night check-ins, rather than turning on the bright ceiling light in the nursery.
You can also set up schedules with different lights and sounds, which can be especially handy for older kids to help develop bedtime and morning routines.
The Rest 2nd Gen adds several new features, like a Night Light, dimmable clock, Wi-Fi support, and more. It costs $69.99 (the same as the Hatch Rest I tested, but with extra capabilities). There’s also a Rest+ variant for $89.99 that comes with a backup battery, which lasts eight hours. It might be worth springing for the battery, since it’d save you from having to get an on-the-go sound machine like the Hushh I’m going to cover below. Finally, Hatch now has a ‘Sleep Membership’ – you get a one-month free trial and then it costs $49.99/year or $4.99/mo. Sleep Memberships give access to additional sounds above what’s included with the Hatch. Unfortunately, I didn’t try these features since they weren’t available on the Hatch Rest I used.
Check out the Hatch website to learn more. You can also buy Hatch products on Amazon.
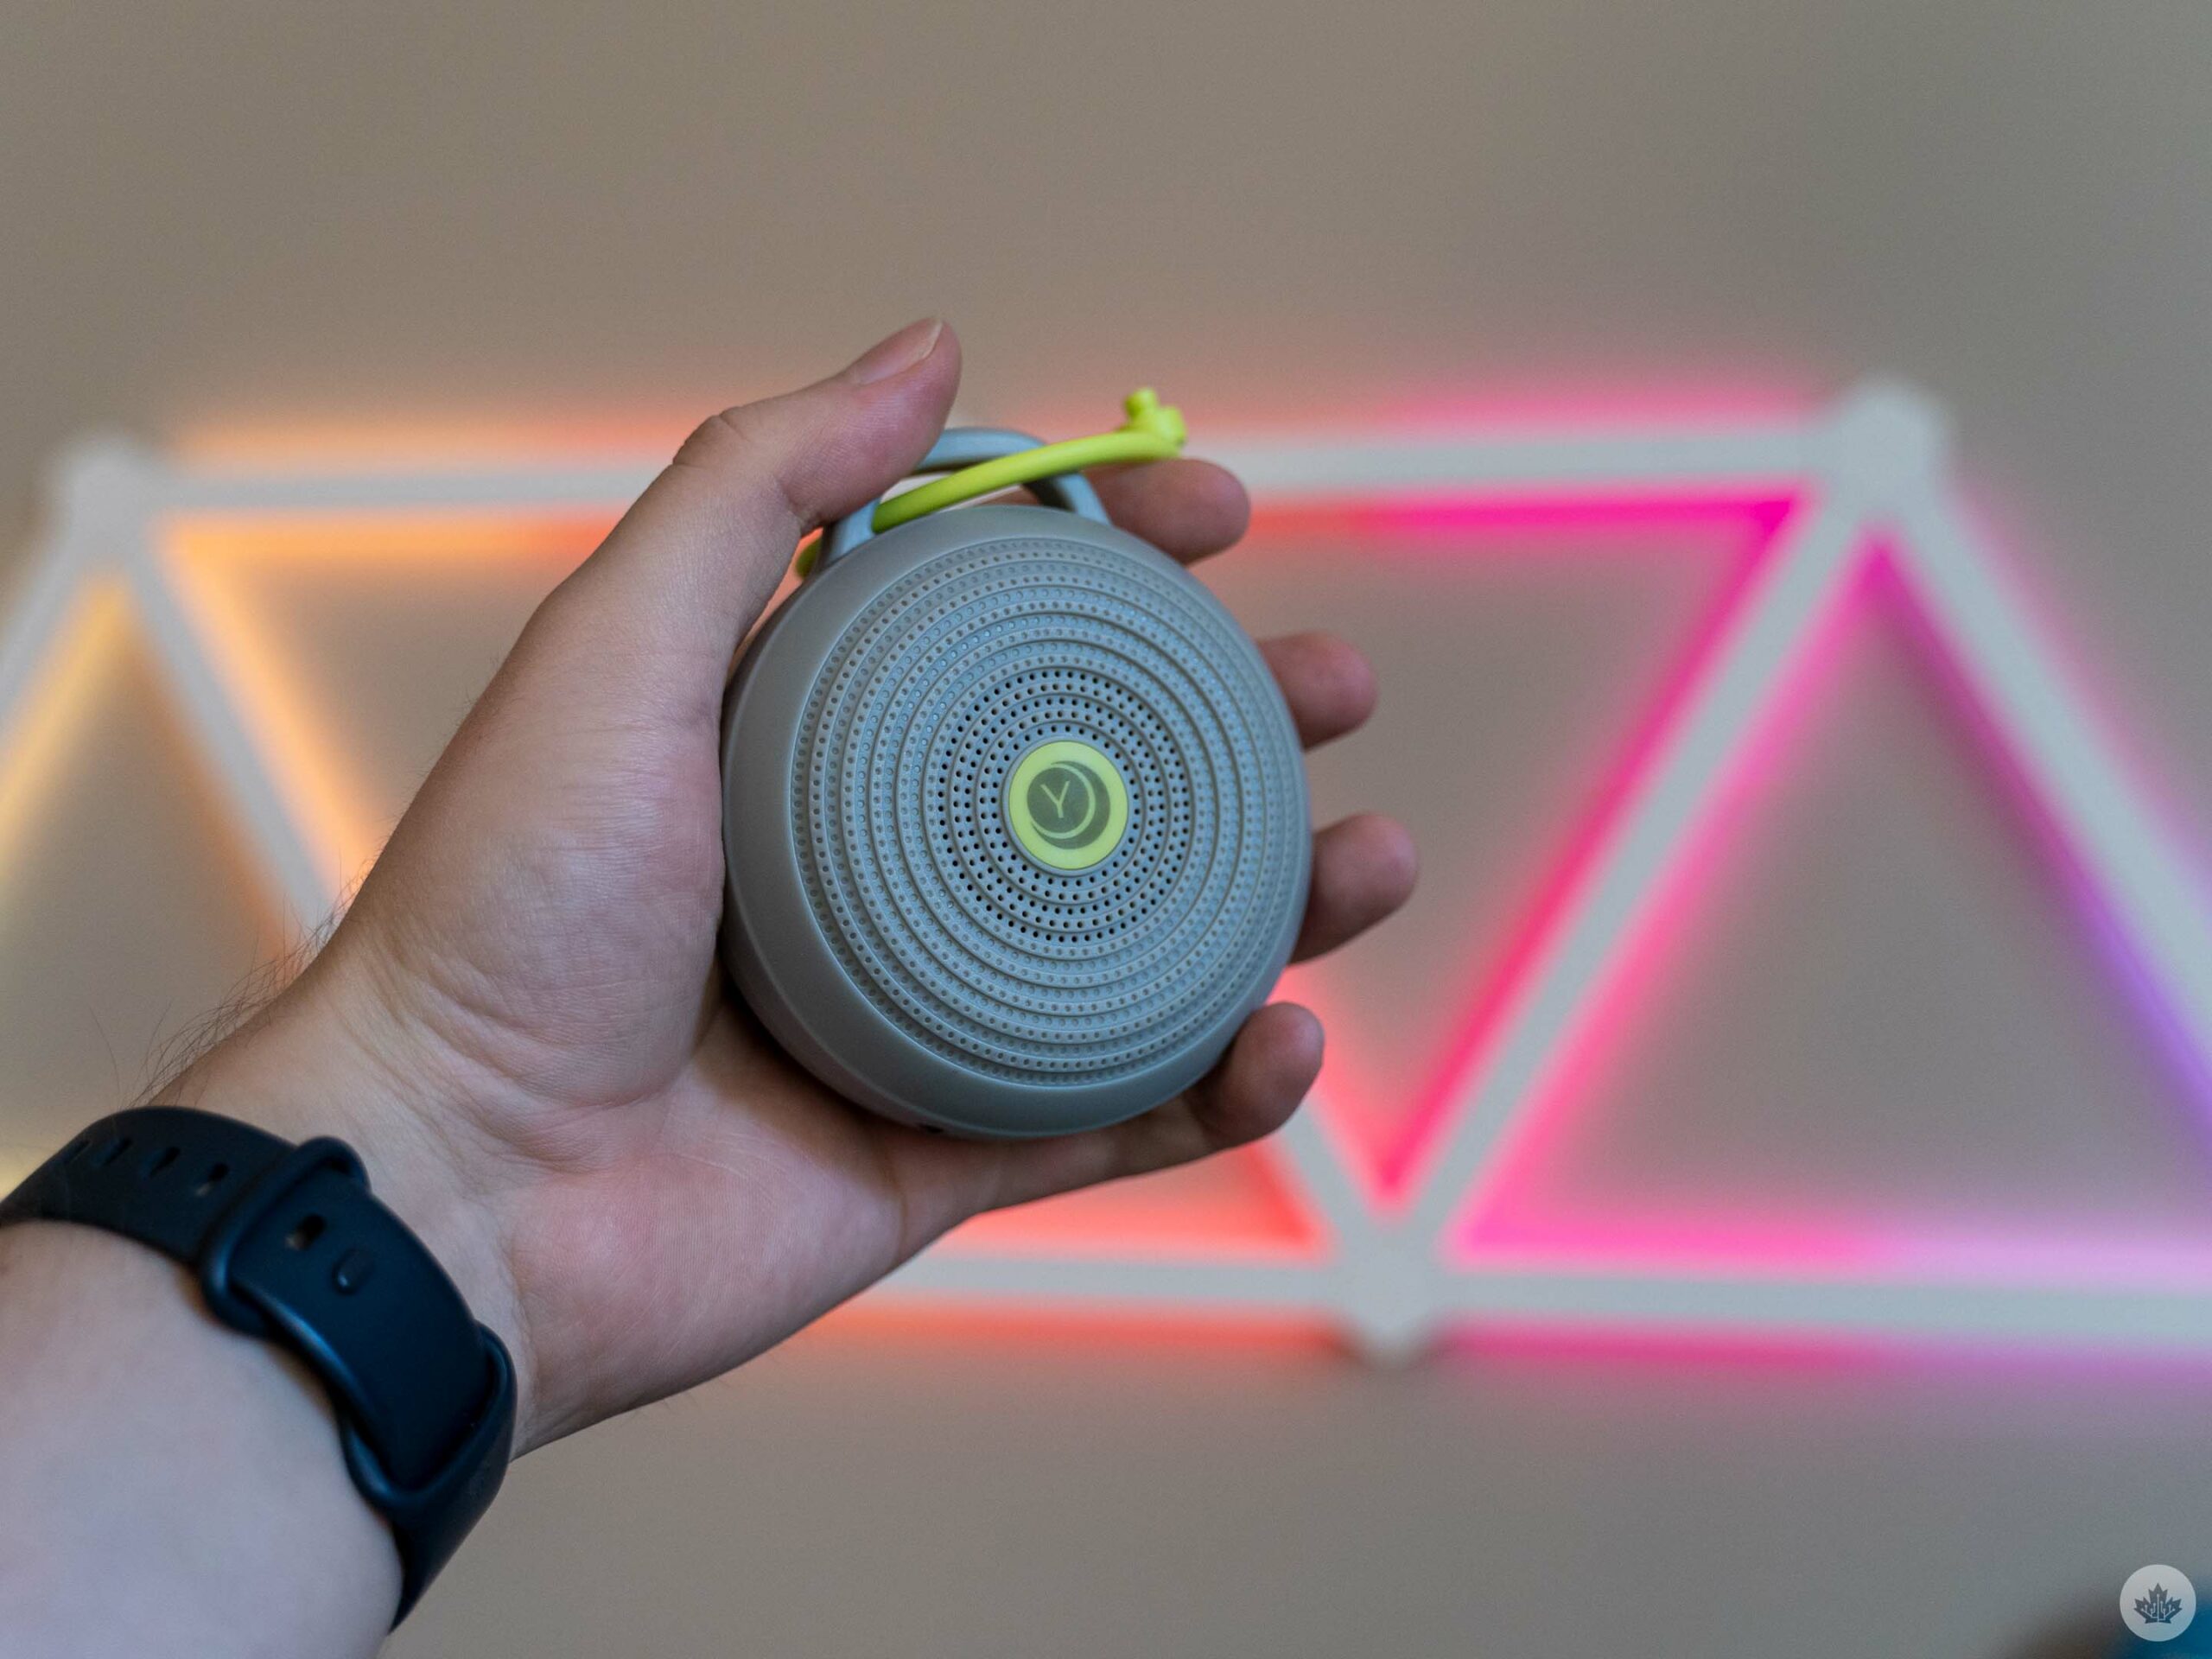
We also picked up a Yogasleep Hushh portable sound machine since the Hatch Rest was, sadly, not portable. The Hushh sports three sounds (including white noise) and can be recharged via micro-USB. The battery lasts a couple of hours, which is usually more than enough for naps.
The Hushh was a great little device for on-the-go naps. My only real complaint about it was that the speaker wasn’t the best, but for something we used just to blast white noise, it wasn’t that big a deal.
Hushh is available for $46.80 on Amazon.
MobileSyrup utilizes affiliate partnerships. These partnerships do not influence our editorial content, though MobileSyrup may earn a commission on purchases made via these links.
MobileSyrup may earn a commission from purchases made via our links, which helps fund the journalism we provide free on our website. These links do not influence our editorial content. Support us here.
