I’ve been running macOS Ventura for a few days now, and while new features like Stage Manager are interesting, the first thing to blow me away is Apple’s enhanced Continuity Camera.
The new version makes adding your iPhone as a webcam on your Mac seamless, and the camera quality improvements are astounding. There are a few hurdles involved, but for the most part, Continuity Camera is a stellar update.
What you need
- An iPhone 8 or newer running iOS 16 (In beta until the fall).
- Mac computer running macOS Ventura (In beta until the fall). This includes some Mac desktops that were manufactured all the way back in 2017.
How to set it up
 To use the new feature, you need to ensure your iPhone and Mac are running on the latest version of Apple’s beta software. This means iOS 16 and macOS Ventura.
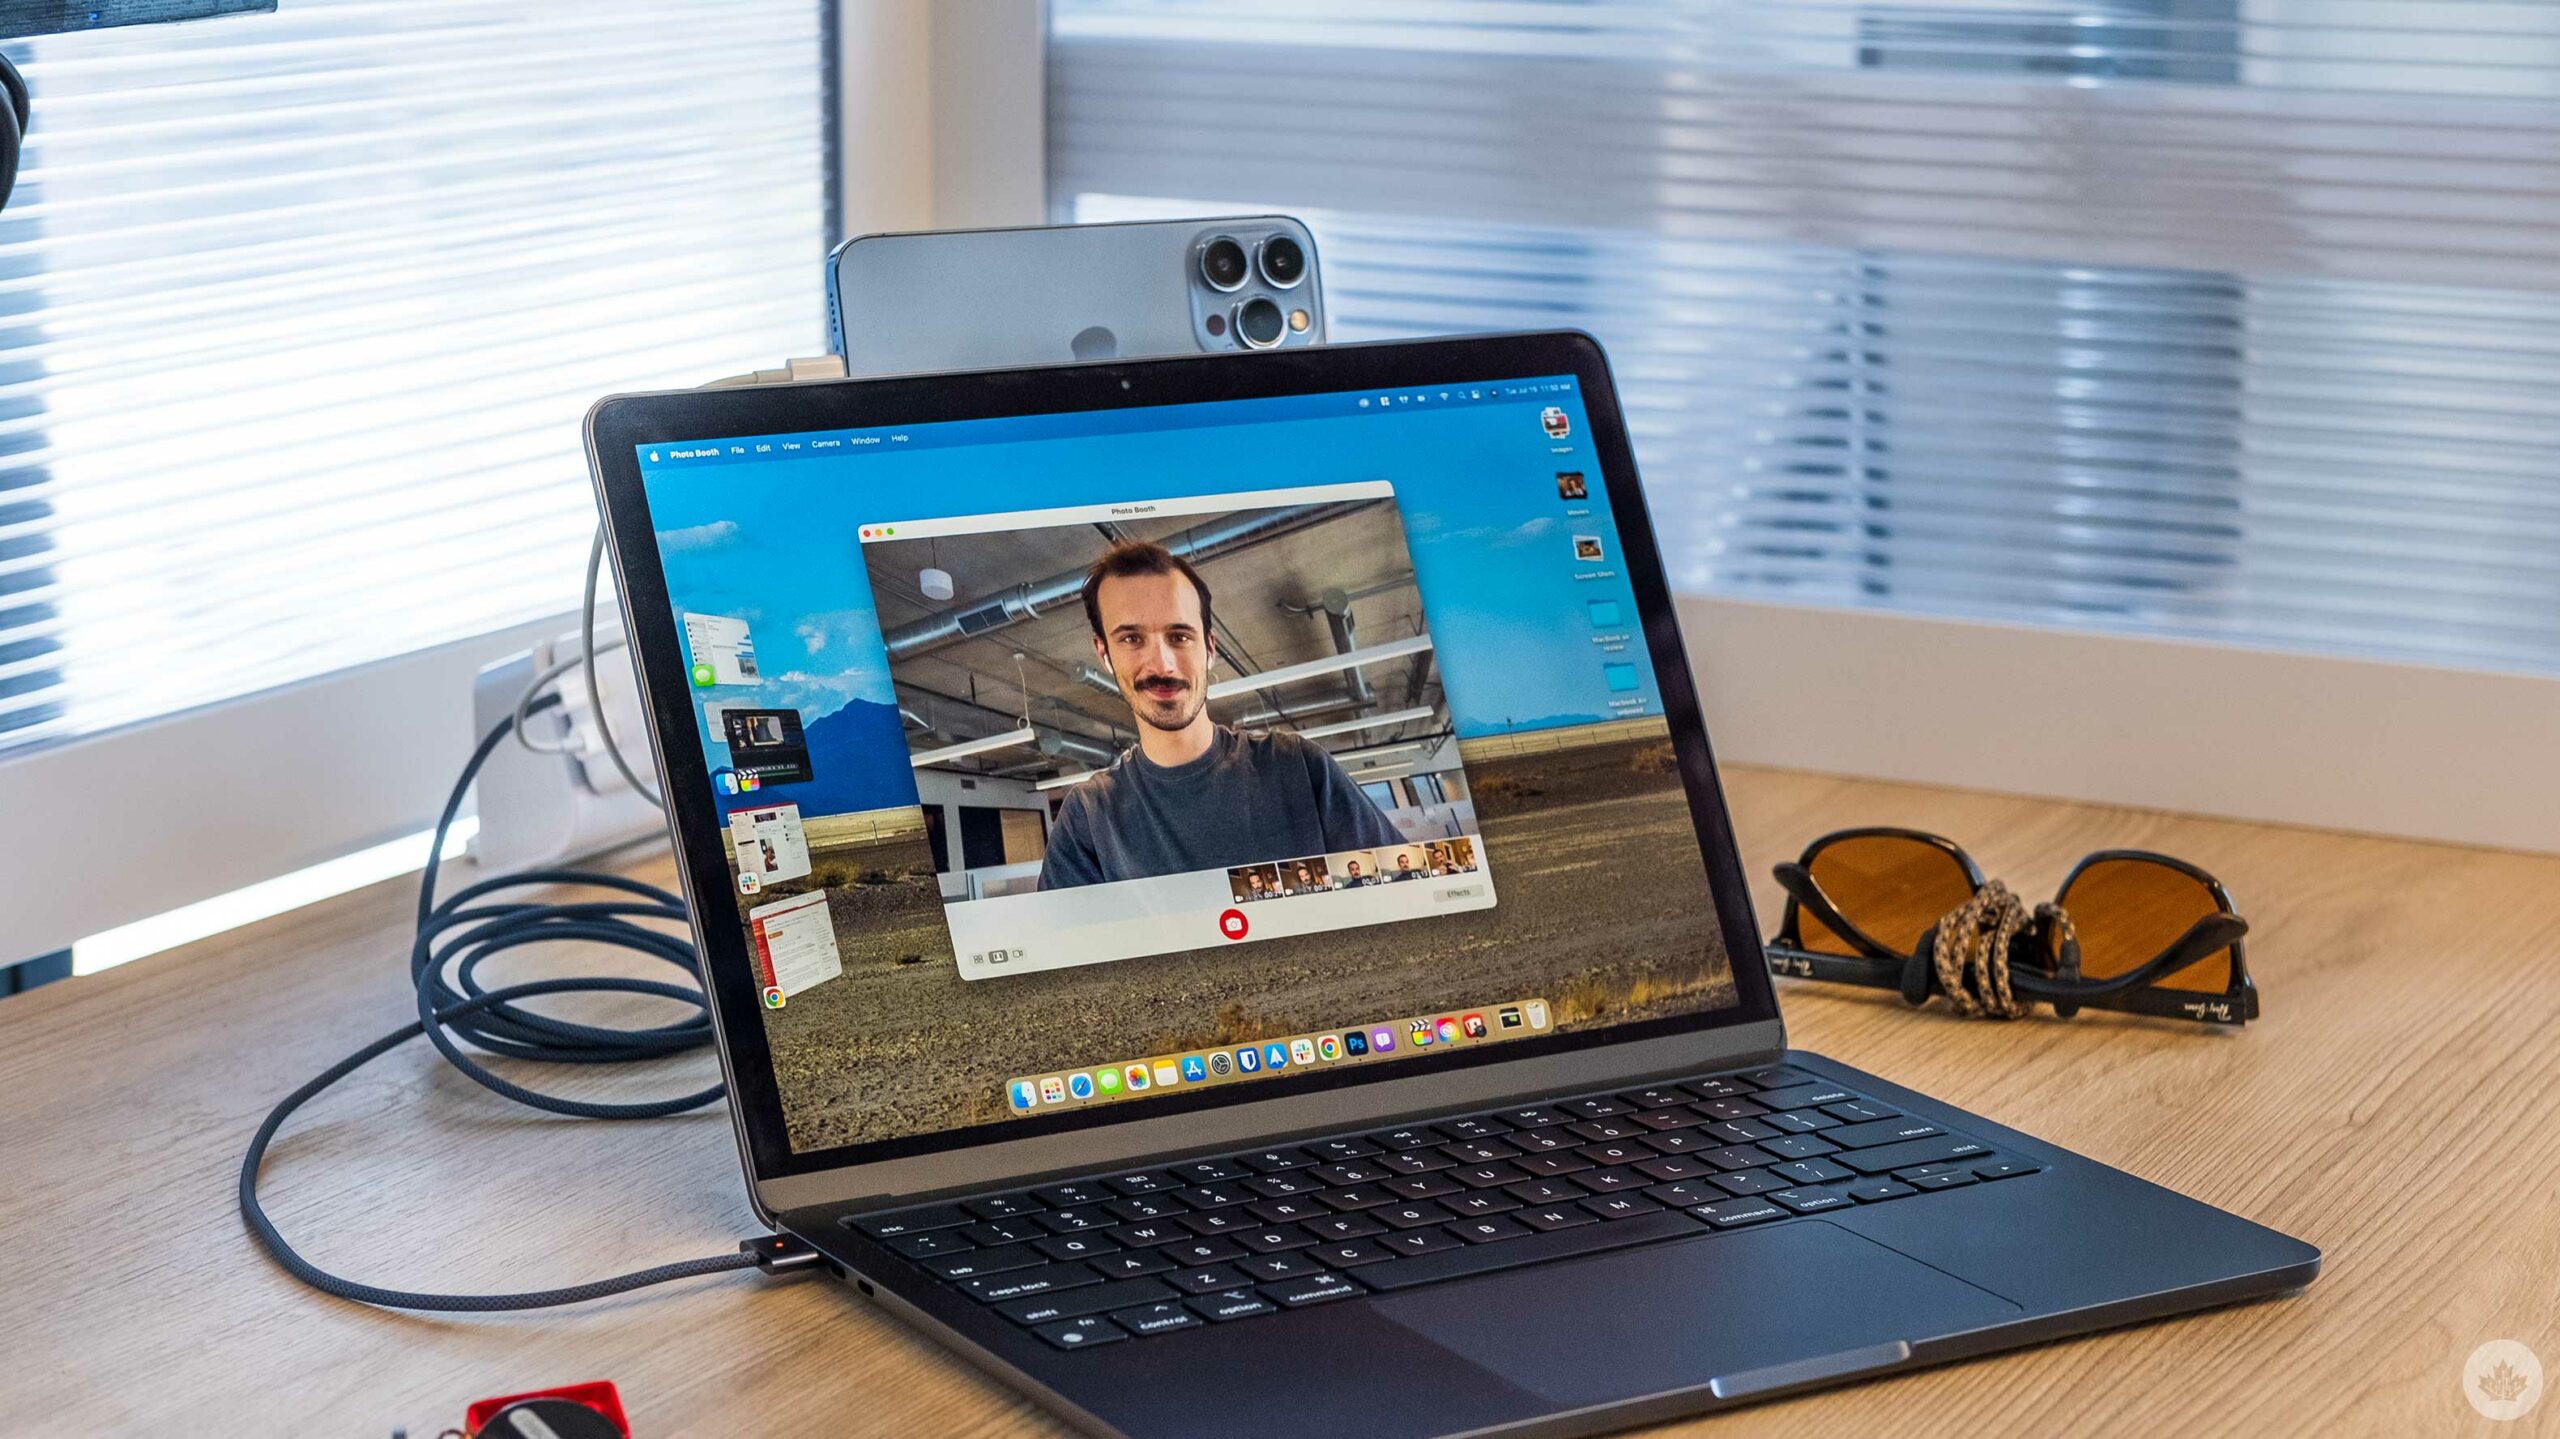
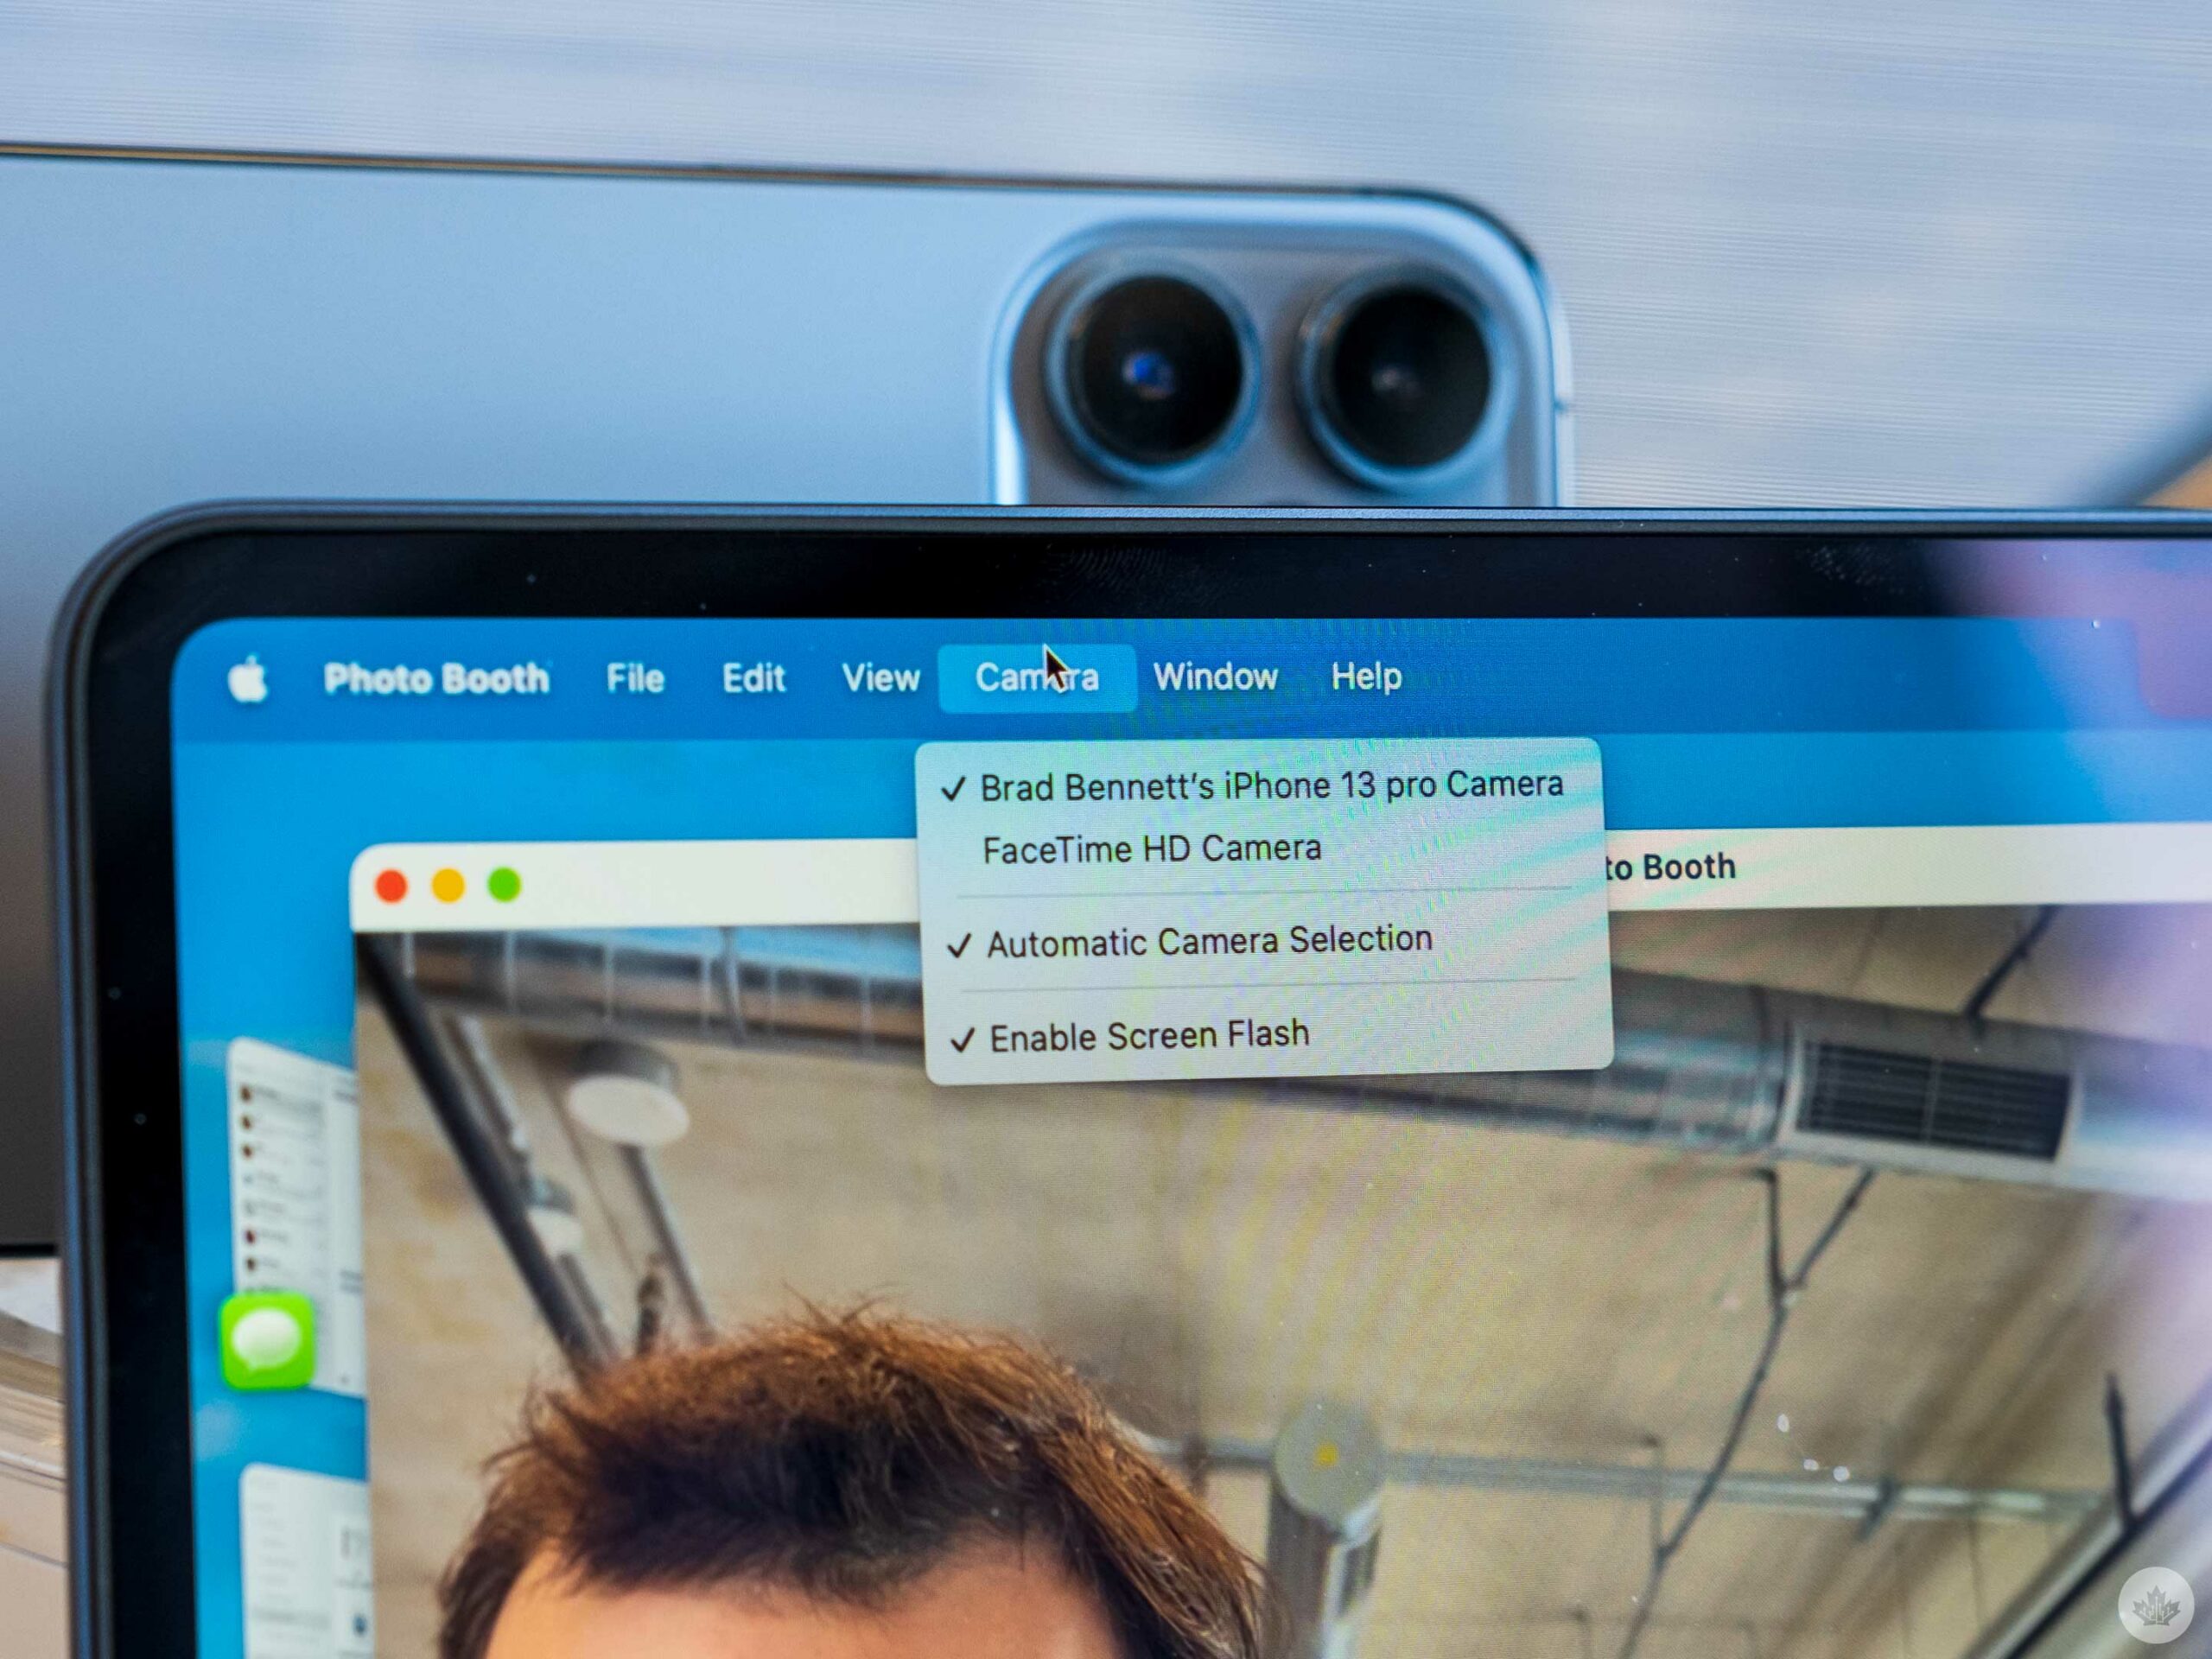
The next step is to make sure that your iPhone and computer are relatively close together and on the same Wi-Fi network. On your Mac, open up an app that uses the camera, like FaceTime or Photo Booth. Navigate to the camera selection menu and select your phone instead of the default camera on your Mac.
Left: iPhone 13 Pro. Right: MacBook Air (M2)
For the demo, I chose to use Photo Booth, and the camera controls are located in the menu bar under the ‘Camera’ subheading. You can set this to work automatically, but in my tests, my laptop always defaults to the built-in webcam.
However, I find that the rear camera on my iPhone 13 Pro looks incredible as a webcam with a pleasing depth of field, so it’s worth switching over manually.
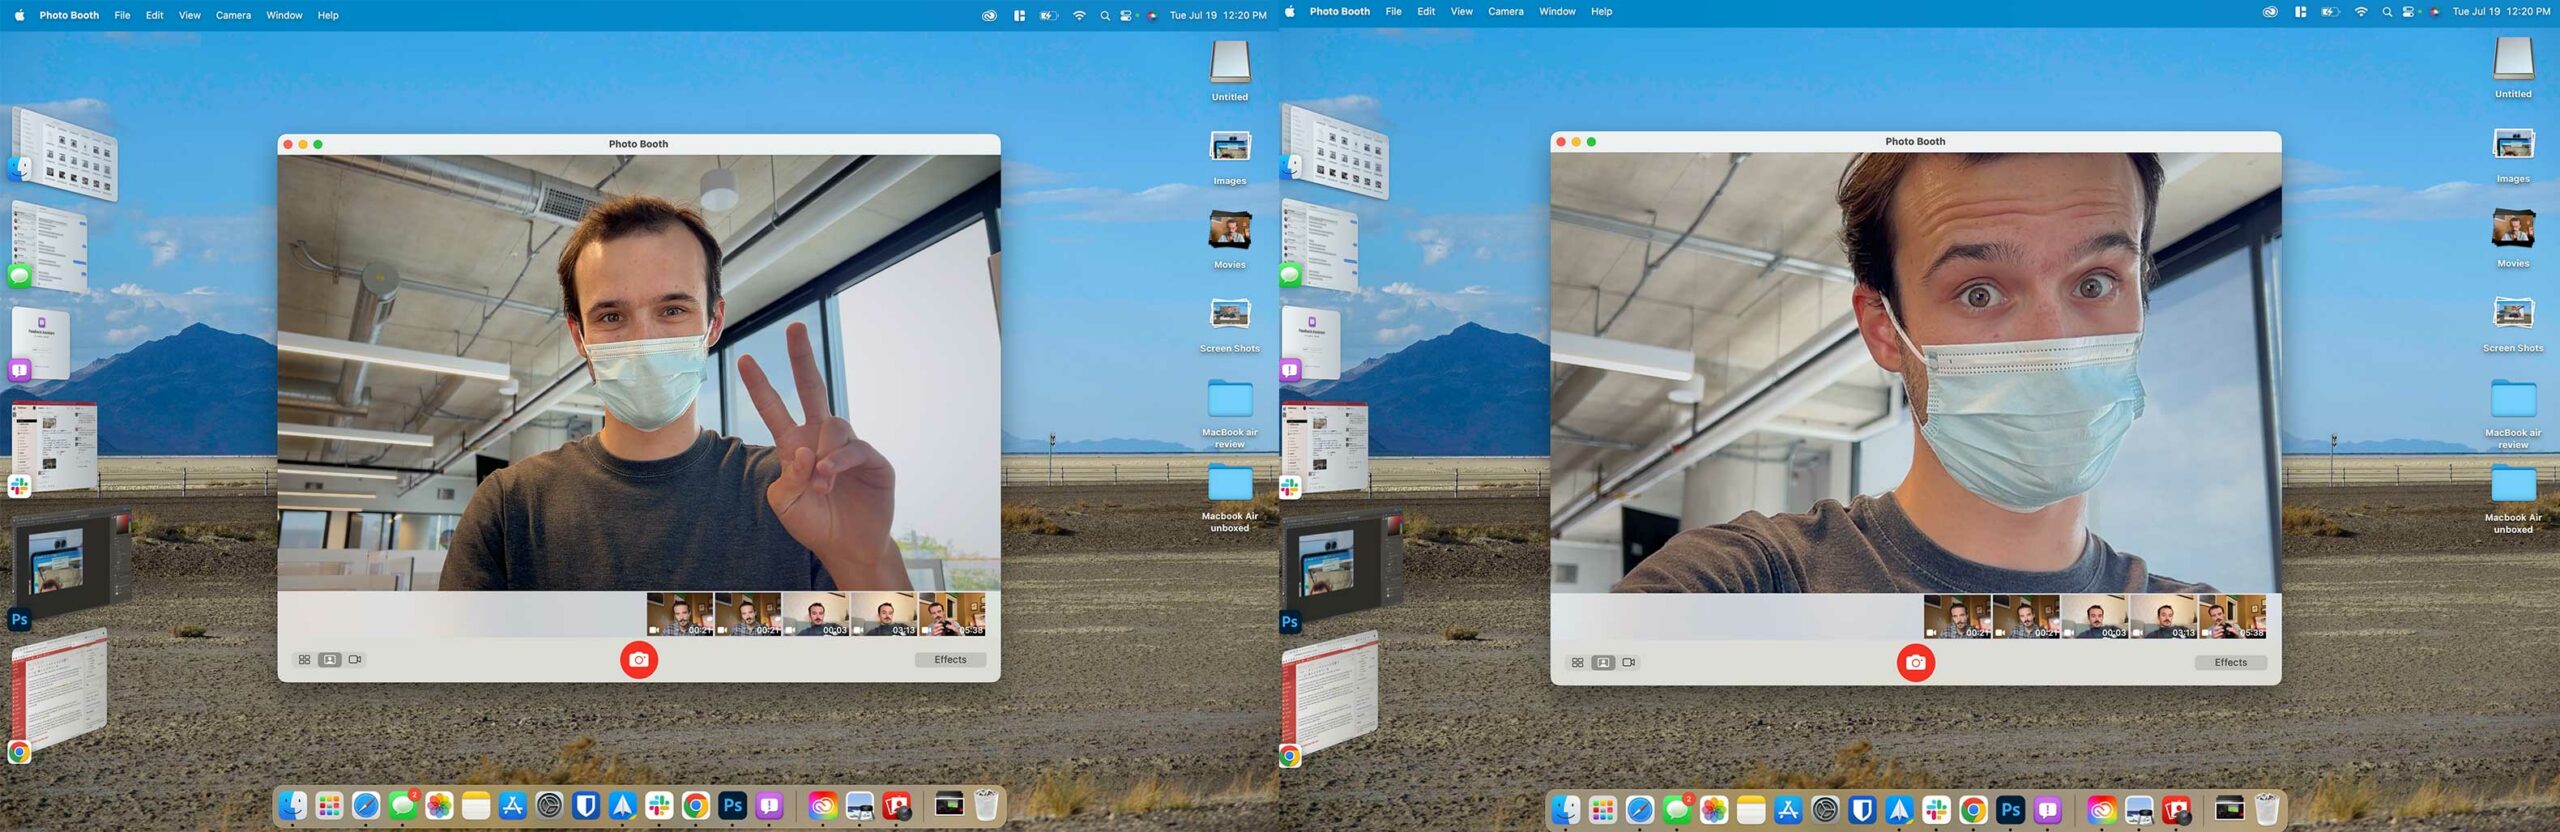
Left: iPhone in landscape. Right: iPhone standing in portrait orientation.
The cameras change depending on your phone’s orientation. When you’re shooting in landscape, it’s wide, but when your phone is in portrait orientation, it shoots a tighter frame.
Mounting your phone is the hardest part. Canadian YouTuber Dave2D decided to attach his phone to his MacBook with duct tape, and I’ve been using mine on top of a large McDonald’s ice coffee cup. Apple also showed off a Belkin accessory at WWDC that magnetizes to both your iPhone and MacBook, but I’m unable to find it online. Other options could include a phone tripod or a classic stack of books.
What else can this do?
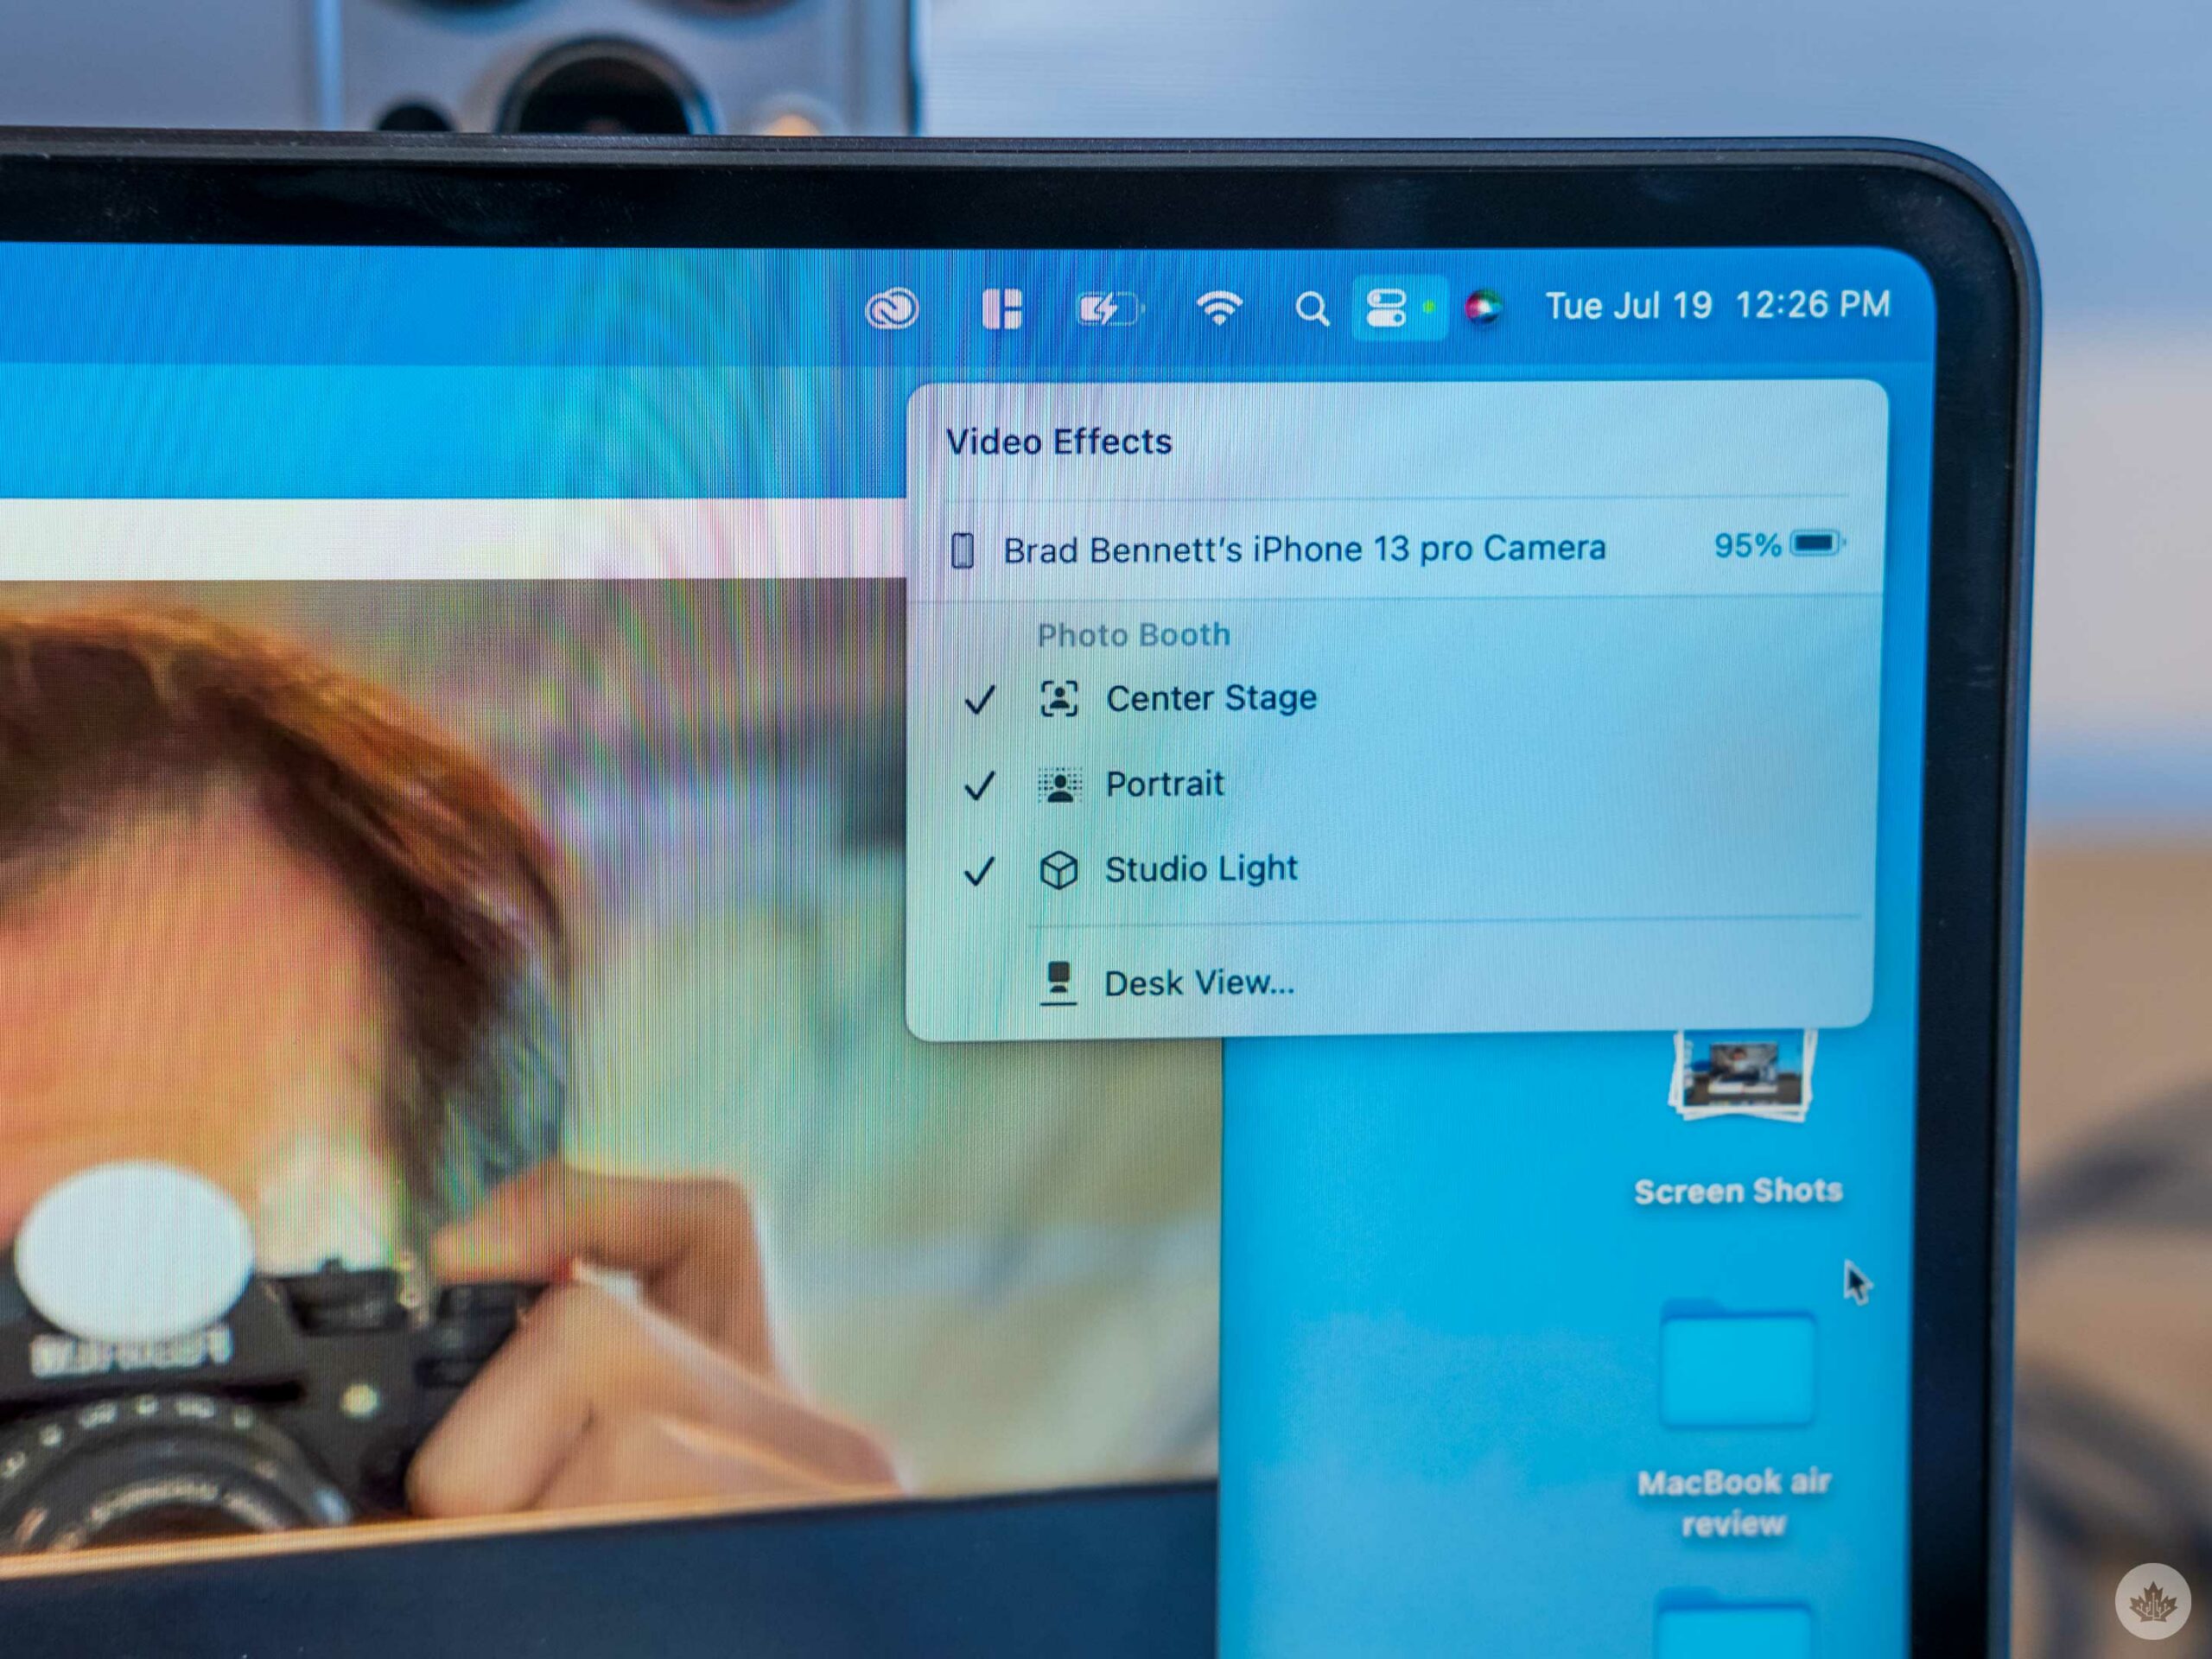 While it’s still limited, there are a few other features you can turn on to tweak Continuity Camera to your preference. These controls are packed into the default macOS Control Centre under the ‘Video Effects’ toggle that appears whenever the webcam is on.
The first option allows users to turn on an artificial blur called ‘ Portrait mode.’ I know many people like to use this feature, but it looks a little over-the-top, so I found using the natural depth-of-field from the iPhone’s camera a better choice in most instances.
The next option is ‘Centre Stage’ which crops the camera sensor a bit and then uses software to keep the user in the centre of the frame. This feature is also available on the Studio Display and several iPads, but since it crops in, it doesn’t deliver optimal picture quality. That said, this mode could be helpful if you’re walking around a kitchen or have more than one person on screen. I’ve also found that placing your iPhone in an optimal position is tricky, so Centre Stage can help square up your framing.
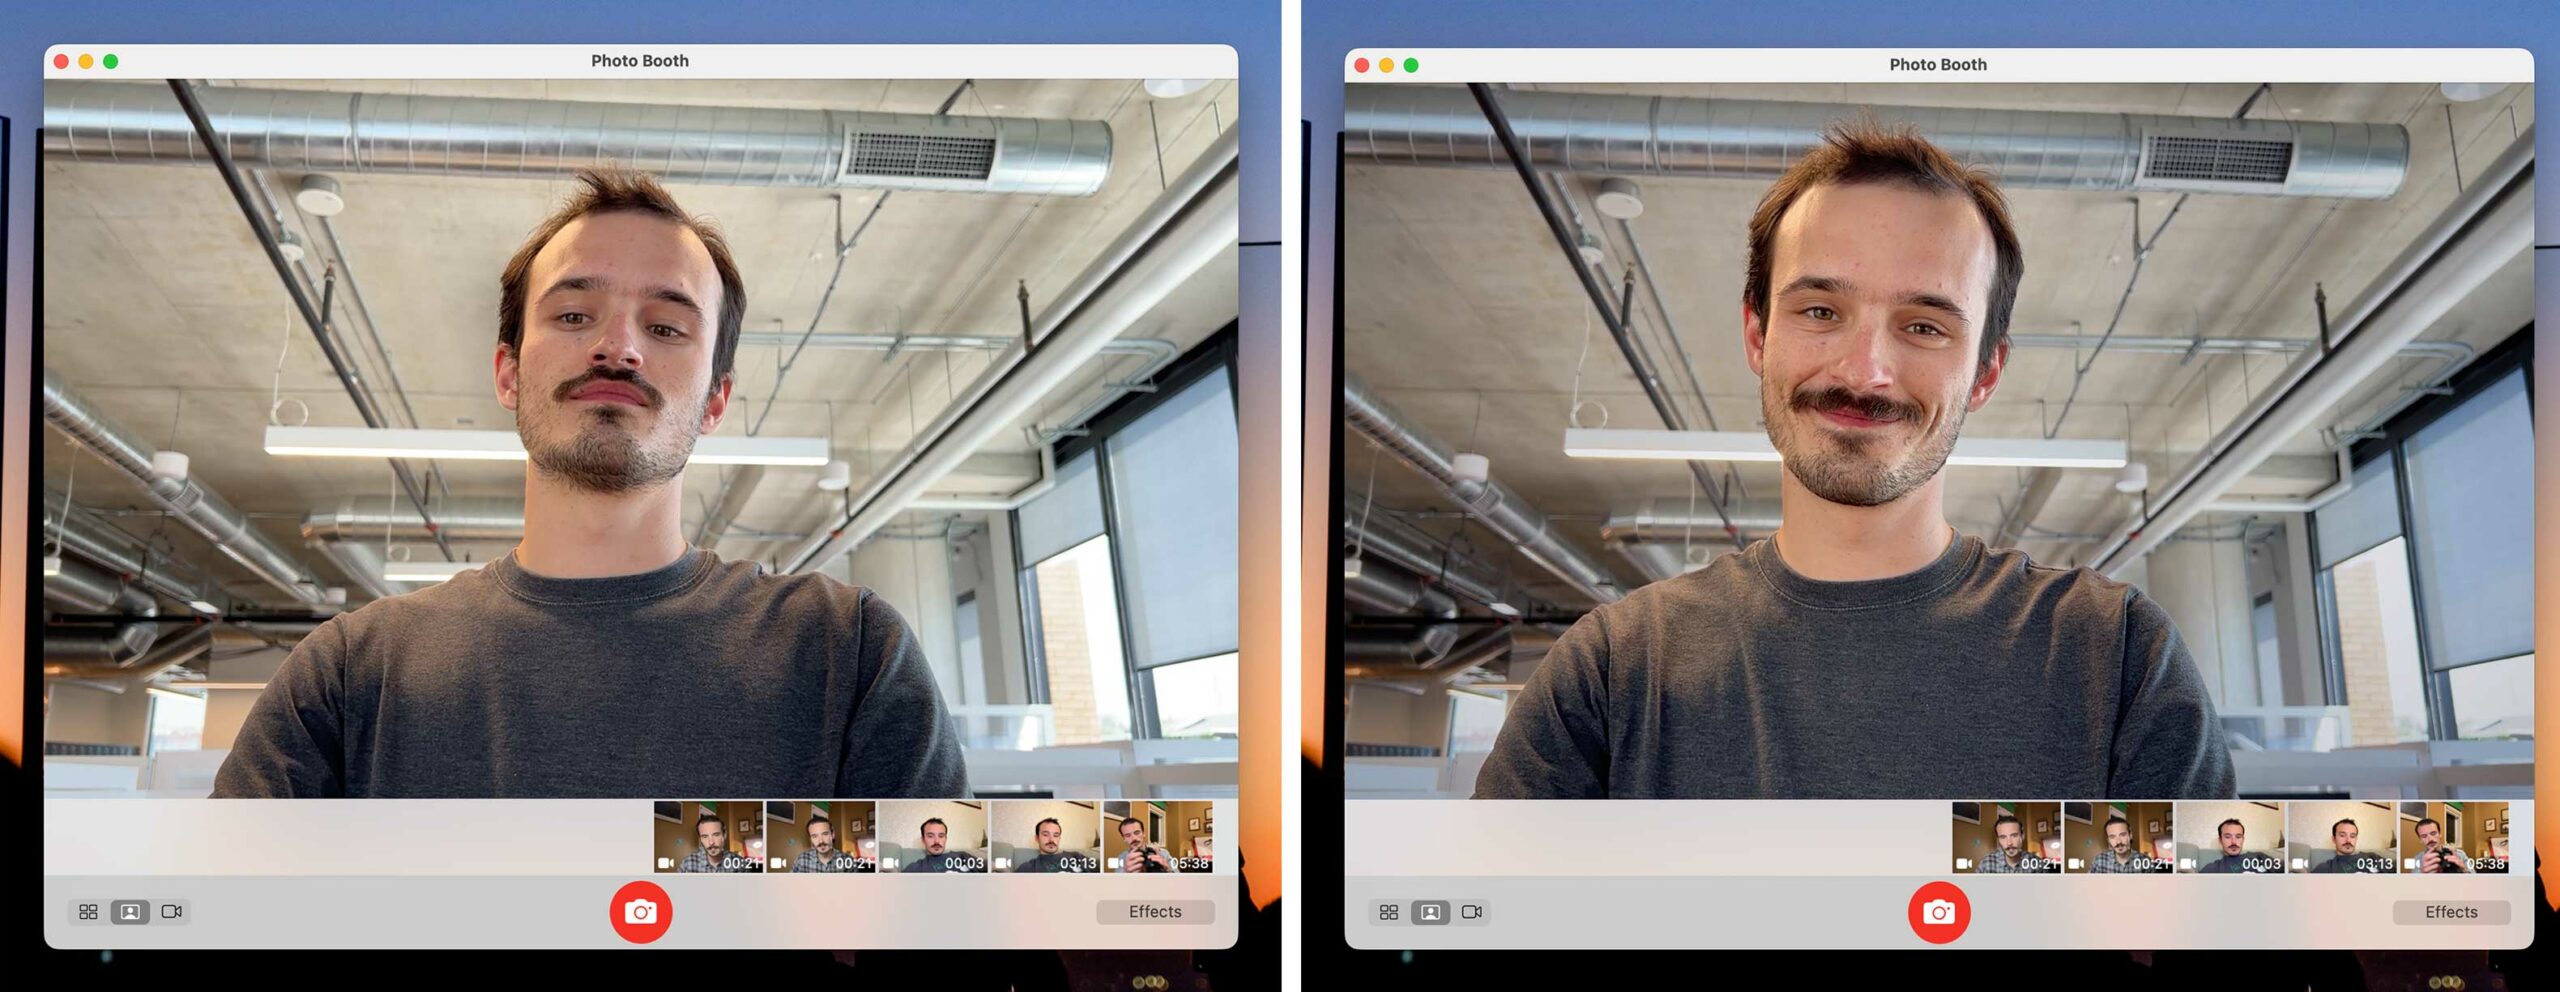
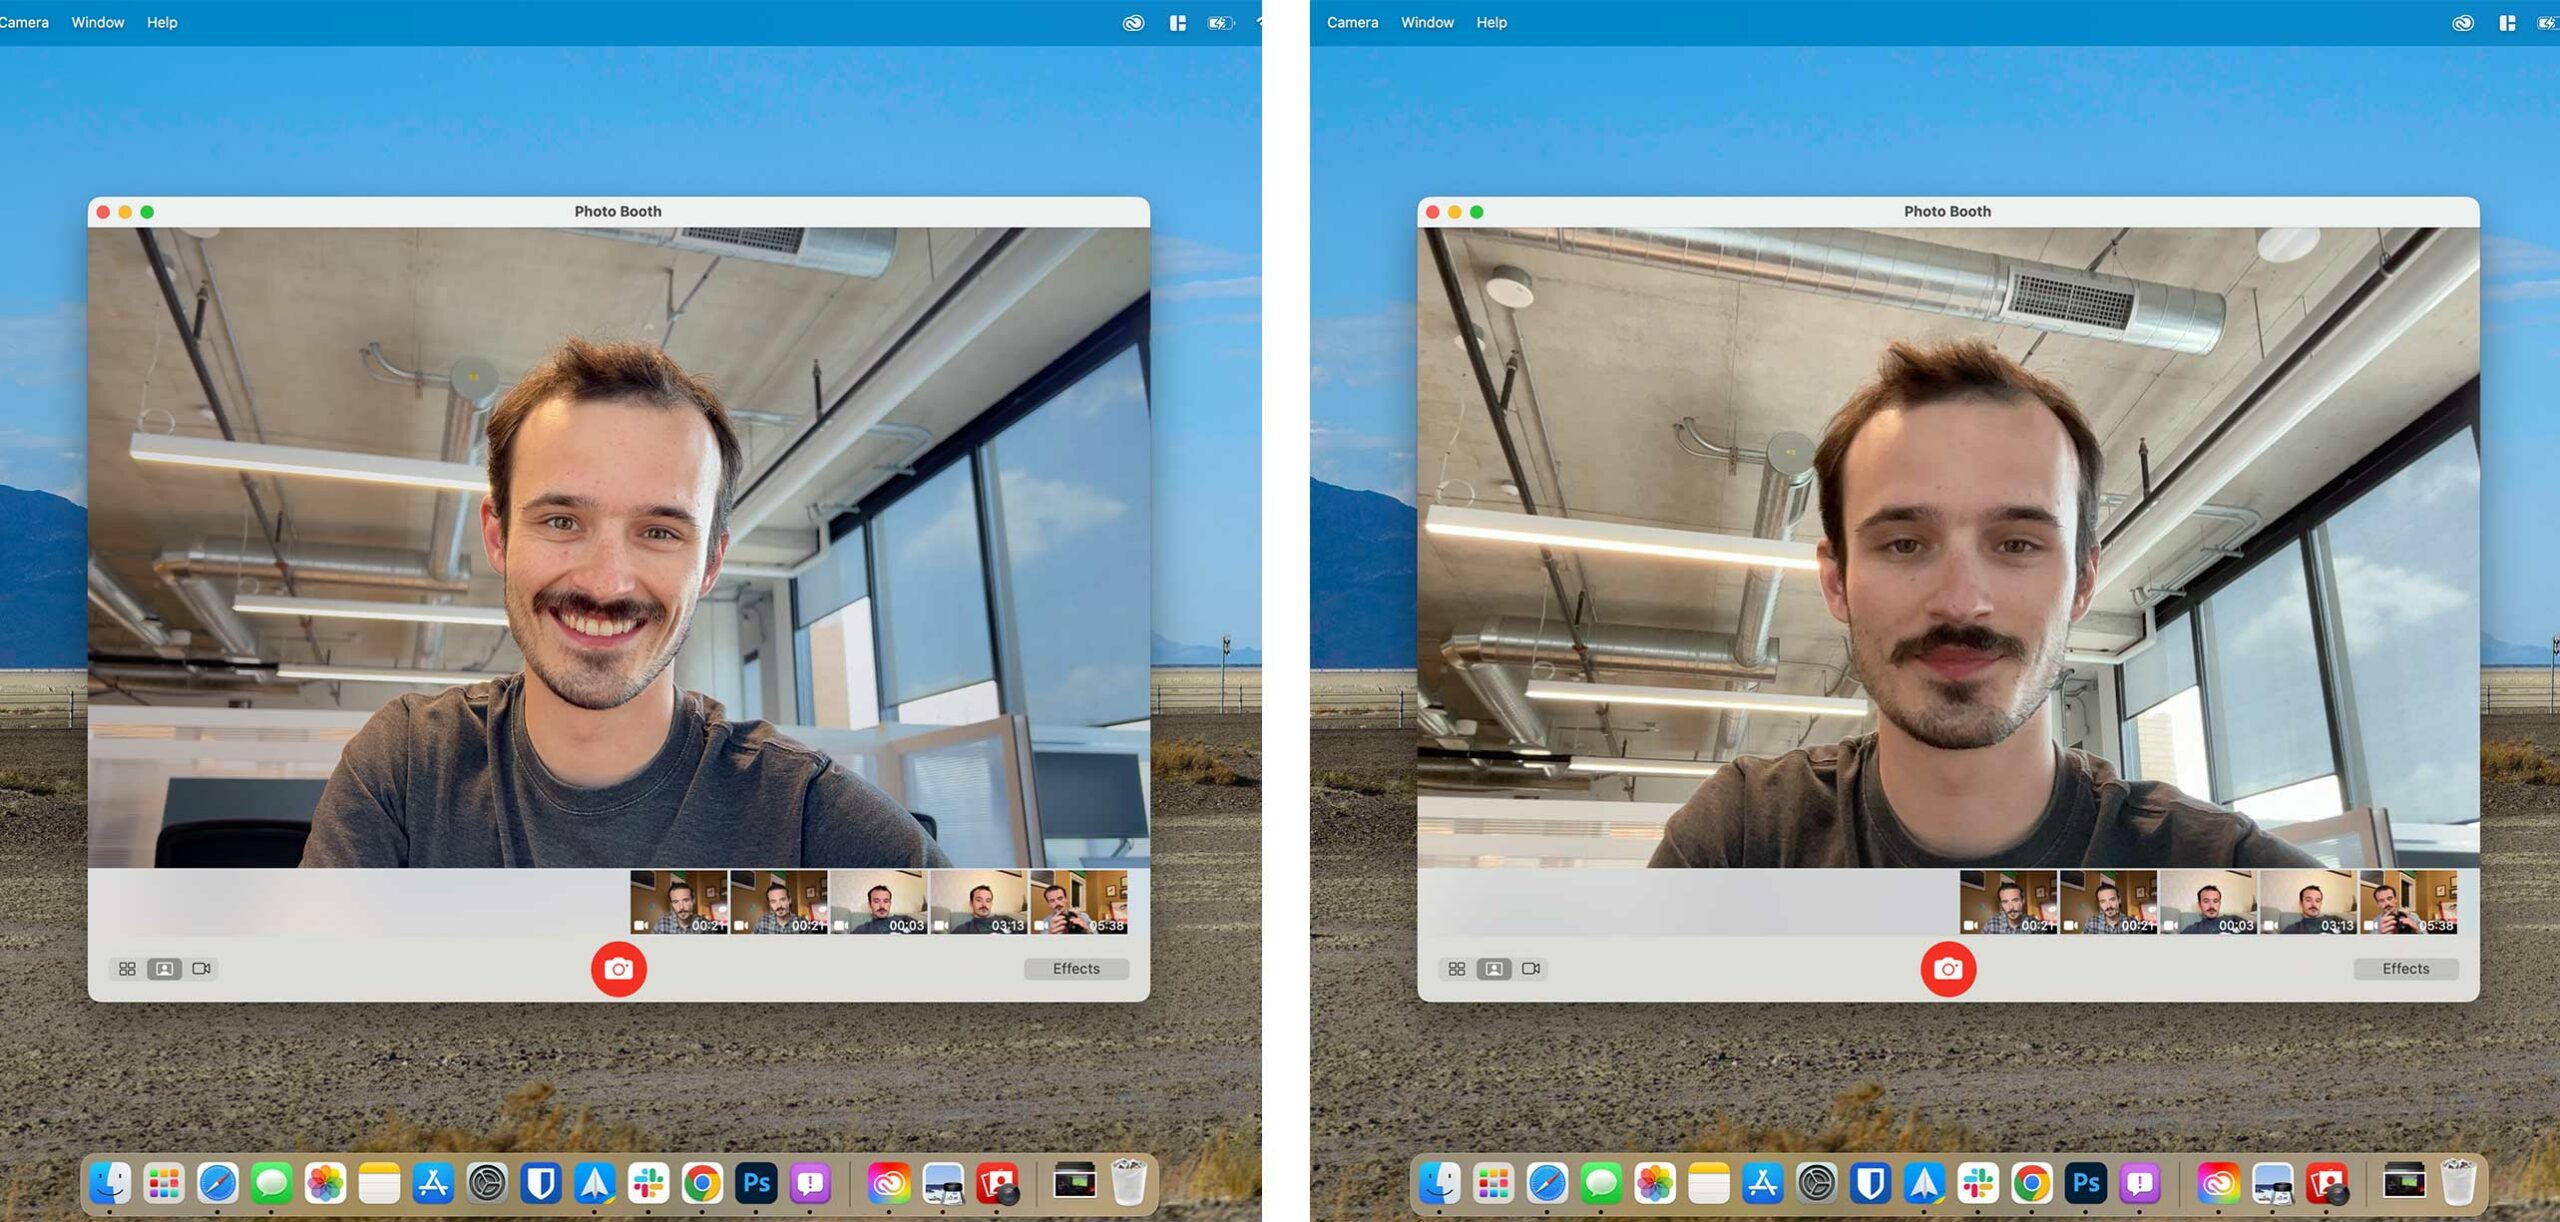
The image on the right has the default view, and the left has the ‘Studio Lighting’ effect enabled. You can tell because the background is darker.
Turning on ‘Studio Mode’ makes you pop on screen since it alters your frame’s lighting to make you brighter and the background darker. This option is subtle but helps isolate you on screen nicely.
Finally, there’s a new feature called ‘Desk view’ that’s impressive but tough to use. This feature works by skewing and warping footage from the iPhone’s ultrawide camera and making it look like it’s shooting straight down. For this mode, you need your phone mounted somewhere up high. I’ve found eye level is optimal, but the further your phone is from the desk, the better its field of view will be.
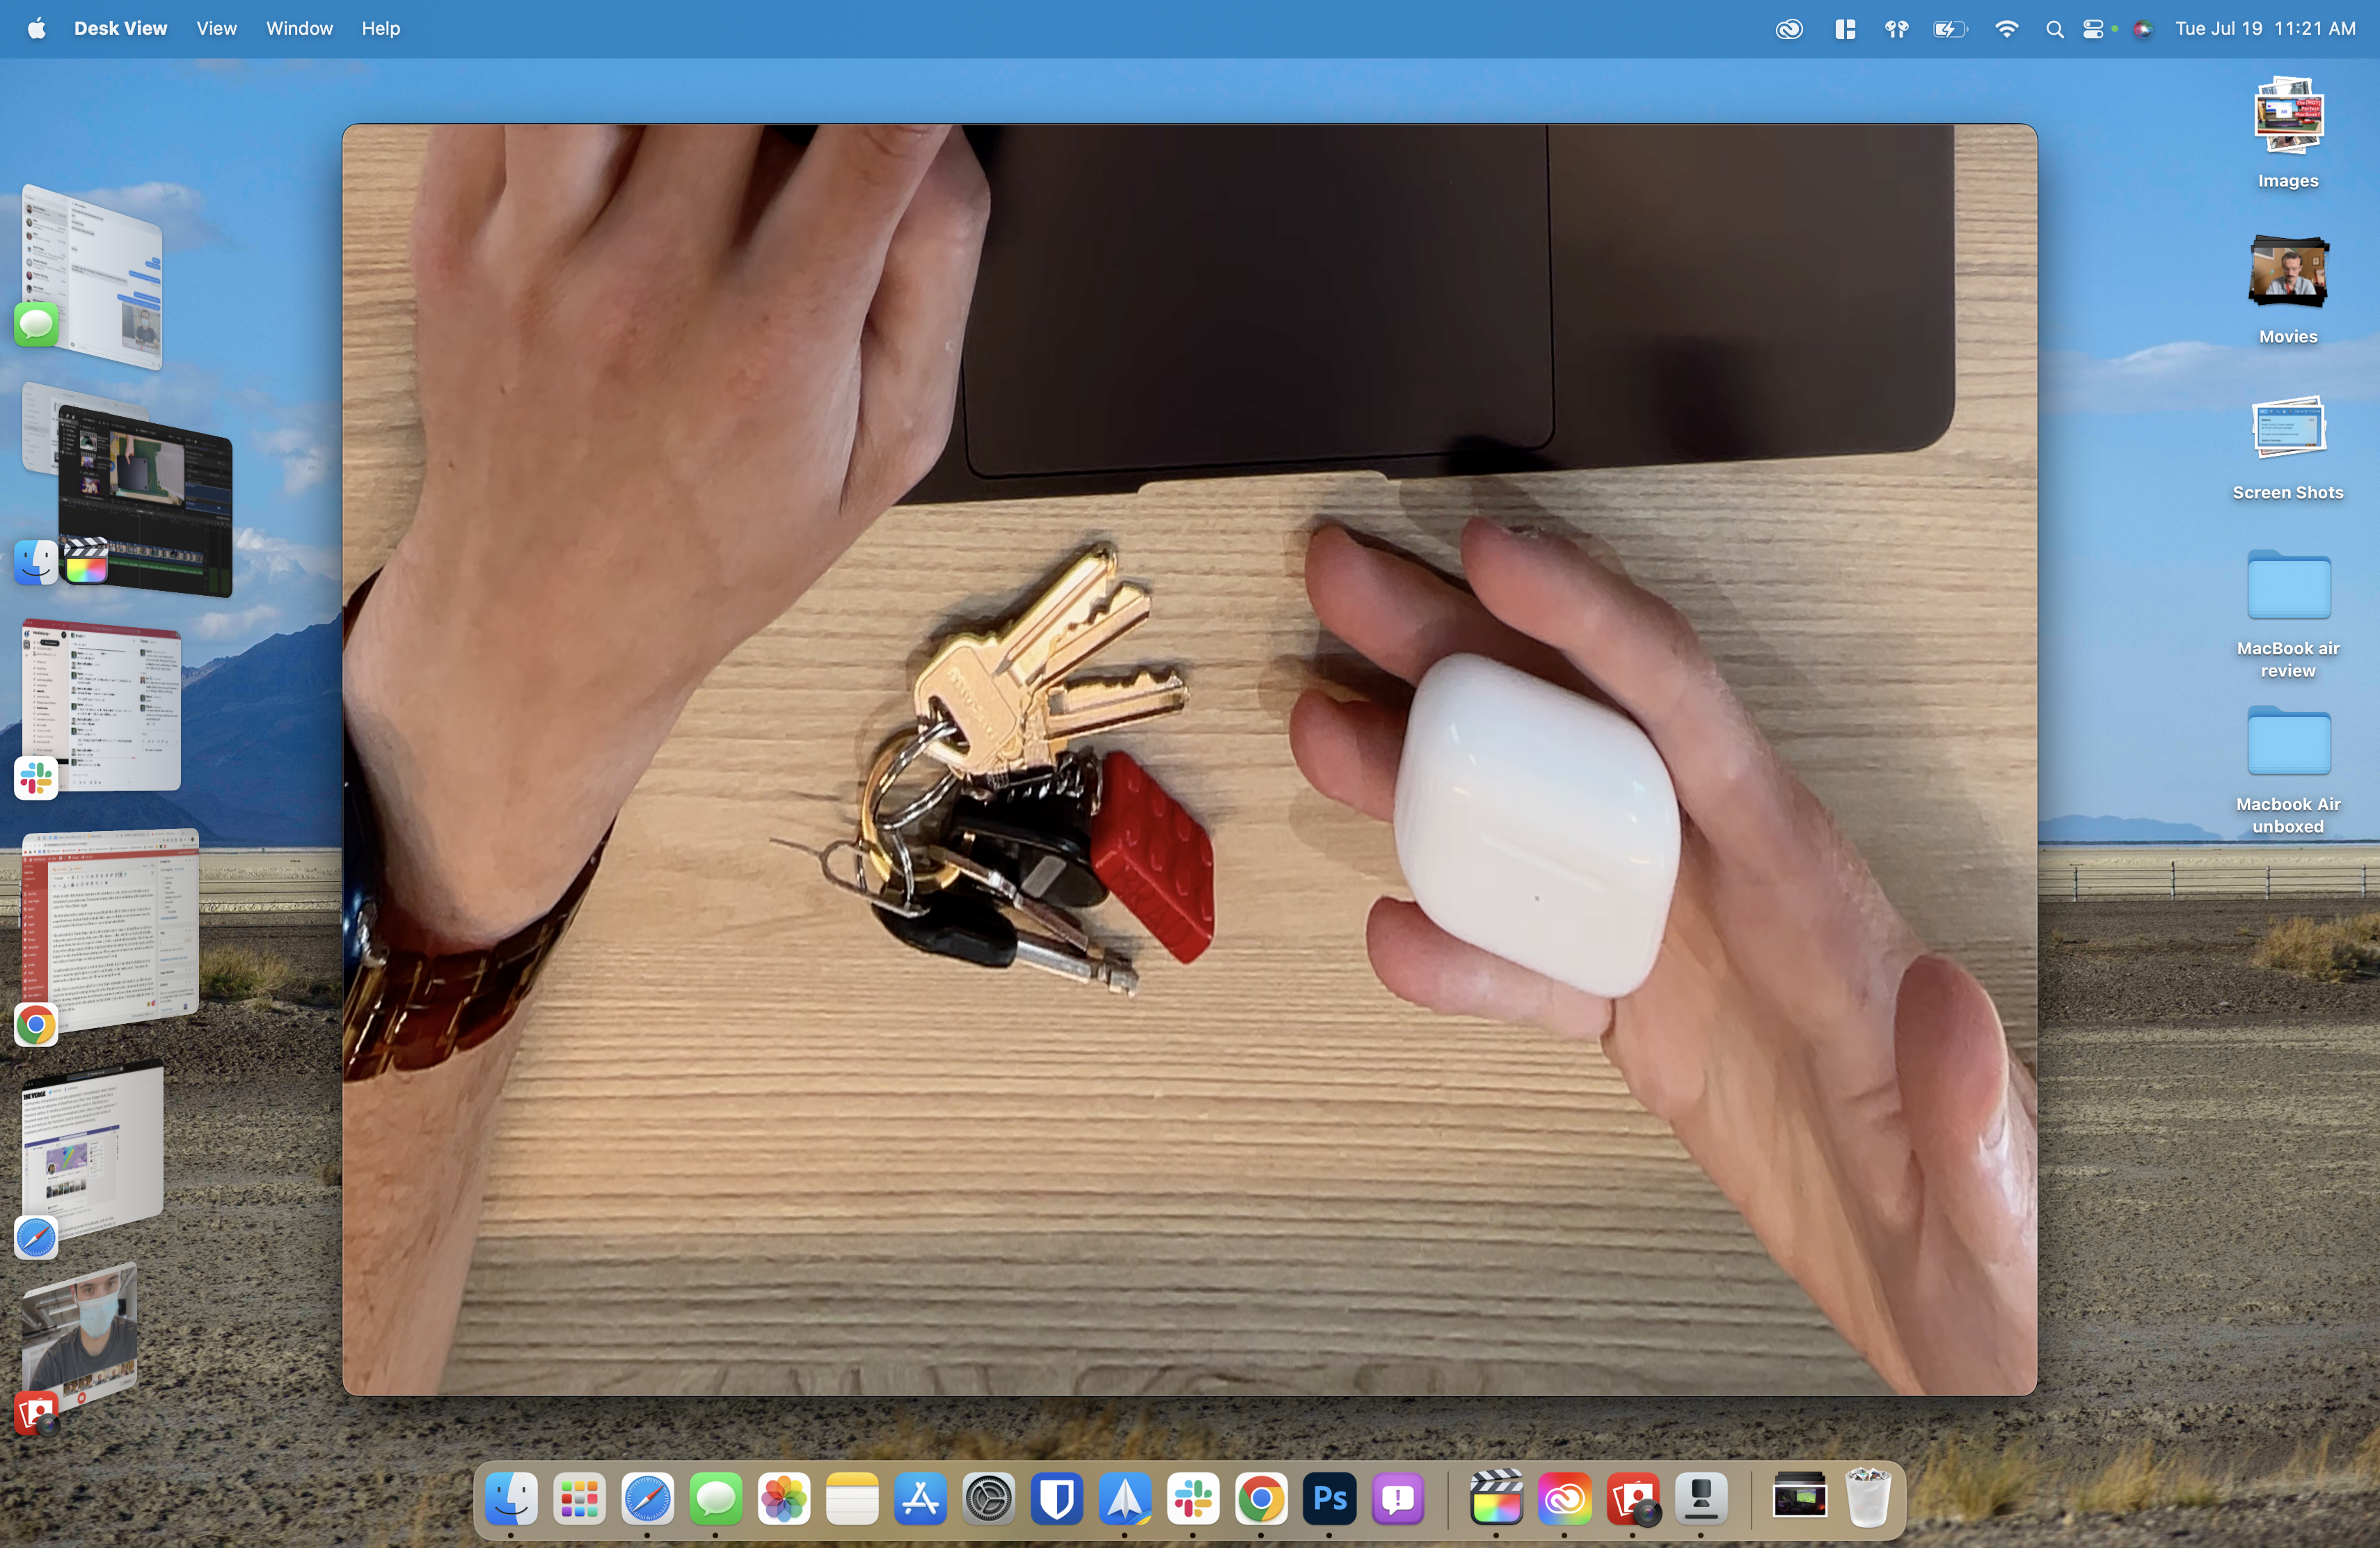
It’s also worth noting that this stream doesn’t play like a webcam. Instead, it appears as a new window on your computer, so you’ll have to share your screen via your video chatting platform to make it work. It’s a bit janky, but it’s a very helpful feature if you need to physically show things that are written down.